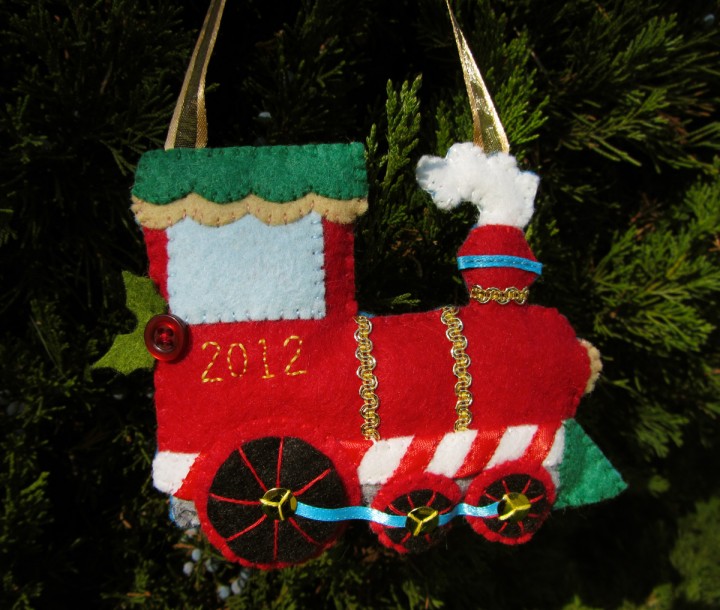
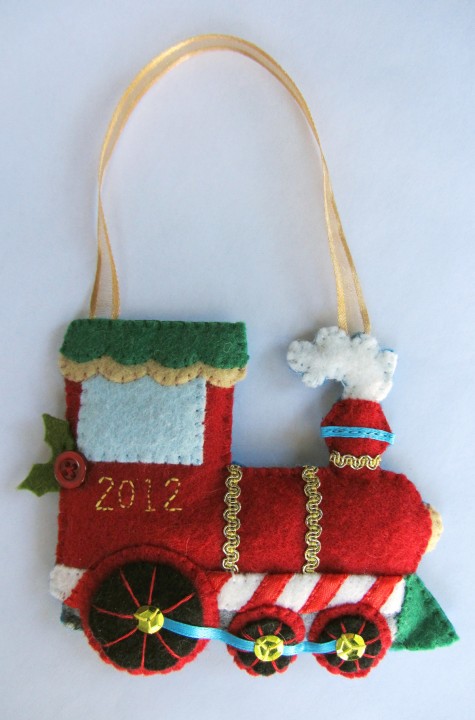
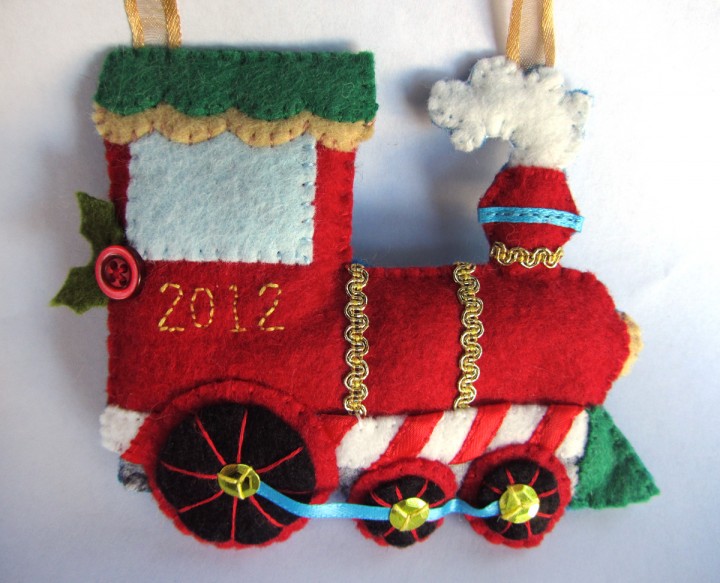
This is a new felt ornament I designed especially for my train-loving little guy. I added the year to this one, so hopefully I can make it a yearly tradition to sew him a special new ornament. He loves it and thinks it’s a toy! He played with it for 10 minutes before bed and handed it back wet and covered in dog hair. Haha! I tried my best to de-hair it for photos.
What I Used:
- The Pattern
- Felt from American Felt & Craft (in big apple, jade,cilantro, gold nugget, white, gray flannel, black, sparrow and pool party)
- Gold Ribbon
- Gold Trim
- Thin Blue Ribbon
- Red Ribbon
- 3 Gold Sequins
- 1 Red Button
- Stuffing or Batting
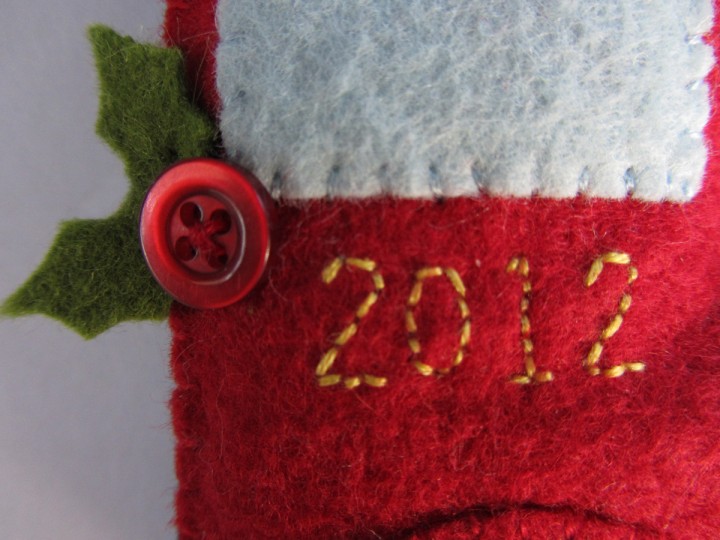
To start, I embroidered the year onto the train. I actually sewed right through the pattern paper, then cut away the paper very carefully. (Here is an example from another project.) I sewed the window on, lining its top with the top of the red train piece. I took some gold trim (the same stuff I used on my treasure page) and thin blue ribbon and sewed it on to the train.
I took some red ribbon and wrapped it diagonally around the white trim piece, stitching the edges down as I went. You could use red felt strips or even 3/8″ candy cane striped ribbon. I sewed the striped trim down onto the bottom of the train. I sewed the gray undercarriage strip below that, then sewed on the front bumper thingy. (What *is* that thing called??)
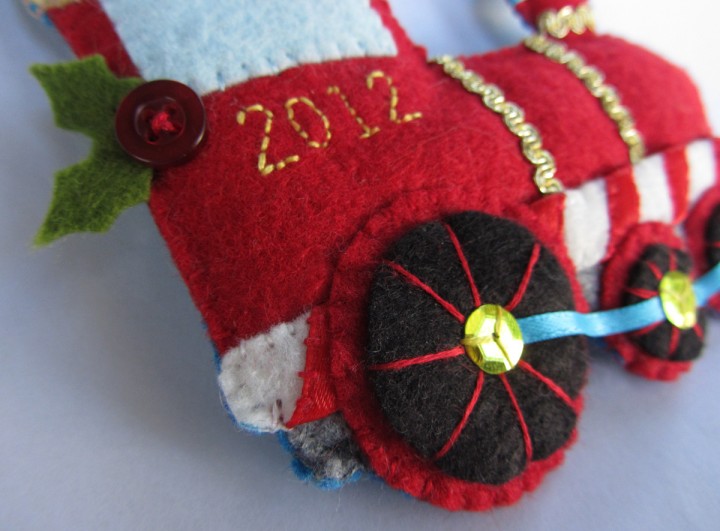
For the wheels, I layered the black centers over the red circles then crisscrossed thread to make spokes. I made a little * shaped stitch in the center where they crossed to hold the threads in place. I sewed the wheels down onto the train around the edges that overlapped. I cut a strip of thin blue ribbon and laid it across the centers of the wheels before sewing gold sequins over each.
To sew the roof on, I first sewed down the gold piece, then the green piece. For the headlight and the steam, I pinned them behind the train and stitched them on with thread that matched the train body.
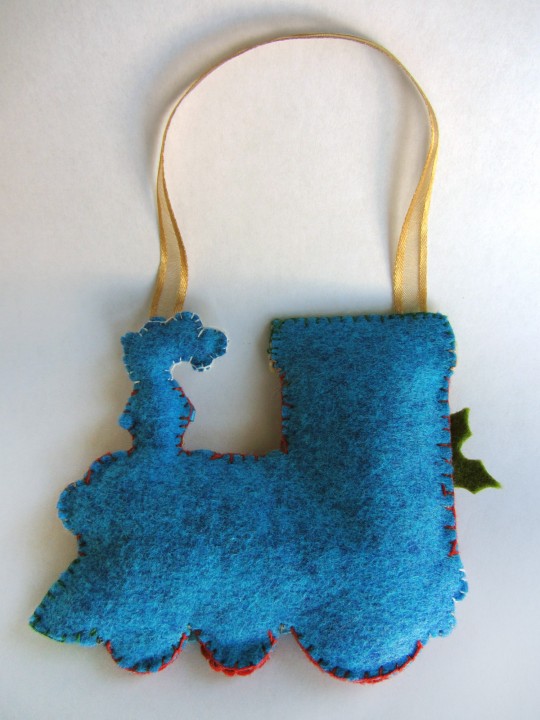
To add a back to my ornament, I laid the finished front piece down on my blue felt and cut out around it. I’ve drawn a backing piece for the pattern, but you need to make sure every lines up just right if you use it. I added some gold ribbon while sewing the front and back together.
The last thing I did was stitch a red vintage button and holly leaves onto the front.
I really like how it turned out, and it is so perfect for Jackson. What do you think?
If you make one of these ornaments, I’d love to see yours! Post a photo in our Facebook page or email me.

I have got to make one of these. Thanks for sharing the pattern!
Oh that is so cute!
The front bumper thingy I think used to be a “cow catcher”. It was supposed to bump wayward cattle out west off the tracks.
Hi I love this train but having a problem with the instructions on where to place the striped trim and the grey under carriage and then how the green bumper thingy fits on from there?