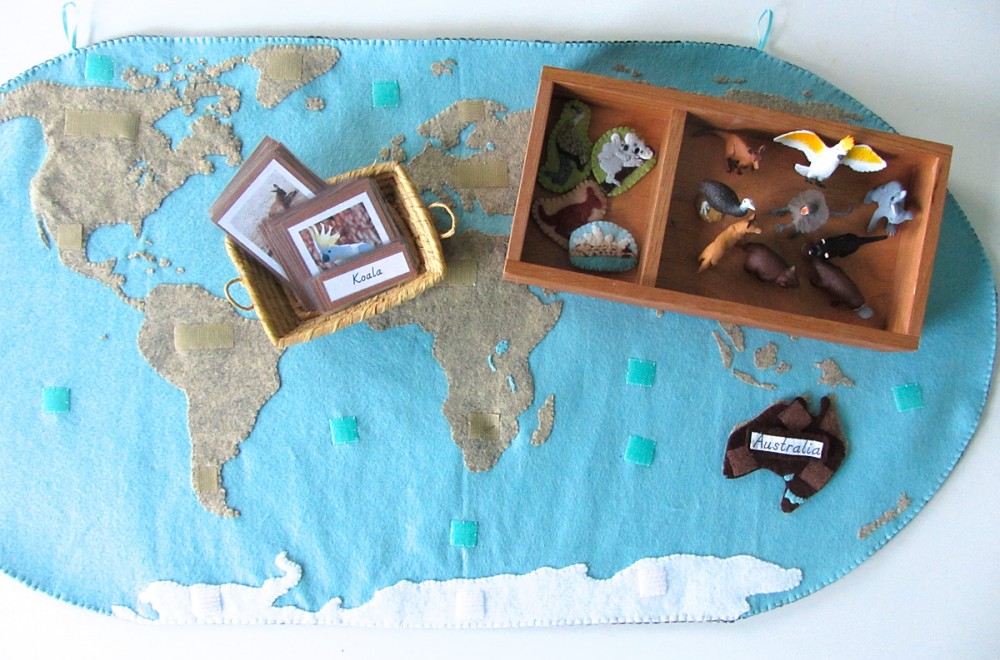
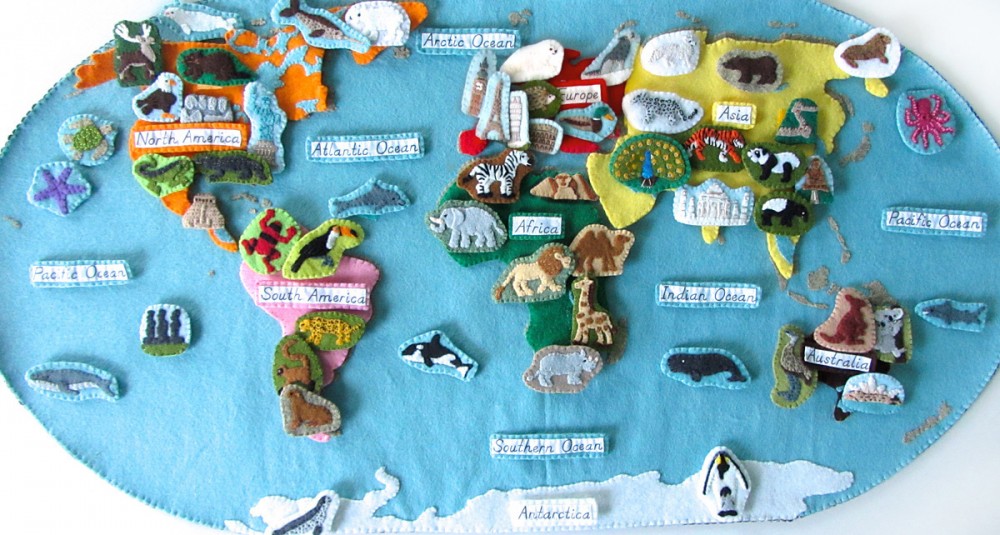
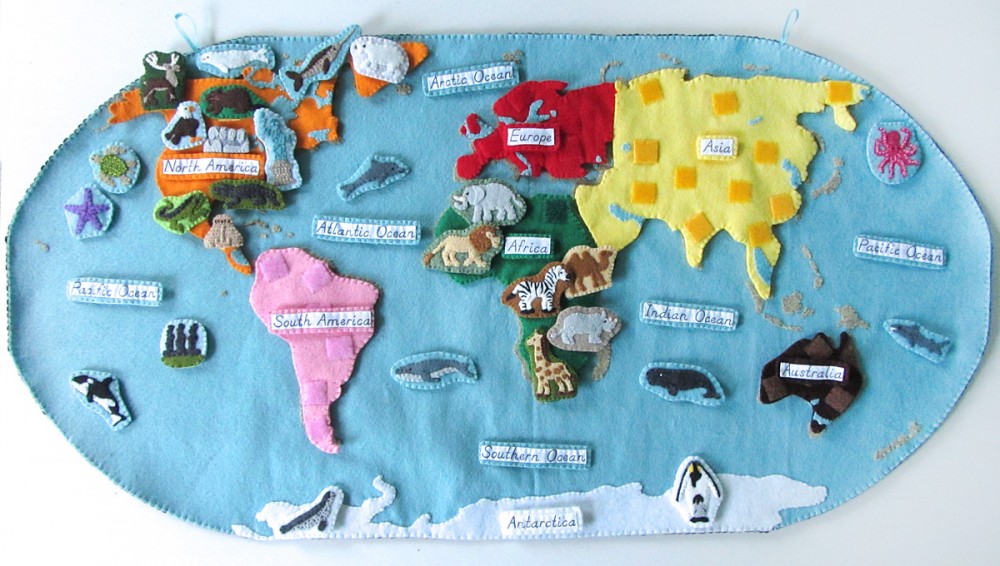
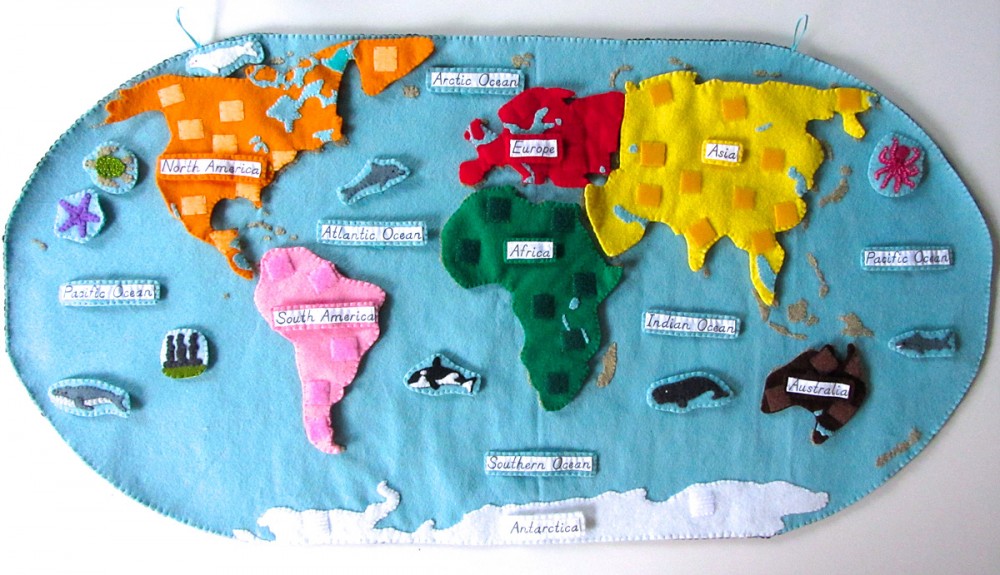
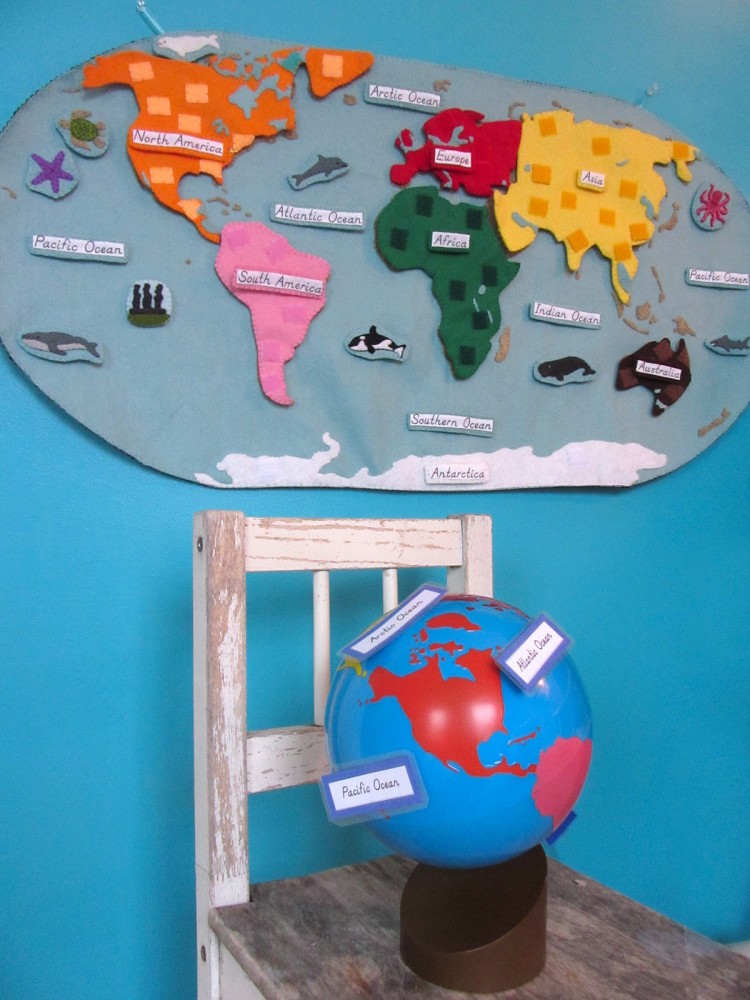
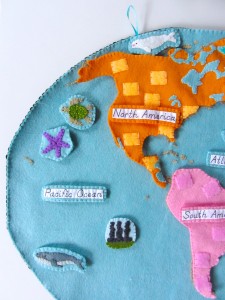
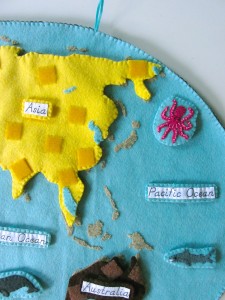
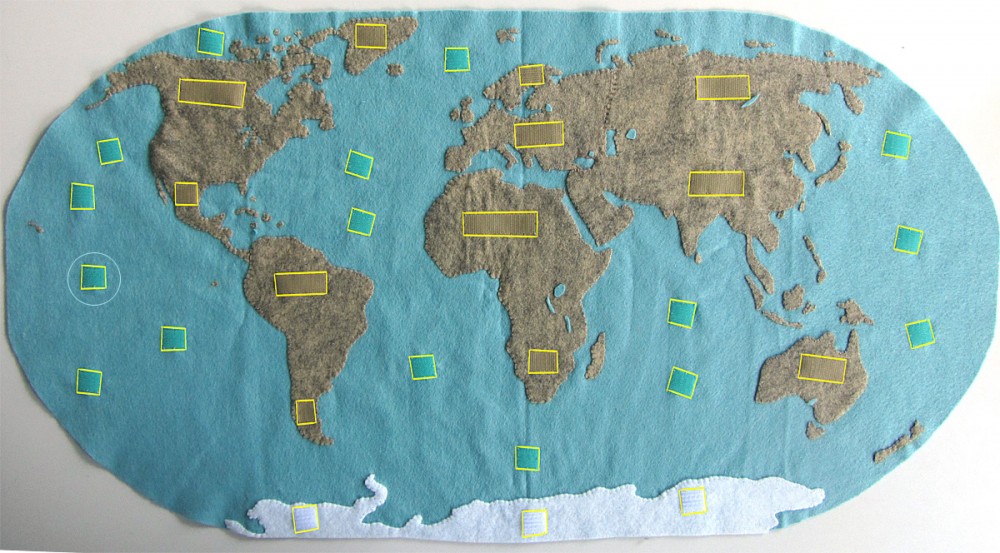
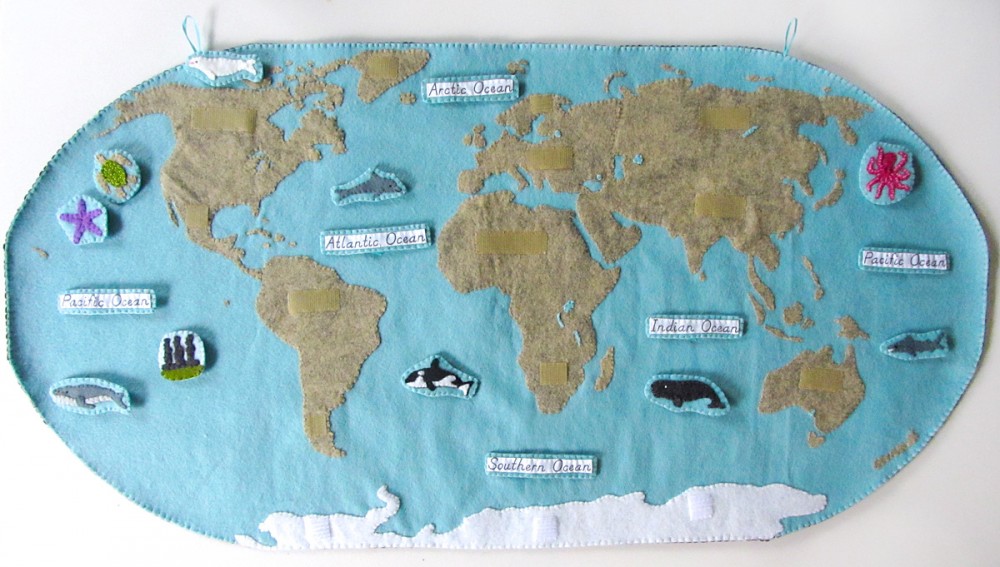
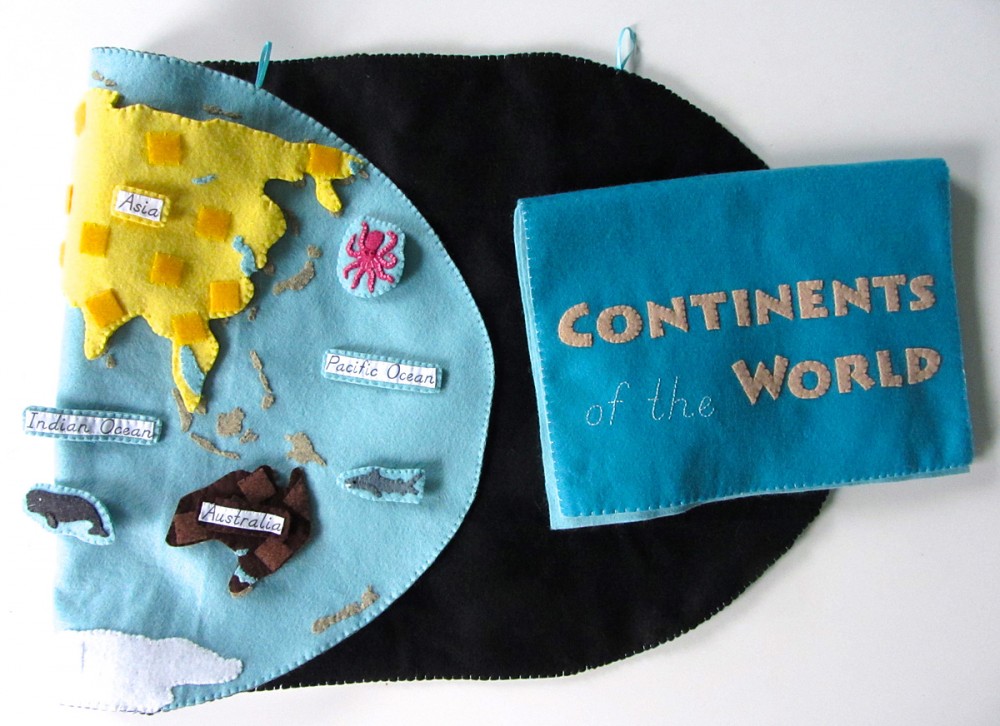
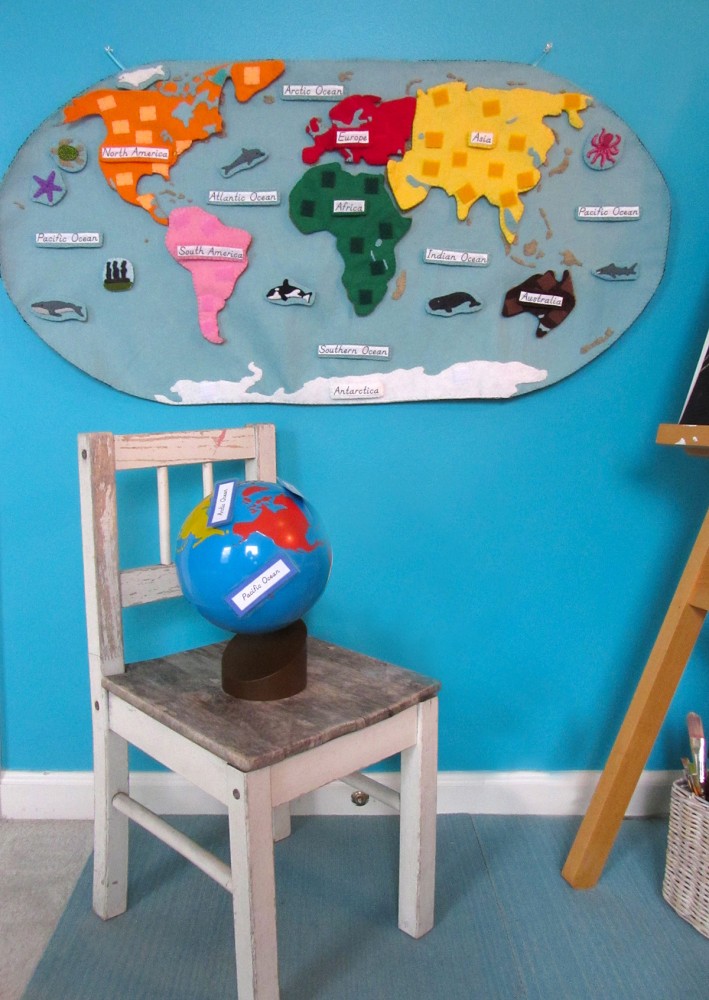
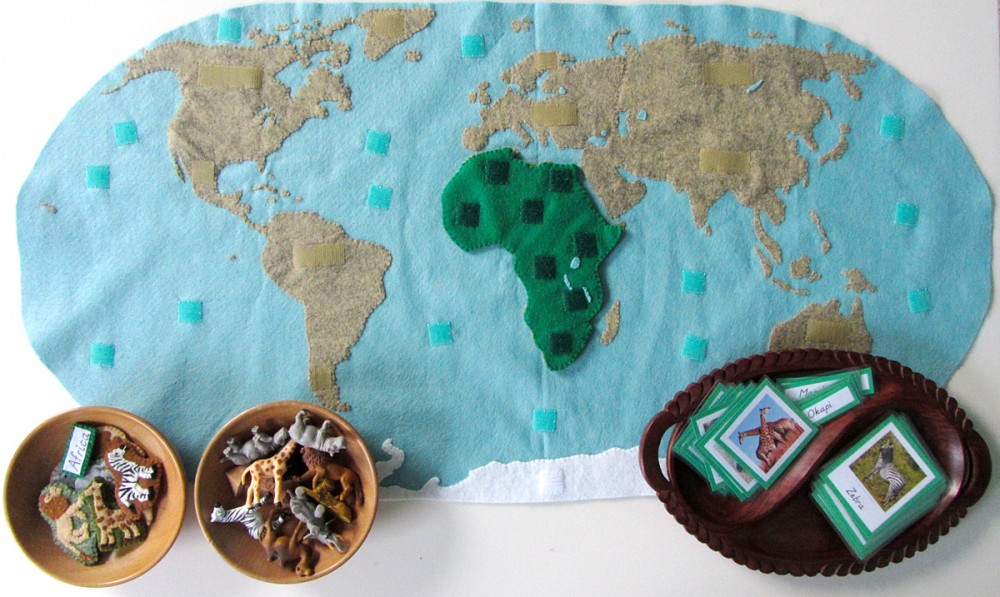
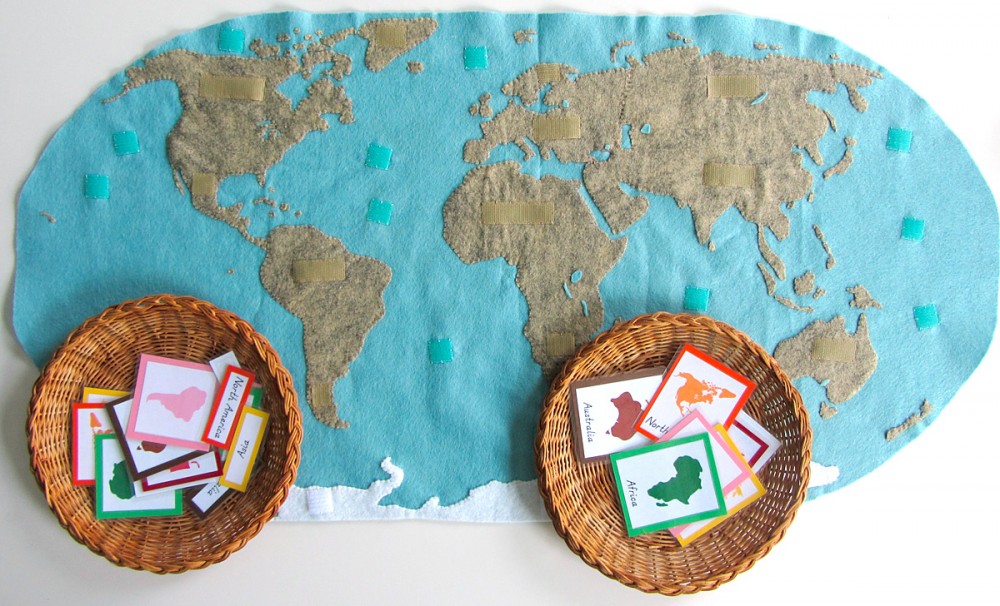
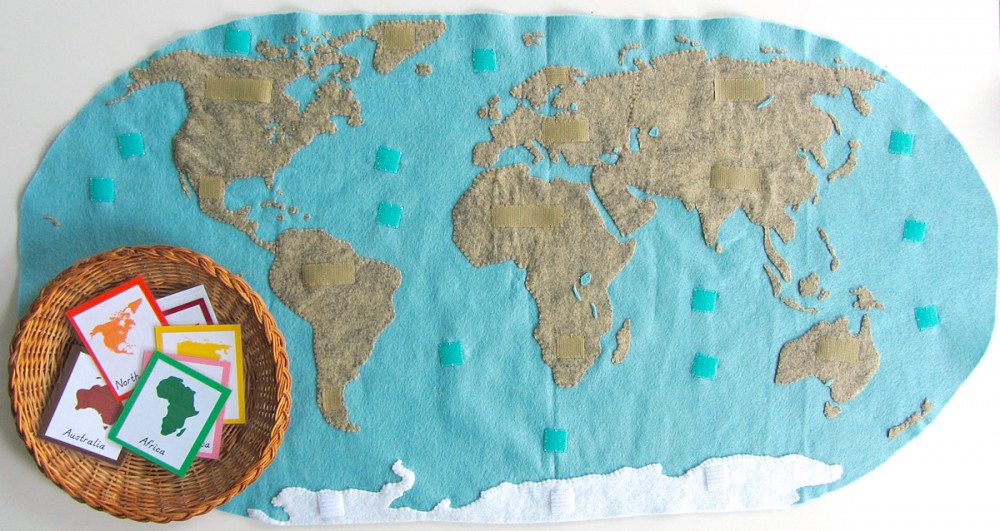
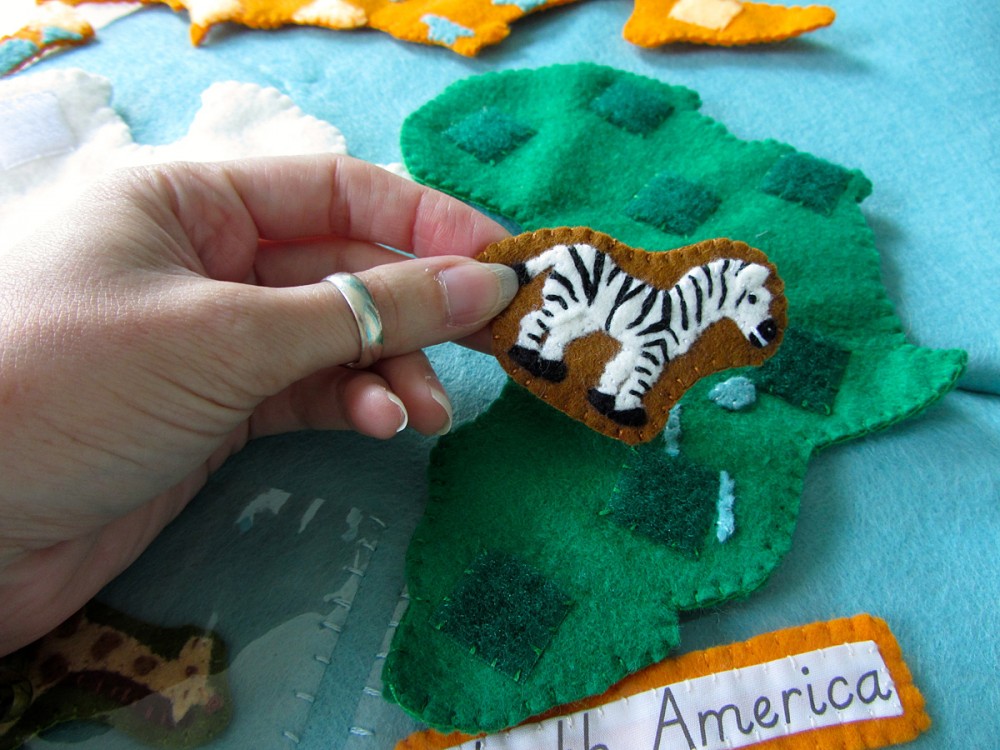
At last, the final sewing installment the Montessori wall map! It’s hard to believe I’ve finished sewing the whole world (just about)! The next and final post in this series will feature the world landmark printables. If you haven’t been following our Montessori wall map and quiet book yet, you can read all about it here. This post is for the continent of Australia.
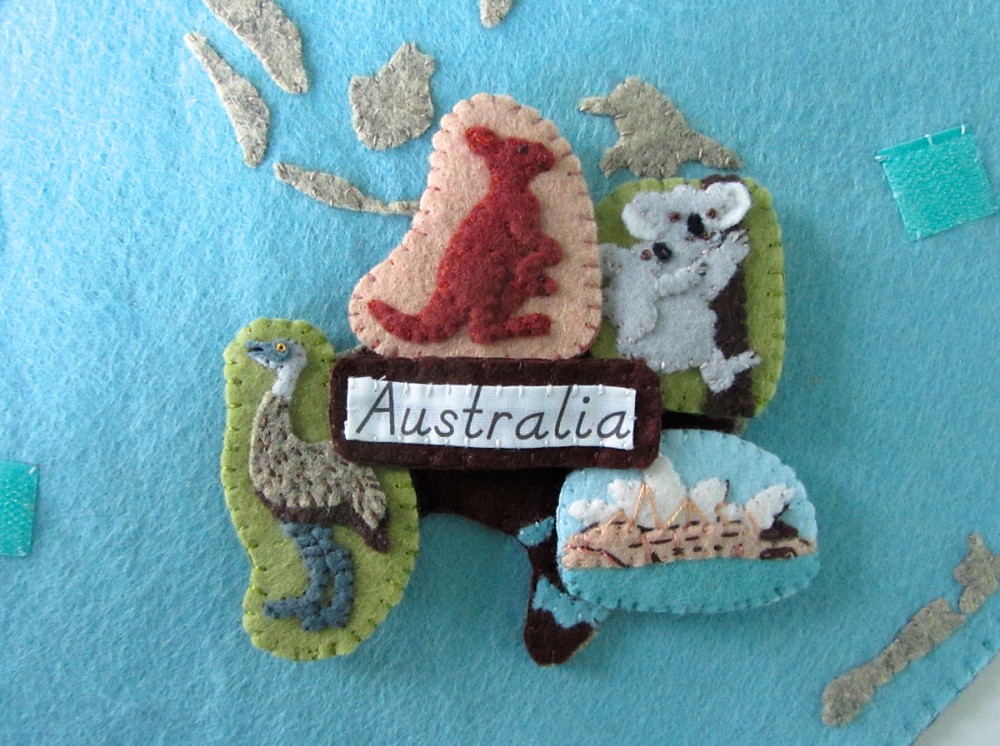
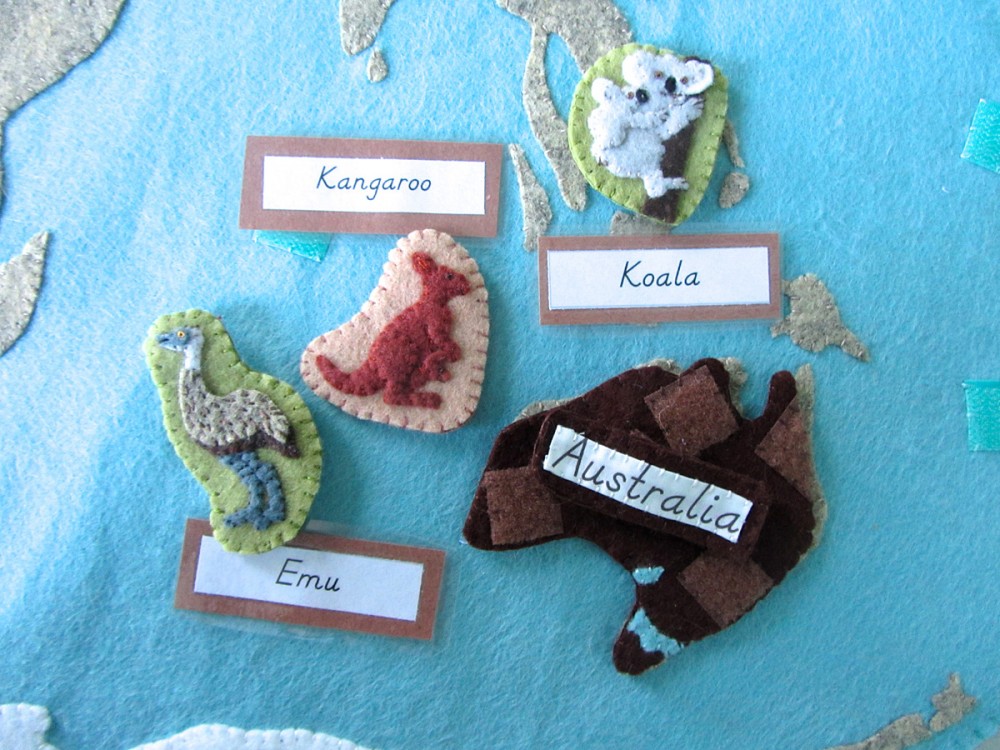
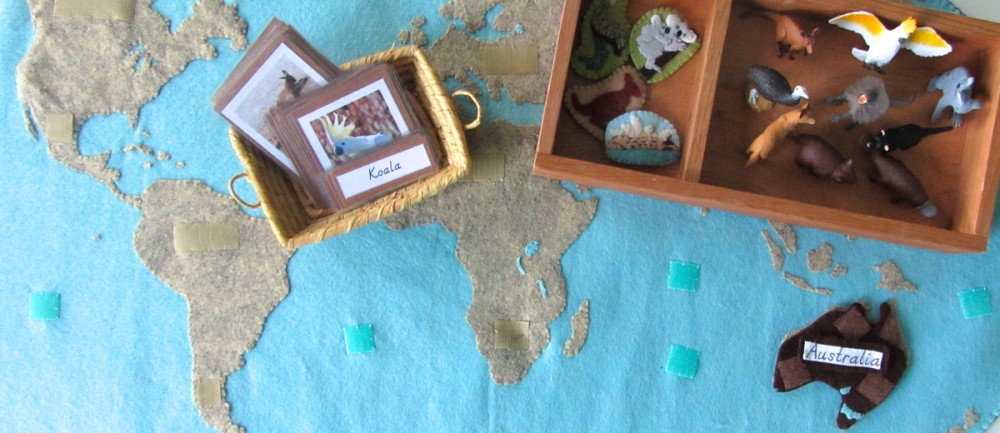
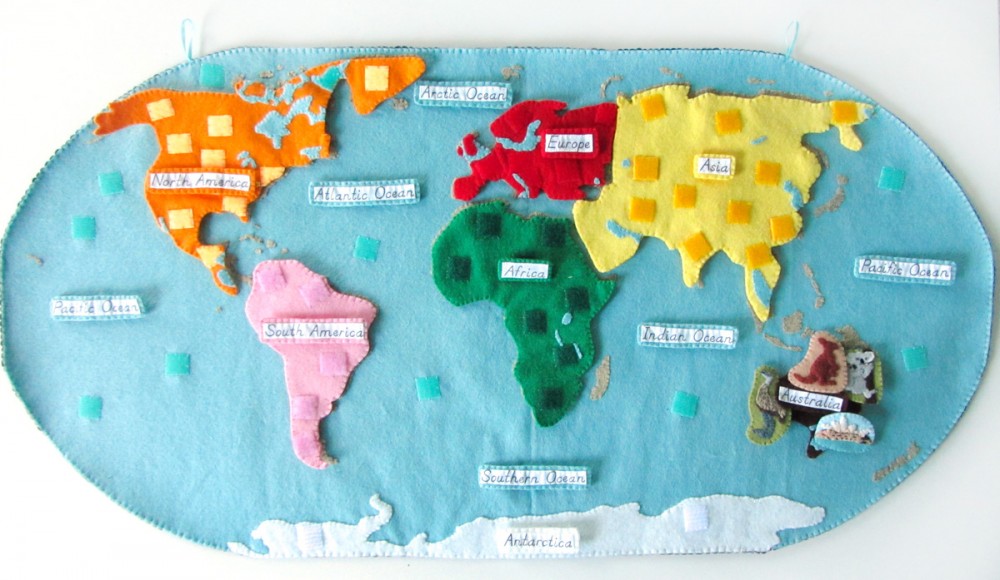
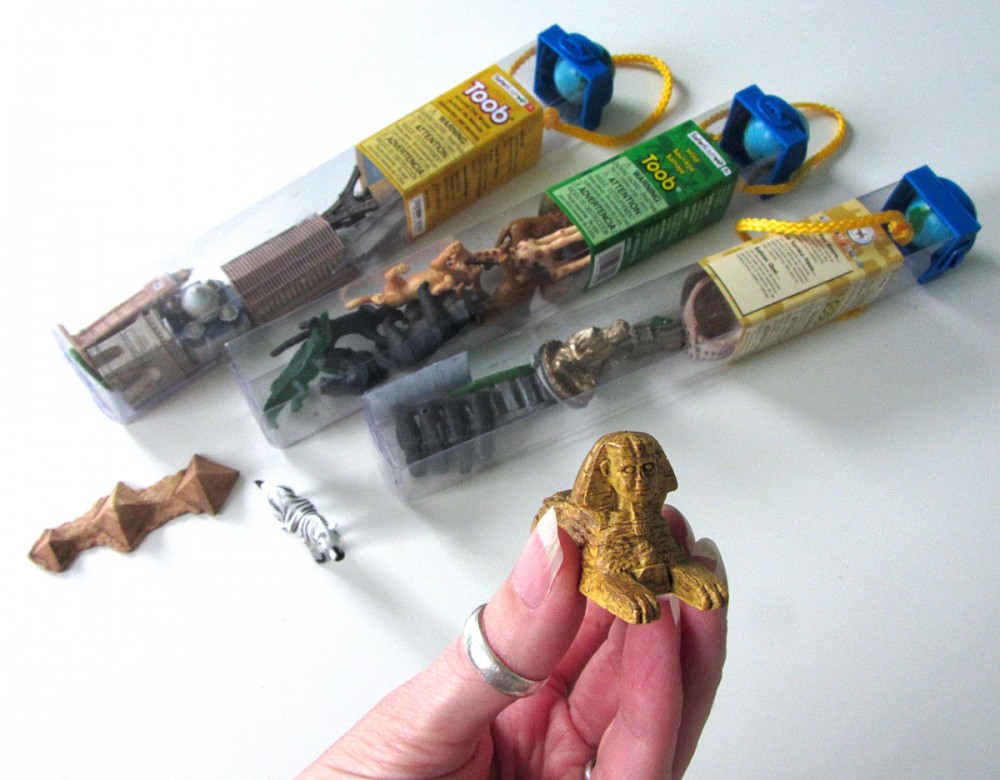
Every continent (and the oceans) will have landmarks and animals. Australia has so many wonderful animals, but is too small on the scale of this map to fit more than 4 pieces I ended up choosing 3 animals (thanks to your votes on Facebook!) and one landmark for this continent. The landmark, the Sydney Opera House, is the only landmark I chose in this project that doesn’t have a matching Safari LTD figurine. It was so iconic that I couldn’t not make it, though. I included: The Sydney Opera House, and Emu, a Koala and a kangaroo.
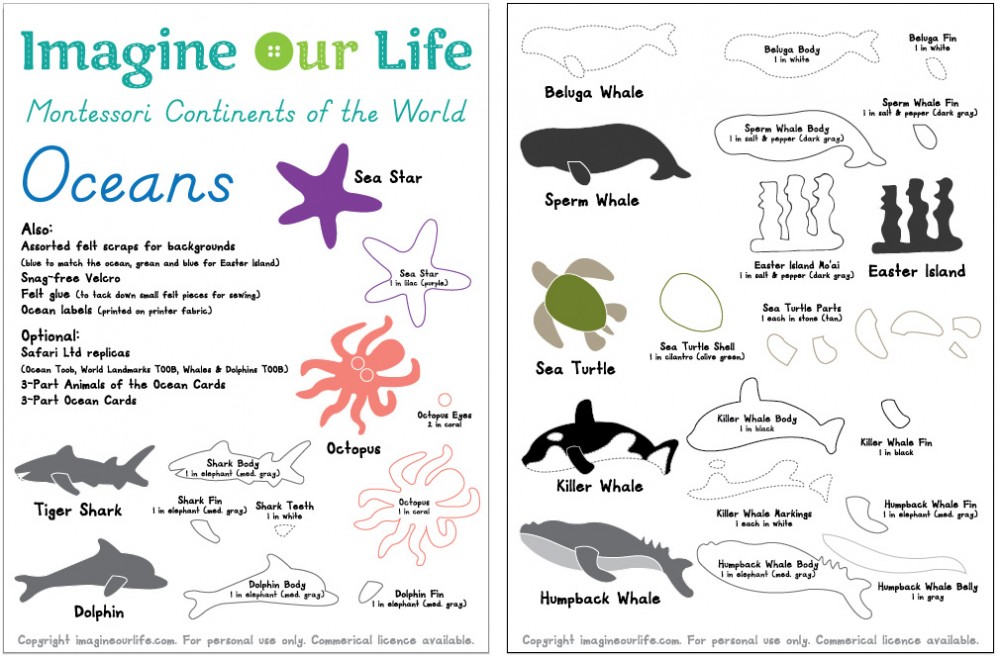
Overview and Map Patterns • Africa • Antarctica • Asia • Australia Europe • North America • Oceans • South America
This project is totally free for you to use (though commercial use requires a license.) If you’d like to support my designs, one way is to make a purchase off of Jax’s Amazon wishlist – he turns 4 on February 5th! I use his list to bookmark school and craft items until I am able to get them. For more ways to contribute to this site, visit my support page.
Materials I Used
The Pattern (see the first post for the main patterns) Felt from American Felt & Craft – pastry [golden taupe], chocolate [deep brown], fresh linen [off white], monkey [red brown], honeydew [light green], sparrow [light blue], ice [aqua blue], rocky point [heather taupe], elephant [charcoal], gray, white and black. Hook & Loop – I used white snag-free Velcro on the backs of all these pieces and brown hook & loop (loop only) on the front of the Australia puzzle piece. My brown hook & loop was from here. Felt glue
to tack down the pieces before sewing, printer fabric
for the continent label, embroidery floss in colors to match the felt and micro tip scissors
.
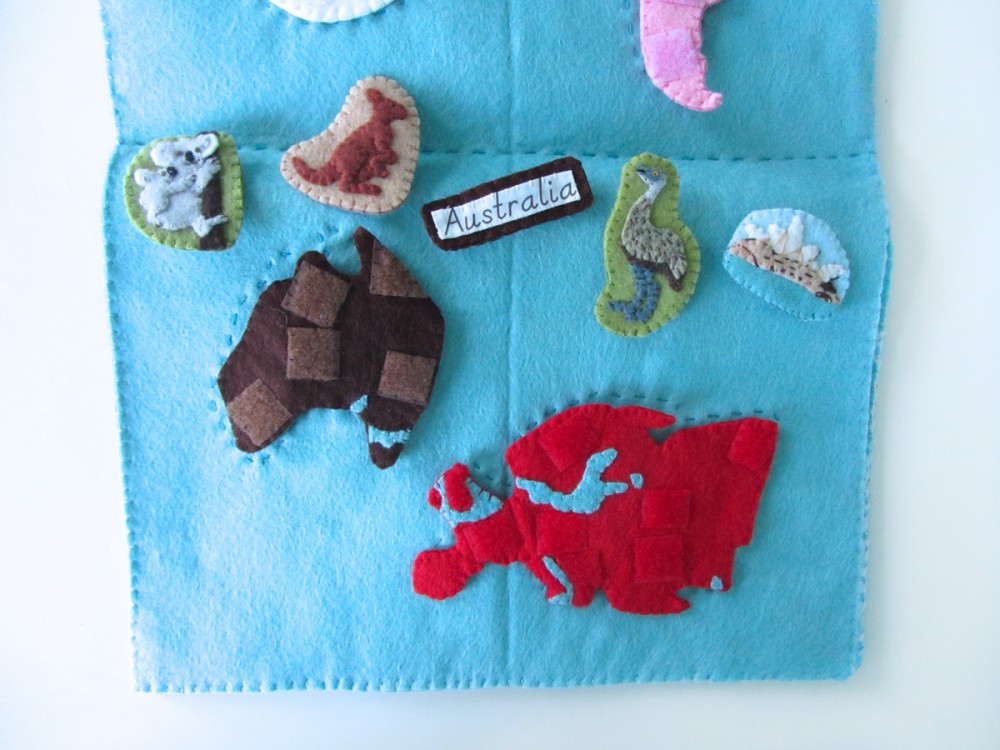
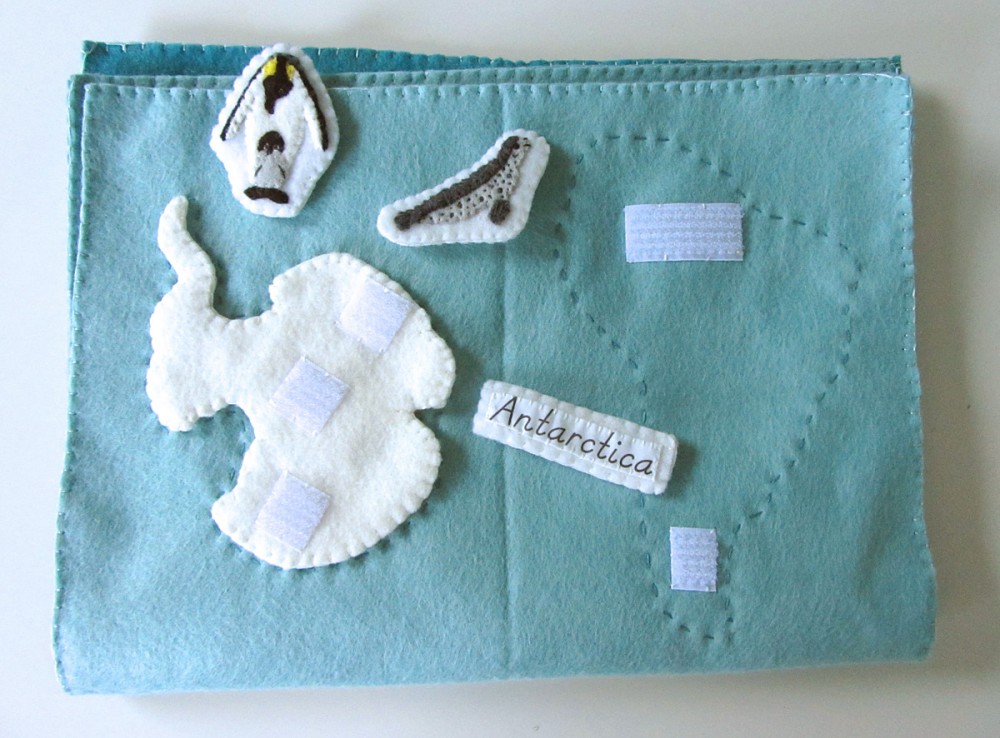
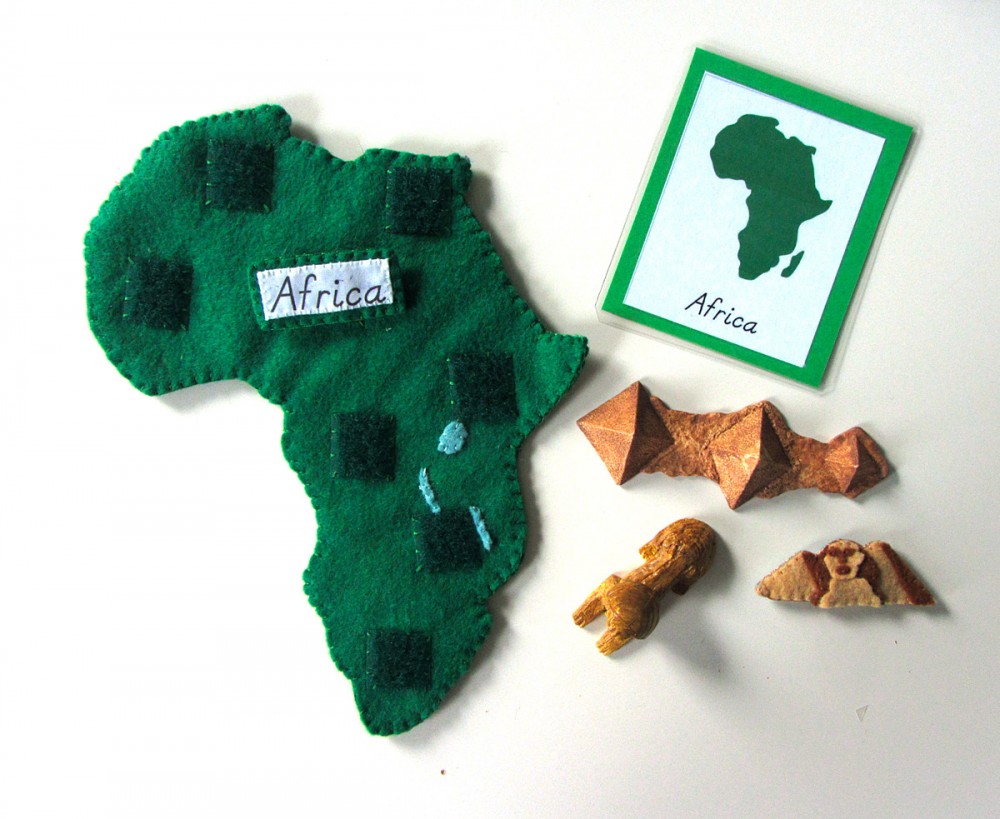
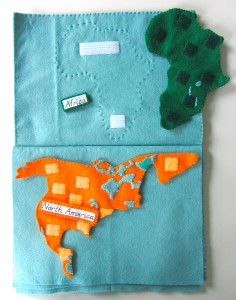
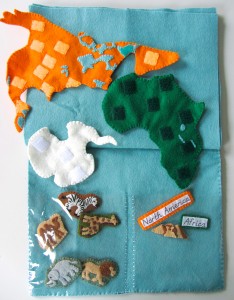
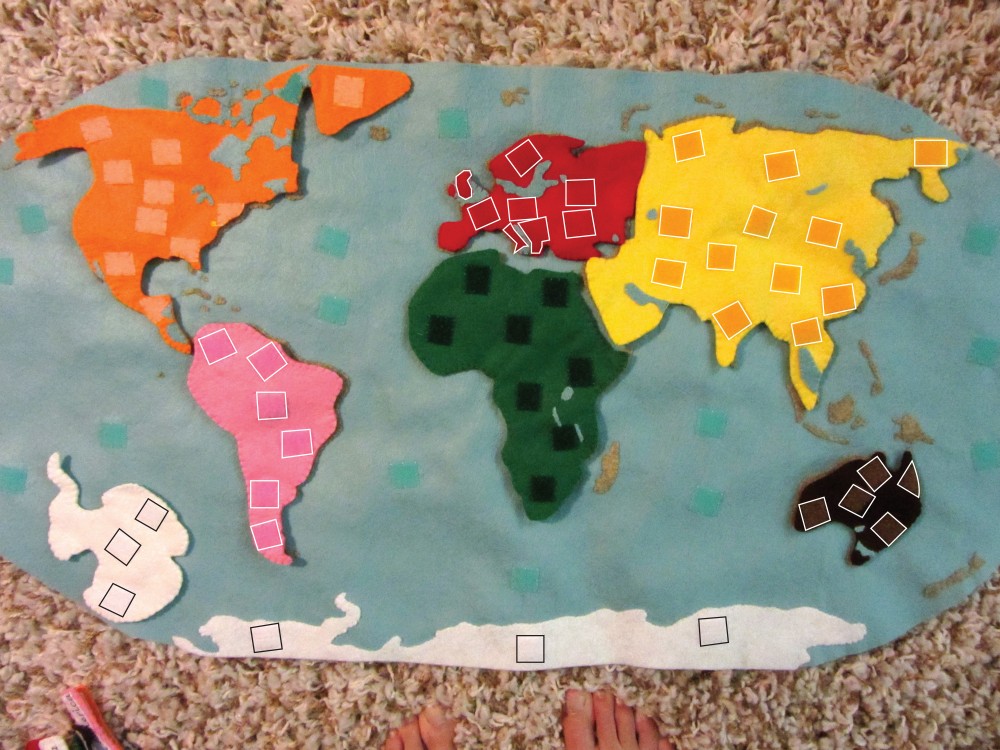
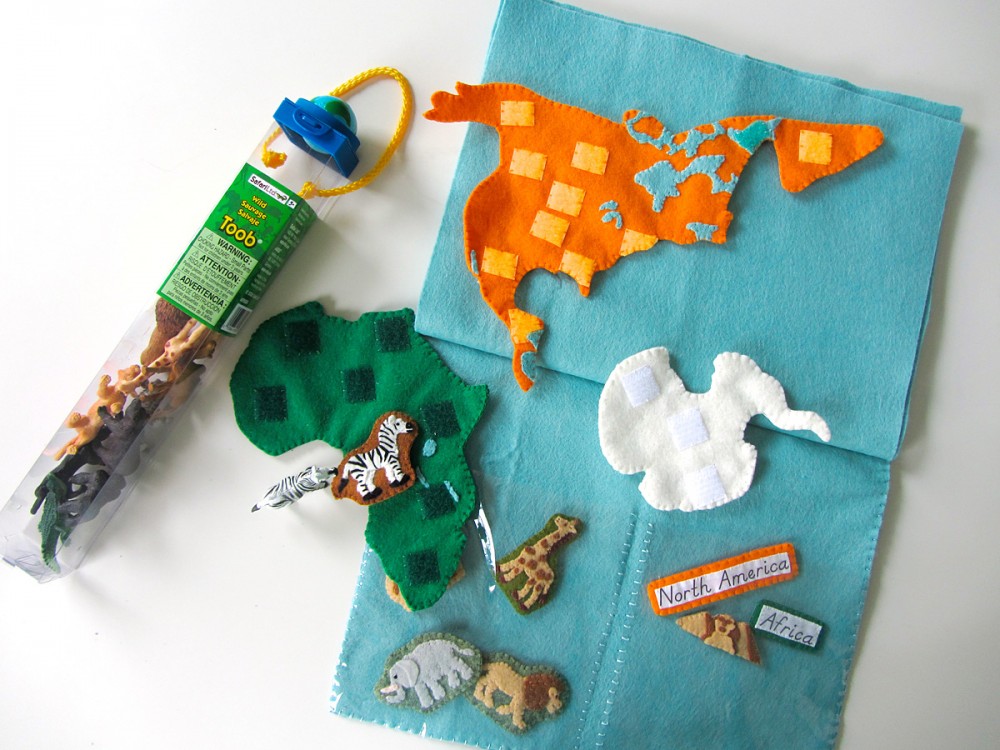
For the Australia quiet book page, I sewed a running stitch (dashed) outline around the Australia pattern piece and sewed down snag-free Velcro to line up with the Velcro on the back of the Australia piece.
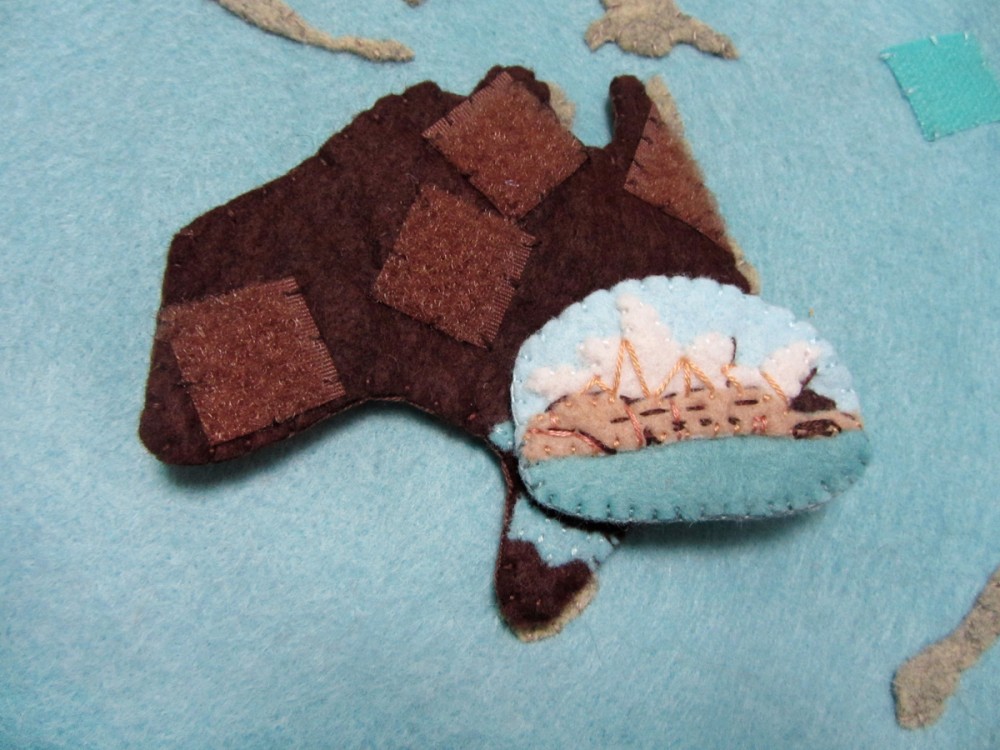
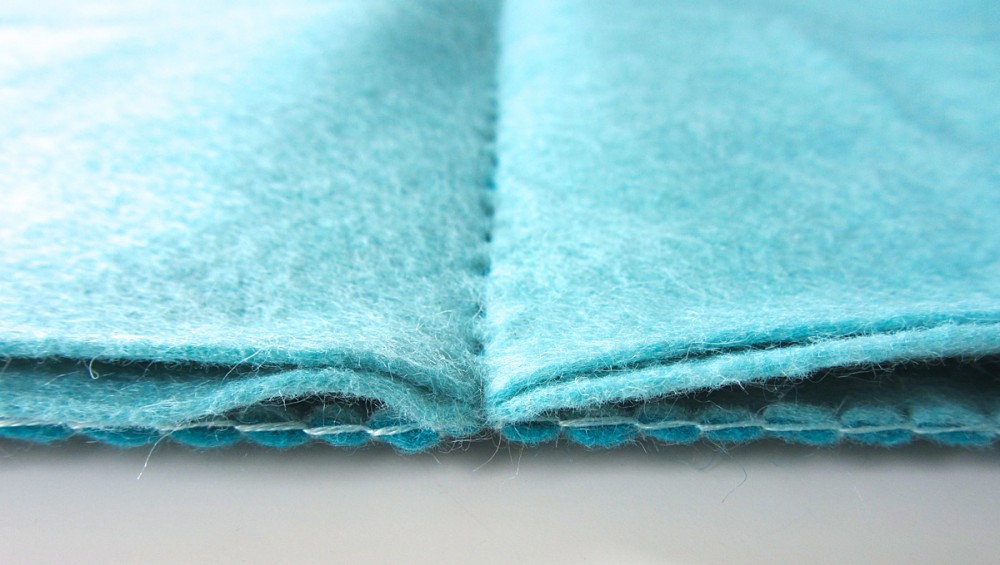
Australia: (Felt used: chocolate brown) For the Australian continent puzzle piece, I sewed down pieces of brown loop Velcro. On the back, I sewed strips of white snag-free Velcro to correspond with the Velcro in the quietbook and the wall map. I finished it by sewing the two sides together around the edge with a blanket stitch.
Label: (Felt used: chocolate brown) For the continent label, I folded under the edges (just a tiny bit to hide the rough edges) and creased it with my nails. The printer fabric held the folds nicely without ironing. Then I stitched the label to some brown felt and trimmed it down to be a border. I cut a matching felt rectangle for the back, sewed snag-free Velcro to it and then sewed both sides together.
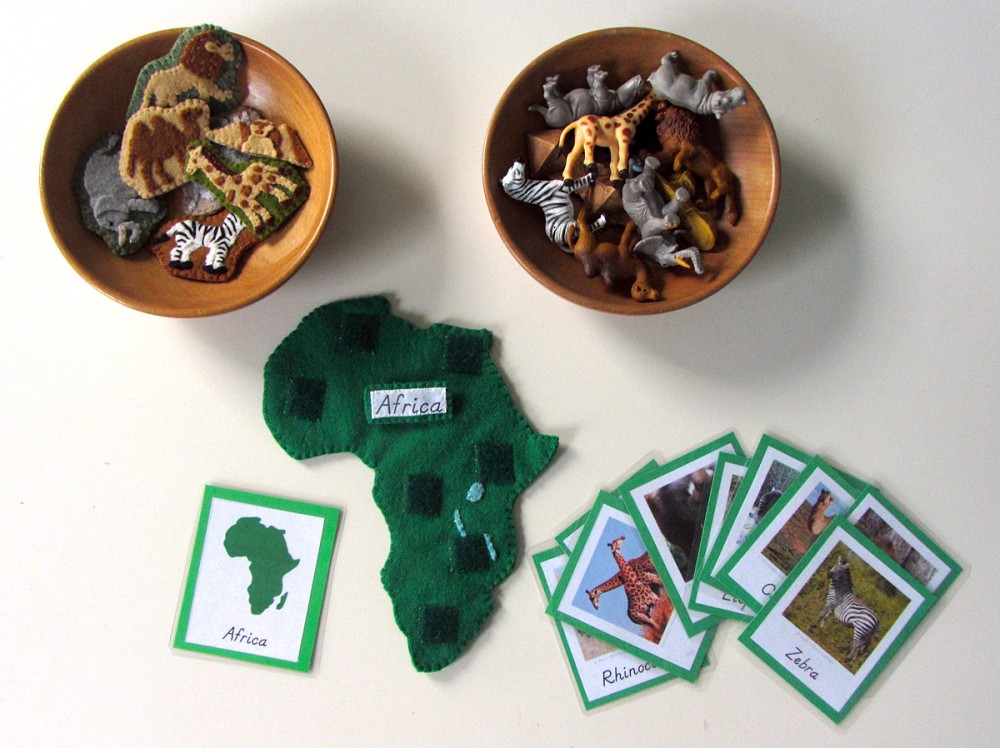
For all of the animals, I started by gluing the pieces down to a scrap of background felt with a very light amount of felt glue. I glue multiple animals at a time to give them time to dry. I sewed them down, trimmed the background and cut a matching backing piece. I sewed snag-free Velcro to the back and sewed both sides together with a blanket stitch.
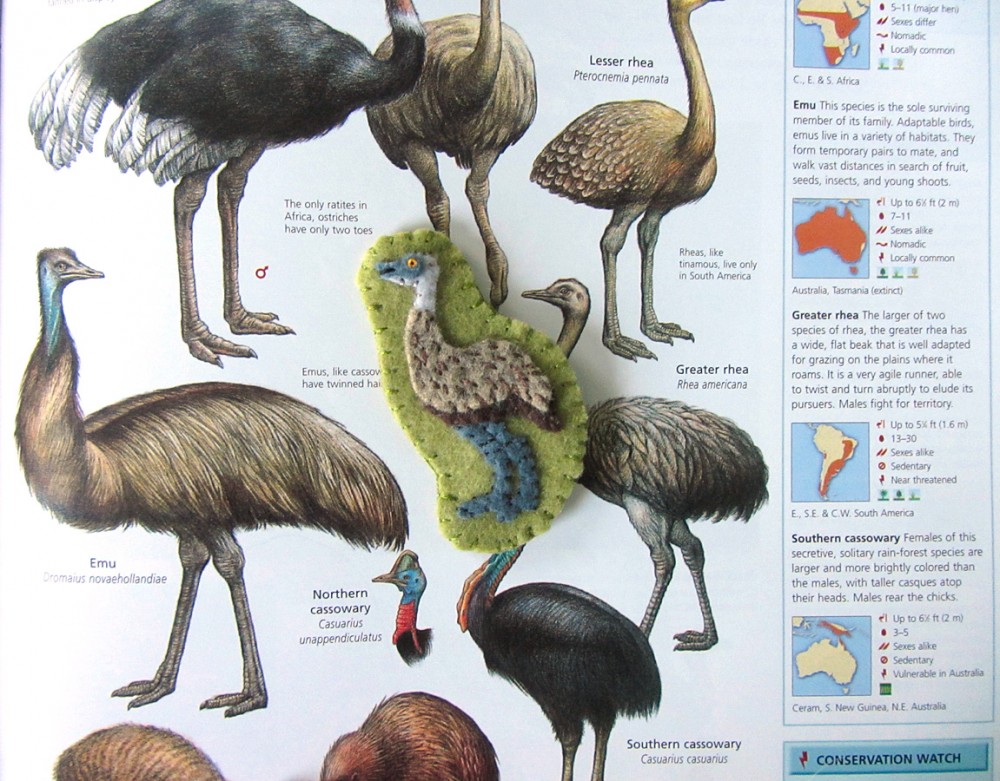
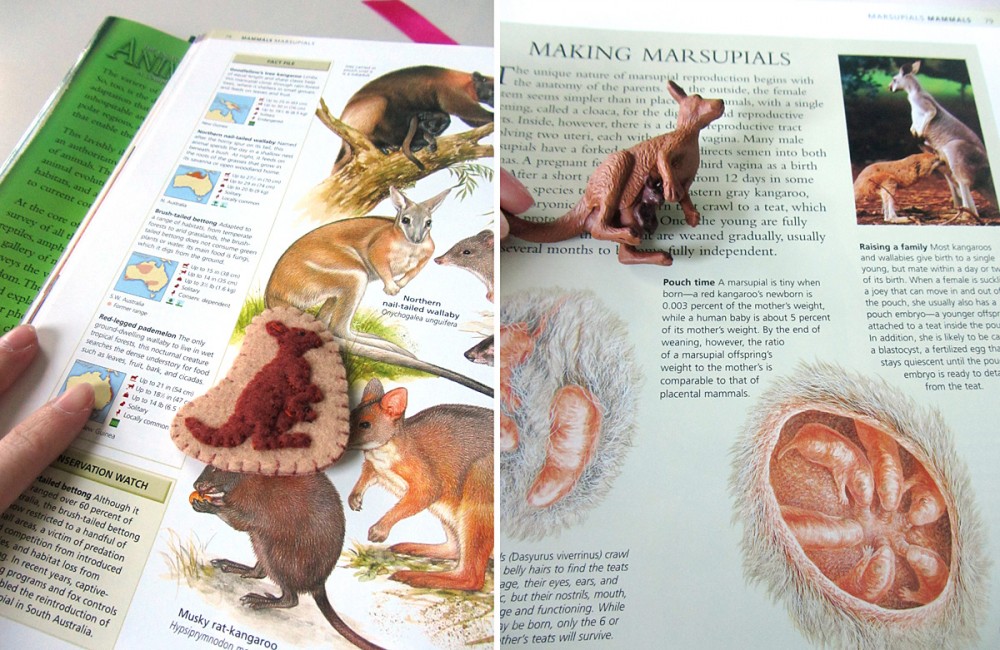
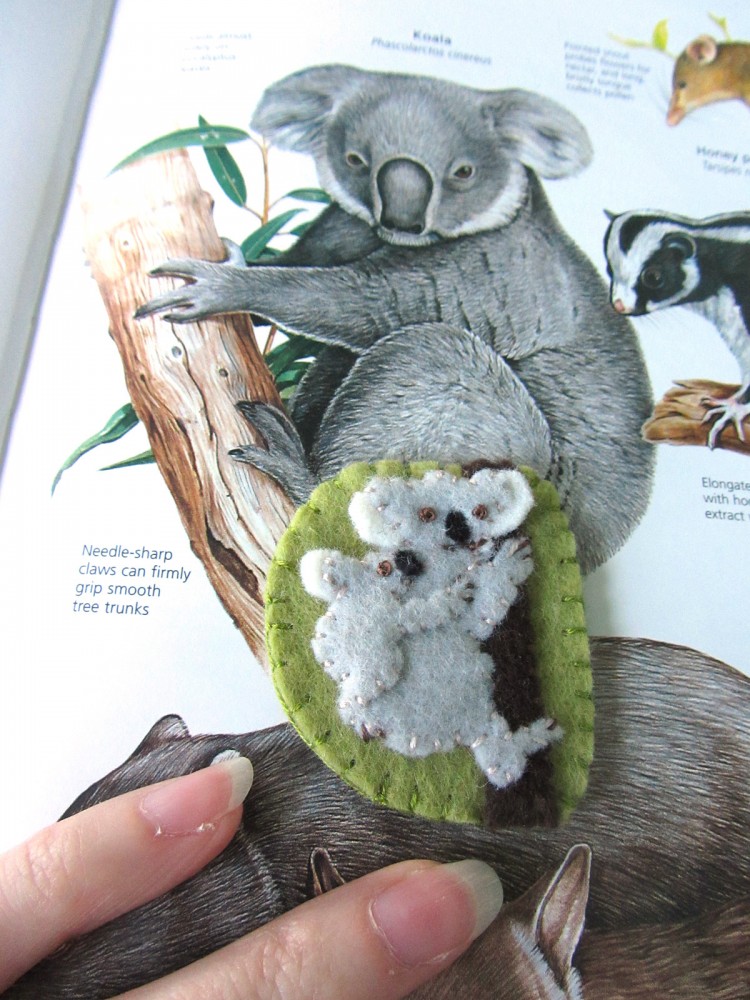
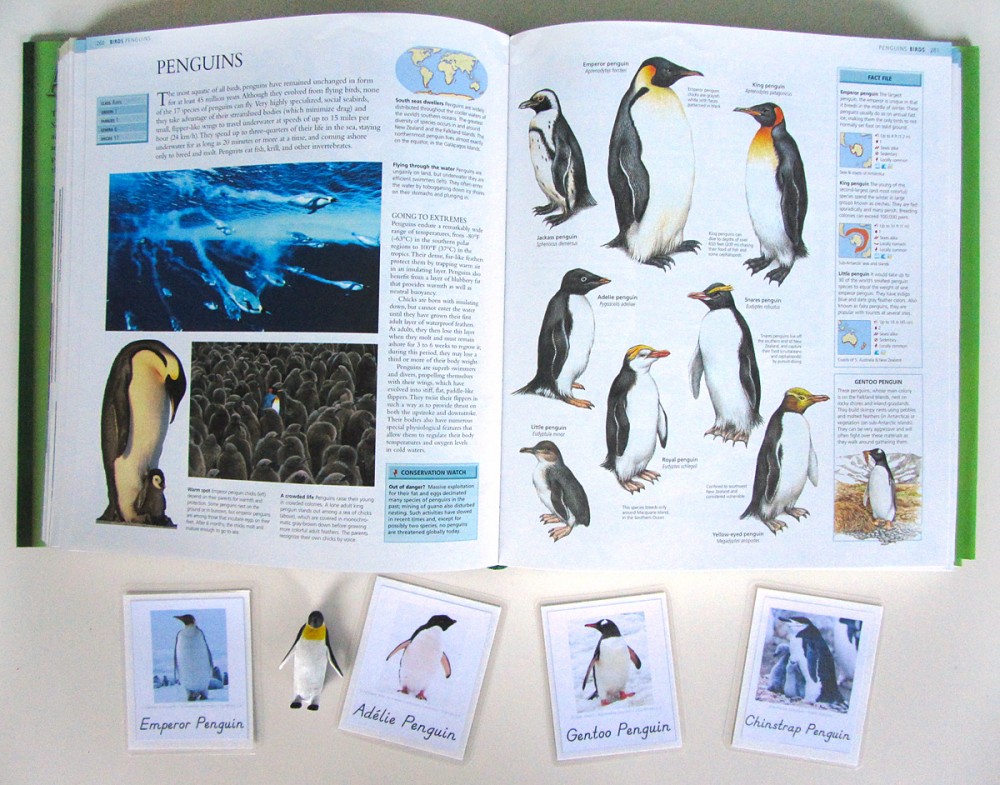
We love this animal encyclopaedia!
Emu: (Felt used: rocky point heather beige and chocolate dark brown for the body, grey light grey and elephant charcoal gray for the head and legs and honeydew light green for the background) For the emu, I tacked everything into place with felt glue. I then sewed all the pieces down around their edges. I made little dashed stitches with brown floss to make his feather texture. His eye is a gold French knot with a tiny black stitch in the center. His mouth is a black line.
Kangaroo: (Felt used: monkey red-brown for the body and pastry beige for the background) I started by tacking everything down with felt glue. The joey’s head and kangaroo leg go on top of the body. I stitched everything down around the edges, the back stitched the line of the kangaroo’s elbow. There is a straight stitch in her ear and the pouch. Both eyes are black French knots.
Koala: (Felt used: gray for the bodies, white for the ears, black for the noses, chocolate dark brown for the tree and honeydew light green for the background) I started by tacking everything down with felt glue. Then I stitched everything down around the edges (except the white of the ears). The eyes are brown French knots. Their nails are brown straight stitches. I back stitched the mama koala’s mouth.
Sewing the Landmarks
For all the landmarks in this project, I started by sewing the front piece. Then I cut out a backing felt to match the final shape and added some snag-free Velcro to it. I finished sewed around the whole edge, switching colors where needed. For all of the detail work, see the photos for a sample of where to stitch.
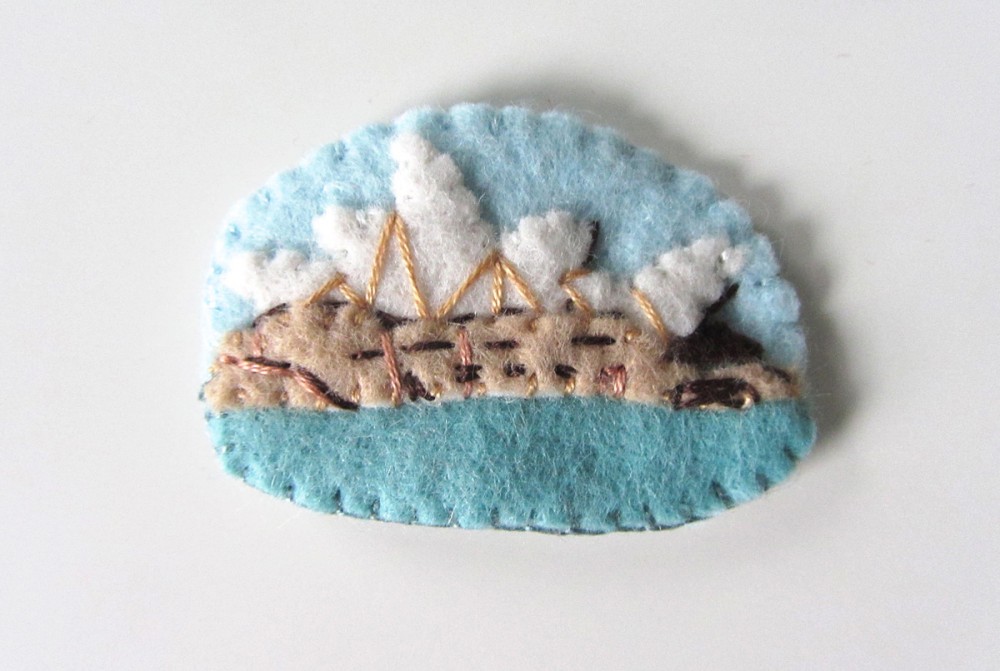
Sydney Opera House: (Felt used: pastry beige and white for the building, ice for the water and sparrow blue for the background) I glued down the building pieces and stitched down the edges. Using three shades of brown floss, I made many straight stitches to add details of the building. I looked at photos online for reference. See my close up for exactly what I did.
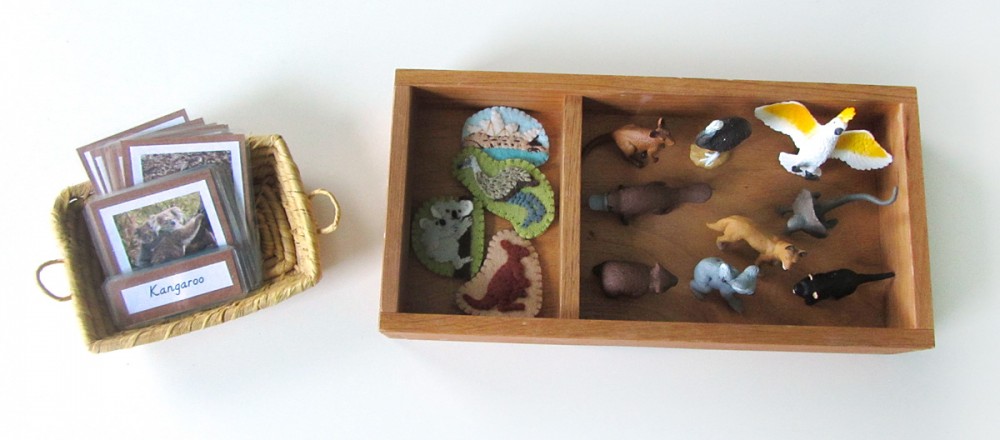
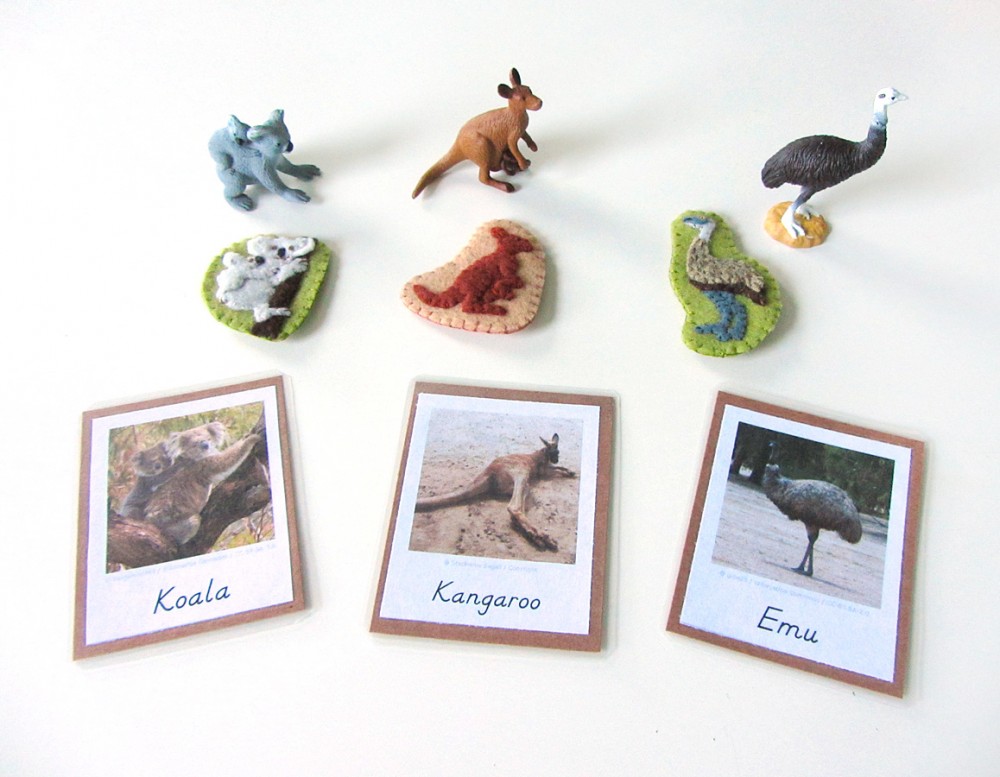
Montessori Australian Animals 3-Part Cards
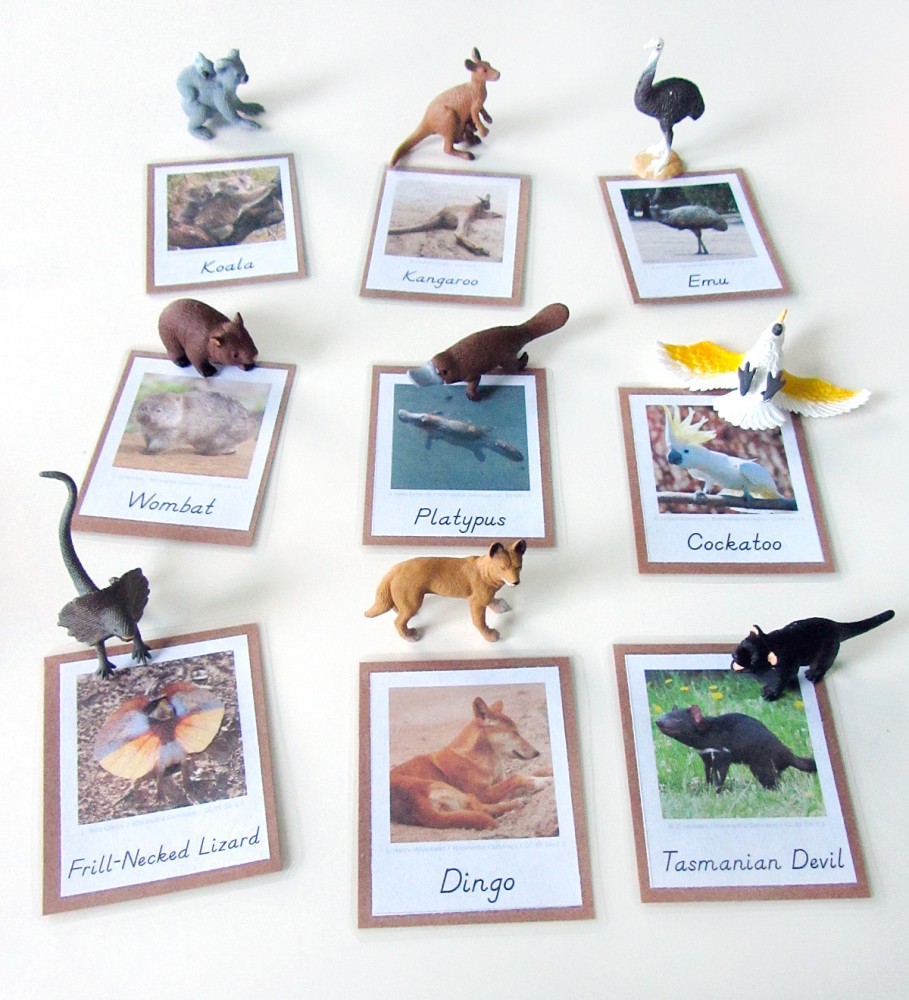
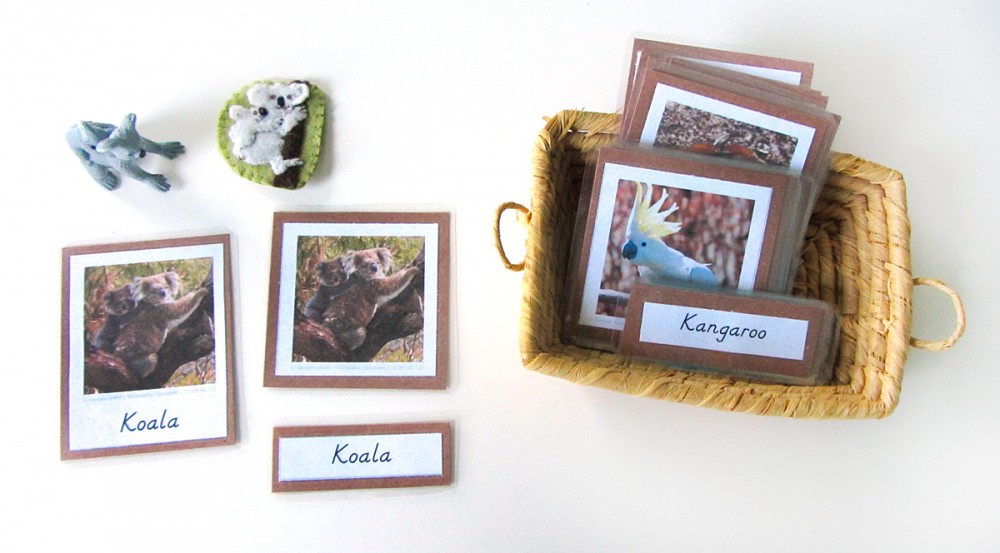
The series of 3-Part cards I am making for this project is something that Jax will be using for many years in homeschool. I have been focusing on the animals in these posts, but the next post will feature all the landmarks we sewed. Eventually, we will expand our collection of cards even more to include cultures, more landmarks, and so much more. Three part cards are extremely flexible learning tools.
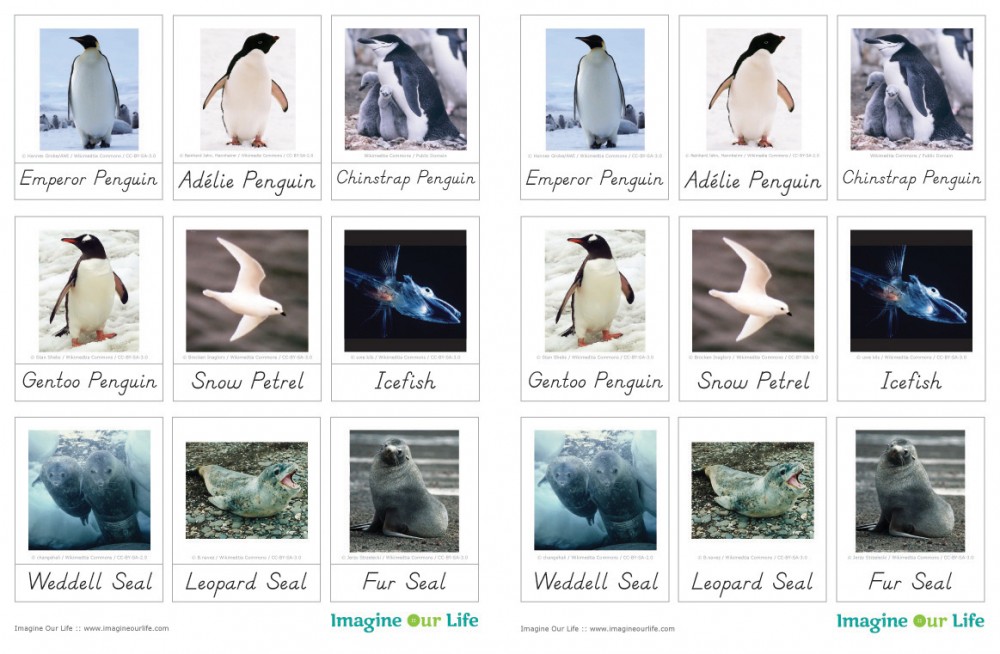
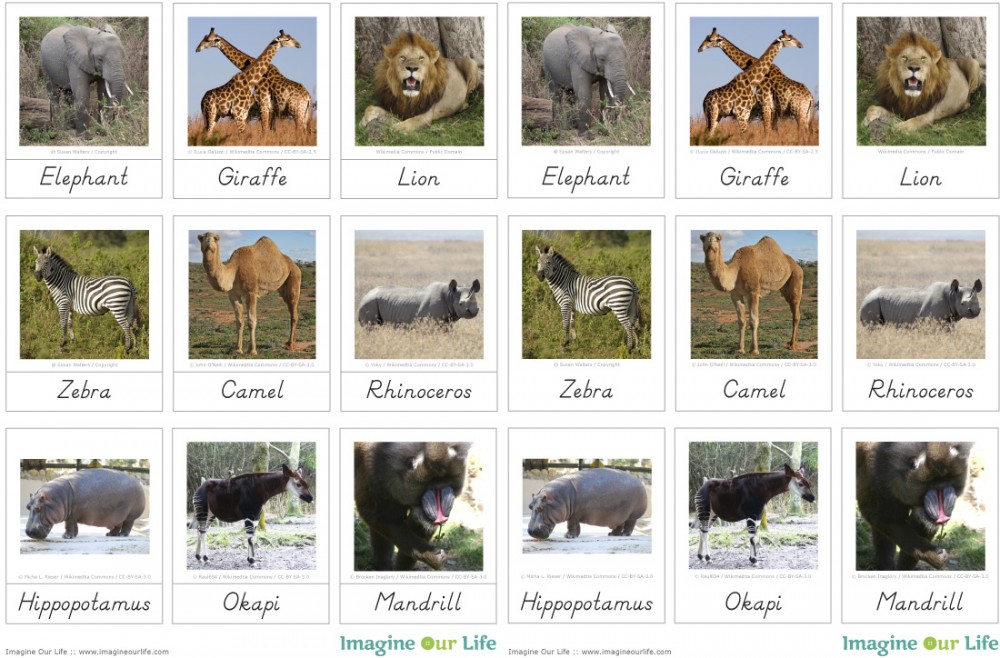
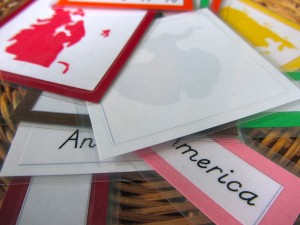
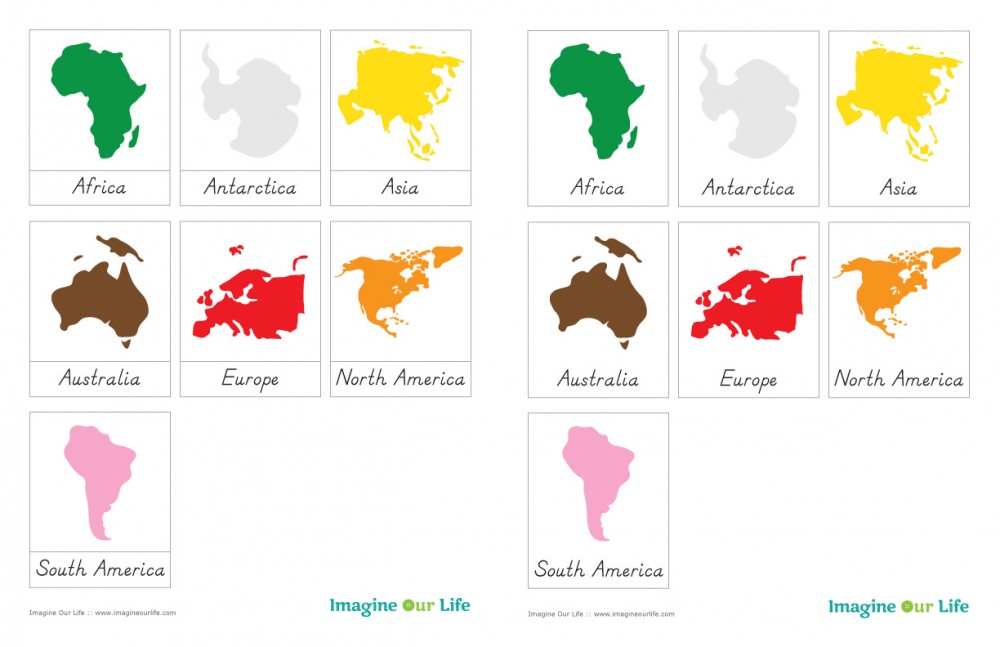
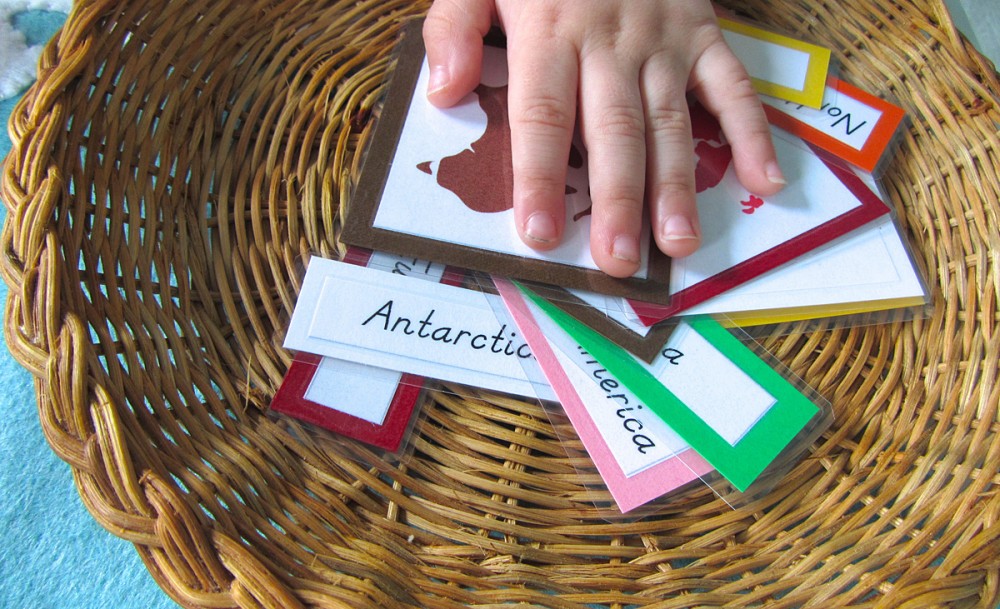
Click here to download my free pdf file to make your own animals of Australia cards. To make mine, I cut them out, glued them to brown construction paper (to match Australia’s Montessori color) then laminated them. I use this laminator and I’ve been very happy with it. It makes everything so shiny and strong! My photos come out slightly faded from the printer (I use normal paper) but turn gorgeous after lamination. (Quick tip: Add a dab of glue stick on the back of your pieces before you place them in the lamination pouch to keep them from sliding around as you feed it through the machine.)
I know many of you are sewing along (or plan to after the holidays!) If you are, stop by my Instagram @iolstephanie and leave a comment on one of my photos (I can’t see your photo if it you are private, but I can request to follow you temporarily if you leave a comment on mine about it) or share photos on Facebook. You can also email me. I love seeing what others make from my patterns!
I know many of you are sewing along, or will be soon. If you are, stop by my Instagram @iolstephanie and leave a comment on one of my photos (I can’t see your photo if it you are private, but I can request to follow you temporarily if you leave a comment on mine about it) or share photos on Facebook. You can also email me. I love seeing what others make from my patterns!
Montessori Monday is a fabulous resource of Montessori and homeschool ideas! Please visit for more great projects…

