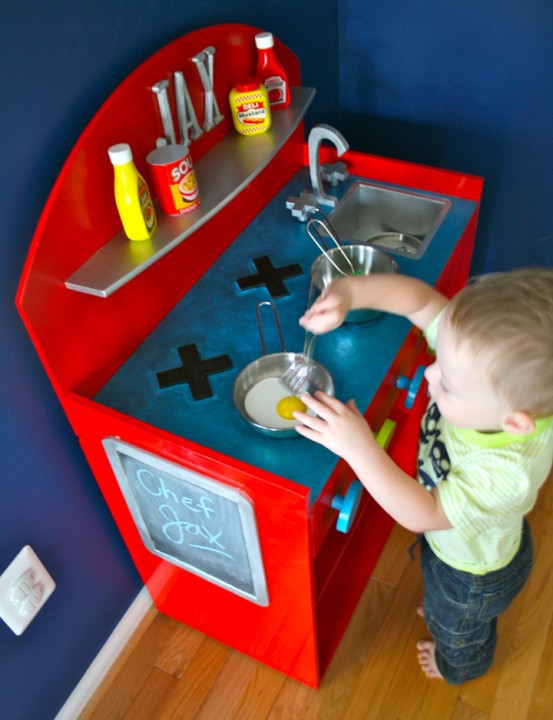
After a weekend of working hard, Jax has his shiny, new custom “retro” play kitchen! I was so lucky to find a wooden kitchen with great “bones” at our local thrift store. It had a lot of water damage, a broken shelf and faucet and a missing door, but the clean, simple lines were perfect. (To see more before pictures, view this post.)
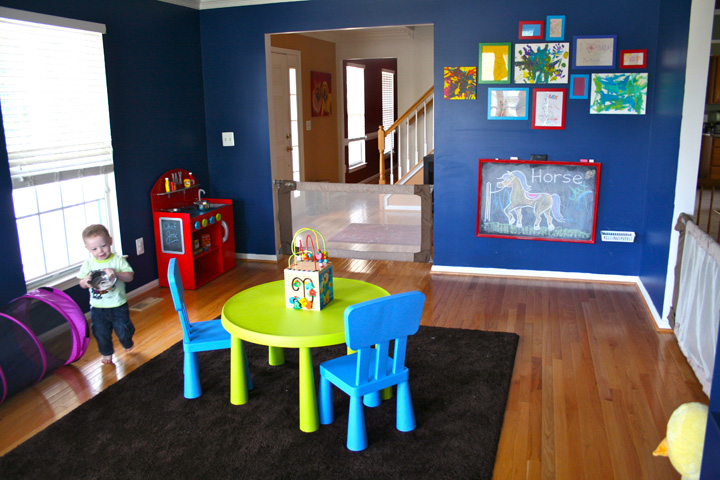
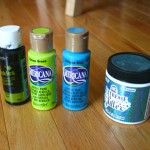
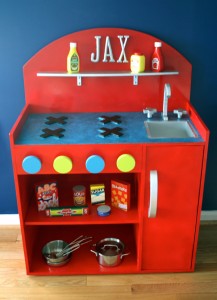 I started the makeover by deciding what I wanted the kitchen to look like. I had already used apple red spray paint when I created Jax’s chalkboard, so I chose that for the main body. His table and chairs are aqua and lime (as well and the shelves I recently put in), so those became the accent colors. I had some leftover glitter paint from a Christmas ornament project, and I knew that would be perfect for hiding any water damage I couldn’t sand out. Here is my color plan.
I started by scrubbing out the dirt and mulch in the cabinets then cleaning, sanding and priming the whole thing. I took the back two pieces off, as well as two knobs, but many screws were stripped on the rest of it. I ended up breaking off the knob discs to paint them separately from the dowels they were attached on. They were glued on crooked anyway, so I was able to fix that too.
I used 2.5 cans of apple red glossy spray paint (and I ended up needing to get a mini can for a little more coverage where the clock had been.) For all the silver parts I used a mini can of silver spray paint, then a coat of silver craft paint and glossy varnish. The knobs got several coats of craft paint and glossy varnish.
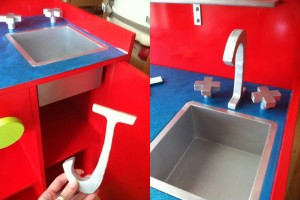
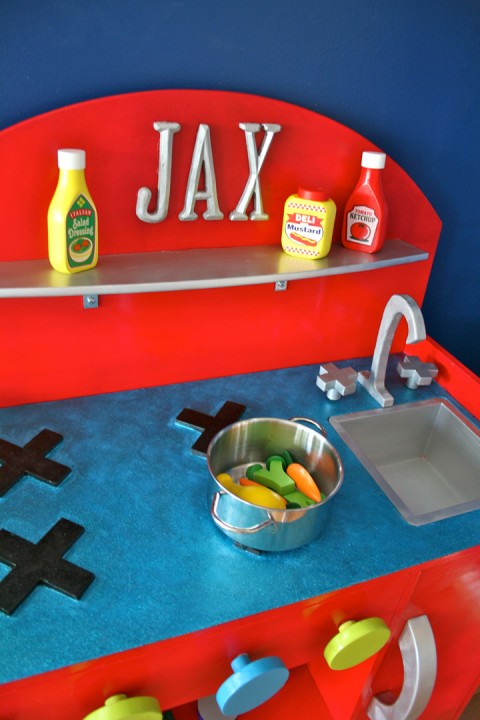
I needed to replace the broken faucet, so I bought a large wooden J and attached it with a wood screw and E-6000 glue. Looks perfect! For the backsplash, I bought smaller letters to spell out his name. Those were attached with the E-6000 glue. My husband glued a small chalkboard I’d painted to the side with Gorilla glue.
The shelf was detached when I bought it, and it wasn’t hard to see why… It just had 3 tiny screw holes. A super nice Home Depot employee helped me pick out the right size screws, as well as which L brackets would work best to fortify the shelf. I chose to leave the brackets unpainted to match the rest of the silver.
The counter top got two coats of aqua craft paint, then 10,000 (or so) coats of my favorite glitter paint (which is more of a glue with lots of glitter). The burners were painted black, then got a very thick coat of black glittery paint (and a clear coat.)
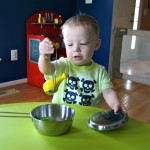
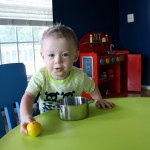
I adore it! It looks perfect in the room, and Jax loves it already. I started him off with Melissa & Doug Wooden Pantry Products and the KidKraft Metal Accessories Set
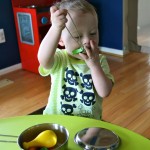
which comes with 3 pots/pans, a lid, 2 utensils and some wooden food. I’m really happy with both purchases. I wish the pantry products had labels on both sides, but they are nice, sturdy wood toys. The pots are holding up great so far, and Jax is enjoying the bonus food items: a chicken leg, fried egg, two carrots and two broccoli florets.
This was such a fun project! I’m already looking ahead to the next playroom DIY… a reading nook!

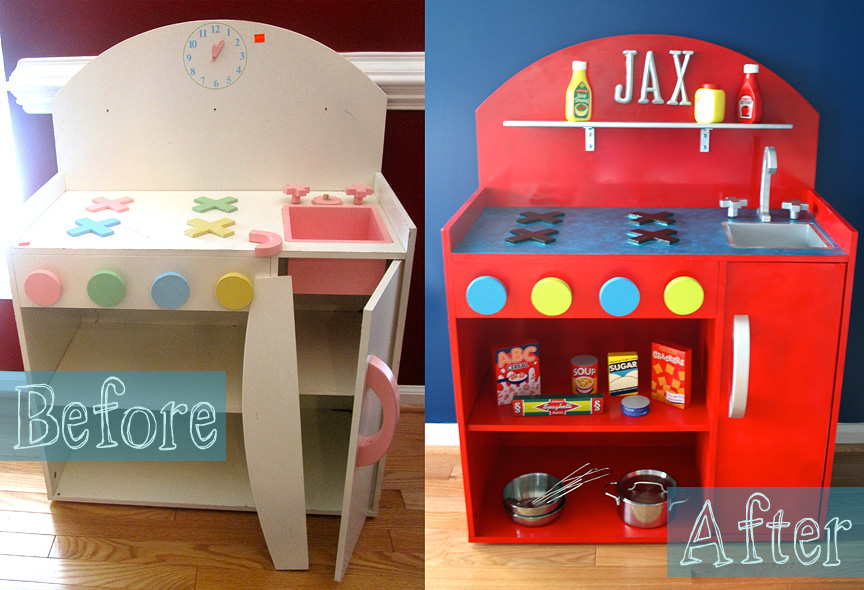
Whaaat a change. Looks great!
Super cool!!!!! (found via Flickr)
Pingback: Busy Days | Stvlive :: Stephanie's Thoughts
Pingback: Busy Days