I will be featuring some hand sewing basics here for those of you who are new to it. If you have a special request, please let me know!
Embroidery Floss
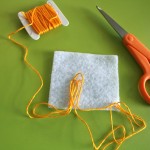
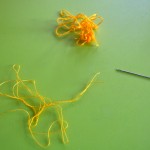
When I sew with felt, I almost always use 2 strands of embroidery floss. Embroidery floss comes in 6-ply – 6 strands put together. I generally use DMC or Anchor, but sometimes buy bulk packs of cheaper stuff. The brand name floss tangles a lot less. It comes in a skein – an elongated coil that is banded at the top and bottom with paper rings. You can just pull on one of the tails to get the length of thread you need, but the skein will most likely get messy. I recommend buying paper bobbins and winding your new skeins around them. Write the color number on the side and pop them in a craft box for storage.
Threading the Needle & Getting Started
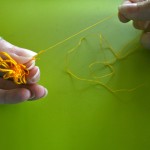
Let’s get started! Cut off twice the length of thread you want to work with. I usually cut about 4 feet that will end up 2 feet once folded. Separate out one of the six strands of floss and hold one tight to it. Use your other hand to slide the other 5 strands in a bunch down the length. Make sure the bunch doesn’t start to get too tight and tangle. A little wiggle here and there will keep it from tightening. When you have your single strand, fold it in half so the ends meet. (You can set aside the rest of the thread to use a little later, or wind it around the bobbin for storage if you won’t need that color again for a while.)
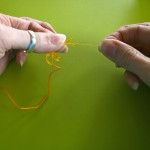
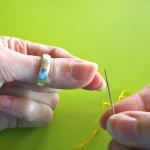
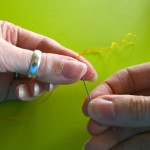
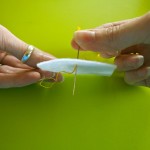
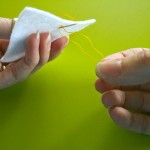
Now, thread your needle, with the two ends going through the needle eye together. I like to get the ends of the thread damp then pinch them between my thumb and forefinger, with just a couple mm sticking out. Then I slide the hole of the needle down onto the thread, wiggling back and forth slightly. Trim the ends of the thread first with sharp scissors if they are at all frayed. (I use these.) Pull the ends through the needle for a few inches. You should have a loop at the end of your thread.
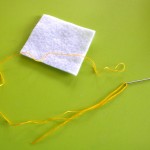
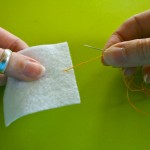
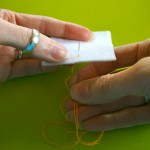
Ready to stitch? I’ll be doing a back stitch, so my first stitch will be a simple straight one. Come up through the back of your felt, but don’t pull the thread all the way through. Come back down to make your stitch, then pass your needle through the loop at the end of the thread. Gently pull it tight to secure your thread. Quick, easy and no knot!
Back Stitch
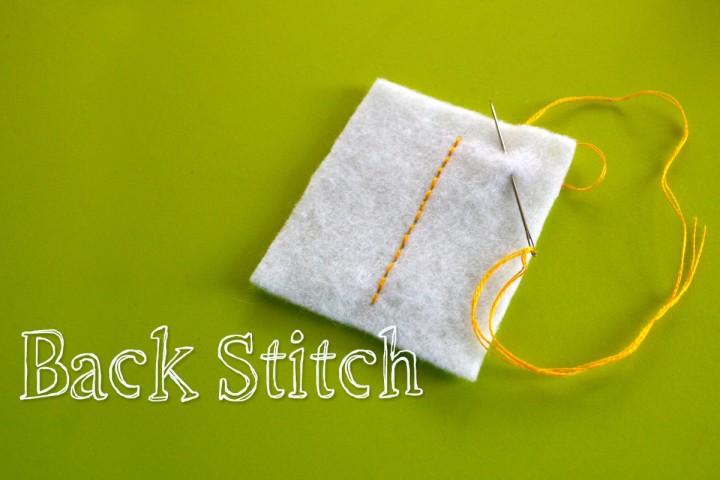
A back stitch will give you a nice straight line of dashed stitches with no space in between them. Start with your first stitch already done. Come up through your felt from back to front at the spot you want your stitch to end. (So if each stitch is 3 mm long, come up 3 mm from the last stitch.) Go back down through your felt in the same spot your first stitch ended. Your two stitches will be sharing the same hole in your felt where they meet.
Continue on the same way – come up where you want each stitch to end, then go back down through the previous stitch’s hole.
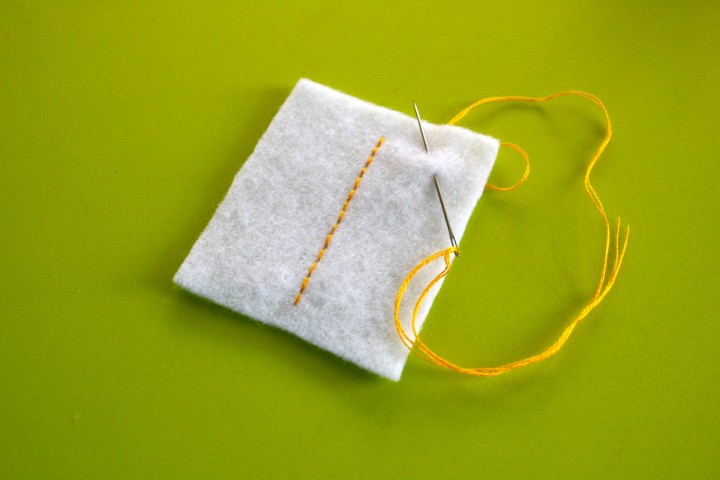
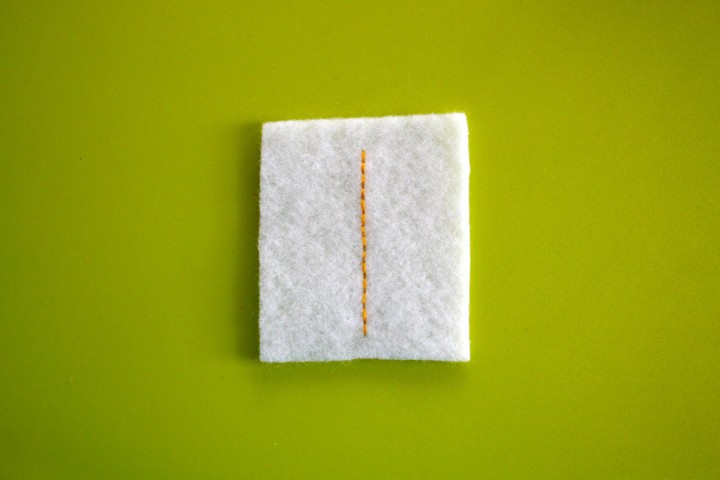
Here is what the front looks like:
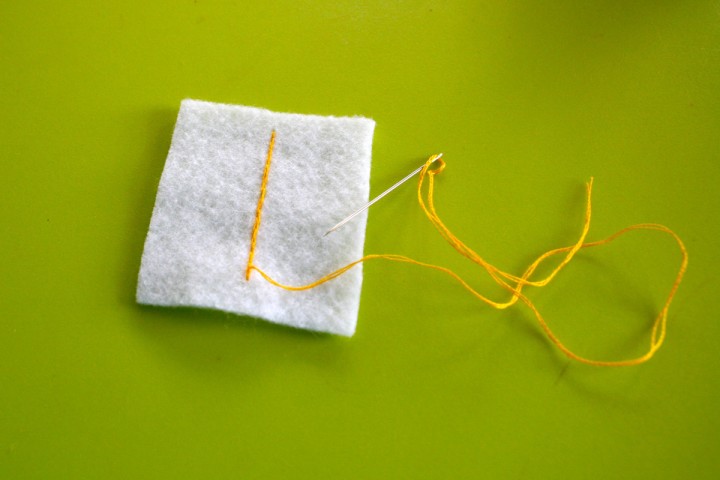
And here is the back:
Tying off the Thread
There are many ways to tie off your thread – use whatever works best for the situation. This is what I tend to do most often to keep the back of my work neat.
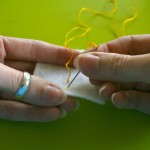
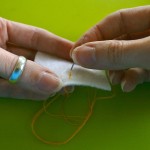
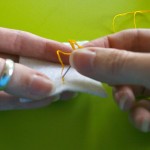
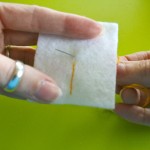
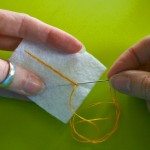
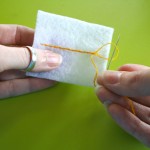
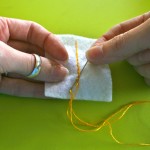
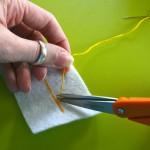
On the back of your work, run the needle through one of the stitches, but don’t pull it all the way though. Pass the needle through the loop your thread makes then pull tight into a knot. Go back through the stitch the opposite way and repeat making the knot. I don’t like cut my thread close to the knots, so I run my needle through several stitches before snipping it.

Thank you so much for this tutorial! Your books have inspired me to take up sewing and start a quiet book for my daughter’s first birthday! I’ve got six months till then- so hopefully I can get a few pages done 🙂 I have a question though, when would you use a back stitch?- it looks to me like the stitch you would use to outline a piece. Does it have any other purposes?
I mostly use it for stitching text and decorations. It is used on my upcoming pattern.
Great tutorial! Thanks for sharing!
Very helpful, Thank you!
Pingback: D.I.Y | Felt business card holder | The Sunday Sparkle
Pingback: Solar System Quiet Book Page | Lotsofbuttons.com
Pingback: O’s Felt Book |
Hi, how can I add additional floss to my strand of embroidery floss when hand sewing with felt? I tried following a tutorial video online for adding additional thread but it made my knot too big to sew through the felt.
I’m not sure I understand your question… If you mean how to you continue sewing when your thread gets too short, then I tie it off and start a new one.
I have a question – I’m sewing the rag dolls you did a project with. How would I do a backstitch when I’ve already got the doll stuffed and I’m adding the features (Mouth, eyebrows)? I can’t come from below if that’s inside the doll.
Pingback: What is a Quiet Book? - So Sew Easy
Pingback: Making a Felt Busy Book / Quiet Book for Our Toddler – Sannipanni
Pingback: What is a Quiet Book? - Felt With Love Designs
Pingback: What is a Quiet Book? - Felt With Love Designs