I often get asked how I sew the various loose elements that go with my quiet book pages. For the most part, I use a blanket stitch. Here is a little tutorial with a few tips and tricks I like to use.
Cutting Out the Shape
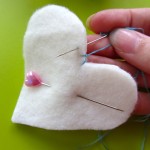
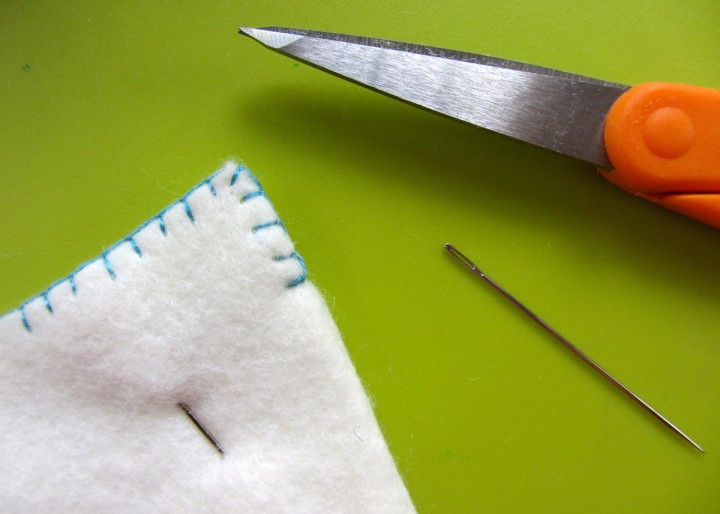
When an element has a front and back, I like to cut both sides out at once so they match up well. Since most felts have a softer “front” side, I fold my felt sheet and pin the pattern piece to it so I end up with the soft felt out for both sides of the element. I cut the shape out loosely at first, because it can be awkward to hold the whole sheet while cutting. Then I go in and cut it accurately. I remove the pattern paper and trim any uneven edges and felt fuzzies with sharp scissors.
Starting to Sew
I use two strands of embroidery floss when I sew. See my detailed tutorial on how to thread your needle with 2 strands here. Basically, you cut your thread twice as long as you’d like to work with, separate out one strand of the 6, fold it in half, and thread it through your needle, loose ends first. This will give you a loop at the end of your thread.
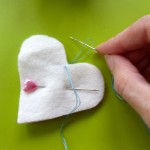
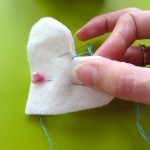
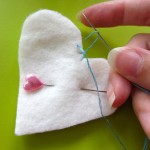
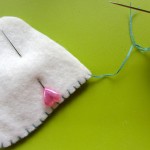
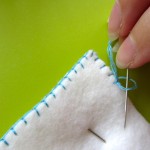
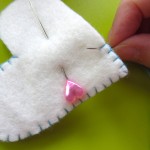
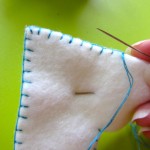
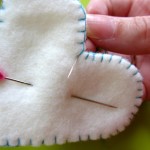
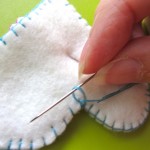
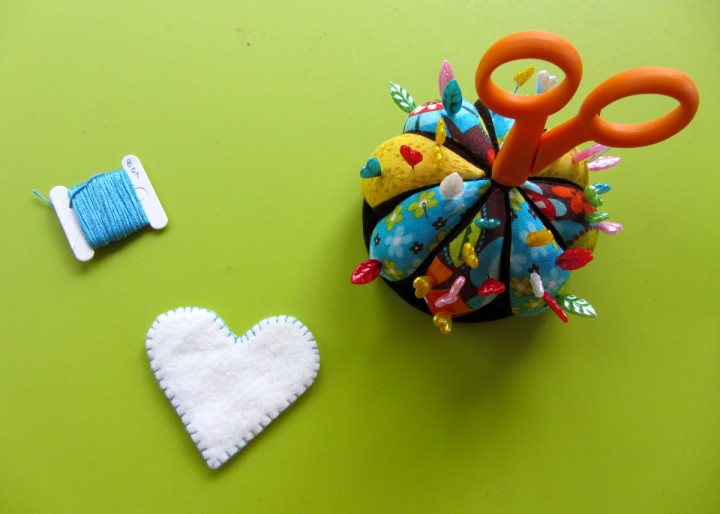
Decide where you want to start stitching. I like to choose a less visible place. Here I chose the inner corner of the heart. Bring your needle up from behind, but don’t pull the thread all the way through. run your needle through the loop at the end of the thread and pull tight. Start the next stitch by coming up from behind. Again, don’t pull the stitch tight yet.
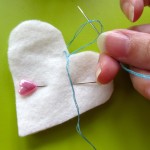
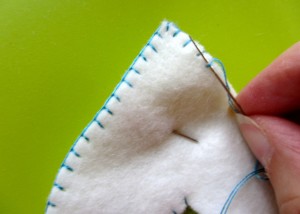
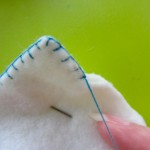
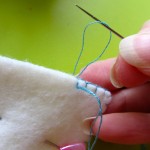
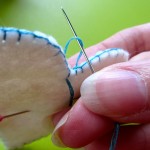
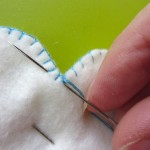
Run your needle from front to back through the loop, then pull the stitch tight. Repeat: come up from the back, don’t pull tight, go back through the loop and pull tight. When you get to a corner, it’s best to do a stitch straight into it. That way your corner stays defined. Continue on until your thread starts to get short.
Ending a Thread
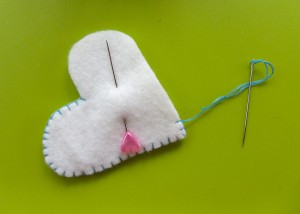
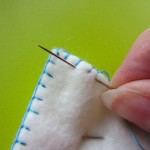
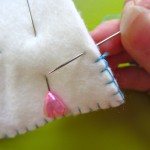
But what happens when your thread gets too short and you have more to sew? Here’s what I do. Start by flipping your piece over and run your needle through the last stitch you made. Don’t pull it tight yet.
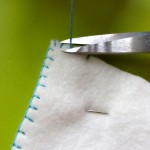
Pass the needle through the loop of thread and pull it tight. There will be a tiny knot at the edge of your piece. (Repeat this if you really want a strong hold. Or use a drop of Fray Check.) Insert your needle into the hole of the stitch and pass it between the layers of felt, coming up through the hole of another stitch. Cut the thread off flush with the felt. This will hide your thread tail inside the piece.
Starting a New Thread
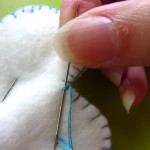
Now we need to start a new thread. Thread your needle the same as before so you have a loop at the end. Start to sew the same way you did in the beginning, but start over-top of your last stitch. This way, you won’t have a gap in the thread running along the edge of your piece. Bring your needle up from behind, but don’t pull tight. Go back through the loop of thread and pull tight. Move over and come up through the felt from behind to start the next stitch. Continue on in blanket stitch.
Finishing Up
Finishing up is pretty much what we’ve been doing before. In order to not have a gap in the thread along the edge of your piece, Make a stitch over-top of your first stitch. Then, on the back of the piece, run your needle through the stitch and back through the loop of thread to make a knot. Pass the needle down through the stitch’s hole, between the layers of felt, and back up through another stitch’s hole. Clip close to the felt to hide the thread tail.









Hi there! First I would like to say how much I love everything you do – your quiet books are amazing and it is clear how much you love your son with how much love and hard work you put into your creations. I also think it is very generous of you to share your creations and patterns with the world so others can share your talent and benefit from it. You are an inspiration and have been the inspiration for a lot of the pages I plan to make for my own quiet book(s) 🙂 So onto my question! I just wondered if you could either tell me or do a tutorial on how you blanket stitch an appliqué onto a background? I noticed that is how the circus train page is done and I really like the effect but have no idea how to do it! I would really appreciate any help on this. Thank you so much for sharing your creations with us!
Hi Ashlea! When sewing things to a page, I just use little stitches that are perpendicular to the seam. I’ll make u a tutorial on it soon!
Finally! I found some instructions on how to sew the felt ornaments! I personally wanted to say thank you to you, for posting this information. Your ornaments are adorable! I look forward to seeing more of your creations!
Pingback: What is a Quiet Book? - So Sew Easy
Pingback: What is a Quiet Book? - Felt With Love Designs
Pingback: Quiet Books: The Ultimate Guide - Felt With Love Designs
I really found a great home when I found your sight recently. I have been making quiet books for many years but enjoy the variety of patterns you have. I make my books out of cotton so they are completely washable. I zigzag stitch around everything then make all the removable parts out of felt. I use the felt company you recommended and it goes very well. Thank you for your marvelous talent and ideas. Now I am a faithful follower.