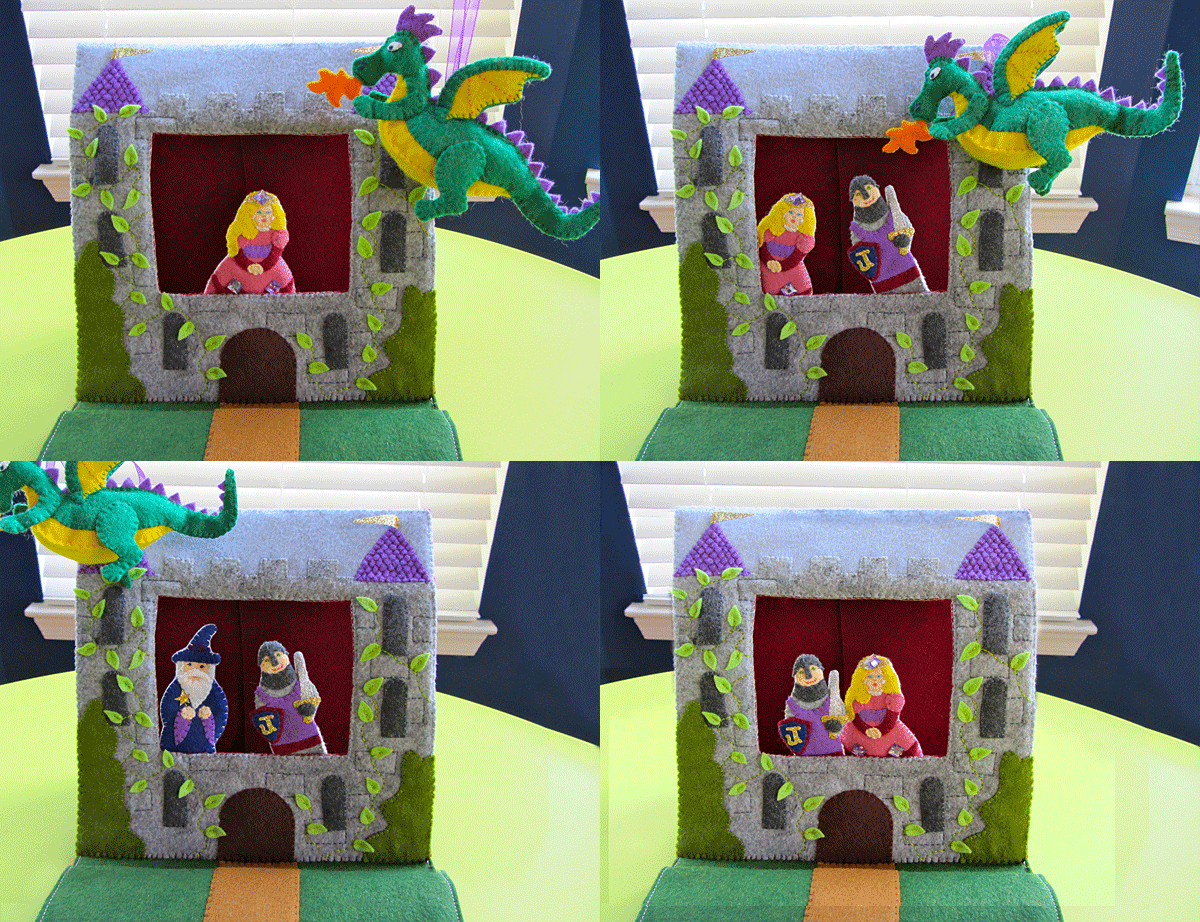
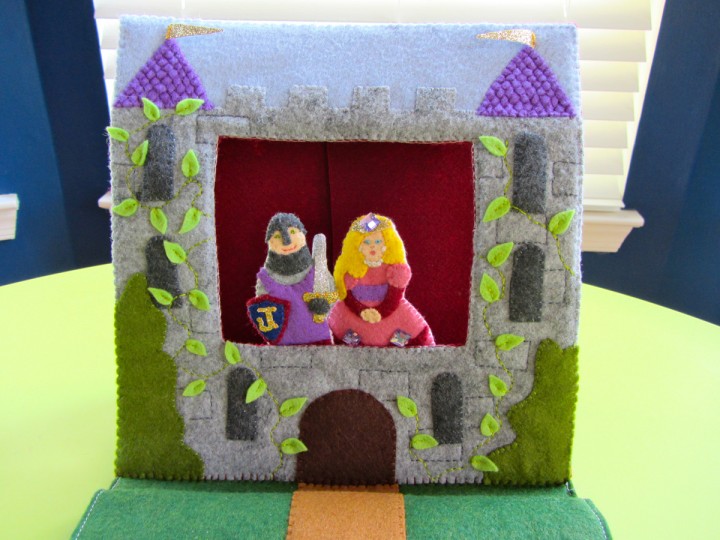
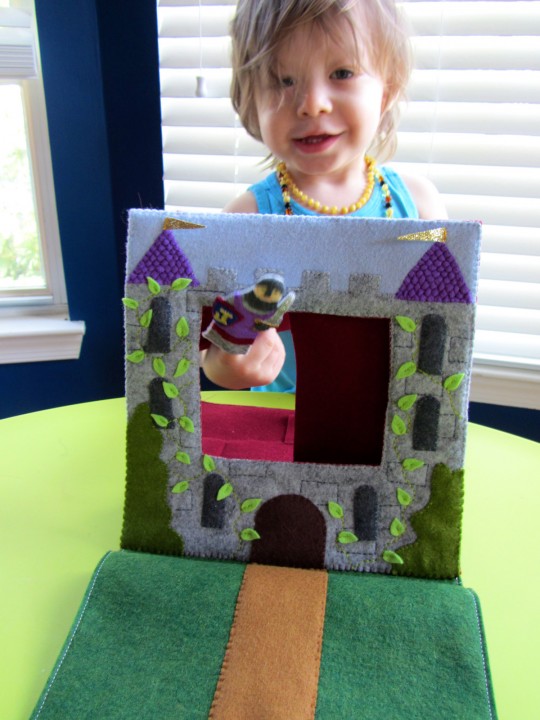
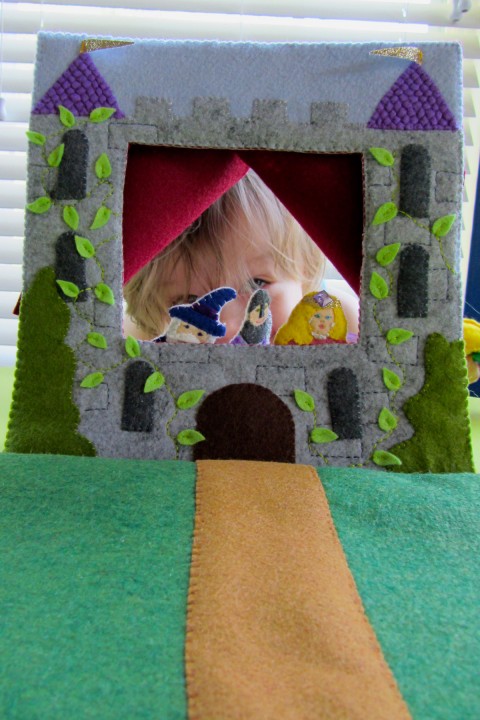
It’s a quiet book page! It’s a puppet theater! It’s both!
This page was inspired by the rich colors of wool blend felt carried by American Felt and Craft, who provided the felt for this project. (Visit AFC’s Facebook page for sales and giveaways.) There are so many beautiful shades of green, gorgeous grays that look like stone and bright jewel tones. And the fact that the wool felt is stronger and thicker than craft felt helped to make this page work well.
This page doesn’t use anything special other than some plastic canvas, I used glitter ribbon for some of the tiny pieces, like the crown and the sword, but you could swap that for felt. I also used many shades of green because I had leftovers from other pages. The ground (“fresh cut grass”) and the dragon (“jade”) are the most important greens. the leaves (“limeade”) and shrubs (“cilantro”) could be swapped for one of those.
What I Used: The pattern, wool blend felt from American Felt & Craft (in fresh cut grass, beet x 3, powder blue, white, gray flannel, salt & pepper, cilantro, limeade, royal purple, doe, orchid, rubber duckie, peaches & cream, indigo, jade, orange juice), plastic canvas (I got mine at the craft store), glitter ribbon in gold and silver (I got mine at the craft store) and sew-on gems
.
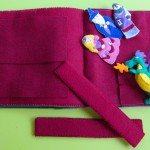
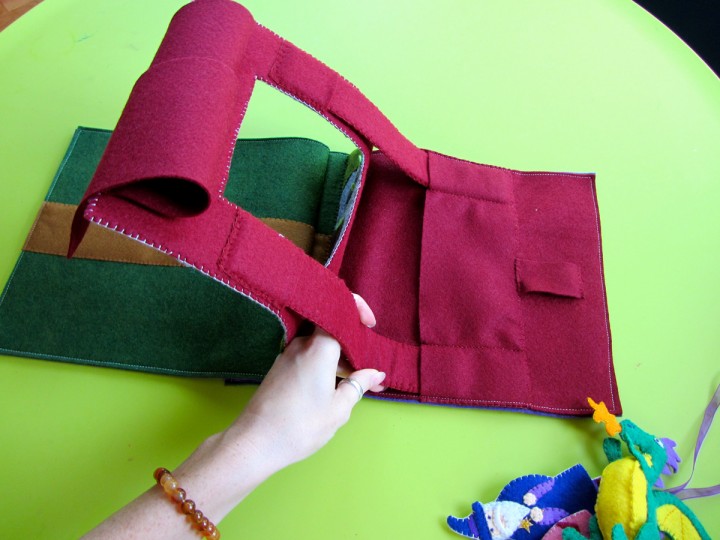
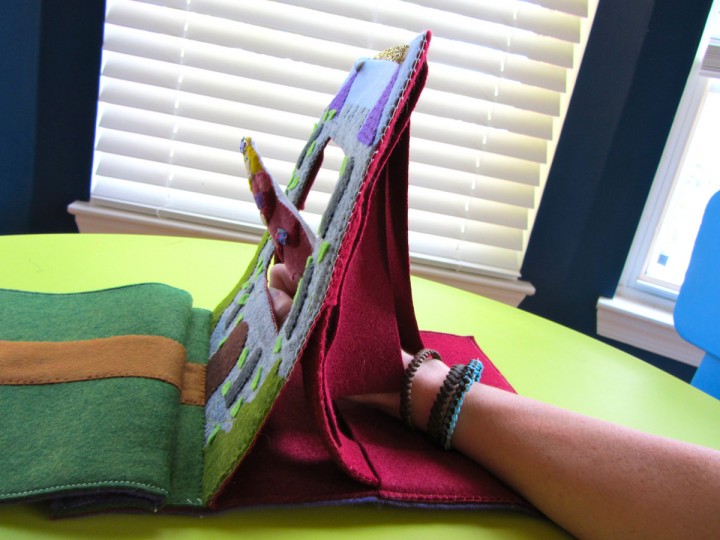
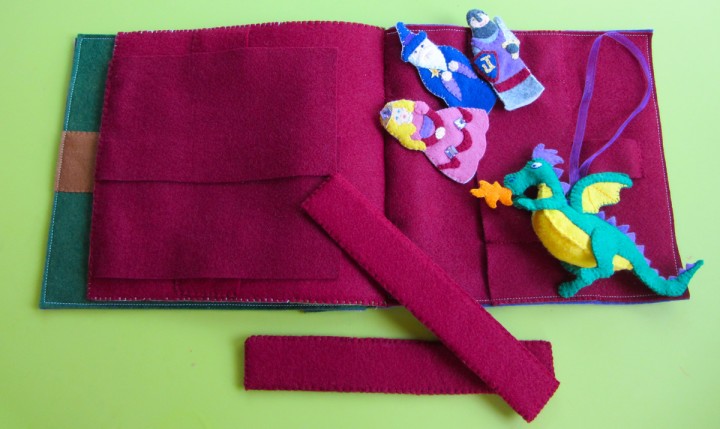
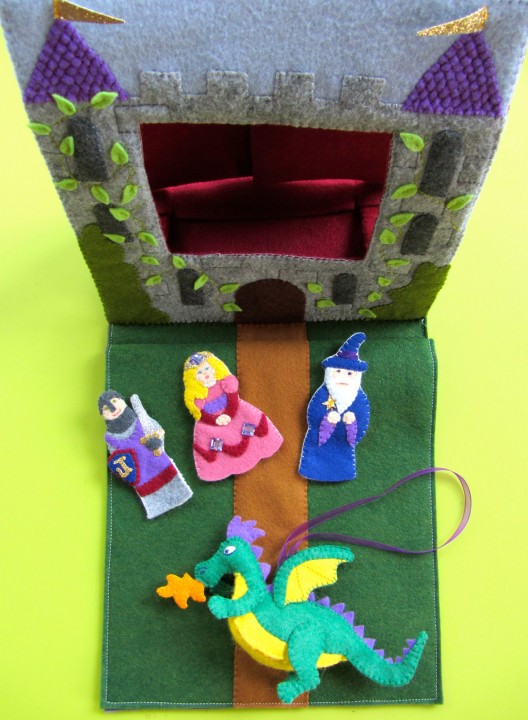
This page fits into my normal quiet books, yet unfolds into a working finger puppet theater. There is a pocket to store the three puppets, a wizard, a princess and a knight, plus a stuffed dragon that flies on a loop of ribbon. There are two supports that can be stored in a loop of felt when the page is closed. The supports slip into little pockets to prop the stage open.
Supports: Sew two layers of plastic canvas inside the felt strips to make two supports. I cut my plastic canvas slightly smaller than the felt.
Castle Facade: Start with a 9″ square of gray felt and cut away the roof line using the sky pattern. Layer a strip of light blue behind the castle piece to make a 9″ square again and sew them together. Cut out the puppet theater hole. Sew on the windows and door, then sew on the shrubs. I cut out a bunch of little leave and stitched a wandering back stitch vine up each side of the castle. I used two back stitches to attach each leaf. Sew on the two purple tower roofs. Cut bits of ribbon or felt into triangle flags and sew them to the roof peaks. (My ribbon was non-fraying, so I was able to easily cut it into shapes.)
I embellished my roofs with embroidery to look like tiles. To do that, start with a long horizontal stitch, but don’t pull it tight. Come back up through the felt down at the point where you want your tile to end, making sure to put the needle through the stitch. Go back down through the felt making a tiny vertical stitch that holds your first long stitch down into a scallop shape. Repeat, staggering the scallops as shown.
Backstage: Cut out the burgundy felt into the 9″ square with a matching hole cut out. Sew it to the back of the castle facade with plastic canvas in the middle. Take the two curtain pieces and overlap them slightly in the middle. Sew them to the top back of the theater piece.
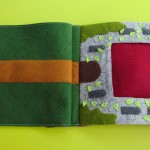
The castle theater gets sewn to the right hand side of the two-page spread. Line the top of the castle up with the far right side of a full 9″ x 12″ sheet of burgundy felt and sew it down along the bottom. On the left side, decorate the few inches that are in front of the castle with grass and a road. I matched my road with the width of the door.
Cut out the storage pocket felt piece and sew it to the page under the castle as shown on the pattern and the photos. the skinny side pockets are where you insert the bottom of the supports. Sew the smaller pockets to the back of the castle after pinning them to see what angle works best. Sew the pockets upside-down so the top of the supports can slip up into them.
Front Lawn: That side of the two-page spread is super easy. I just sewed more road down to the grass color. You could embellish yours with flowers, a fountain or a hedge maze… Whatever you can imagine!
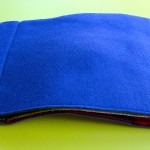
To construct my page, I sewed purple felt (I just used craft felt) to the back of each side of the spread. You have to start and stop your seam to get around where the castle is attached on that side of the page. I then lined the pages up facing each other (as they will be when the page is closed, and sewed my usual seams.
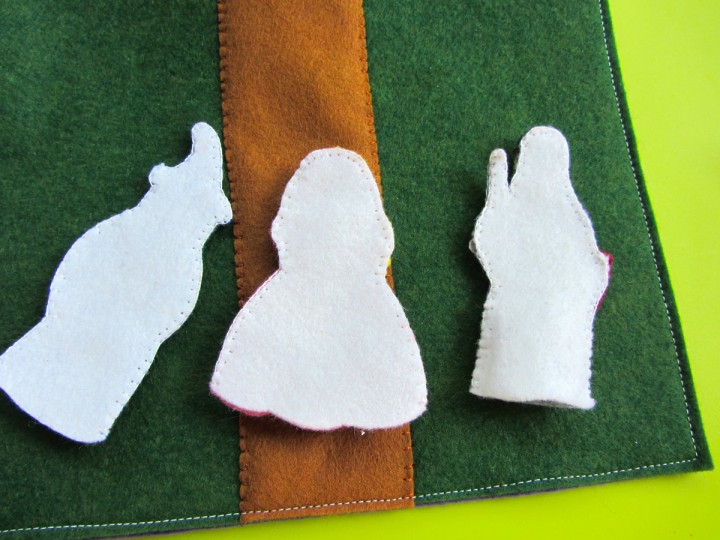
Puppets: All three of my finger puppets have plain white felt backs. If you wanted to have yours be two-sided, you’d need to work out how they would look from behind.
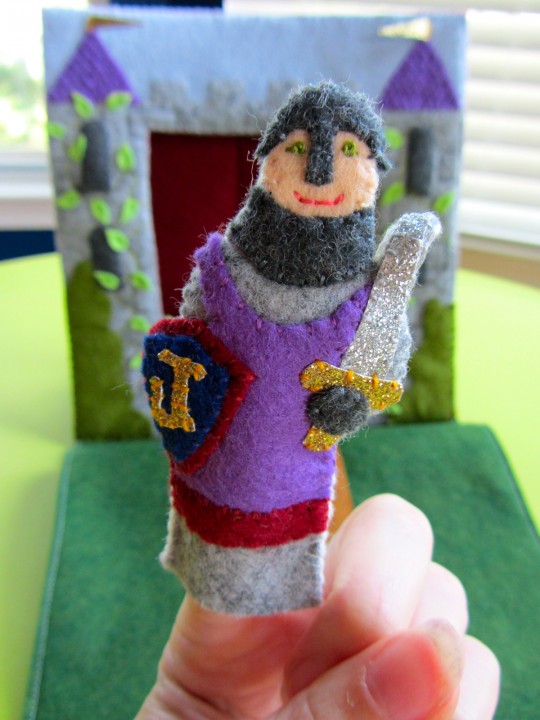
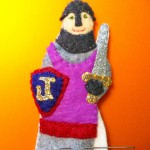 Knight: For Sir Knight, I started with his basic shape cut out of gray. I laid his face in place and sewed the helmet and neck pieces over top. I sewed his eyes with French knots and a tiny horizontal stitch going from the center of each knot out to the corner of his eyes. This makes sure the knot doesn’t wiggle loose. His mouth is just back stitch. I sewed down his tunic and the trim next. For his shield, I cut some glitter ribbon into a J for Jax. You could do a cross or another letter or symbol. I sewed the J to the inner shield piece, then sewed that and the outer shield piece down. I cut the sword blade and hilt out of more glitter ribbon and sewed them down, adding the glove over top.
To make his backing, I cut out white felt to the same shape as his body, but added an extra 1/4″ to each side from the bottom down. The knight is fairly skinny, so adding width to the backing gives room for bigger adult finger to play too. The photo to the right shows one side sewn and the other side read to be sewn. Once you’ve sewn the back on (leaving the bottom open for your finger), trim the bottom edge so it is flush with the front.
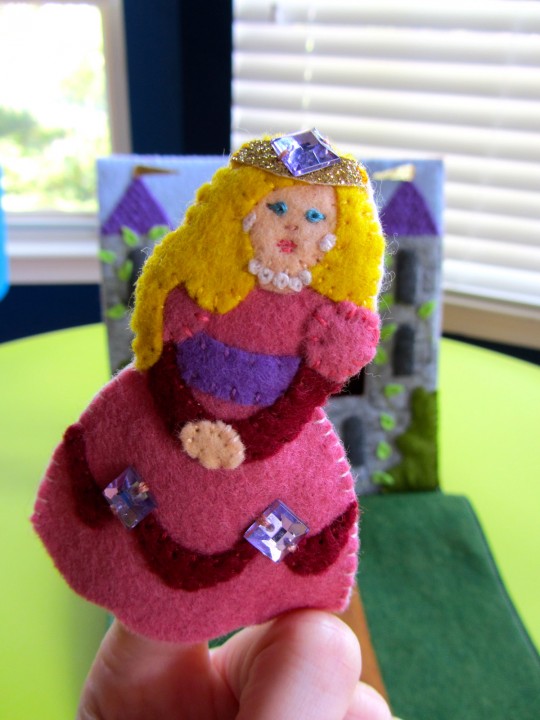
 Princess: The princess was fun for me! I don’t get to do many girlie sewing projects. You can personalize her by changing up her colors.
I started with her shape cut out in pink. I sewed down her belt, arms, hands and puffy sleeves. I sewed on her sash and added some sew-on gems. I laid her face piece in place and sewed her hair down over top. I added some stitches to her face to make her chin, then made a French knot pearl necklace and earrings. I made tiny stitches in the knots as before to secure them. Her eyes are the same as the knight’s, and her nose is a little stitch. Her mouth has two stitches for the lower lip (the bottom stitch a little smaller), then a longer stitch with a little “v” stitched over top to make the bow of her lips. See the drawing to get the idea.
The finishing touch was her crown, made out of glitter ribbon with a sew-on gem.
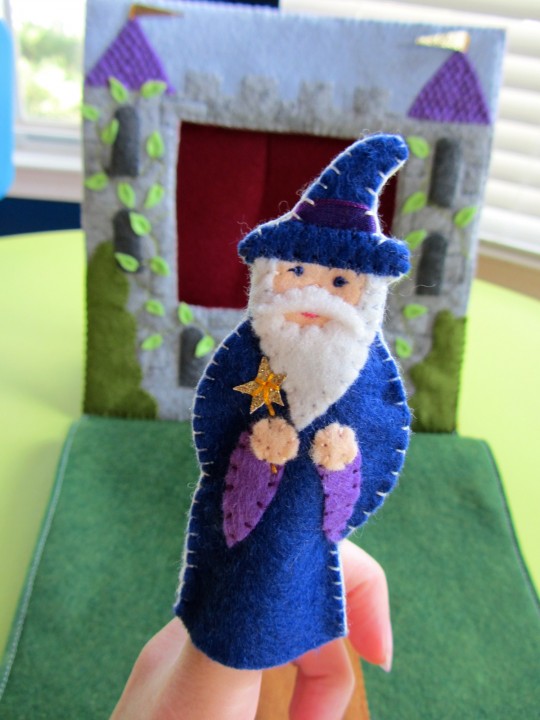
Wizard: The wizard is pretty simple, but very cute! Start with his shape cut out of indigo felt. Lay his face in place and sew the beard down on top of it. Lay a scrap of ribbon (mine was purple) on his hat, and sew the hat brim in place. Cut a scrap of felt in a mustache shape and sew it down along the top side. His eyes were made the same as the others’ and his mouth is made like the princess’s lower lip (the two dashes.) Sew down his sleeves and hands, then sewn on a star and stitch the wand with back stitch.
For both the princess and the wizard, I cut their finished shape out of white felt and sewed the back on (with the bottom open) to make them into finger puppets.
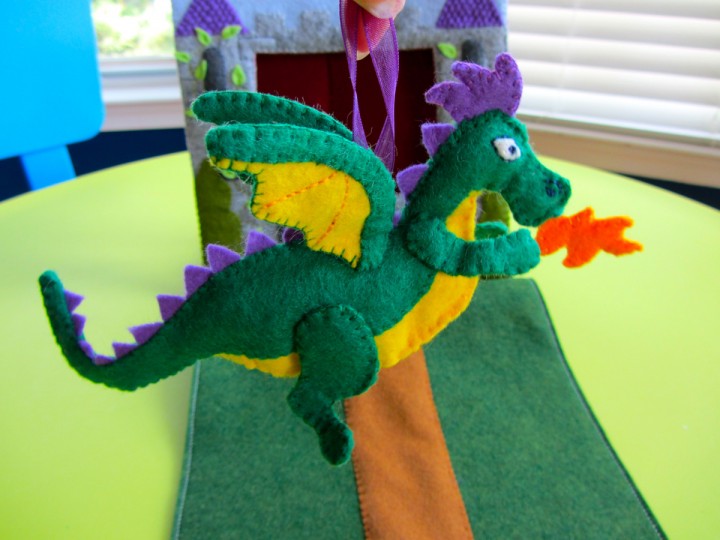
Stuffed Dragon: The dragon is the hardest part, as I made him into a full stuffed animal. I wanted him to be able to fly in to the castle from any angle.
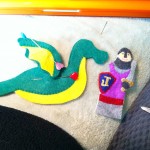
The dragon has two sides that are the same, but mirrored, so do everything twice for him. I started with the wings. I stitched two curved back stitch lines to show the veins/folds int he yellow part. Then I sewed each wing together with the yellow layered between the green backing and the green outer edge. Remember you need a wing for each side, so they have to point opposite directions. Sew the green body pieces to the yellow body pieces and then sew a wing onto each (picture 1 below.)
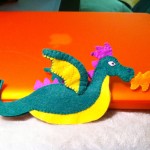
For his face, I stitched on the white eye, then made a French knot with a reinforcing stitch for the iris. I back stitched an outline around it. I satin stitched a sideways tear shape for his nostrils and back stitched an arc over each one. I sewed the two sides of his purple crest together and the two sides of the flames together. I cut out a bunch of back scales (including a few smaller ones for the end of his tail.) Have a loop of ribbon ready for his back. I sewed the two sides of the dragon together from under his chin, around his nose (with the flames in his mouth) over his head (with the crest in place) and then down his back, adding scales and the ribbon loop between his wings (see photo 2 below.) Sew all the way around his tail, but stop when the green ends.
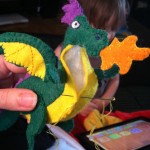
Sew all the legs together, and sew them in place on each side. Add a little stuffing or batting – not too much or he’ll be too fat to store int he page. Take the chest piece and stitch it to the edges on the yellow as shown below. Trim the piece as needed to get it ti fit just right.
Jax didn’t know what a puppet show was until I started sewing this, but he got so excited when he figured it out. His current favorite thing to do is steal the puppets off my hand mid-show. He told me the knight puppet is “Jackson”, the princess is “mama” and the wizard is “dada”. Hah! (No, my husband doesn’t have a long white beard and a wand.)
You don’t have to sew this into a quiet book page. You could add a Velcro closure and felt handles to turn it into a portable puppet theater case!
Enjoy! Stop by the Facebook page to see progress photos from my next two pages. they are fun ones!


Pingback: Felt Finger Puppet Theater « American Felt and Craft- The Blog
your patterns continue to completely amaze me. Seriously. Your creativity is endless!
This is super fun! Thank you for sharing your pattern and tutorial! I will definitely make the castle some time. But for now, I used your idea for making a farm theater for the farm animal finger puppets I made for my daughter. 🙂
Fun! I’d love to see it…
Oh, my what an amazing post. I love it! I definitely have to make this for my daughter. Thank you for sharing the pattern! I would love to have you share at my link party that starts on Friday evenings called Sharing Saturday.
Pingback: DIY Bábszínház gyerekeknek | Gyerekszoba kreatívan
you are endlessly talented! What you can do is only what some of us can dream
This is one of the coolest projects ever. That dragon is stunning. Thank you so much, I want to make one for my daughter and niece.
I made some darling little Disney princess finger puppets from a pattern I found on Etsy. I tweaked your castle a bit to go with them. I had to change the size, and my drawbridge folds down for the “stage”. Instead of making it a quiet book page, I made it with a carrying case around it. My daughter loved your dragon, so I did use your pattern to make him. He’s adorable!!
Pingback: 12 Free Finger Puppet Pattern Links | The Tucson Puppet Lady