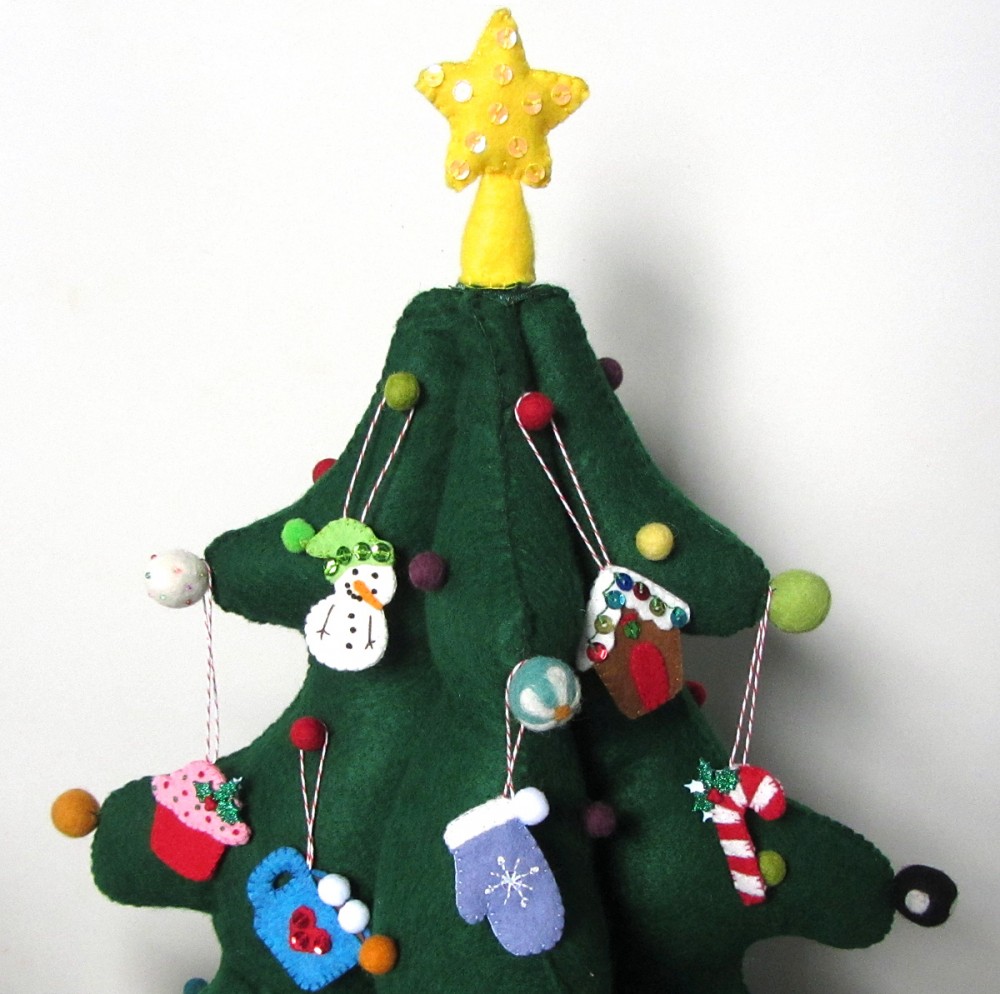
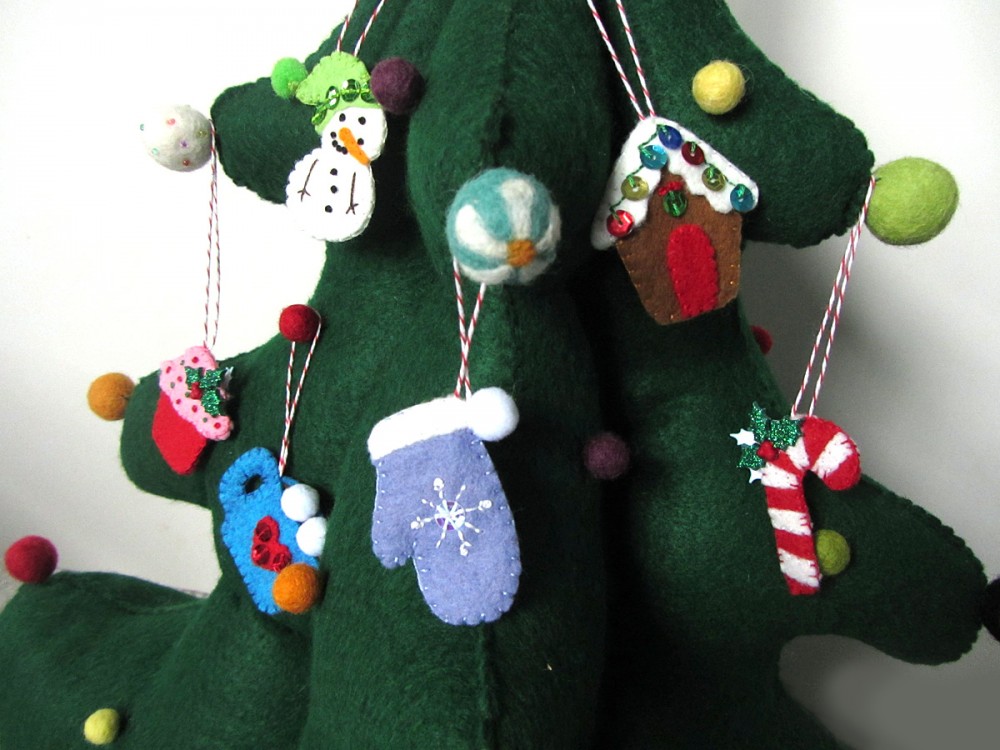
My large sewing project this holiday season was one that was chosen by my readers in our Facebook page: a felt Christmas tree play set! I’ve already share the toddler-friendly tree pattern and tutorial with you, but now it’s time to decorate!
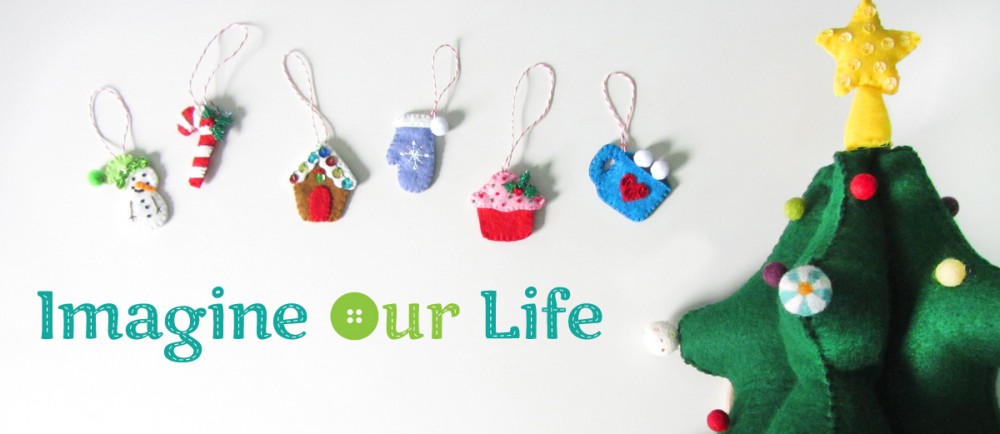
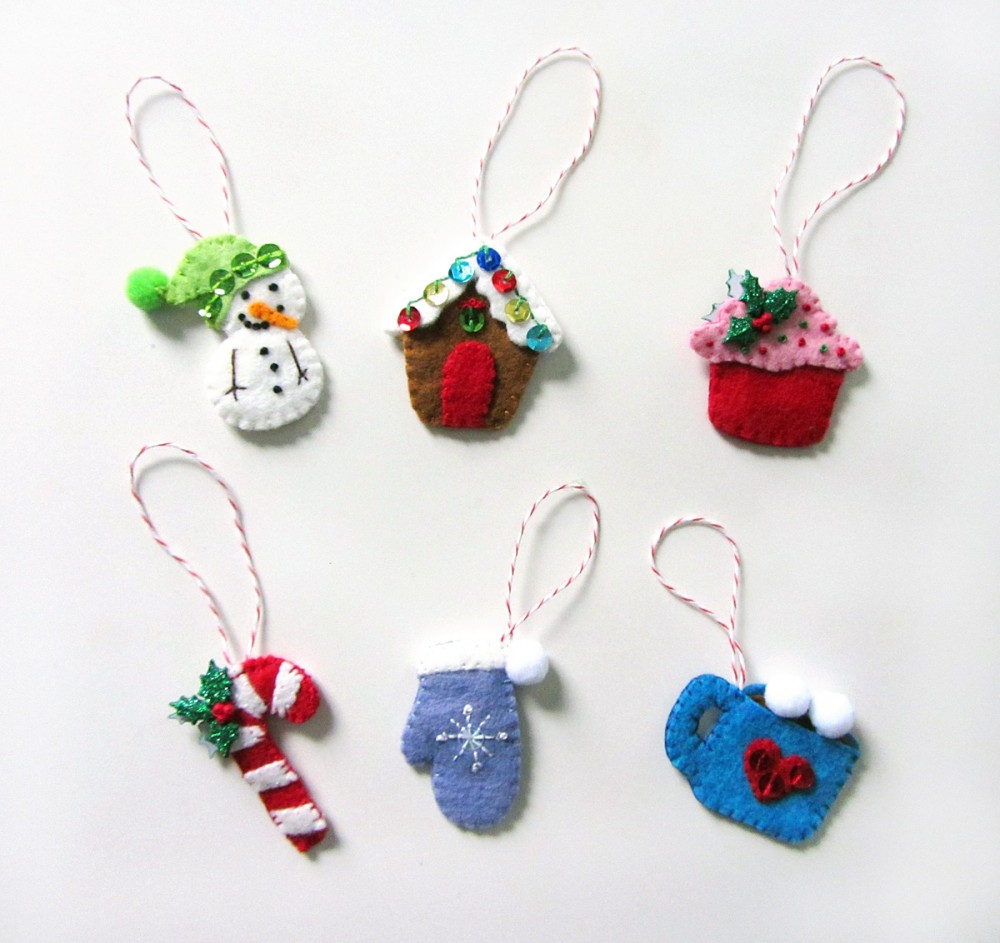
I will be designing 24 ornaments, and giving Jax one to unwrap every day leading up to Christmas. I’ll be sharing the ornaments in batches of 6. I am planning 2 sets this week and two sets next week. The first 6 are ready for you: a snowman, a candy cane, a cottage, a mitten, a cupcake and a mug of hot cocoa.
To see all the posts in this series, click here.
What I Used:
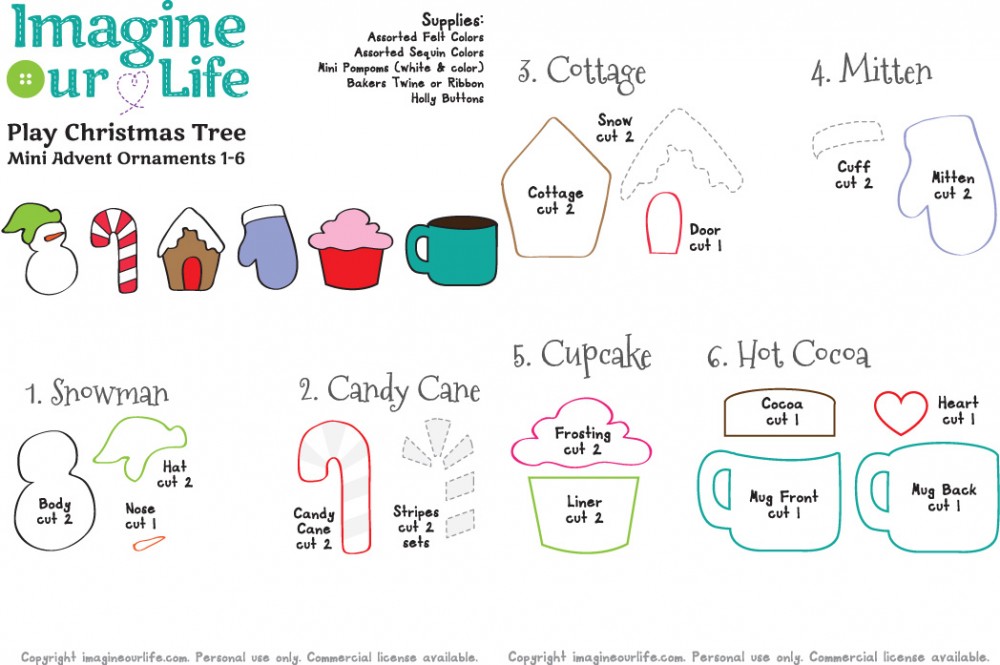
- The Pattern
- Felt scraps from American Felt and Craft (from my scrap bag – choose any colors you like)
- Sequins (I used Confetti and Crystal)
- Felt Glue
(great for holding tiny bits in place when pins are too big!)
- Mini Pompoms (I needed white and a green)
- Baker’s Twine (I’m on year two using this cone
)
- Holly Embellishments (These
, but try to get them at the craft store cheaper)
For all of the ornaments: I cut pieces of baker’s twine, doubled it over and tied a knot in the ends. When stitching the tops of the ornaments together, I made sure the knot of the twine loop was inside. I also made sure to stitch through the knot to secure the loop.
1. Snowman
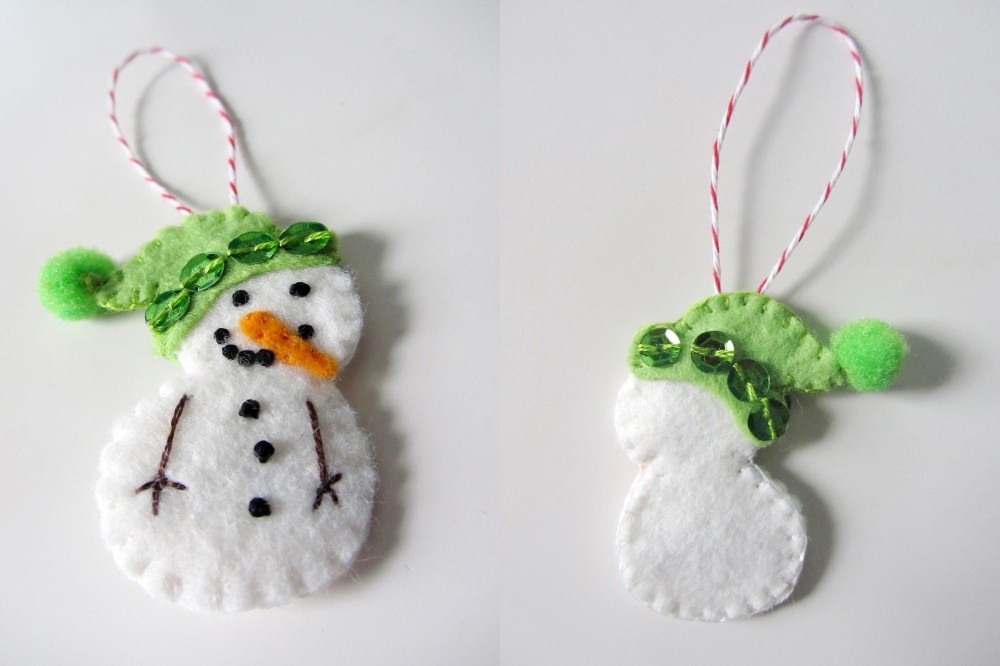
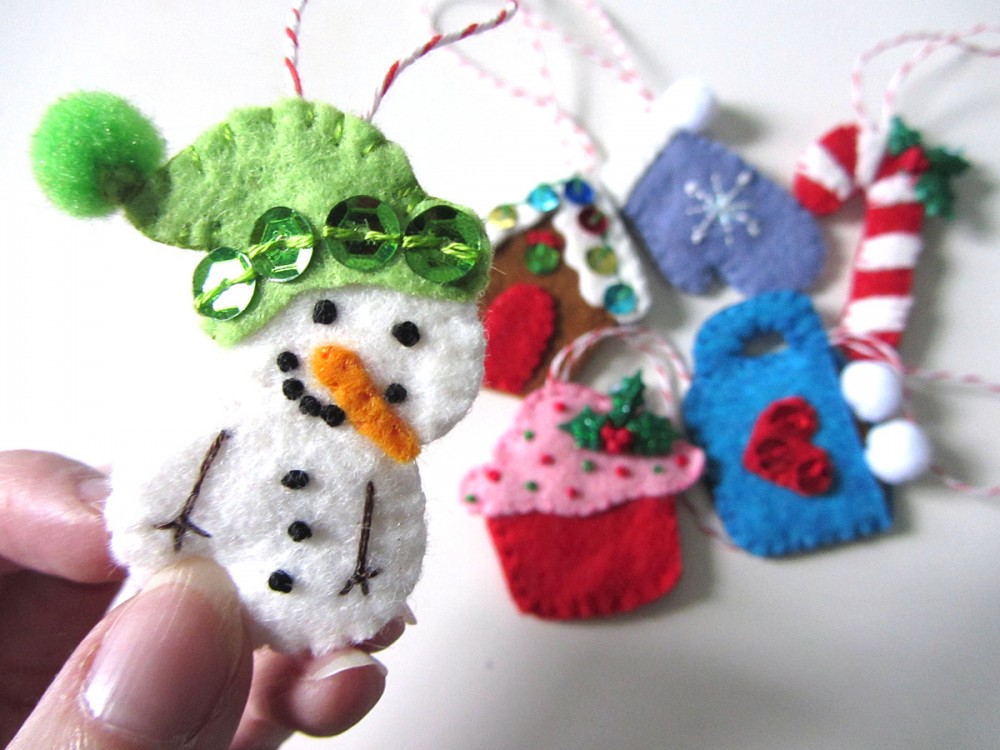
This little snowman makes me smile! The way he is holding his tiny stick arms reminds me of how Jax stands and wiggles when he is really excited about something but trying not to show it. To making him, I started by embellishing the front body piece. I stitched the carrot nose on, then used French knots to make eyes, mouth and buttons. His arms are just long stitches with some little ones at the ends for fingers. I then sewed green sequins onto the brim of both sides of this hat while they were layered on their corresponding body piece. I stitched all the way around both sides of the ornament, adding the twine loop at the top. I finished him by stitching a tiny green pompom to the tip of his stocking hat.
2. Candy Cane
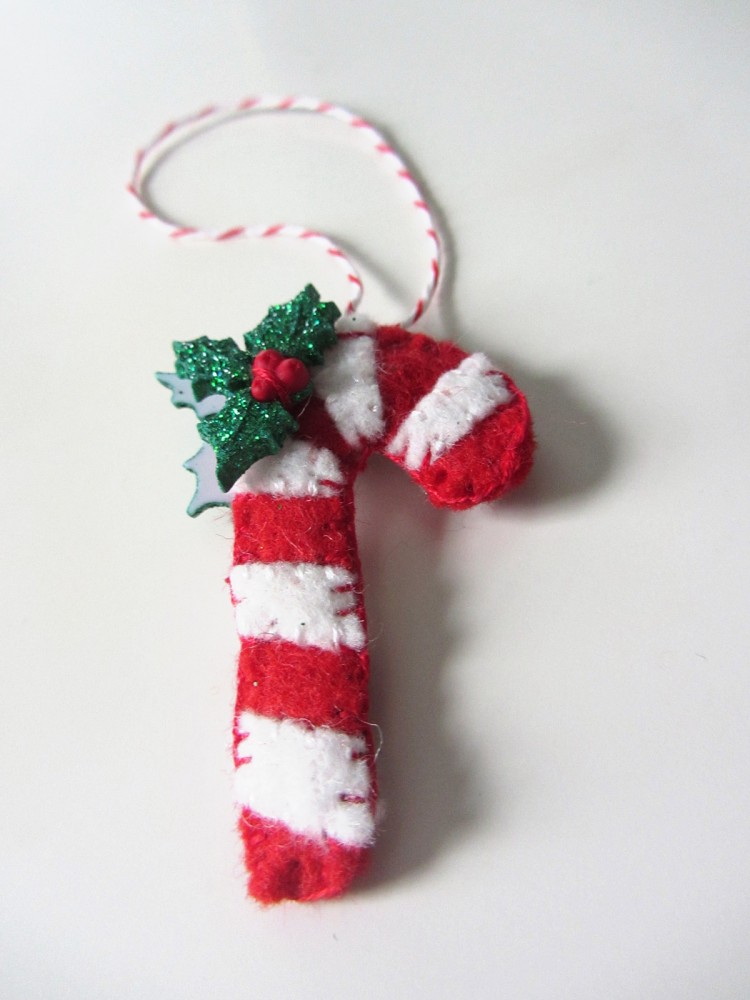
I had to make a candy cane for Jax’s little tree! They are such a Christmas classic. To make the candy cane, I lightly glued the white stripes onto the two red canes. I stitched down the white parts, then sewed both sides together, adding a twine loop at the top. On both sides of the candy cane, I stitched on holly embellishments. These aren’t buttons, so I used red thread and attached them near the berries.
3. Cottage
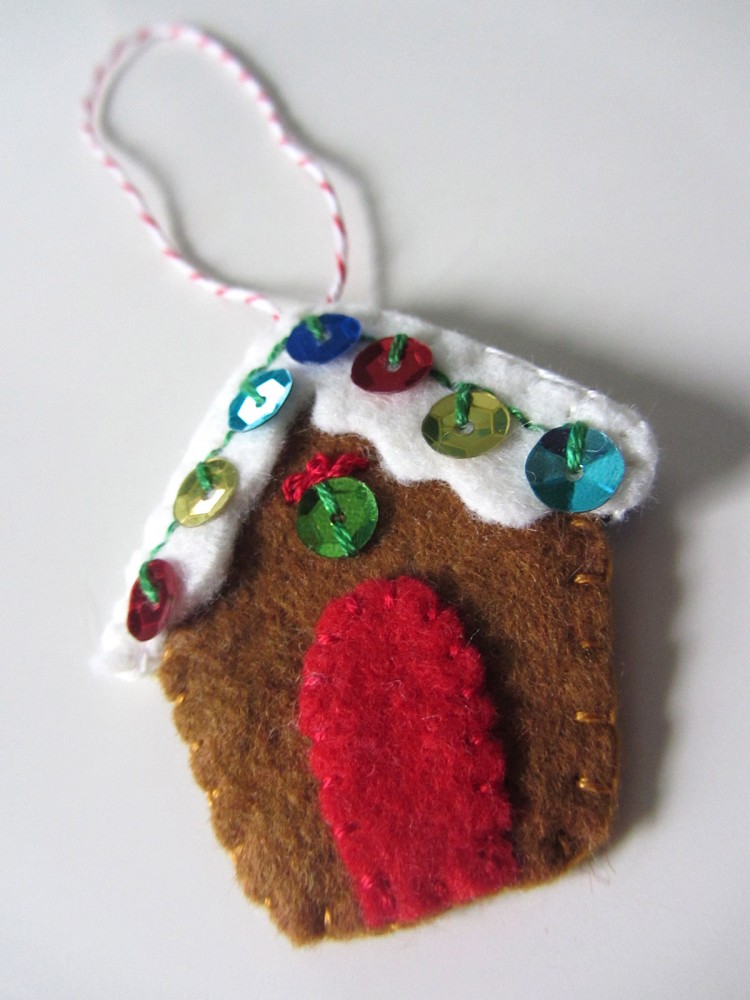
The Christmas cottage is very simple but very sweet! I used sequins to make colorful strings of lights. I started by embellishing the front of the house. I stitched on the red door, then sewed a green sequin on as a wreath. Above the wreath, I stitched two loops (lazy daisy stitch) and a French Knot to made a bow. I then took the two snowy roof pieces, laid them on their corresponding house pieces and stitched the lights on each. I did this with back stitch in a swagged line, with one stitch into the top of each sequin light to allow them to dangle. I stitched around both sides of the cottage, catching the twine loop in the top.
4. Mitten
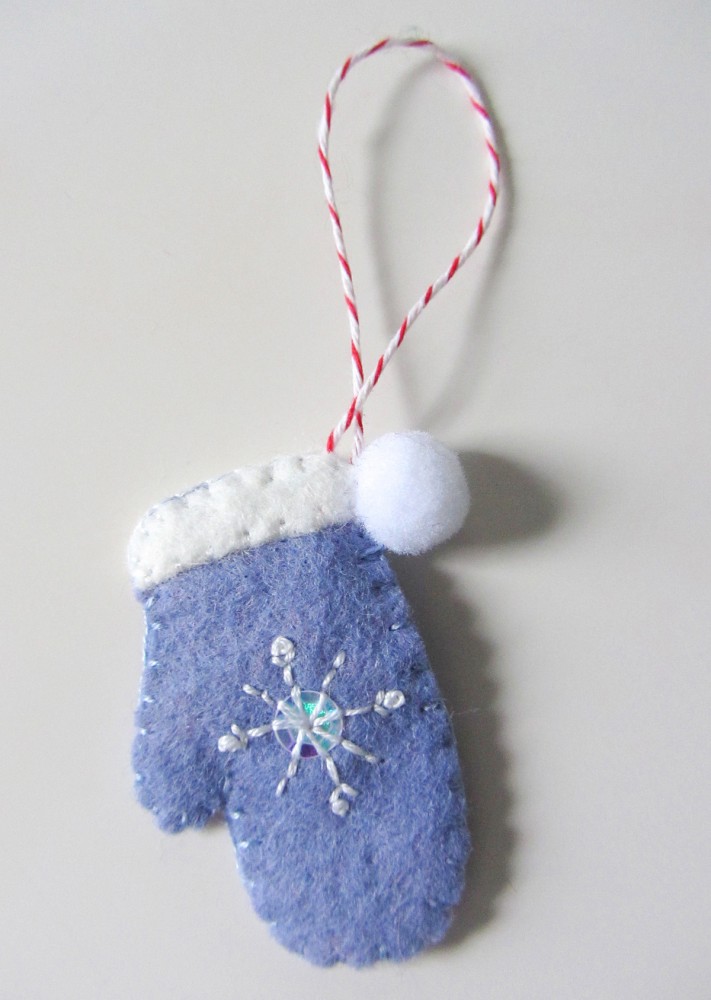
This little mitten turned out so dainty and cozy! I decorated each side with the same stitched pattern of a starburst in back stitch and a few French Knots. There is a crystal sequin at the center of each starburst. I stitched the white cuffs onto each side, then sewed the sides together with a twine loop at the top corner. I added a little white pompom to finish it.
5. Cupcake
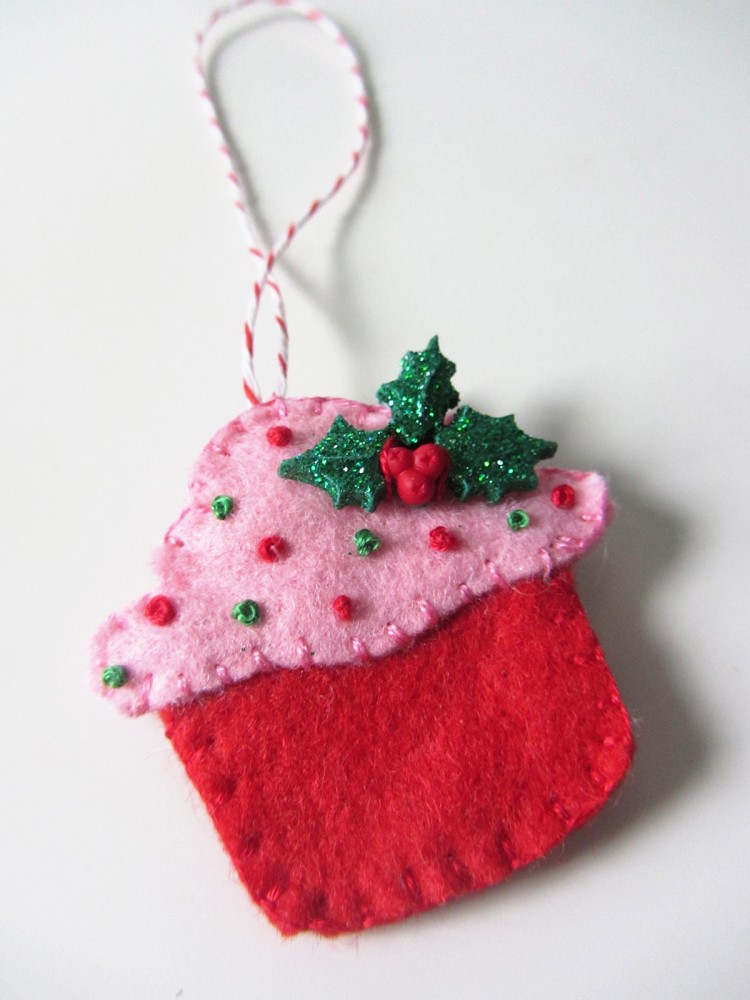
This little holiday cupcake could be decorated any way you’d like! I went with pink, as Jax loves strawberry *anything*. I stitched the frosting pieces to the liners, then embellished both sides with red and green French knots. I sewed the two sides together with a loop of twine at the top, then stitched holly embellishments onto each side.
6. Hot Cocoa
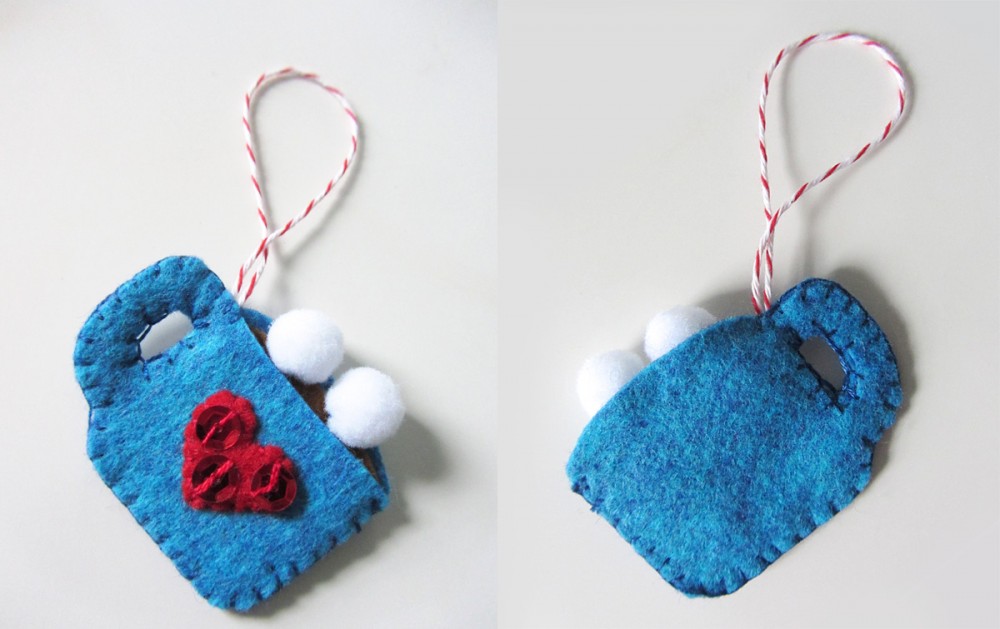
I love this little mug of hot cocoa! you might recognize it from the camping quiet book page. I did make a few changes, though. I started by sewing a red heart onto the front, then adding three red sequins. I glued the brown cocoa to the inner side of the mug back, then sewed the front and back together, I didn’t sew around the top, so I attached the twine loop at the top of the handle. No cocoa is complete without marshmallows, so mine were added via stitched-on mini pompoms.
Which one is your favorite? What would you like to see next? I have to design 24, and your idea may be one! Stop by Facebook or Twitter, or comment here with your ideas. I’d love to see your finished ornaments! Tag me on Instagram @iolstephanie (if you are private, I’ll have to request to follow you.)
Stay tuned for mini ornaments 7 – 12 later this week. I’ll be posting sneak peeks on Facebook and Instagram.

Thank you so much for sharing your patterns! Not to mention your talent and inspiration 🙂
These are adorable! I plan to make a few of these to add to my Christmas Advent Calender I made a few years back. I never got around to sewing all the little ornaments. I plan on making the little cottage and look forward to see what else you sew up. I just might make two of each and put them on my kids Christmas trees in their rooms.
Thanks so much for sharing your talents! You are amazing and an inspiration!
I love the tree and ornaments! You definitely inspire me to sew fun things for my girls.
Thanks!
Pingback: Advent Calendar Sew Along – Ornaments Part 1 | Strings and Yarn
Pingback: Last Minute Christmas Decorations and Cards | Molly and Mama Makes
Stephanie, these ornaments are absolutely gorgeous! I was so inspired by your work, that I made a few of my own and have added a link back to your lovely blog. They’re not as beautiful as yours, but I hope they are just as loved. You can see more here; http://wp.me/p43AYC-8a . Thank you for generously sharing such adorable patterns and tutorials. Happy Christmas to you and your family! Lauren
Pingback: Make Easy Christmas Decorations and Cards - Molly and Mama