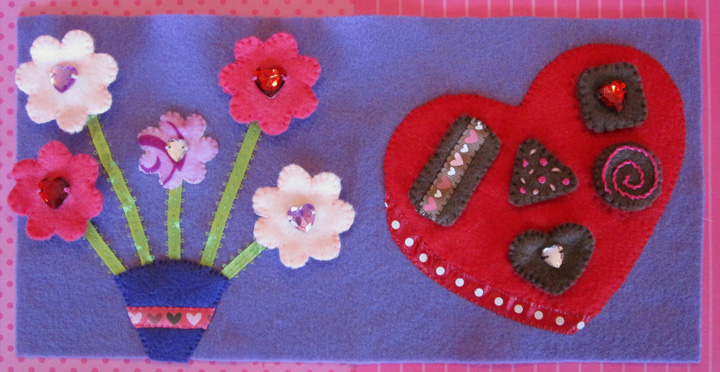
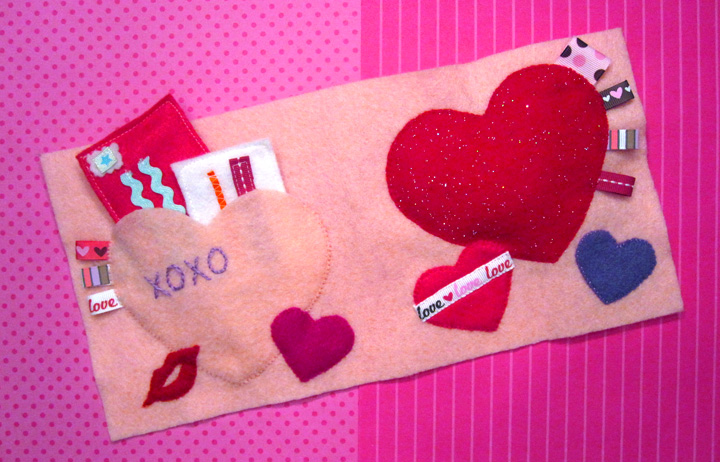
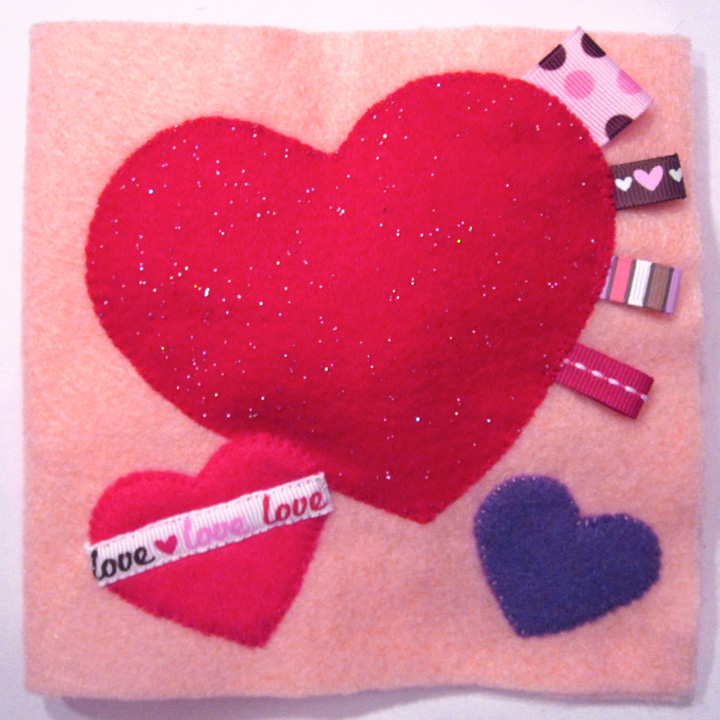
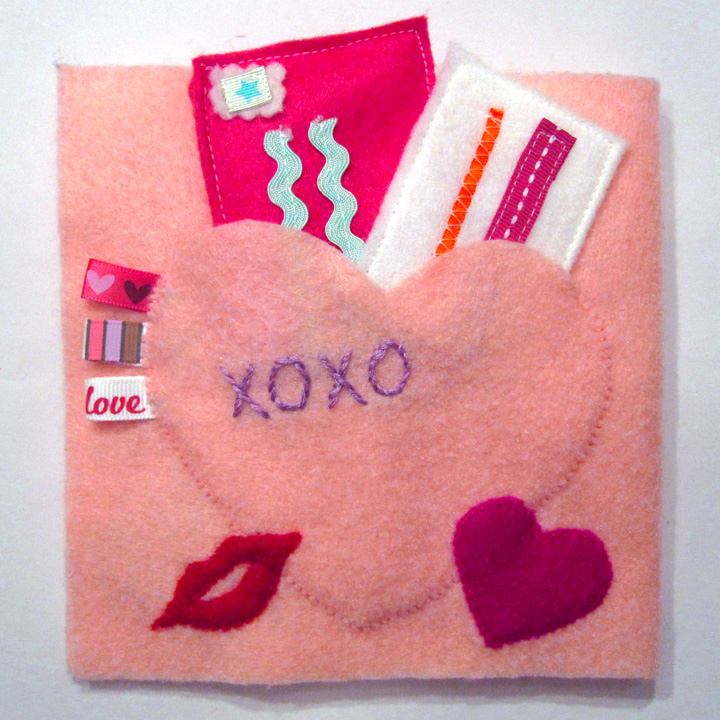
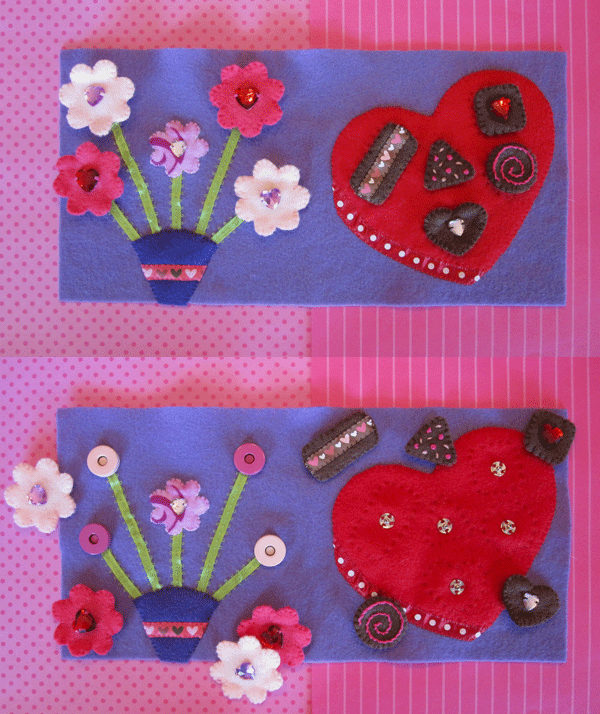
 I created a pattern for a sweet and simple mini (6″ square) quiet book to share with you all. I will be posting instructions in sections as I complete my sewing. Do you have a little one you’d like to give a Valentine to?
 Tutorials:
Front/Back Cover
Flowers & Chocolates (this page)
Weaving Heart & Cupcake – coming soon!
Book Assembly & Giveaway – coming soon!
Yes, I said giveaway! I’ll be sending off my finished book to one lucky reader in time for Valentine’s gift giving.
These pages use: 12″ w x 6″ h lavender felt background, felt (in light pink, red, hot pink, brown, a lilac floral and purple), green ribbon, ribbon scraps, sew-on gems, sew-on snaps, 2 hot pink & 2 light pink magnetic purse snaps (found at Joann’s in the purse-making aisle) and embroidery floss. You could use buttons or snaps on the flowers instead. I really loved the cute colored purse snaps and wanted to try them out. I used regular snaps on the chocolates. I find that Velcro snags the felt so I’ve been avoiding it lately.
Because of the smaller parts (flowers and chocolates) I’d recommend this book for the three and up crowd unless supervised closely. No eating felt chocolates, kids!
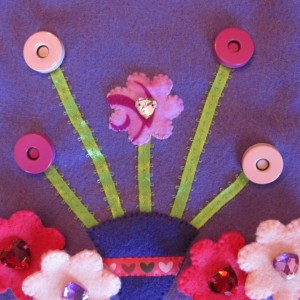
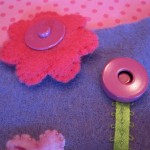 Flowers: Embellish the front pieces of the 4 removable flowers (skip this or just use felt to decorate if you are sewing buttonholes later.) Attach one half of a magnetic snap to each flower back. I put the thinner side on my flowers and the thicker side on the page. I pressed each flower against the prongs on the snap half to make marks where I needed to make holes. I made two tiny snips where the marks were then pushed the snap prongs through and slide on the washer. Using the flat, closed metal blade of my scissors, I folded the prongs in to hold the snap in place. (Skip all that if you are doing buttons!) Sew the two sides of each flower together. (Here is where you would add buttonholes if that was your choice.)
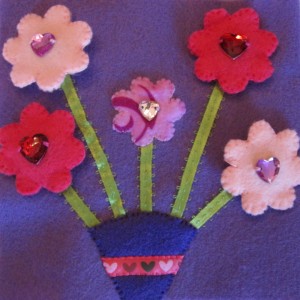
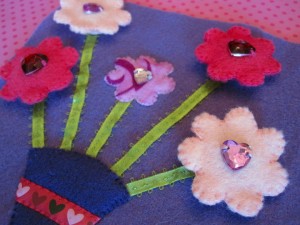 Flower Page: Start by laying out your ribbon stems in the arrangement you like. Make sure you lay out the flowers and vase as well to make sure everything fits. Trim the ribbons as needed to fit the page and sew them down. Sew down the vase. (Really its the paper that bouquets come wrapped in but I have no idea what that’s called!) I added a ribbon scrap before I attached mine to add a little detail. Sew the small flower to the center stem. I used a scrap of a floral patterned felt sheet because I liked the shade of lilac. You could use any color you like. Attach the other half of your magnetic snaps (or your buttons) over top of the ends of the ribbon stems.
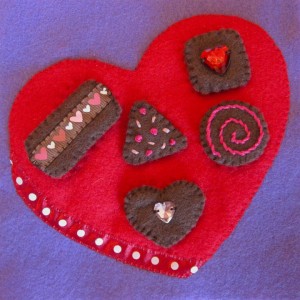
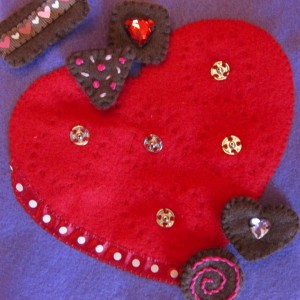
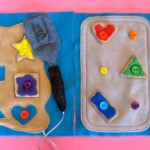
Chocolates: Embellish the front pieces of your chocolates. For the rectangle, I used a scrap of brown ribbon with hearts. On my square and heart, I used sew-on gems. I stitched a stem stitch spiral on the circle, and I did French knot and straight stitch sprinkles on the triangle. Sew one half of a snap to the back piece of each chocolate. Sew all the halves together.
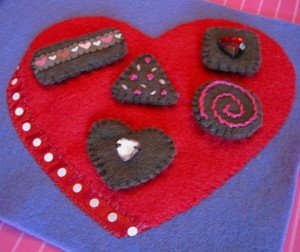 Chocolates Page: Start by pinning your chocolates patterns down on the box heart how you’d like them to be arranged. There’s no right or wrong! Then stitch around the paper to make shape outlines. I used a darker red floss, but you could make it more obvious and use light pink or a dark brown. Sew the other half of each snap down in the center of each shape. Pin the heart down to the page and add a bit of ribbon along the lower left side as shown. I didn’t worry about trimming the ends of my ribbon when I pinned it. I sewed the ribbon along the side that is against the box, making sure to catch the box’s felt in each stitch. Then I took my scissor and snipped the ribbon ends off into angles that matched the box’s. Sew down the other side of the ribbon and all the way around the box.
Note: Turns out the ribbon I bought for this page was sticky-back scrapbook ribbon. Oops! It was a little slower to sew through, but worked great when I was laying it out on the page. I didn’t have to pin it and it stayed in the curve I placed it in. Martha Stewart makes some cute Valentines ribbons.
What do you think of these pages?
Almost done the mini book! Next installment will be the weaving heart page and cupcake page. Stay tuned, and stop by the Facebook page for sneak peeks.

