Sunday Souvenir – Haircut

I’m late! It’s not Sunday, but that’s how it goes sometimes. On Sunday I hustled to get Jax’s Christmas present painted. His barn is now ready to be clear-coated!

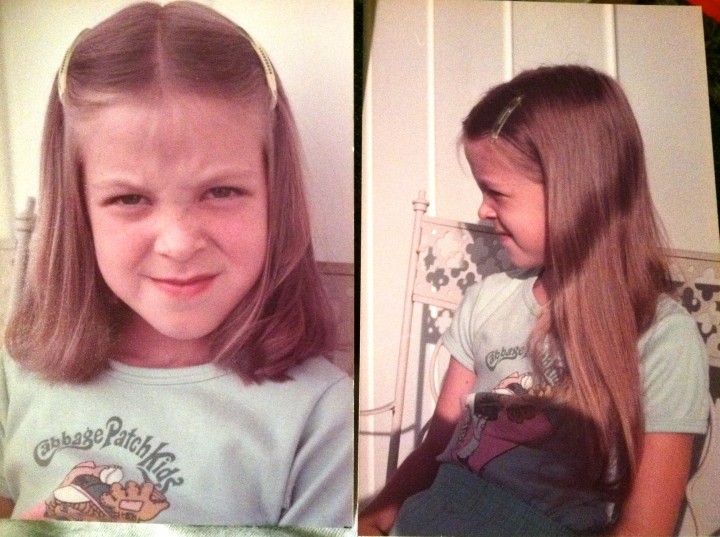
This is a photo post about a childhood memory. When I was around 9 I was spending part of the summer with my grandparents in Iowa. My grandma told me she was taking me to her hairdresser for “just a trim”. I remember the lady’s salon in her basement. I also remember being SO upset when I saw how much my grandma had her cut off. I was not happy at all.

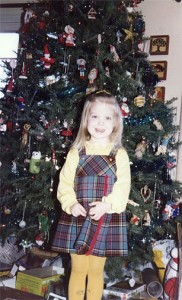
My hair was dark blond at this age. Exactly like Jax’s current hair. It now tends to grow dark blond/light brown at the roots and fade all the way to light blond at the ends from the sun. I always lighten the roots because I dislike the darker roots look. Though I guess its a whole style now – ombré or something?

Did you have any say in your haircuts as a child?

Toddler iPad App Reviews – Toca Tea Party

We will be reviewing the many iPad apps Jax has been trying out recently. The iPad is great for car rides and waiting in restaurants. I stick mostly to educational and pretend-play when choosing apps for him.

Toca Tea Party

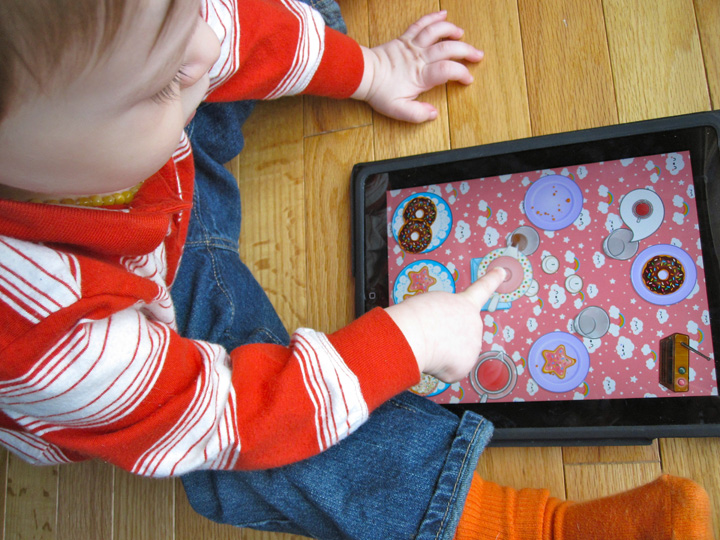
Toca Tea Party by Toca Boca is not necessarily targeted to toddlers, but Jax had no problem at all figuring out what to do. Sure, some may consider this a game for girls, but I think anyone can enjoy make-believe food!

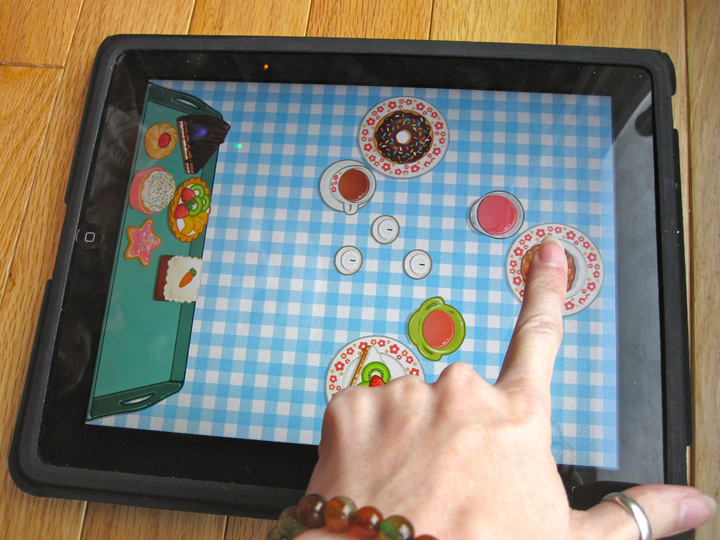
This is a free-play app which lets kids use their imaginations. You launch the app and are presented with a choice of 3 random tablecloths. You then get to set out your choice of coordinating place settings. Once you have your table set, you choose three baked goods for your tea party.

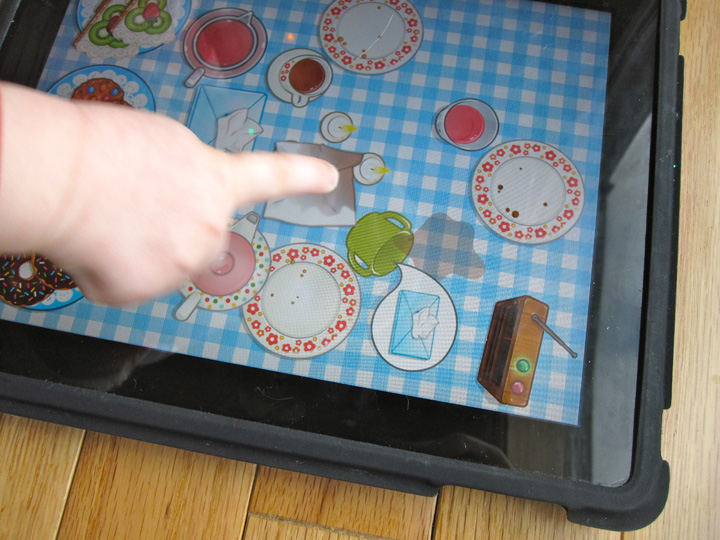
When the party starts you’ll notice little details like music on the radio (which you can change) and little tea lights you can blow out or light. You can pour lemonade and tea, and if you spill it you can wipe up your mess. The graphics are bright and charming, as are all Toca Boca games.

At the end of the tea party, you wash all the dishes before starting over. I like that you clean up, and this game has helped me practice saying “more please” and “thank you” with Jax.

This app is currently priced at $2.99, though we got it on sale. I think $2 would be a better price, but would pay $3 if I had to. We have already played Toca Tea Party a zillion times, so I’d definitely recommend it!

If you have a toddler or preschool app you’d like Jax and I to review, please contact me with details. We have an iPad 1 and an iPhone 4.

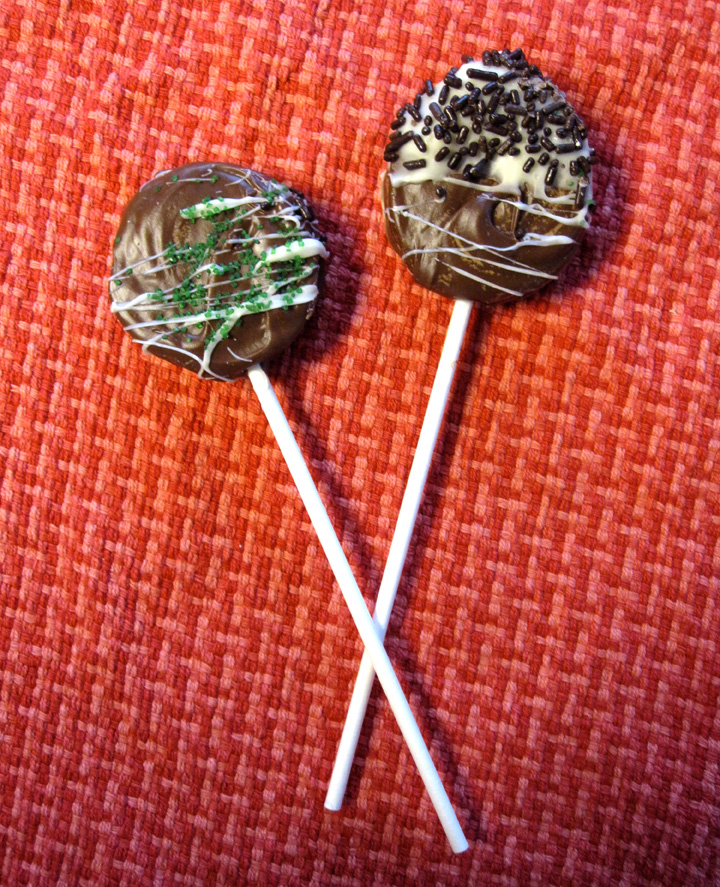
Easy Oreo Pops

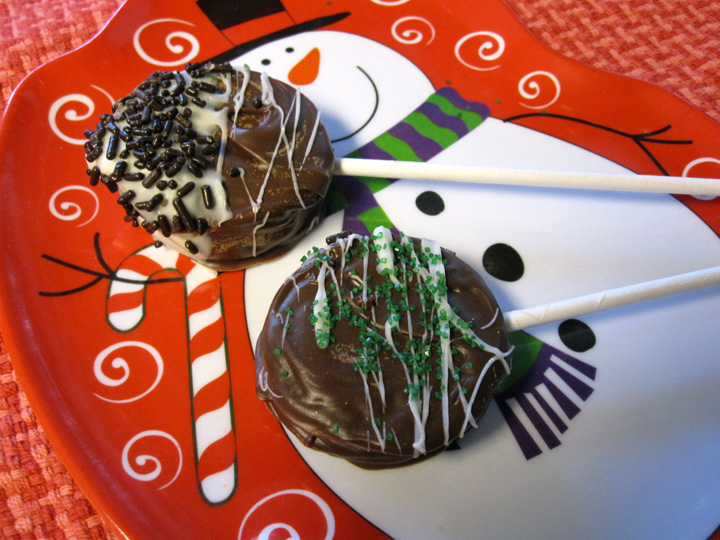
These are so good and so easy! I wanted something fun to round out this year’s cookie tins that would use up some extra candy-making supplies I had laying around. I still had candy sticks and bags from making chocolates for my baby shower two years ago!

Oreos are already delicious, but put them on a stick and cover them in chocolate? Yes, please! You could make so many varieties of Oreo pops using different cookie flavors and different coatings. Dark chocolate mint! Peanut butter chocolate! White chocolate peppermint!

Here’s what you need:

  • Double Stuf Oreos (you can’t fit the sticks into plain Oreos!)
  • Candy/cookie sticks
  • Candy Melts (I used milk & white chocolate I had leftover)
  • Sprinkles (I just used some leftovers again)
  • Wax Paper
  • Candy bags and ties

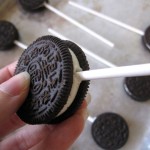
Line a couple cookie trays with wax paper. I used old ones that had a lip to catch the extra sprinkles. Hold the two sides of the Oreo together firmly but gently, and push a candy stick into the filling. Lay them out on your trays so they are ready for chocolate.


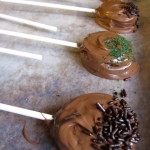
Melt your chocolate according to directions. I usually put some in a mug and microwave it on 50% power in 20 second intervals until it is fully melted. I didn’t have success dipping the Oreos in the hot, melted chocolate – they fell apart! So I spread chocolate onto one side of the cookie, spread it all around the sides, then set it on the wax paper chocolate-down to coat the final side. While they are still wet you can add sprinkles or crushed candy. I melted some white chocolate and flung it over half of them for a fun look. I had extra white chocolate so some even got dipped.

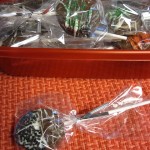
Stick the cookie sheets in the refrigerator for 15 minutes or until fully hardened. Then place them in candy bags and tie them off below the pop. Store them in the fridge until you are ready to put them in your cookie tins (or eat them all yourself – I won’t tell!)

Enjoy!

No-Sew Dog Toy

This project is from the archives of my personal blog. I wanted to share it here for my fellow crafty dog lovers, because what dog doesn’t love getting gifts!

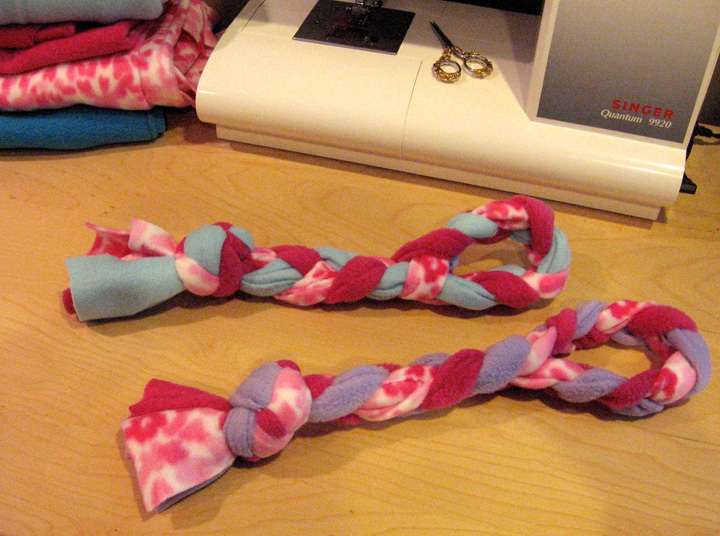
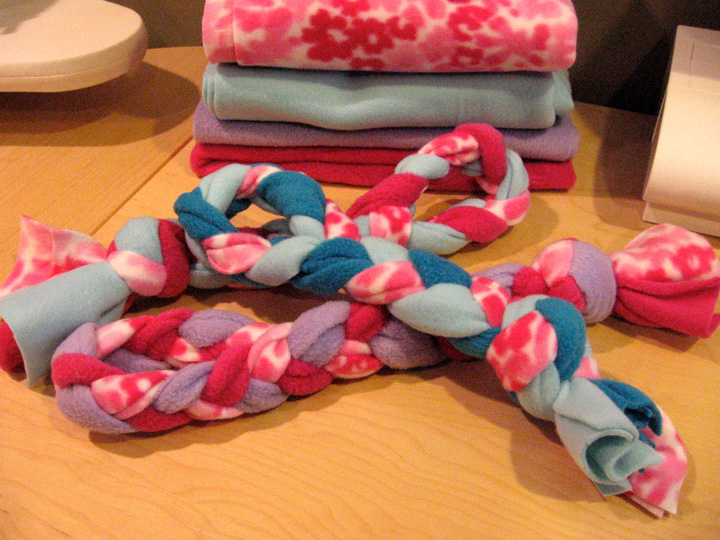
When I created this project, I had a lot of leftover fleece from sewing doggy valentine hearts, so I figured out how to make braided doggy tug toys. It is super easy – no sewing involved and only takes about 10 minutes. You basically just cut and braid. Here is a quick how-to:


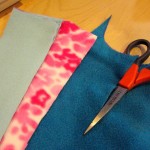
You’ll need some fleece. You can use up to 3 colors for each tug toy. Mine was leftover from another project.

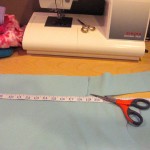
Fold the fleece in half, selvage to selvage so you are cutting strips along the direction the fabric stretches (the selvage will be on the end of your strips, not on the length). Cut a strip 3″ – 4″ wide. I went with 3.5″. Repeat until you have three strips total.

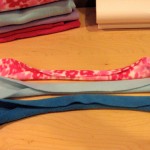
Lay the strips lengthwise side-by-side. Fold them in to loose tubes at the middle so that the rough edges aren’t as noticeable when you start to braid.


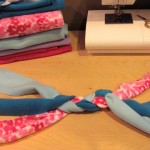
Braid the middle 10″ or so of the strips. When you fold this in half, it will become the loop handle.

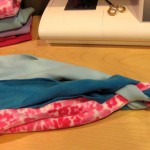
Fold the strips in half and line up the matching colors. If you are using all one color, just split the strips from each side into 3 groups of 2.

Start braiding tightly till the end. You can make it look neater by wrapping the pairs of strips around each other into a tube so you don’t see as many rough edges.

Tie the whole tug toy in a knot above the loose ends. I like to make the knot loosely but starting fairly high, then pull it down towards the end until it is nice and tight.

Trim the ends to make them even, and you are done!

Sunday Souvenir – Christmas Traditions

Christmas at our house

I grew up in a small family. It was just myself, my dad and my brother. While my mom passed away when I was 5, we continued to get together with her family over the holidays. We had a tradition of holding Christmas either at our house, my grandparents house in Iowa or my aunt’s house in Colorado. I think we sort of rotated through locations, but I’d guess more were at my grandparents house than the others. Later on (when I was in my teens) we switched to renting condos in Florida and having a tropical Christmas. We had extended family in the area and got to share Christmas dinner.

Because we were Christmas nomads so often, we didn’t have a ton of traditions. I liked going to the Christmas Eve church service so I could sing carols and ask far too many questions about the logistics of the whole nativity story. I also had a stretch of years where I insisted on only eating Christmas dinner with my left hand (I’m right-handed), because I’m strange, I guess!

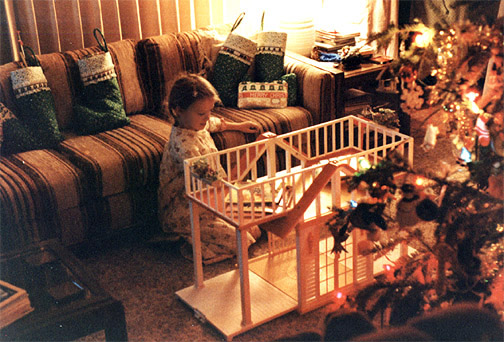
Christmas at my aunt's house. Hello, Barbie Dream House!

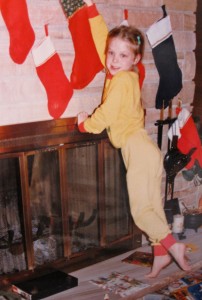
Stockings at my grandparents' house

One tradition I loved was stockings! They’d change based on whose house were were at (gift bags were used at the Florida condos) but they were always include an orange that would be added to Christmas breakfast. There were filled with candies and little wrapped gifts without to/from tags, that I suspect everyone contributed. I hang stockings for us every year, but they typically stay empty unless I put something in them. I plan to do some stocking stuffer shopping after all this reminiscing, but chances are mine will be empty come Christmas morning, heh.

Jax is still too young to understand the holiday, but I bet in the coming years we will start creating our own traditions.

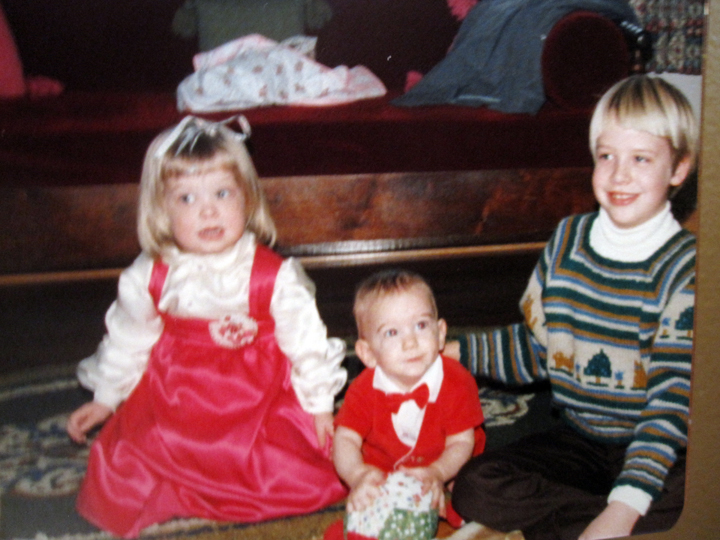
I like my brother's sweater. No, really! I do!

Do you have any favorite traditions?

Link-o-rama

Hello! I’ve been pretty slammed with work (gotta pay the bills!) so it’s been tough to get time to write. I’ve still recovering from being sick and am rushing off to bed after dinner.

Here are some links for you:

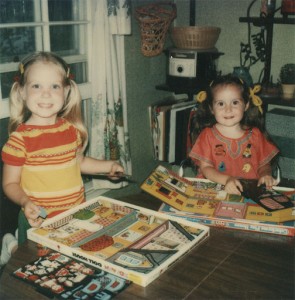
Playing with Colorforms

Happy Friday!

Thrift Store Gems

This week’s thrift store gems were mostly books, but I did get a cute olive green flannel for Jax.

For $6.25 we got: the shirt, Waddle! (which is super neat because the pictures move on each page), Goodnight Moon 123 Board Book: A Counting Book (Jax loves the balloon page), Who Am I? In the Dark (which is out of print), Counting (Touch, Look and Learn!) and All Asleep.

Here’s an update on the dollhouse I bought recently from a thrifting trip. It’s barn makeover is underway! I have a couple layers of paint down in most places. The wood is very thirsty so it will need more. I turned the upper floor into a hay loft with real hay I mixed with Mod Podge and then varnished with a clear coat. Once I am done all the painting, I’ll clear coat the whole thing. I’m thinking of sewing a play mat to look like the farm to go under the barn.

Sunday Souvenir – First Words and Childhood Scrapbook

I missed last week’s Sunday Souvenir due to being sick, so today’s will be a two-fer. I’m almost over this cold, but buried in work and Christmas present crafts so I’m still trying to catch up here.

First Words

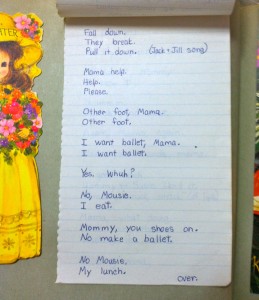
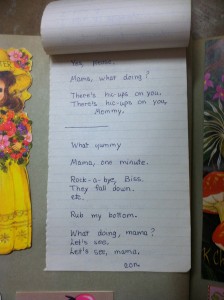
I’m not entirely sure what my first words were, but my baby notes mention that I say “Da-ddy” and “Bye-bye” at 38 weeks old. At 11 months old the notes say “Says ma-ma” sometimes. Very stubborn about doing things like patty-cake or saying words.”

Jax’s first word was “da-da” as well. It took him a lot longer to say mama, perhaps because he was always with me.

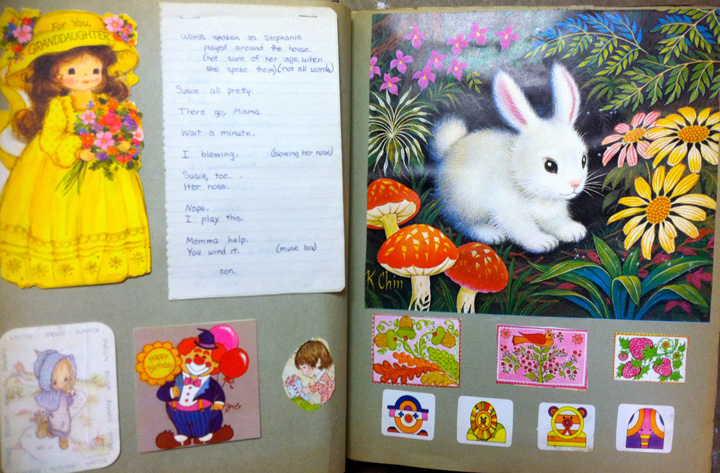
The next section of notes were a collection of things I’d said when I was little – most likely between 1 and 3 years old. My favorite quotes are: “No, Mousie. My lunch!” (Mousie was our cat), “Rub my bottom” (??? hehe) and “There’s hic-cups on you, Mommy!”


I am doing something similar now that Jax is starting to talk more. But, as a sign of the times, I am recording his quotes into a Twitter account. He is just starting to make 2 word sentences and is picking up new vocabulary like crazy.

Childhood Scrapbook

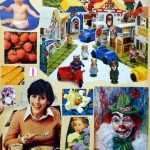
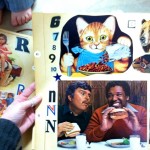
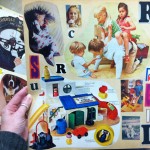
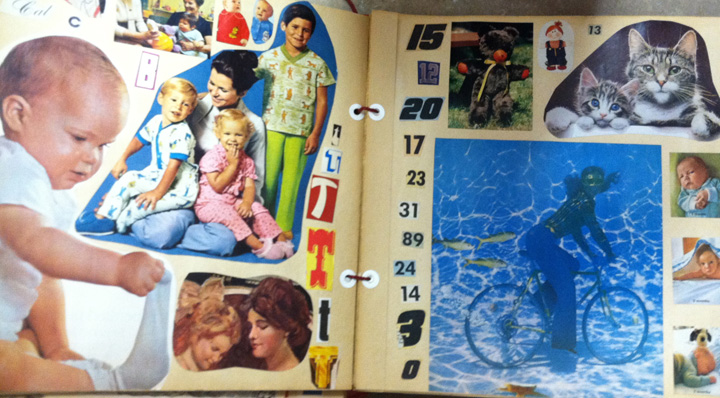
The above scrapbook was just for me. It catalogs all the cards I received (and some I gave my parents) plus drawings, notes and stickers. The scrapbook my mom made that I’m most in love with was made up almost entirely of cut up magazines. It is sooo 70’s and totally wonderful!


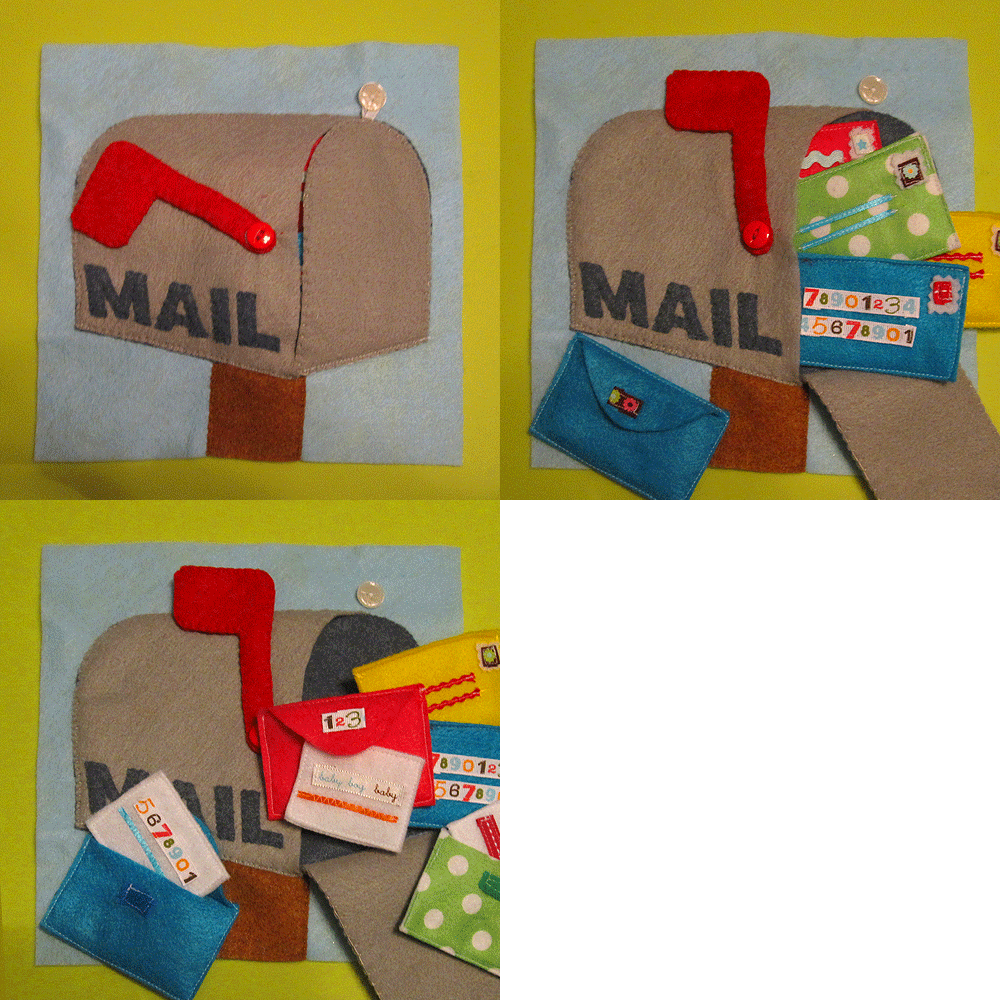
Mailbox & Letters Quiet Book Page

I finally have another quiet book page done! First there was vacation, then working to make up lost hours, Thanksgiving and a bad cold. And there went November!

There’s nothing super original or crazy about this page, but it was one I wanted to include. “Mail” was one of Jax’s first words thanks to the mail song on Blue’s Clues. I have to give a shout out to Handmade By Jill, as her mail page was the first I came across.


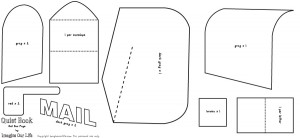
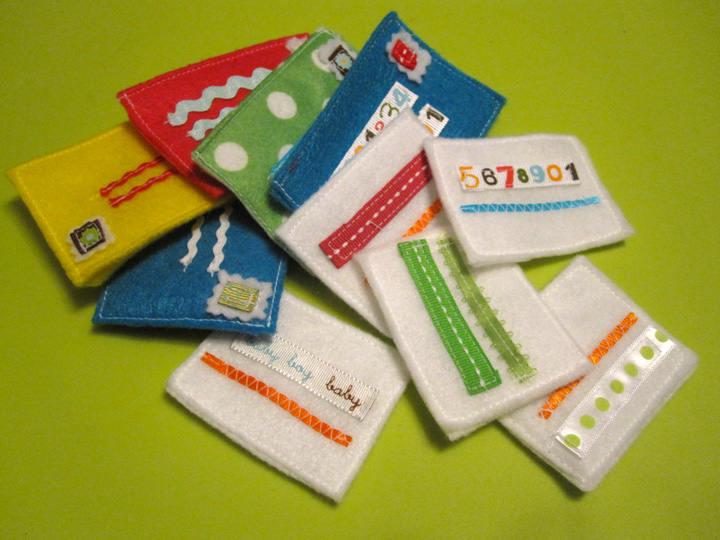
Here is what I used: a 9″ x 9″ sky blue felt background, felt (in light gray, dark gray, red, brown, white, and assorted colors for the envelopes), ribbons and ric-rac, buttons, 1 grommet, Velcro and thread to match.

To make the page: I stared by sewing the two sides of the red flag together. I installed a grommet at the end – the same kind I use on the finished pages. I then sewed the lettering down onto the side of the mailbox. Placing the flag where I wanted it, I sewed on a button through the grommet hole. This lets the flag move just like on a real mailbox. To make the mailbox door, I sewed the two sides together with a loop of ribbon at the top. You could use elastic as well. I sewed the brown stake to the page, followed by the dark gray mailbox interior (the dashed line on the pattern shows where I sewed a decorative line to add dimension to the inside). I sewed the top, back and bottom of the outside of the mailbox down leaving the front open to put the letters in. To finish the page, I sewed down the bottom of the mailbox door and attached a button above it.

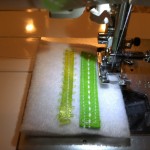
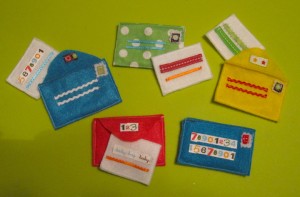
The mail is a blast to make! Get out your ribbon and ric-rac stash and  have some fun! I used my sewing machine for them and had to rush. Please excuse the shoddy stitching in my example – I was actually nursing at the same time!


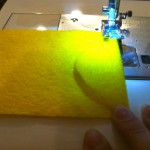
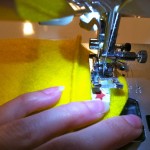
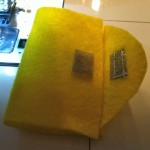
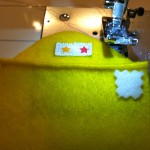
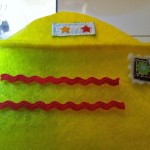
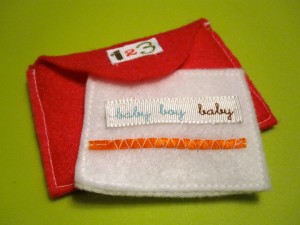
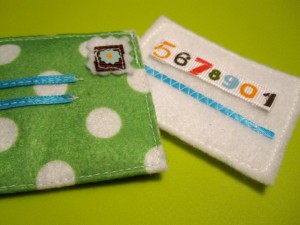
To make the envelope: Fold the envelop flap over and stitch beside the fold to set it in place (felt doesn’t fold well on its own.) Sew a piece of Velcro on the inside of the flap and decorate the outside with a scrap of ribbon or felt. Fold the envelope body up to find where the other half of the Velcro should be, the sew it on. Cut a little rectangle of white felt with your pinking shears. Sew it on as the stamp with a scrap of ribbon or felt. I used ribbon and folded under each end. Cut some ribbon or ric-rac and position it where the address would be. Sew it down. Fold the envelope back up and sew around the sides and bottom. All done!

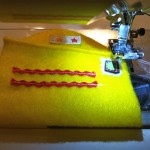
To mail a letter: Sew ribbons or ric-rac down on the bottom half of the white felt rectangle. Fold the whole thing in half and sew along all four sides and trim it to neaten it up. I just did two ribbons on each, but you could go crazy!


I hope the pattern is helpful! This page came out very cute thanks to the mail. I had to stop myself after 5 letters because the mailbox was getting too full! If you use this pattern, I’d love to see your end result. I hope you’ll share it with me!

Loving It – Cozy Winter Gear for Baby

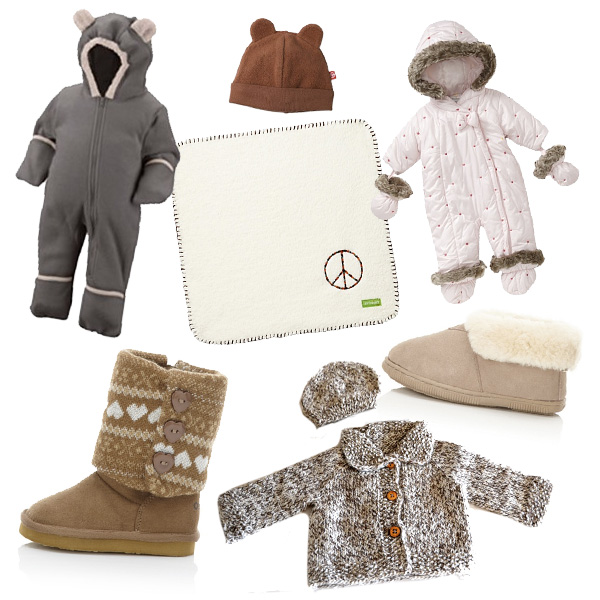
I’d like all of this in my size…


MYHABIT (limited time only): Bearpaw Traditional Shearling Bootie ($25), Ambajam Mini Cuddle Blanket ($16), Absorba Baby Girls Microfiber Snowsuit ($39), Osh Kosh Arctic II Boots ($22). Etsy: Tweed Baby Sweater Jacket and Hat Set ($40). Amazon: Columbia Unisex Tiny Bear Bunting Bodysuit ($24.95), Zutano Fleece Hat ($12.50)
 

Bonus! Click here and use code HOLIDAYS through December 15th to save an extra 20% on MYHABIT!

Family Portraits

Sorry for the silence!

Pre-Thanksgiving I was busy working and prepping for guests. I took the day off on Thanksgiving, then worked Friday and Sunday. Saturday Jax was sick with sneezes and a runny nose so I took care of him while I worked on our family portraits (more on that in a moment.) Of course because I was wiping a snotty toddler nose and getting sneezed on all night while I nursed him, I caught the cold too. So my Sunday of working was pretty bad, and today is 100x worse. I’m sooo sick! But, I’m a contractor and don’t get paid if I don’t work, so work I must! Luckily, thanks to all the nursing, Jax was all better after just 36 hours with a light cold.
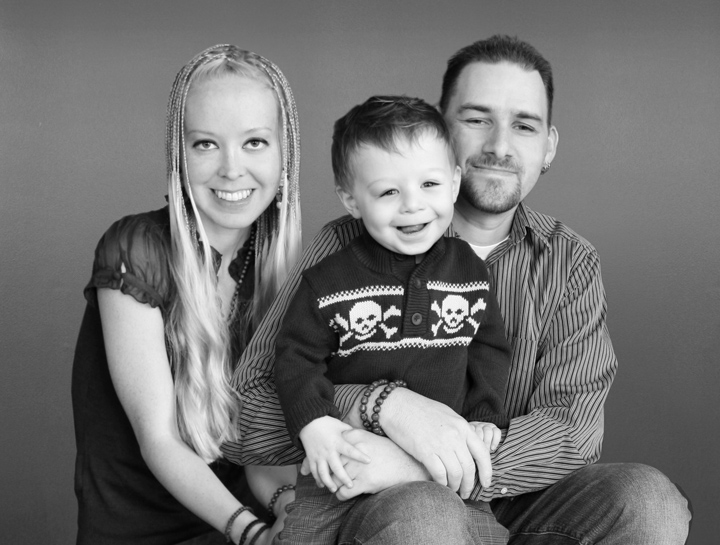
the photo we chose for our wall

We’ve been owing our relatives family portraits for some time. We actually had none that included Jax and he is almost 2! $500 photographers just aren’t in our budget, and mall photo studios hold your pictures’ copyrights hostage, which I don’t like. So it was time for some DIY!

I’ve been reading an ebook about my camera for a little while now which is a big help. I spent a couple weeks searching Pinterest and Google for tips on poses, outfits, lighting and taking your own family portraits. I knew that I was going to have to get creative and do a lot of Photoshopping.

I planned to do 2 separate shoots: one of Jax and I and one of my husband and Jax. I included pictures of us adults on our own as well. The plan was to take them all in the same location then Photoshop us together into different combinations. I ended up having to take them on two different mornings, but the light was very close both days.

The results came out much better than I’d expected! The lighting in the playroom was perfect. The poses came together the best they could. Photographers recommend everyone we very close and in contact with each other, but that wasn’t really possible the way I was doing it. We still got some great pictures.

Some behind the scenes:

In order to make Jax smile, I set up our iPad just under the camera. During my photoshoot with him, I played a YouTube video of a laughing baby to get him to smile. During the second shoot, I put on his favorite show, Peppa Pig. When I was in the photos, I used a remote to trigger the shutter. I made sure to take the pictures at the same time each day and left the camera on the tripod in the same spot between shoots.
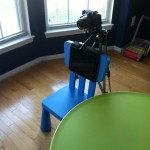
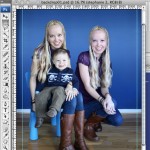
     

I set up a Photoshop file with a clean wall photo I’d taken during the shoot, then cut us out of all the best shots and worked on arraigning us together. I spent a lot of time making sure all the edges were clean and added shadows and highlights to make it all come together.

See above for my camera setup, a silly screenshot with two of me and an outtake.


The goal was a nice, large black & white photo for our living room wall, some photos to send off to relatives, and a picture for our holiday cards. Yesterday evening I got everything ordered from Shutterfly. I used a coupon code for 25 free 4×8″ photo cards from saving up baby wipe points to get our cards. I used the promo code SHIP30 for free shipping, so I just paid for the prints.

Merry Bright Greeting Holiday
Create custom Christmas cards this holiday at Shutterfly.
View the entire collection of cards.

What do you think of our DIY photos?

Link-o-rama!

Are you ready for Thanksgiving yet?

As mentioned in my Sunday Souvenir, our friends bought a packaged Thanksgiving meal they are dropping off here tomorrow. We are adding on the pre-meal snacks (dips, chips and veggies), a vegetable (I was surprised there was none. Or do they count the potatoes? We’re having lemon garlic green beans.), sweet potatoes (my husbands must-have!) and adding to the apple pie dessert with cheesecake brownies and pumpkin bars. The husband is making all of that, despite me being the normal baker. I’ll just be mixing up some cheese dip!
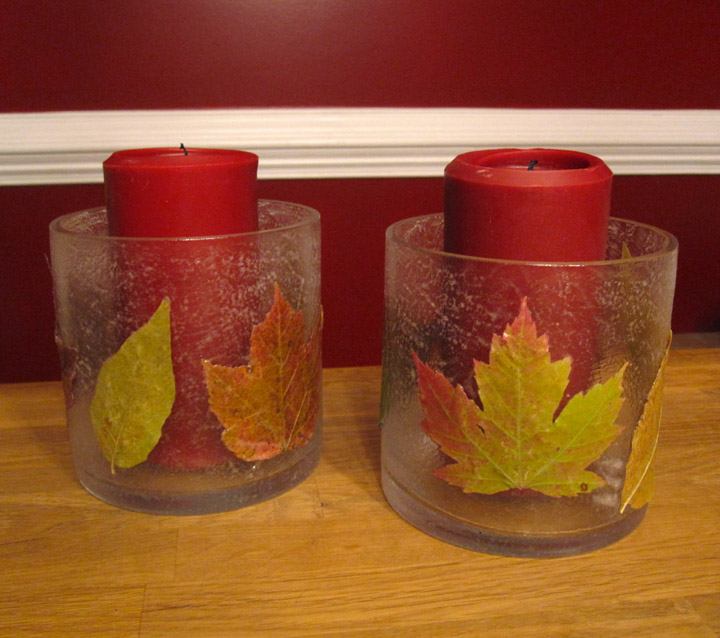
Jax's leaves became our centerpiece

Since there will be much football-watching that day, I plan to have some quiet book sewing ready to go. That way I can be on the couch with everyone but have stitching to do since I can’t pay attention to sports for more than 30 seconds. Even though Jax’s quiet book is HUGE already, I’ll still loving making and sharing the pages with you all! Please let me know if you have any requests.

Well, that was a long intro! Here are some links:

  • I love this felt headband! I need to make something like this for myself… I’ve seen similar ones in gift shops before.
  • This is the best idea for food at a toddler birthday party! Ice cube trays filled with fun and healthy finger foods!
  • I may have to use part of this free paisley embroidery pattern to make that headband I mentioned. Love!
  • What a fun bedroom! Though I wonder how many broken bones it would cause… I really like the ceiling.
  • Here’s one of those why-didn’t–think-of-that craft posts!
  • Love! Love! Love!

Have a happy Thanksgiving!