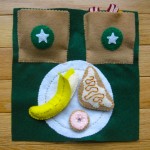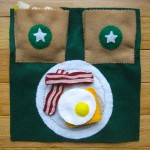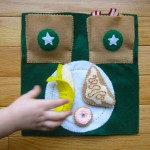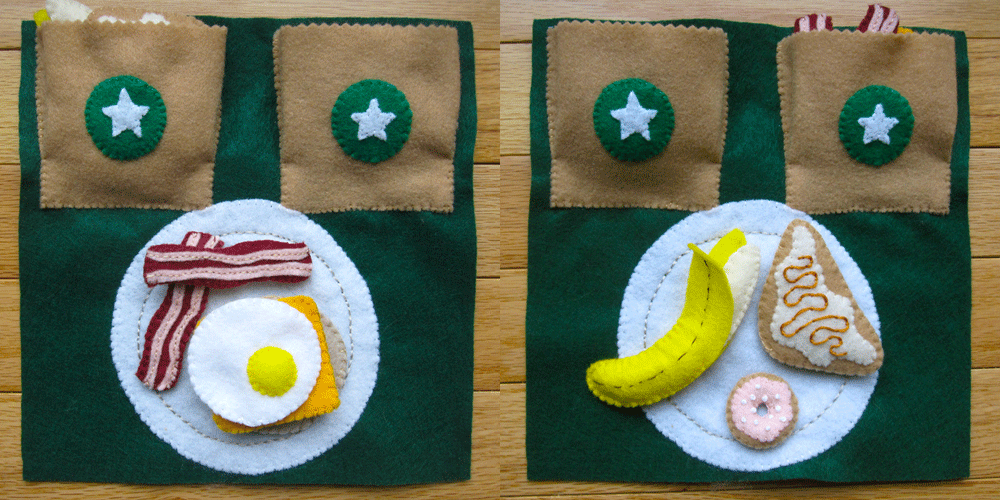
Starbucks Felt Breakfast Quiet Book Page

Edit: Updated photos here.

I wanted a food page in Jax’s quiet book, because he is so into his play kitchen. Since I already did a Starbucks page, I decided to make the food page go along with the same theme.

Nothing too fancy here. Just a lot of food and a plate to play on. You could add silverware too. I didn’t because he would just try to put the food on a felt fork and end up dropping everything on the plane. I made so much food, I had to make two “pastry bags” to hold it!

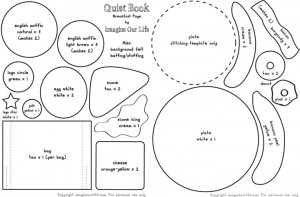
Here’s what I used: dark green background felt (because I couldn’t find any more of the same brown I’d used on the Starbucks page), felt (in white, yellow, orange-yellow, green, tan, cream, natural, pink and light brown), batting/stuffing, pinking shears and embroidery floss to match.


Mini Birthday Cake Donut: Make white French knots as sprinkles on the pink frosting. Sew the frosting to the donut top. Roll a strip of batting into a ring and sew it between the two halves. Banana: Roll a strip of batting into a tube and sew it between the two banana pieces. Using one strand of dark brown thread and a sharp needle, take your peel pieces and run the thread up through the felt as if the felt was made of two layers and you were going between them. Every now and then, come out of the felt and loop back to make a random stitch on the surface, then go back into the felt. Do this to make all the subtle, dotted lines that form on banana peels. Sew the two sides of the peel onto the banana halfway. You could add snaps or Velcro if you wanted the peel to stay closed.
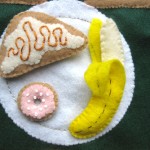
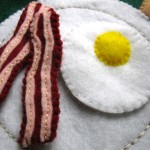
Egg: Sew the yolk down with a bit of batting. Sew the two sides together. Bacon: Cut wavy pink stripes to fit your bacon and sew two on to each side. Sew the two halves of each piece of bacon together. Cheese: I made cheese and an English muffin so you can build a breakfast sandwich. Simply sew the two cheese halves together. English Muffin: Sew the darker circles to the muffin bottoms to make the crust, then sew the two sides together with a thin layer of batting.
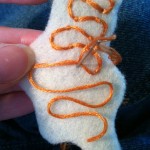
Pumpkin Scone: Take a piece of embroidery thread and knot the end. Come up from the back of the icing and lay the thread out in a squiggle as you’d like to have the decorative icing to look. Go back down throughout the felt, being careful not to disturb your squiggle. Make a series of couching stitches all along the squiggle to hold it in place. Sew the icing to the top of the scone, then sew the two halves together with some batting in between.
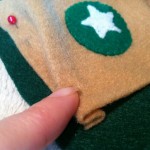
Pastry Bags: Decide if you need one or two bags. If you make all of the food, you need two! Sew the stars to the green circles to make the logos, then sew them to the center of the bag pieces. You will be making a pleat in the bottom of each side of the bag, like in the photo to the right. Sew the edge of the bag down until you are an inch from the bottom, then sew through the edge and the fold above it. Sew across the bottom, then through the edge and the fold for an in, then up the edge to the top. Leave the top open for a pocket.
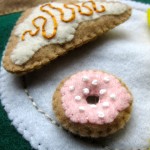
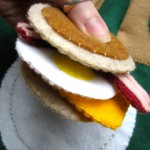
   

Plate: Sew the plate down to the background then pin the stitch template to the center. Stitch around the template with gray thread to make the plate edge.
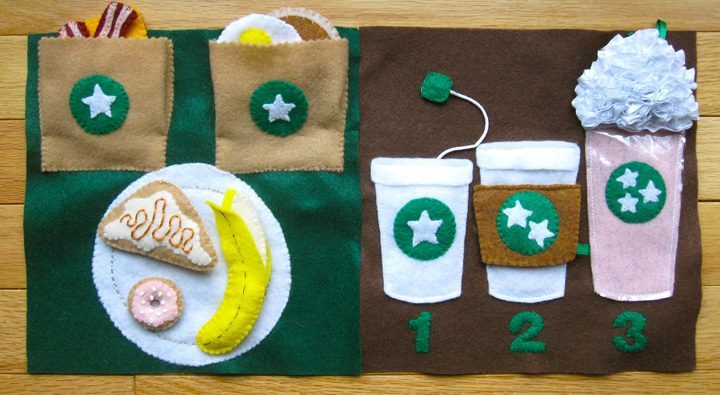
I’ll be sewing this page into the quiet book beside the Starbucks drink page. The logos tie together and you can dunk the donut in the tea or put the strawberries on the plate.
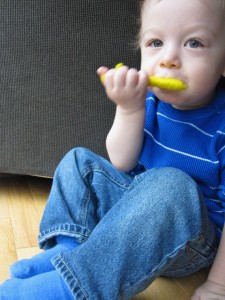
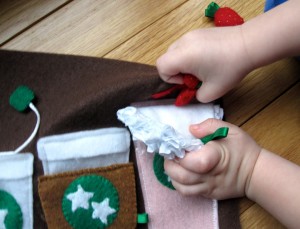
 

If you use this pattern, please add a comment or link to me. I really would love to see your version! Jax loves these pages and had a meltdown after I finished taking pictures and put it away. His favorites are the banana and strawberries (neither of which he likes to eat in real life, silly boy!)
Here is an update on this page.

Hungry yet?

Link-o-rama

Happy Tuesday! Last night was rough (toddler teething), so it feels like the week is lasting forever. But, the baby is napping, chick pea & veggie curry is in the slow-cooker and I’m settled in working.

Here are some links I’ve collected lately:

  • I don’t take sugar in my tea/coffee, but I adore these DIY sugar cubes!
  • I’ll be posting another quiet book page today. I posted a sneak peek on Facebook.
  • Aw! My boys are in a photo contest! (And so am I!)
  • Treehouses! Go, look!
  • A glitter play dough tutorial.
  • Here’s a video of Jax saying a few words. He doesn’t always like to parrot words back for me, but I am going to try to record him regularly.

Apple Butter

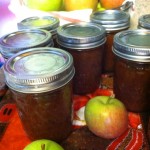
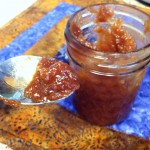
I made my first batch of apple butter this weekend. I also canned for the very first time!

I was sure when I headed to be that I had messed something up somehow. I’d followed all the directions, but the buttons on the lids weren’t sucked in. I didn’t realize the jars had to cool overnight before they depressed. I headed upstairs with an angry, tired toddler (he’d had to wait while I timed the canning process) feeling defeated and swearing not to try canning again.


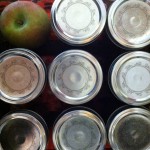
I woke this morning to all 8 jars of apple butter sealed (Dan thought he just heard one pop, but they look fine!) A nice surprise before starting my Monday work day.

I put 20 cups of apples, 2 cups of sugar, 2ish tablespoons of cinnamon and a ½ teaspoon of ground cloves in the crock pot all day to make this. So, so tasty! I ended up with 9 8oz jars for apple butter.

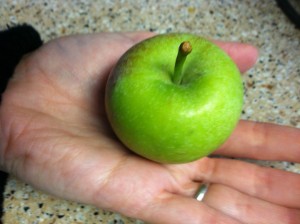
And, how cute is this wee, tiny apple Jax picked?

Sunday Souvenir – Letters

A simple post, as my day has been busy and went downhill right at the end.

When looking through my mother’s things, I found this letter she wrote my grandma when she was 8. The flowers make me happy – especially the little red swirls. So fifties and girly and sweet!

In my grandma’s things, I came across this letter I sent them when I was 5. I believe my mom died in June of that year, just before my fifth birthday. So, I’m not sure whose handwriting this is. Not my lefty dad’s! They wrote with two styles of a’s. I don’t remember anything I wrote about, but I know once i was in elementary school, I had sitters before school then stayed at school in the “after school program” in the cafeteria until my dad got off of work.

Leave a comment if write a Sunday Souvenir and you’d like your link to be added!

Jax’s 20 Month Painting

It is so, so pretty outside! The husband is cooking chili (My apple butter can wait till tomorrow. Chili, yum!), sun is shining and the baby finally took off his cranky pants.

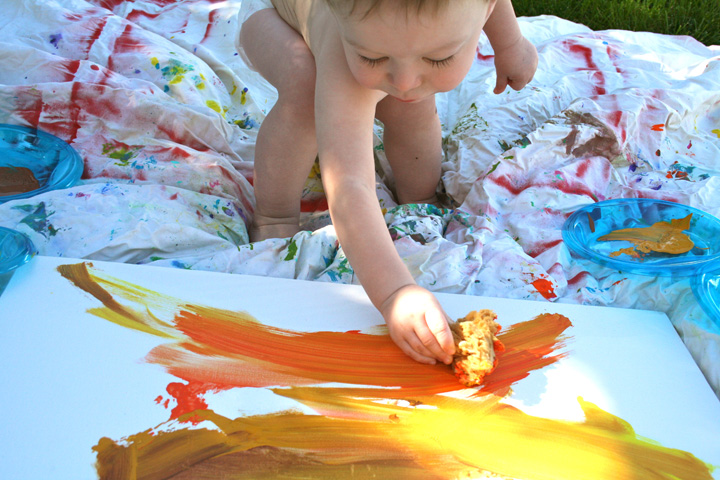
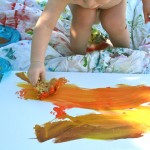
We took advantage of the warm fall weather to do Jax’s 20 month painting. This time I added a sea sponge and showed him how to blot with it. He did a couple times, but them switched to using it like a brush with big strokes. We used autumn paint colors (mostly because that is all I have left!)

Apple Picking

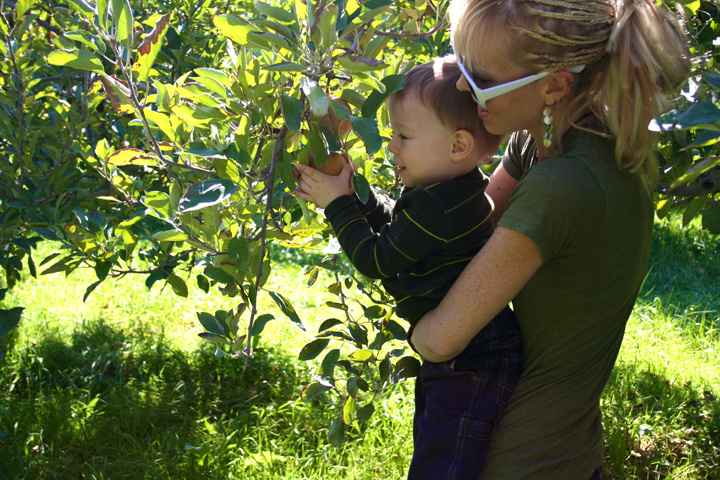
We went apple picking today! I can’t wait to make a big batch of apple butter with part of our haul! To read all about our outing and see the full gallery, visit my personal blog.

What else should I make with our apples? We got 16.66 lbs!

Link-o-rama!

a photo from the orchard

We went apple picking today (I’ll post pictures soon!) and it put me in the mood for all things October!

I’m planning a Halloween craft tutorial for this month, once I finish designing it and get a couple supplies I’m missing.

Here are some autumn and Halloween links to inspire you!

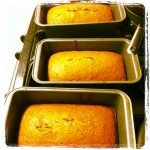
Autumn Pumpkin Bread

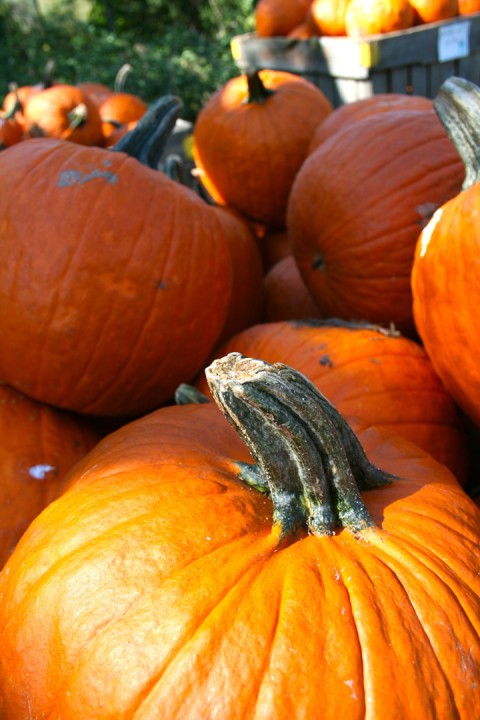
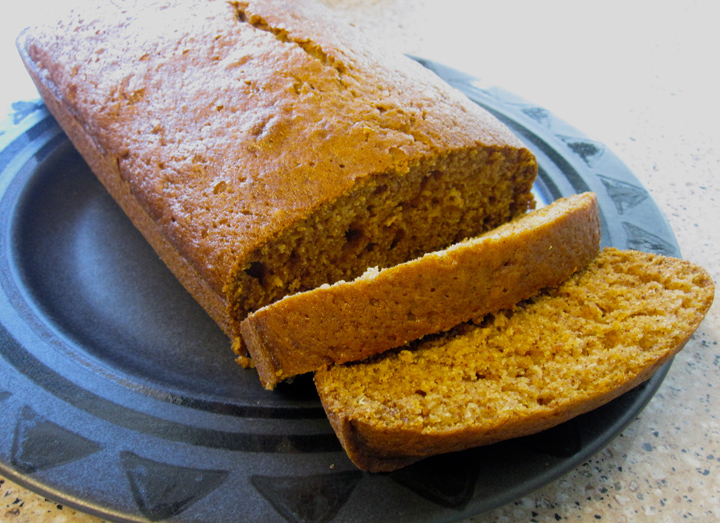
Mmm! I love pumpkin bread in the fall (and all year round!) I’ve already baked 2 batches!

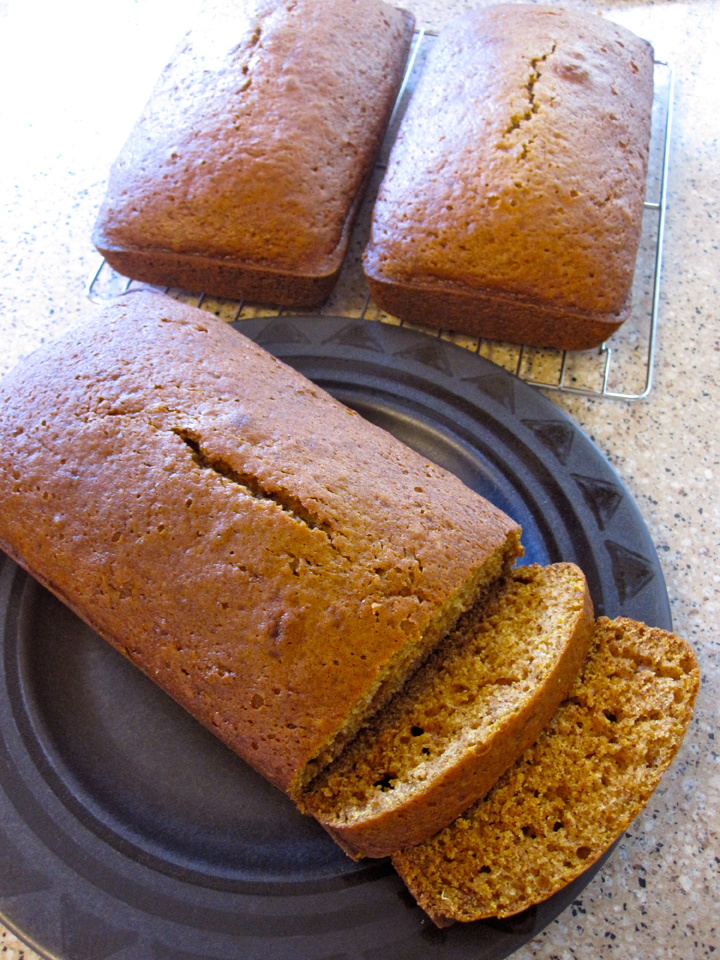
The recipe I’ve used for years makes either 3 short loaves or 2 full size loaves. I like to split the batter into 3 pans so I can give extra loaves away. If you just make 2, you’d probably need to bake them longer.

I’m not sure where the original recipe was from, but I’ve changed it a bit over time to make it spicier. Here’s what you do:

Ingredients

  • 1 15oz can of pumpkin puree
  • 1 cup of vegetable oil
  • ⅔ cup of water
  • 4 large eggs
  • 3 cups of white sugar
  • 3½ cups all-purpose flour
  • 2 teaspoons baking soda
  • 1 teaspoon salt
  • 1½ teaspoon ground cinnamon
  • 1 teaspoon ground nutmeg
  • ½ teaspoon ground cloves
  • ½ teaspoon ground ginger

Preheat the oven at 350° F and grease 3 loaf pans. I think ours are 9″x 5″. In a large bowl, mix the wet ingredients (pumpkin, oil, water and eggs) then add the sugar. In another bowl, mix the dry ingredients (flour, baking soda, salt and spices). I like to sift mine together, but I’m a bit addicted to my sifter! Add the dry to the wet and stir until it’s all mixed. Pour the batter into three pans and bake for 50 minutes. (My batter fills the pans ⅓ of the way and the loaves bake up to ½. So you could definitely just use two pans and bake a little longer for larger slices.

Yum! Pumpkin bread is so good with some hot chai tea!

Baking bread is on my Autumn Fun List, but I still plan to bake some yeast bread this weekend.

Dinosaur Quiet Book Page

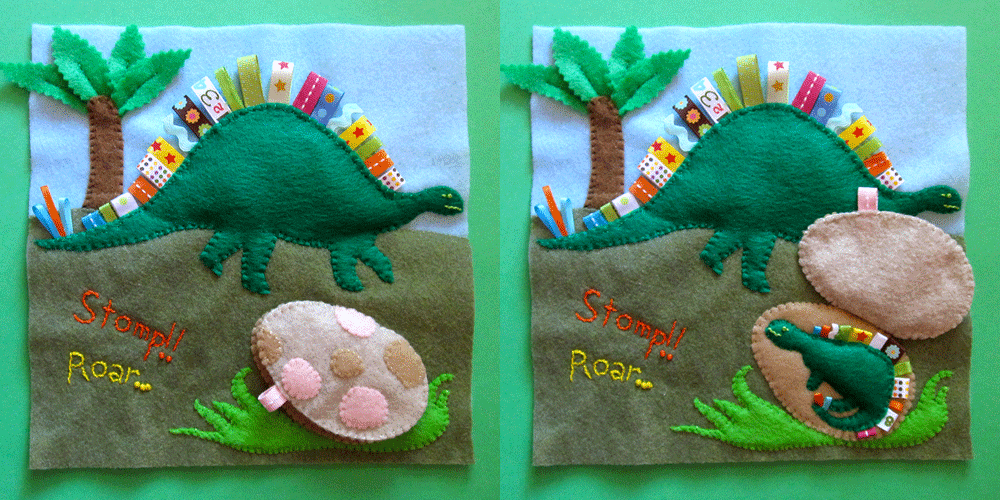
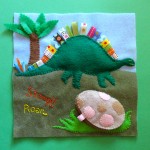
Dinosaurs! Roar! Here’s the next page in Jax’s quiet book. His book is seriously going to be 10″ thick… And there are more pages I want to add. I still haven’t decided how I’m going to do the cover/case.

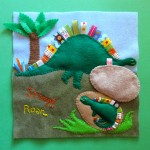
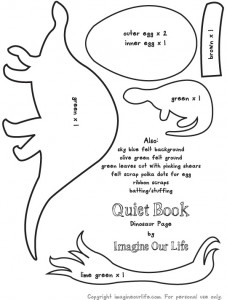
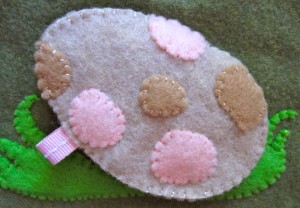
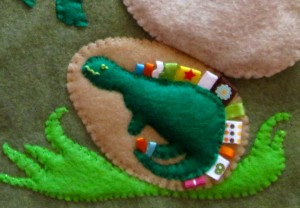
This is a fairly simple page. It has ribbons for texture and a peekaboo flap with a baby dinosaur inside an egg. Here’s what I used: sky blue background felt, olive green ground felt, lots of ribbon scraps, felt (in 3 shades of green, brown, natural (the egg), camel (inside the egg and some spots) and pink (spots on egg)), batting/stuffing, pinking shears and embroidery floss to match.


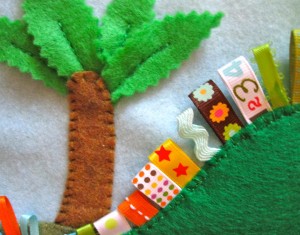
Start with your sky blue background piece. Cut a piece of felt for the ground. I used olive green and cut a slight hill into the top. Pin the tree trunk in place and sew the ground down. Cut some leafy fern shapes out of green felt with pinking shears. I made 4. Sew them in a fan shape at the top of the tree. I sewed up the middle about 3/4 of the length. Sew the tree trunk down.

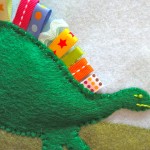
Dinosaurs: To make the faces, I made a stitch for an eyelash then a French knot eye. I stitched the smile in stem stitch. Stitch loops of ribbon along the spine – shorter at the tail and neck. Stitch long, thin “spikes” to the end of the tail. I used all kinds of ribbons and rickrack from my stash (many were scrapbooking ribbons) but you could use all one color.

Egg: Start out by sewing the grassy nest down where you want the egg to be. I cut 2 pieces for my egg out of a natural colored felt and one out of a camel color for the inside of the egg. Sew the inner egg to the grass and sew the dinosaur baby onto it. I took scraps of pink and camel to make splotches to sew onto one piece of the egg shell. Be creative and decorate your dinosaur egg however you’d like! Layer a loop of ribbon between the two outer egg pieces as a handle, then sew them together. Sew an inch long section of the outer egg down to make the flap.


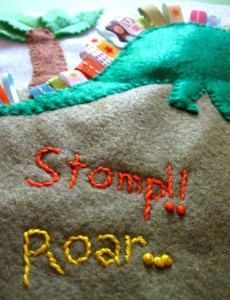
To finish up, I sewed the big dinosaur down, then embroidered freehand “Stomp!! Roar…” into the lower left corner. You could do the same, or have a big “D” for dinosaur.


If you use this pattern, please add a comment or link to me. I really would love to see your version! I think I’m in love with the little baby dino.

Do you like the page?

Life via Instagram

Here’s my second installment of Life via Instagram! I’m a little overwhelmed that it’s already October… Didn’t summer just start? Here are some of the photos I posted to Instagram (username @iolstephanie) in September.

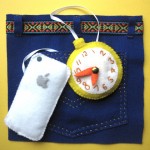
iPhone & Pocket Watch Quiet Book Page

This page is dedicated to the late Steve Jobs, whose innovations shaped my generation. RIP.

Another page done for the quiet book! Phones and clocks are classic pages that are almost always included, but I just wasn’t feeling the rotary phone and boring clock.

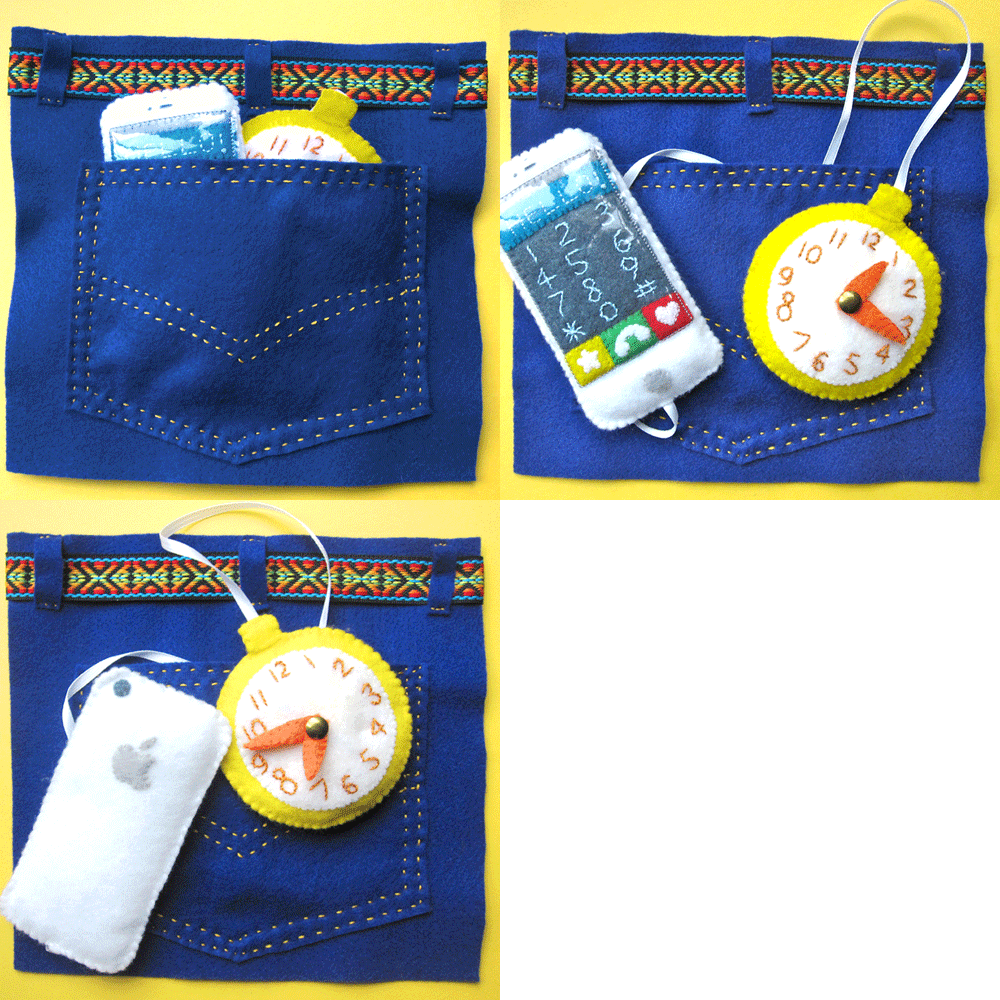
When I started brainstorming how to update them, I knew I wanted to do my white iPhone. Jax has a play phone app and loves to hold it up to his ear and say “Yeah-Oh?” (hello). I wanted to combine the clock with the phone since both deal with numbers and using household gadgets. My first idea was to have a slap bracelet covered in felt with a felt clock face to make a wristwatch, but I thought the scale wouldn’t work. Since phones go in pockets, I settled on a pocket watch and a big jean pocket to put them in!


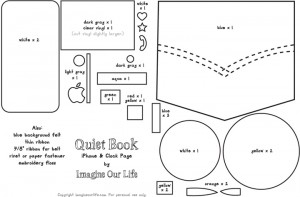
My materials were: a 9″ blue felt square (you could use denim or even cut up jeans, but both items might not fit in the pocket), felt (in white, red, orange, yellow, green, aqua, blue, white, dark gray and light gray), clear vinyl, batting/stuffing, thin white ribbon, 7/8″ – 1″ wide ribbon 1 inch longer than your page width, a paper fastener and floss/thread to match. Everything was hand-sewn except the vinyl, but you could use the machine for parts.

Sewing the iPhone: I appliqued the symbols to each button and outlined them in white stitching. I hand-stitched the phone numbers to the dark gray screen in stem stitch and the “HELLO!” to the aqua header in running stitch. I sewed the buttons, header and light gray top bar to the screen then sewed that to the phone front. I sewed the home button to the front as well, then did some embroidery and a French knot to make the speaker and front camera. On the sewing machine, I sewed clear vinyl over the phone screen. On the back of the phone, I sewed the camera circle and Apple logo. Layering batting and the end of a white ribbon, I sewed front and back together.

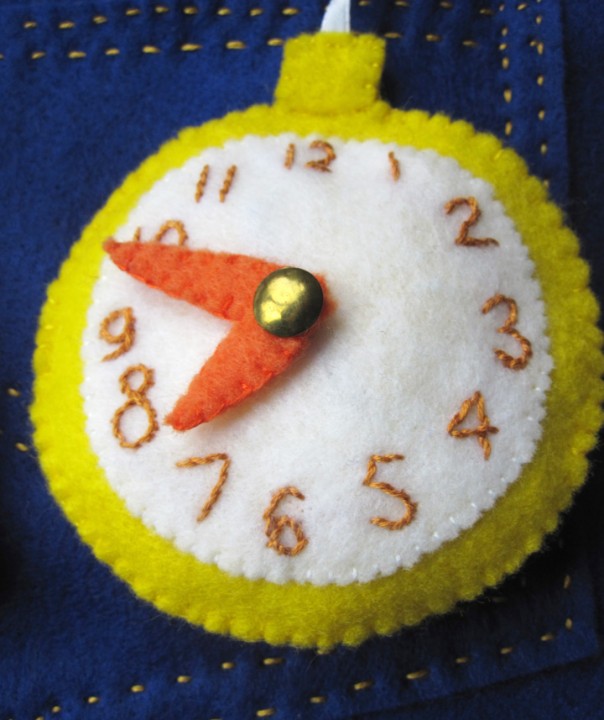
Sewing the pocket watch: I hand-stitched the clock numbers to the face with stem stitch. I made the clock hands by sewing two layers of felt together for each, then pushed a paper fastener through the ends of both. I pushed the fastener through the clock face and bent the backs so that there was plenty of height for the hands to turn around. I sewed the face to the front of the clock. I sewed the end of a white ribbon between the two pieces of clock dial, then layered that and some batting between the two clock sides and sewed them together. I actually added a small rattler to my clock. I got a stained baby toy for 50 cents at the thrift store and cut it open. I don’t need my quiet book to be silent.

I decorated my pocket with two rows of stitching along the top and used my paper pattern to do two rows for the decorative arch. I sewed the other ends of the two ribbons down under where the pocket would go, then sewed three sides down with double rows of stitching. I sewed the three belt loops on and ran a ribbon through it, tacking it down on each side on the back.

What do you think? For more free quiet book patterns, go here! If you use this pattern, please add a comment or link to me. I really would love to see your version!