Tag Archives: Crafts

Sewing Basics – Blanket Stitch

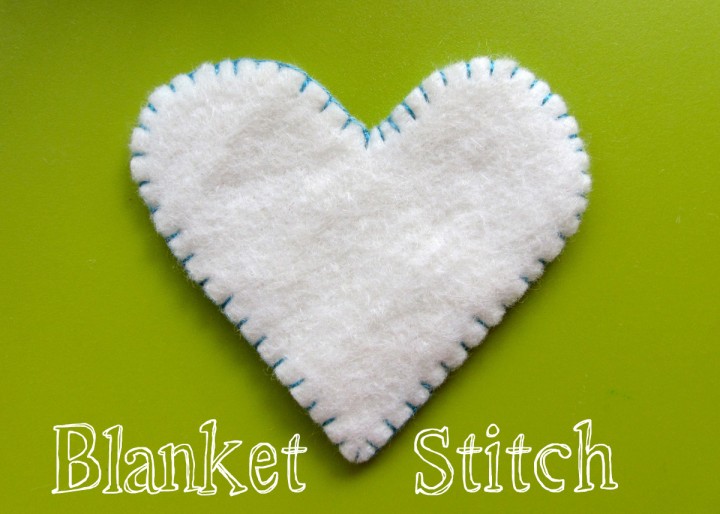
I often get asked how I sew the various loose elements that go with my quiet book pages. For the most part, I use a blanket stitch. Here is a little tutorial with a few tips and tricks I like to use.

Cutting Out the Shape


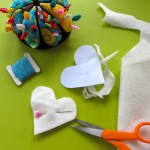
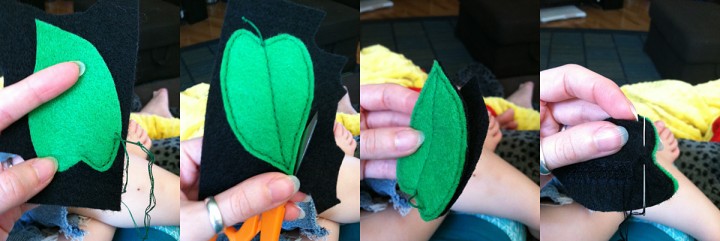
When an element has a front and back, I like to cut both sides out at once so they match up well. Since most felts have a softer “front” side, I fold my felt sheet and pin the pattern piece to it so I end up with the soft felt out for both sides of the element. I cut the shape out loosely at first, because it can be awkward to hold the whole sheet while cutting. Then I go in and cut it accurately. I remove the pattern paper and trim any uneven edges and felt fuzzies with sharp scissors.

Starting to Sew


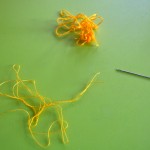
I use two strands of embroidery floss when I sew. See my detailed tutorial on how to thread your needle with 2 strands here. Basically, you cut your thread twice as long as you’d like to work with, separate out one strand of the 6, fold it in half, and thread it through your needle, loose ends first. This will give you a loop at the end of your thread.

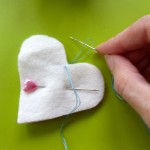
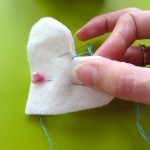
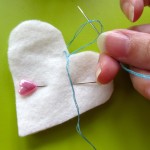
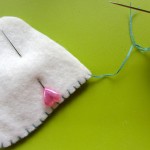
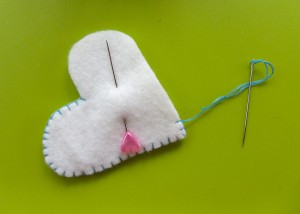
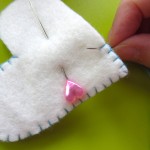
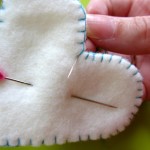
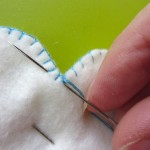
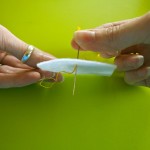
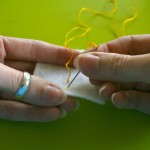
Decide where you want to start stitching. I like to choose a less visible place. Here I chose the inner corner of the heart. Bring your needle up from behind, but don’t pull the thread all the way through. run your needle through the loop at the end of the thread and pull tight. Start the next stitch by coming up from behind. Again, don’t pull the stitch tight yet.


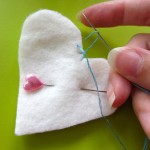
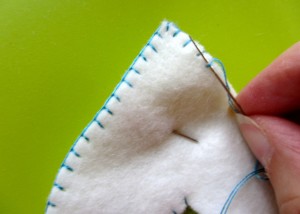
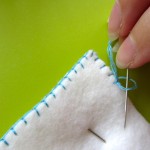
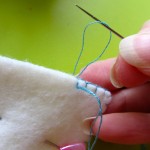
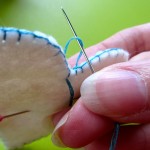
Run your needle from front to back through the loop, then pull the stitch tight. Repeat: come up from the back, don’t pull tight, go back through the loop and pull tight. When you get to a corner, it’s best to do a stitch straight into it. That way your corner stays defined. Continue on until your thread starts to get short.

Ending a Thread


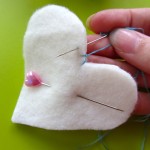
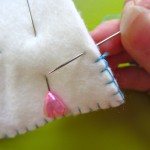
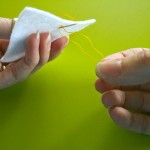
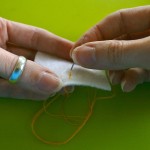
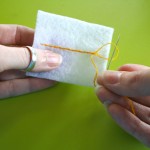
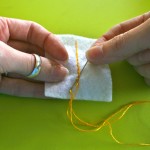
But what happens when your thread gets too short and you have more to sew? Here’s what I do. Start by flipping your piece over and run your needle through the last stitch you made. Don’t pull it tight yet.


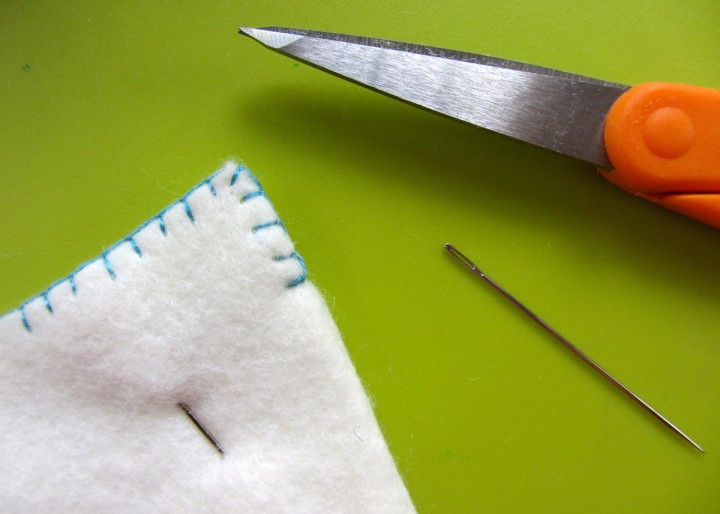
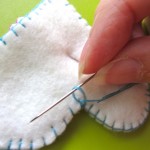
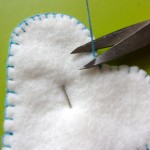
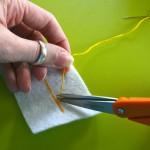
Pass the needle through the loop of thread and pull it tight. There will be a tiny knot at the edge of your piece. (Repeat this if you really want a strong hold. Or use a drop of Fray Check.) Insert your needle into the hole of the stitch and pass it between the layers of felt, coming up through the hole of another stitch. Cut the thread off flush with the felt. This will hide your thread tail inside the piece.

Starting a New Thread


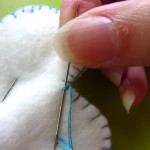
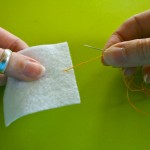
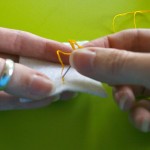
Now we need to start a new thread. Thread your needle the same as before so you have a loop at the end. Start to sew the same way you did in the beginning, but start over-top of your last stitch. This way, you won’t have a gap in the thread running along the edge of your piece. Bring your needle up from behind, but don’t pull tight. Go back through the loop of thread and pull tight. Move over and come up through the felt from behind to start the next stitch. Continue on in blanket stitch.

Finishing Up


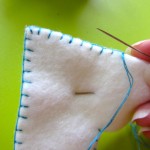
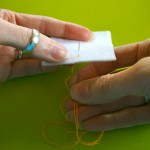
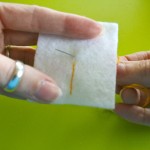
Finishing up is pretty much what we’ve been doing before. In order to not have a gap in the thread along the edge of your piece, Make a stitch over-top of your first stitch. Then, on the back of the piece, run your needle through the stitch and back through the loop of thread to make a knot. Pass the needle down through the stitch’s hole, between the layers of felt, and back up through another stitch’s hole. Clip close to the felt to hide the thread tail.

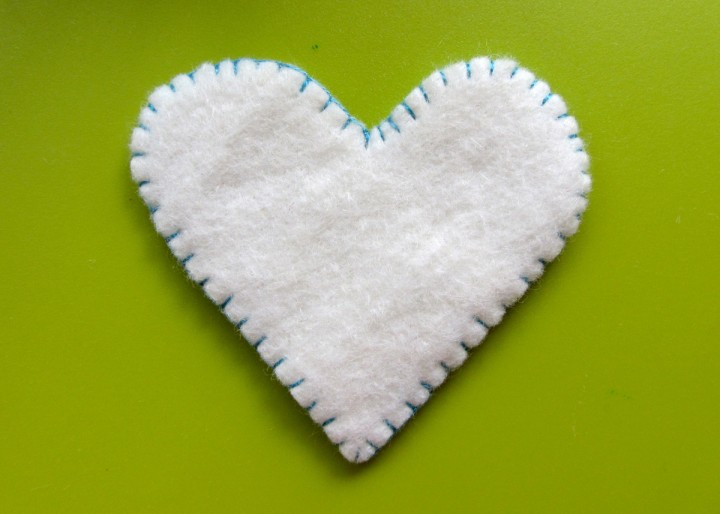
All done!

Camping Quiet Book Page

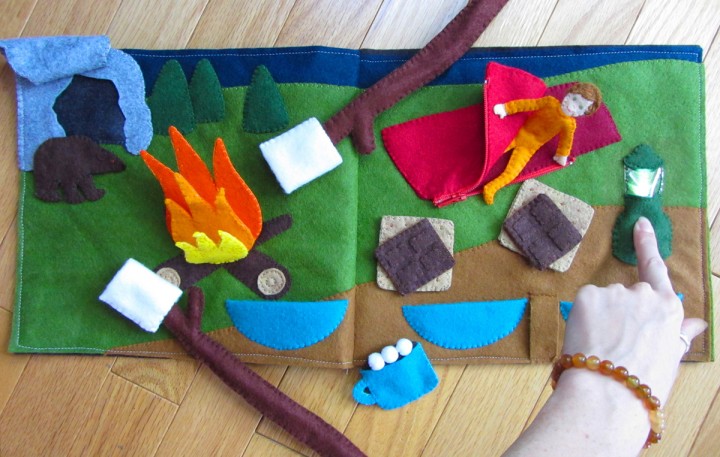
Camping! S’mores! Lanterns!

This page is sponsored by American Felt and Craft, who provided the felt and crinkle material. When AF&C reached out to me about providing felt for some of my designs, I knew it was meant to be… The next page I had planned to make was a camping one, and the gorgeous earthy colors available in wool blend felt were so perfect for it. And crinkle fabric to make my camp fire crackle? Yes, please! Read more about American Felt and Craft here. Read more about my thoughts on wool blend felt here.)

.

Let’s Go Camping!

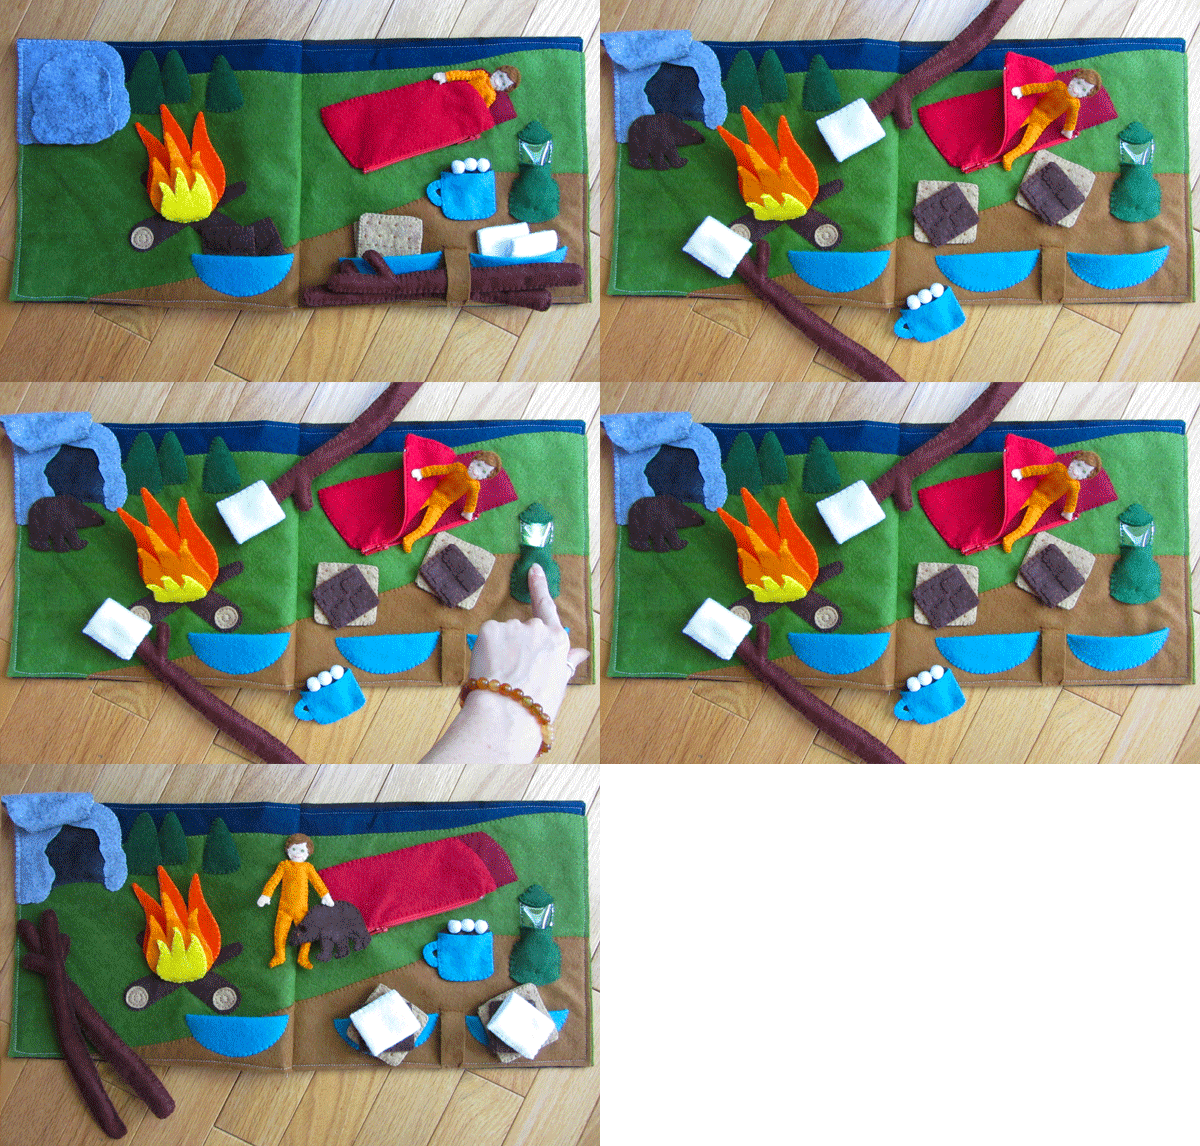
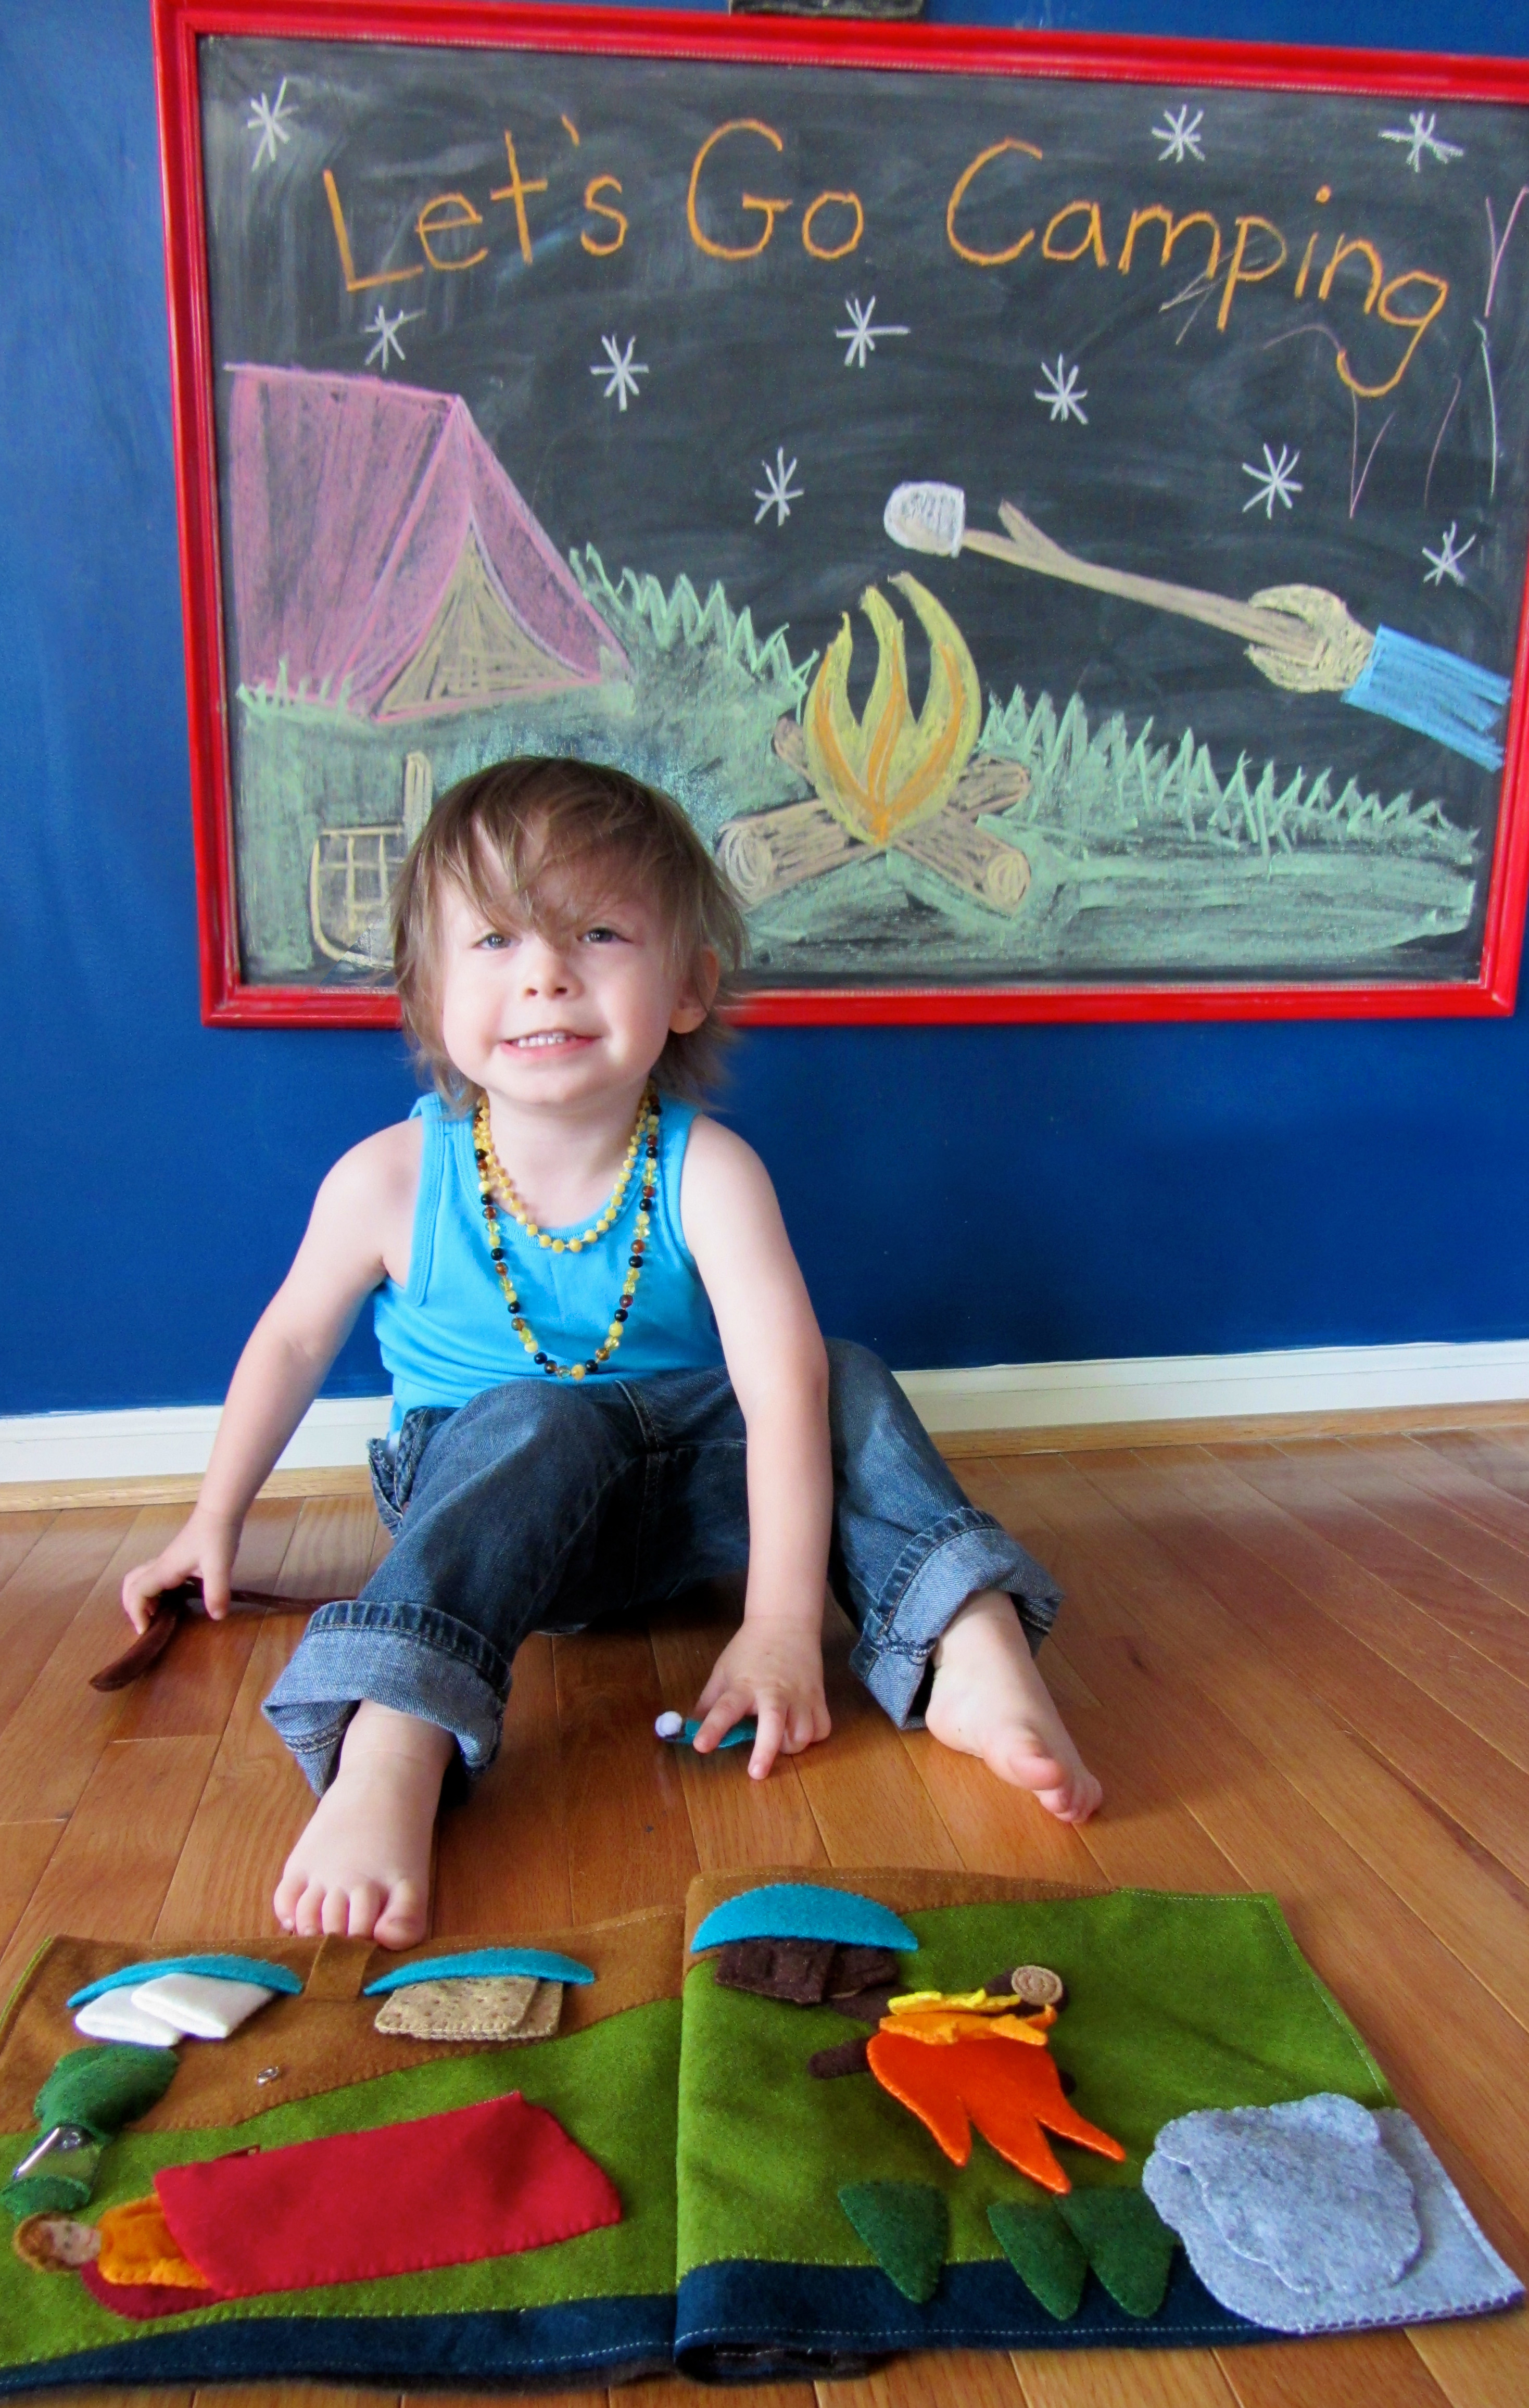
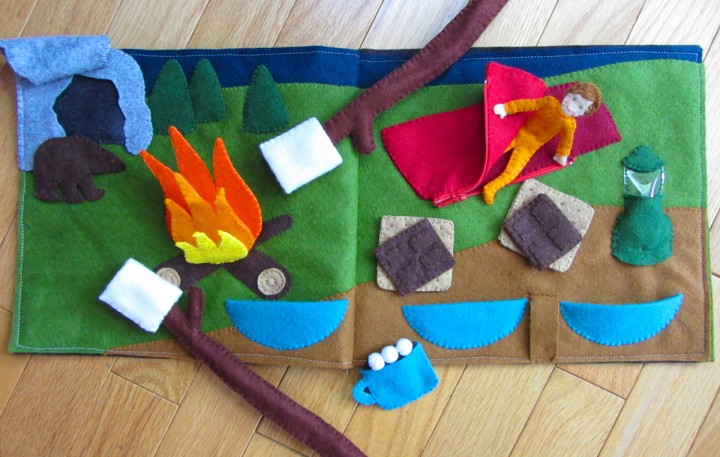
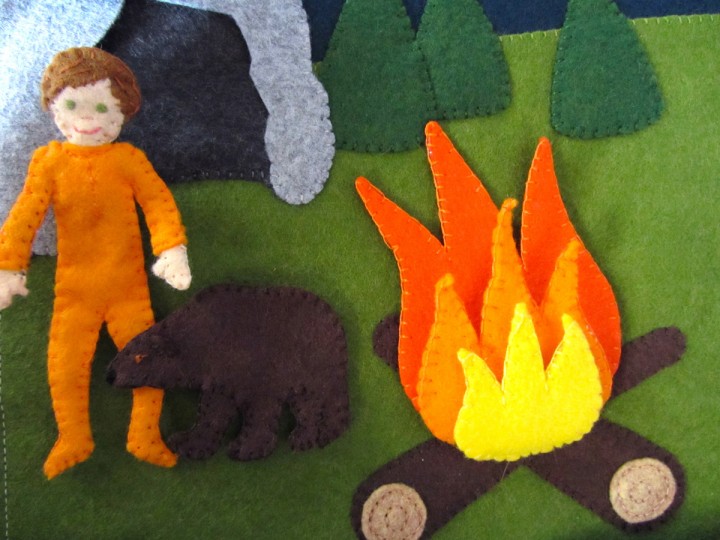
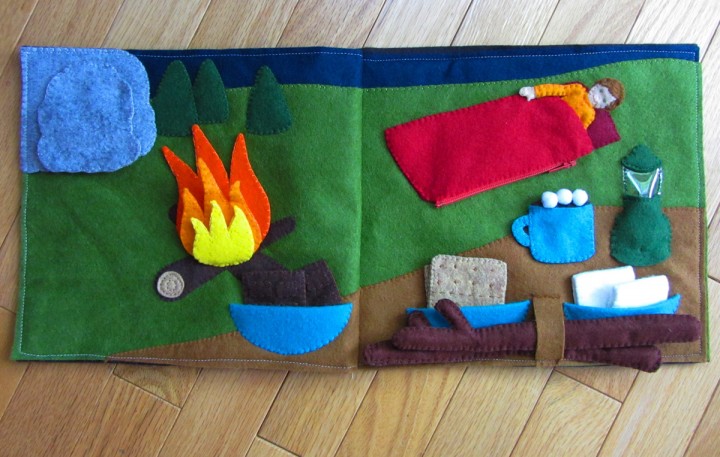
This page is a lot of fun to play with! There is a zipper on the sleeping bag – something Jax needs to practice. Inside is a little bendable mini-Jax to play with! There is a cave hiding a cute baby bear, a lantern that lights up when you press on it, hot cocoa with marshmallows, a crackling camp fire and all the fixings to make s’mores.

What I used:

The Background: I started with two sheets of cilantro felt and cut them away at the top to make the hills. You need to make sure the two sides line up where they will be sewn together at the center seam. I placed strips of wild blueberry felt behind the cilantro to make the night sky. I sewed the hills to the sky. I then sewed the table pieces to each page, making sure they lined up where the center page seam will be as well. I sewed the three pine trees down before starting on the cave.

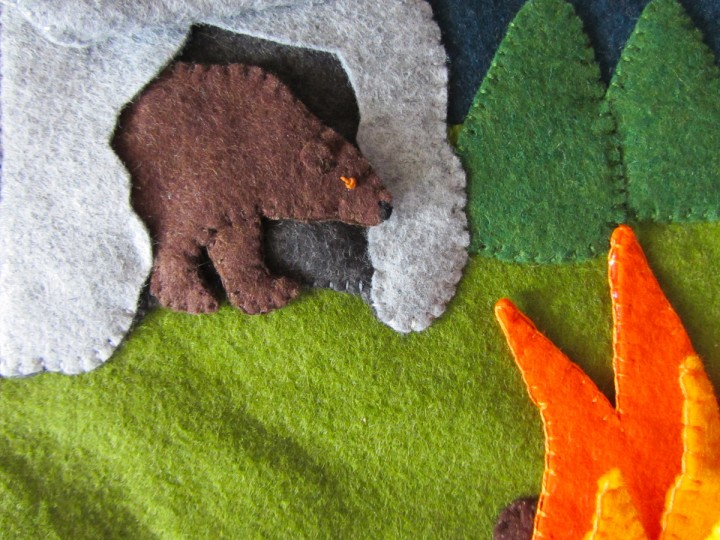
The Cave: I sewed the cave interior down in the corner of the page, then sewed down the cave front, leaving the arch of the cave entrance open (see above photo.) I made the cave door by sewing the two door pieces together, then sewed it down into a flap along the top.

The Baby Bear: I first sewed the two sides of each far leg together, then pinned them between the two sides of the main bear body. I sewed a French knot eye with a little stitch in the corner on each side of the bear’s face. I stitched the bear together around the outside, then satin stitched his nose.

The Sleeping Bag: I pinned down the sleeping bag interior piece on top of one side of the upside-down zipper, folding the extra zipper tape under. I stitched along the edge of the felt, securing that side of the zipper. I then sandwiched the two outer sleeping bag pieces around the other side of the zipper (as shown above) and sewed along the zipper. To finish the sleeping bag, I sewed the two outer pieces together where the above photo is marked yellow, then sewed the outer pieces to the interior pieces (and the actual page) where the photo is marked green.

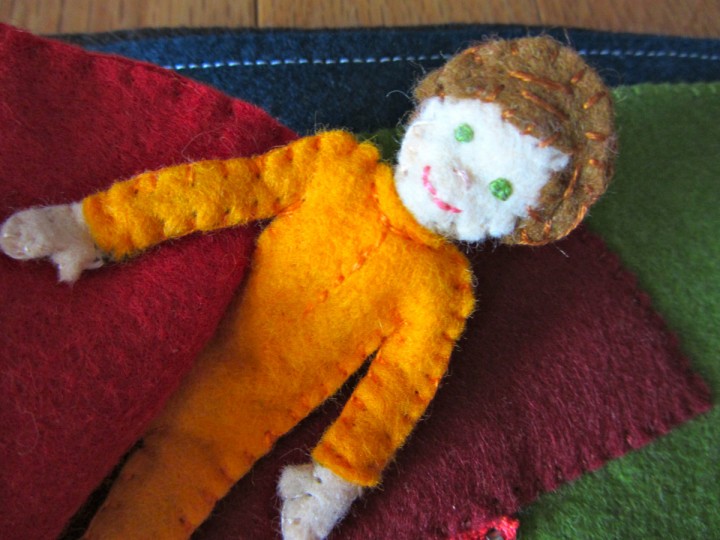
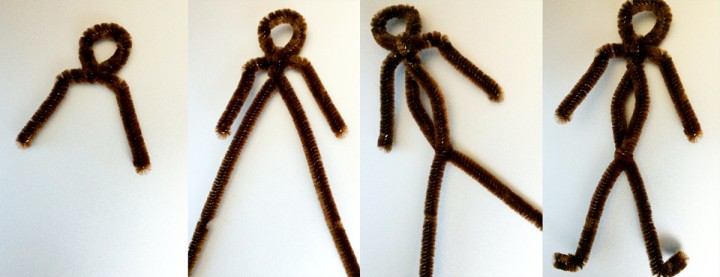
The Child: I made my child a mini Jax. I’ve included a drawing of girl hair in my pattern. I started by making an armature out of pipe cleaners. See the below photos for how I did mine. I laid the pipe cleaners on top of the pattern as I made it to be sure it would fit. (when working with the pipe cleaners, always fold over the ends so there aren’t any sharp pokies to hurt your little one!)

I started sewing the felt with his head. I embroidered his face (French knot eyes, a small stitch for the nose and a back stitch smile) then sewed the front and back head pieces on to the armature. I then sewed the front and back hair pieces on and added some stitches to show the hair. I sewed the hands on, then sewed the pajamas on. I added back stitching to the neck and chest.

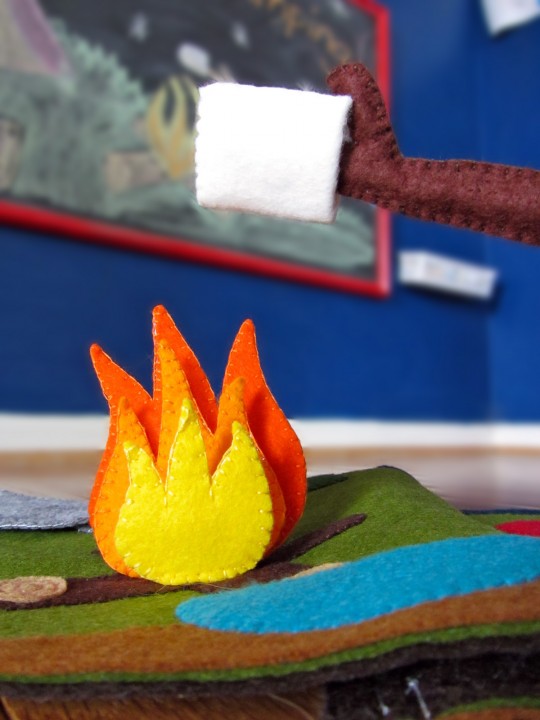
The Camp Fire: For each of the three camp fire flames, I pinned the pattern piece on to two pieces of felt layered around a bit of the crinkle fabric, then cut through all 3 layers. Then I sewed around the outside of each. I sewed the two logs down to the page in an X, and sewed on the log ends with back stitched circles. I layered the flames together and sewed them to the logs along the bottom. The crinkle material gives the flames enough stability that the camp fire can stick up when the page is laid flat.

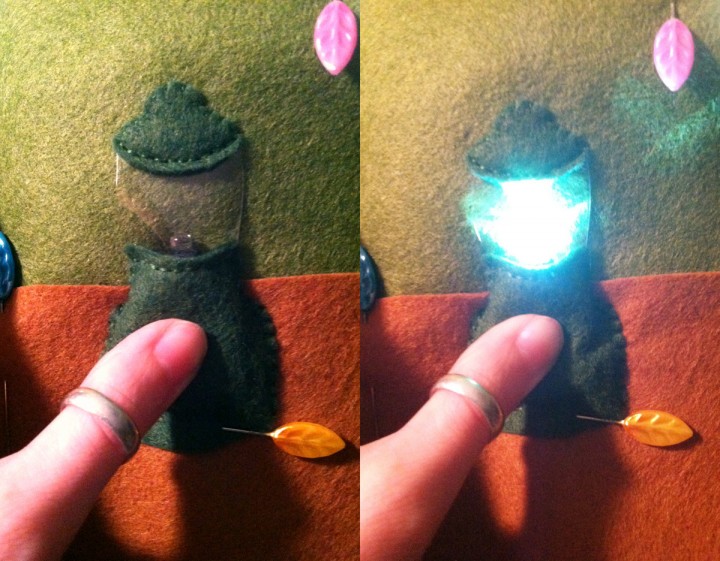
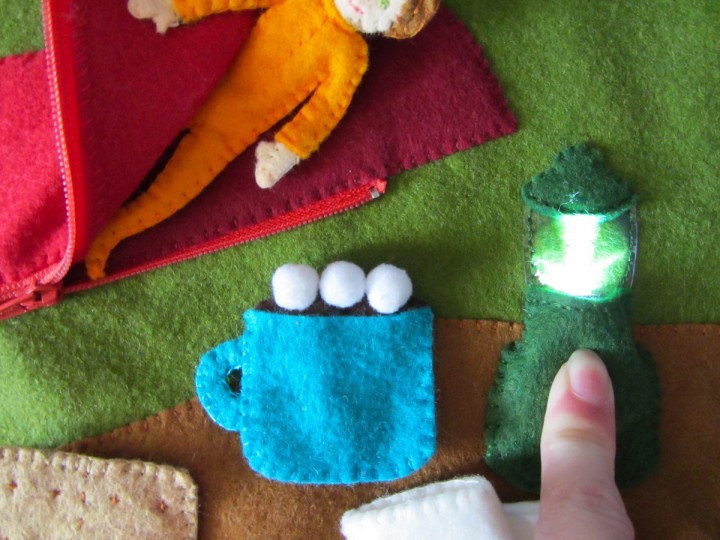
The Lantern: The body of the lantern is drawn to wrap around the LED light I bought. You’ll have to modify it if you use a different light. The light is a keychain, so I pulled off both metal rings that came on it. I started by sewing the bottom of the lantern glass to the lantern body. Then I laid the light in place on the page and sewed the lantern body down over it on the left and right sides (so that the bulb of the LED sticks up into the window.) Leave the bottom open, but sew a snap on to hold the light in. This way, you can get it out to change the battery. I sewed the top of the lantern on, then finished it by back stitching the sides of the glass.

The S’mores:

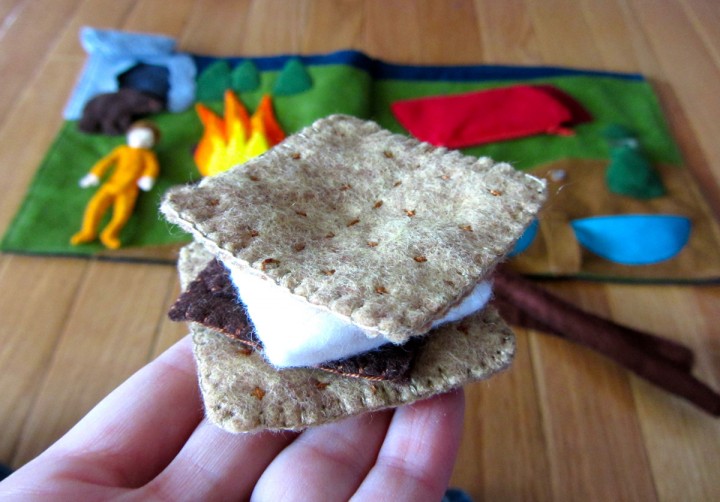
Marshmallows: I folded my square of felt into quarters, then stitched it into a tube as shown in the photo above.  I sewed the inner tube, sewed the outer tube, then around the bottom edge to sew the two tubes together. You could cut your felt in half first then sew one tube inside the other.

Graham Crackers: The crackers are stitched on both sides with a dashed line down the center, then little + stitches to make the “holes”. I then stitched the two sides together. I made two, but you could make 4 if you prefer.

Chocolate: The tops of the chocolate had 4 rectangles sewn on before I stitched the front and back together.

The Bowls: I simply sewed the folded bowl shapes and sewed them to the page along the curves.

The Sticks: The sticks each have a pipe cleaner insider them. I folded the extra length back at the top, then out to make the branch. I folded the extra bit of branch back to the main stick and twisted it the secure it. I then sewed the felt over the pipe cleaners. I added a loop of felt to the table to hold the sticks.

The Hot Cocoa: I started by sewing three mini pom poms to the hot cocoa. Make sure they are on there good and secure! That’s the first thing Jax tried to pull off! I sewed the top of the hot cocoa to the mug back. I stitched the handle together, then layered it between the front and back of the mug as I sewed them together. I added a snap to hold the mug on the table.

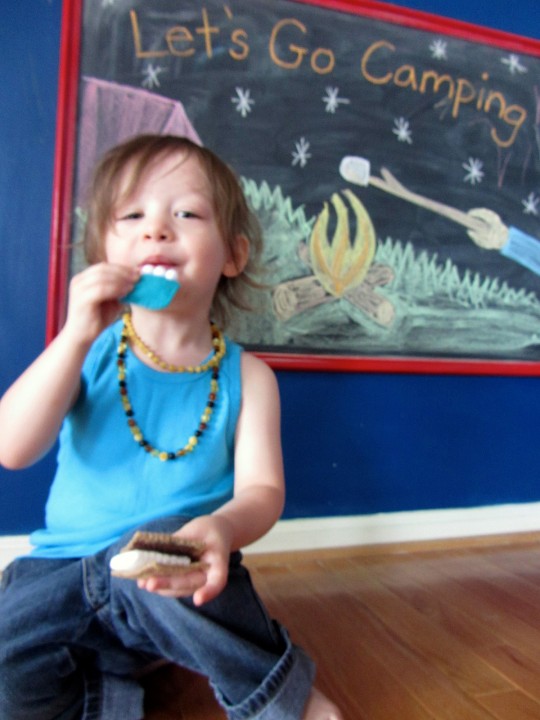
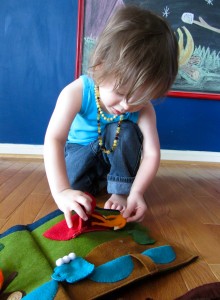
Jax is having a great time with this page. I think his favorite item is the hot cocoa and marshmallows. He loves the mini Jax, but can’t work the zipper yet. It will be good practice for him.


The Giveaway! I am super excited to announce that we’ve teamed up with AF&C to host a giveaway featuring many of the supplies needed to complete this page! One winner will receive the felt and crinkle material needed for the camping page, plus a mini LED light and a piece of clear vinyl for the lantern from my stash.

PLUS, two more winners will each receive a mini LED light.

Ready to enter this great giveaway?

a Rafflecopter giveaway


Reader Gallery – Baking Cupcakes

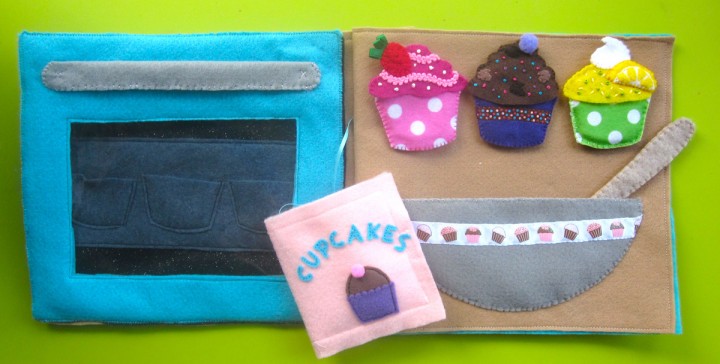
My original page.

I have some super creative readers! I love when you guys take my patterns and change them, embellish them or completely twist them into something unique and new!

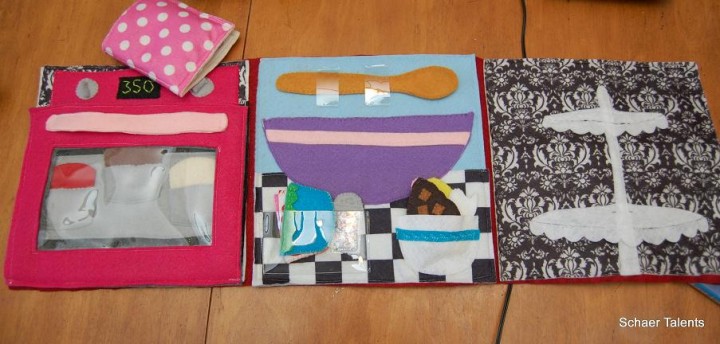
Here is a version of my cupcake page sewn by Jaclyn S.

My goal was to make this page even more interactive by making the eggs open with the yoke inside and I liked the idea of being able to take the butter out of the wrapper. I used a lot of clear vinyl which a got from clear pencil bags from target. I didn’t want to take the extra time to embroider the ingredients so I just printed it out, colored it and sewed it behind the vinyl. Super easy! I wanted to add the cupcake stand page because I wanted a place to show off the cupcakes after they had been decorated! (See more here.)


Karima did something completely unique – she turned the page into a playmat, also added my watermelon, tea and mug.


And Courtney and Victoria changed the colors and trims which gave the page a whole new look!


Mermaid Felt Embroidery Art Piece

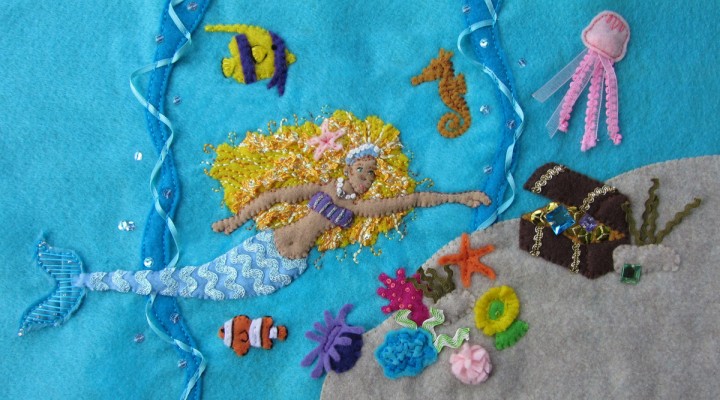
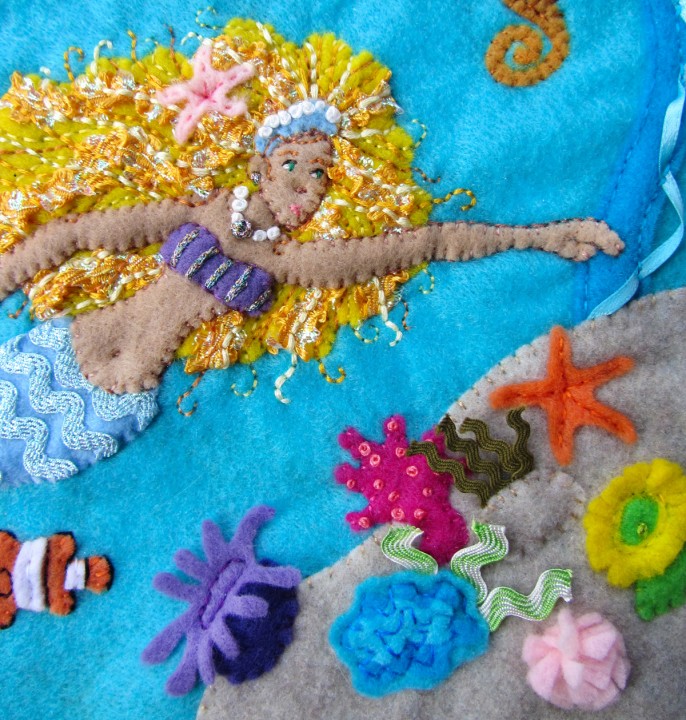
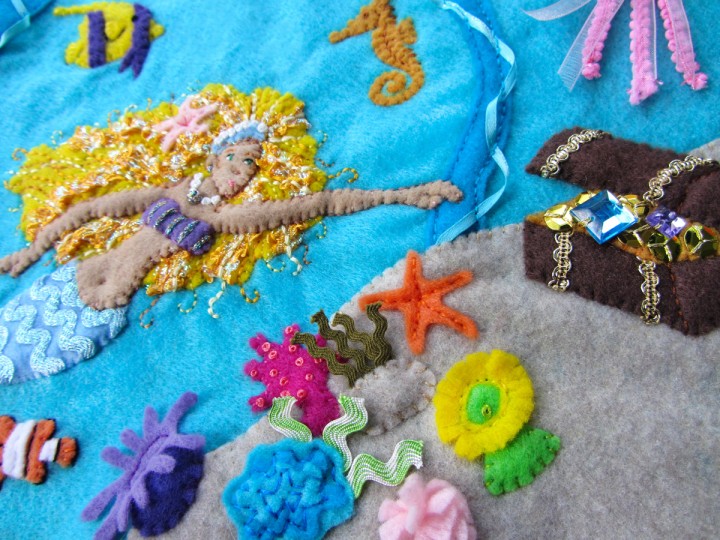
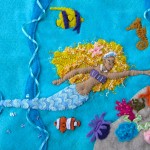
I took a little break from making quiet book pages and patterns to do some sewing purely as a creative outlet. I wanted something that could be used as the newest masthead at the top of the blog (Not reading this on the site? Come see!) and also be framed and hung up on the wall of my craft room that doesn’t exist yet. I am placing this in with the quiet book pages as I am including the pattern and suggestions for a page.

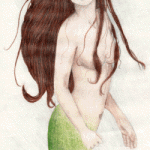
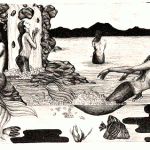
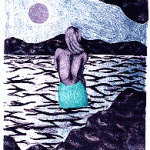
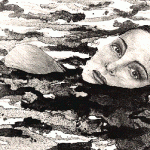
I’ve always loved mermaids. My major in college was studio art, with a focus on graphic design and printmaking. I especially loved doing lithography. Most of my printmaking work features fairies, angels and mermaids. Here are a few photos of my college mermaid art. The colored pencil drawing is probably from my senior year in high school. My dad shocked me the summer before that school year by buying me a $70 color pencil set. I found these photos on my computer last night. They were taken in 1998!! Thus the tiny file sizes. One day I’ll need to get the portfolio out and take better ones.


I also always wanted to be a mermaid for Halloween, and I didn’t want to do it halfway. Without a pattern, I sewed together my vision of a mermaid costume. I used a stretchy sparkle fabric so the skirt could be long and narrow, but I could still walk. There was some interfacing built into the fin to give it shape. I hand sewed a zillion and a half scale-shaped sequins all over it. I bought cheap party favor shell necklaces and cut them apart to hand sew to a nude bra. I added a lot of accessories made from shells and fake pearls. I loved it and ended up winning a Halloween costume contest!


Back to the felt! I’ve been working on this for the past 2 weeks while waited for supplies for the camping page to arrive. Because I had sewing time to fill, I kept adding and adding to it!

I drew out a quick pattern for the mermaid and treasure chest, but cut the rest by hand. The two fish and the yellow and green anemone were based on this pattern, but cut by hand. I spent a lot of time on the hair, using 4 colors of thread and a ruffly trim for texture. I kept sticking more and more color into the coral reef. I really could have gone on forever, hehe. I love how it came out!

I am including my mermaid pattern by request. Click here to download it. You could easily make her into a little doll to go on a quiet book page. Just cut two of everything except her face and top so she has a front and back. You could make both her and the chest snap off the page, and perhaps those free fish as well!


If you use the mermaid pattern, I’d love to see what you make with it! Email me or stop by the Facebook page.

Baking Cupcakes Quiet Book Page

A quick note:
Don’t forget to enter out blog-iversary giveaway for a chance to win a kit to sew
your very own Farmer’s Market quiet book page! You have until Wednesday.

I am super excited to have this page all done. It’s one of the pages I’ve known I wanted to do since I was first introduced to quiet books. I waited to start planning it because I really wanted to go all out. I’m glad I have so much experience now, because it turned out just how I envisioned!

Baking Cupakes Quiet Book Page

For those of you who belong to our Facebook page, you’ve been seeing a lot of sneak peeks and progress photos while I’ve made this page. I plan to continue that since it is much easier to update there ten make a ton of small progress blog posts. Make sure you join if you don’t want to miss out! (On another side note, I’ve had people ask how they can support this site and my free patterns. You can check out a little page about it here.)

everything put away for storage

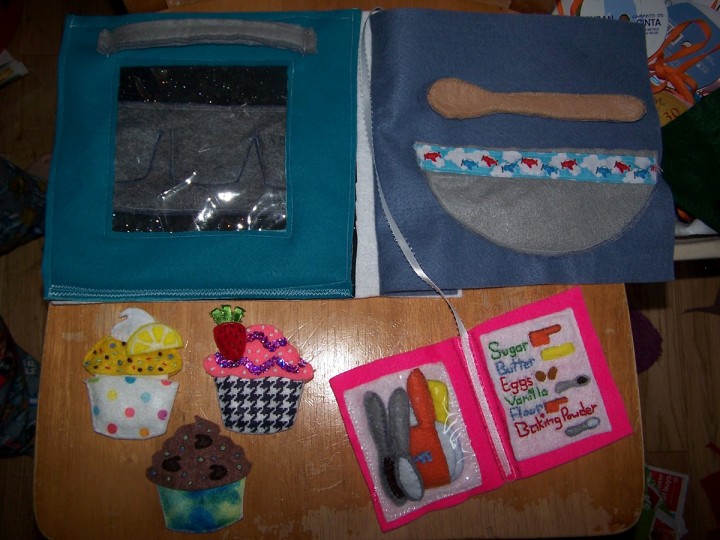
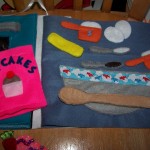
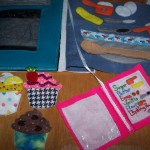
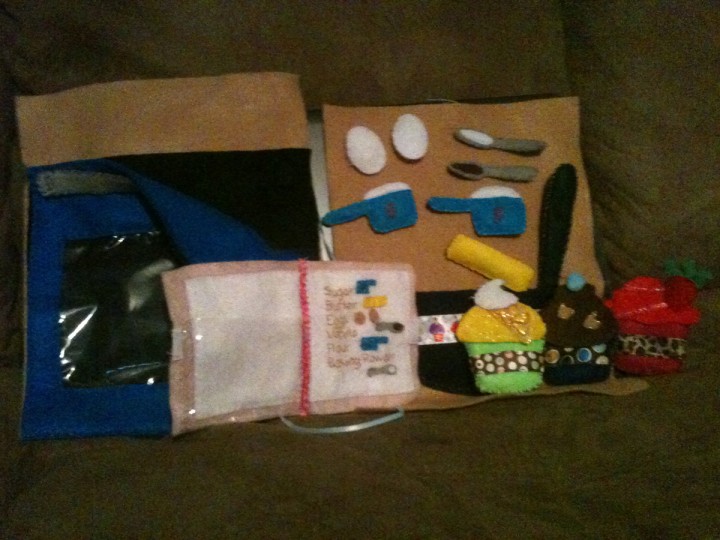
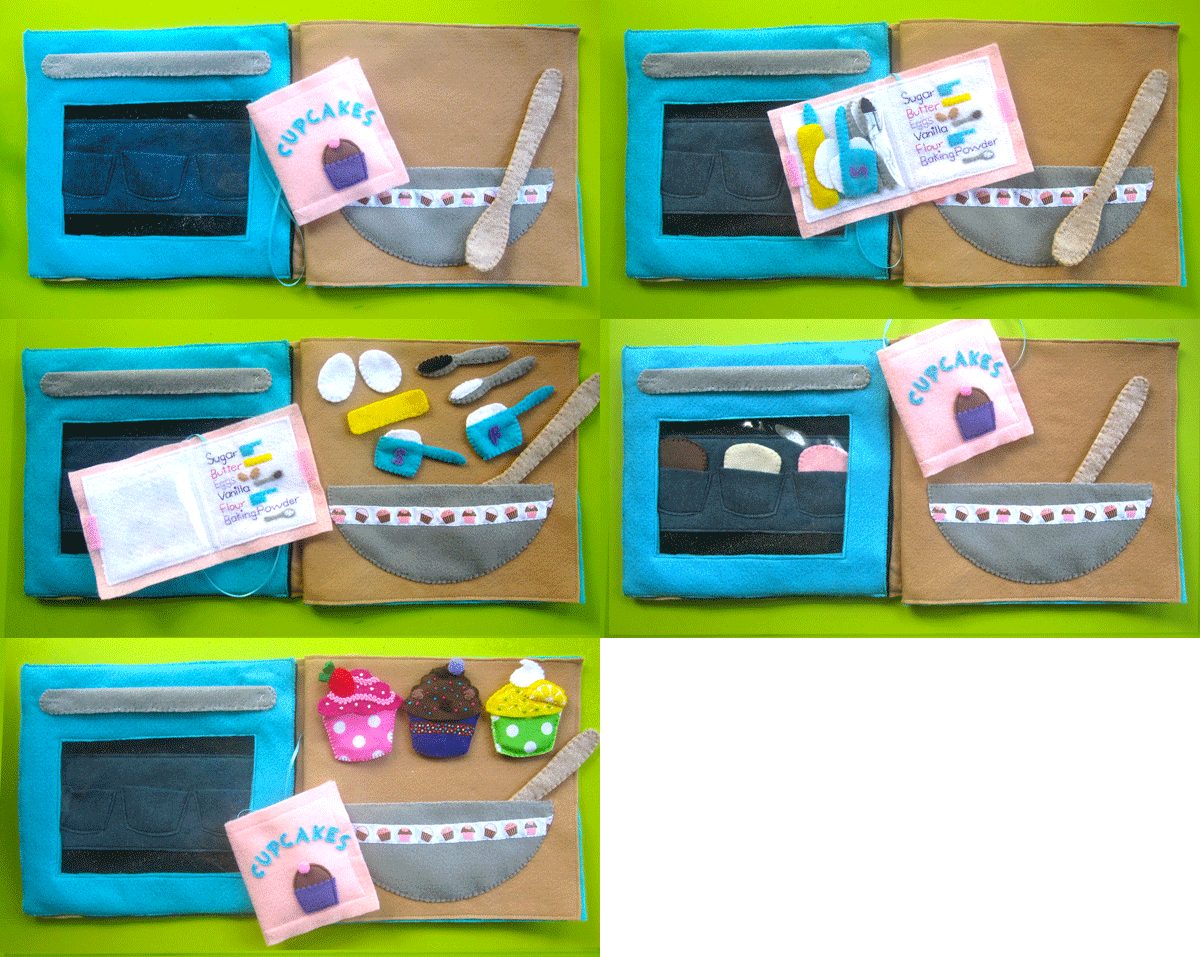
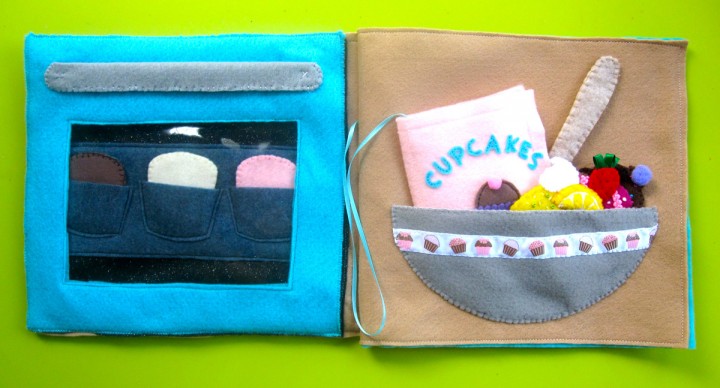
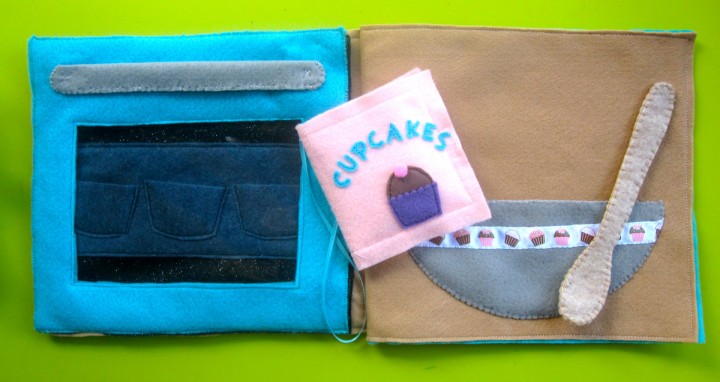
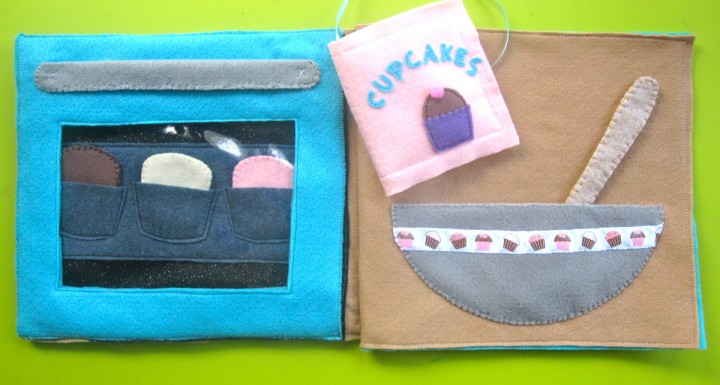
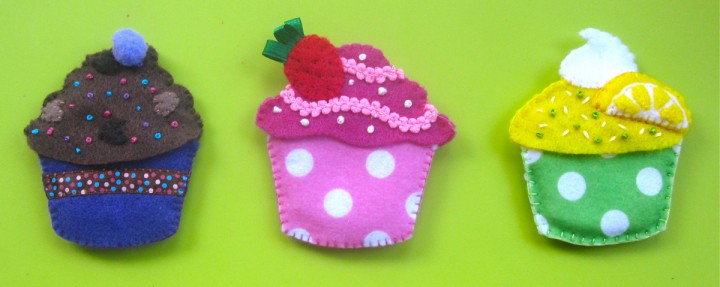
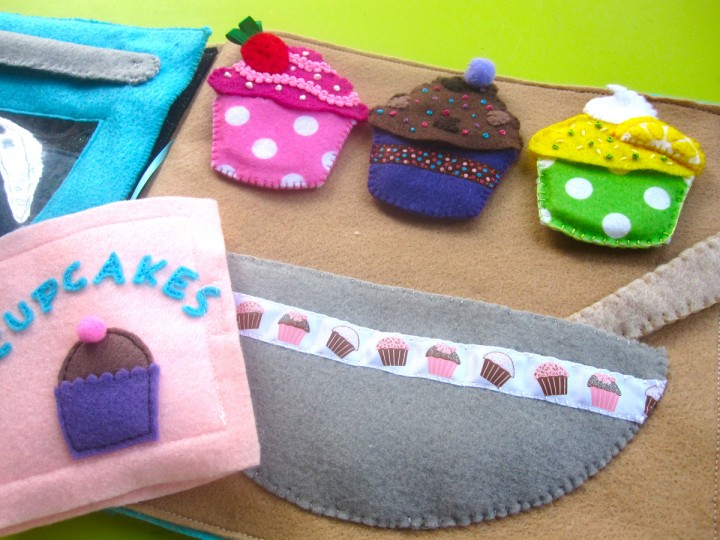
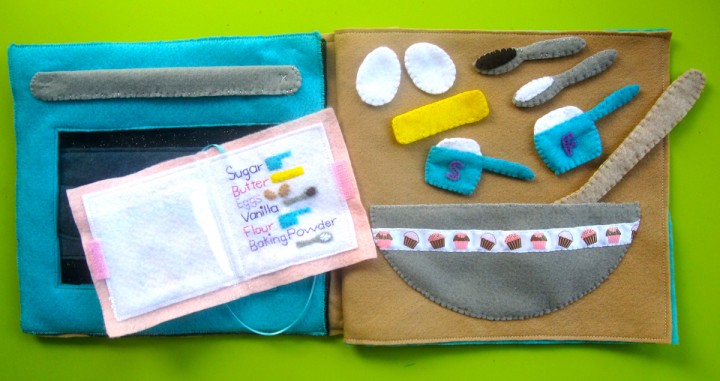
This page is another pretend play page featuring cooking (like out Let’s Cook Breakfast page.) The left side features an oven with a cupcake pan, the right side has a mixing bowl and recipe book. The recipe book holds cupcake making ingredients, and the mixing bowl stores cupcake parts and a spoon. There are three cupcakes: chocolate, strawberry and lemon, and they all come apart into three pieces. This is very good practice for manual dexterity. Jax can put the cupcakes in the cupcake tray, but he is still learning how to fit the frosting on top of the cupcake (it goes on like a hat.)

What I used: the pattern, 2 sheets of tan background felt, a 9” x 9” black glitter oven background felt, two 9” x 9” aqua oven door pieces with window holes, felt (in gray, dark gray, white, pink, hot pink, red, yellow, aqua, lavender, purple, cream, cocoa, brown, dark brown, natural and tan), clear vinyl to fit oven window and recipe pocket, two magnetic purse snaps, a scrap of Velcro, two small pompoms, thin aqua ribbon, green ribbon for strawberry stem, decorative ribbon for mixing bowl (mine is this, but from the craft store) and embroidery floss to match.


Oven: I used my sewing machine for the whole oven to speed it up. I started with the cupcake pan’s tray, sewing the 3 cups on like pockets. Then I sewed the tray down to the oven back (I used glittery black – $0.99 for one sheet at the store, but plain black would work too.) I sewed 3 layers of the oven handle together to make it sturdy, and stitched it to the top of the front piece of the oven door. I took two scrap squares of felt (2 pieces thick each) and installed the male half of a magnetic purse snap in each. I sewed these on to the inside piece of the oven door at the top corners. I sandwiched the clear vinyl in the window I cut out of the two door pieces, then sewed all around both it and the door itself. I went around the outside of the door a second time with a zig-zag stitch. I sewed the black oven inside piece down to the left side of my tan background and zig-zag stitched the oven door to the bottom. I installed the other halves of the purse snaps through both the black and tan layers of felt once I saw where the snaps lined up. I sewed the page backing to the whole page, making sure not to sew the oven door closed, then set it aside until the right-hand page was complete.

Mixing Bowl & Spoon: I sewed some decorative ribbon to the bowl (just because I wanted a reason to use it!) front and sewed the front to the back along the top. I then sewed the bowl to the bottom right of the tan background all around the bottom. I sewed the whole page to it’s backing, then sewed the two facing pages together with a length of aqua ribbon caught in the seam. (This will be used later for the recipe book.) I Sewed the pages together like this.

For the spoon, I cut three layers of felt to make it sturdy. I then trimmed the oval part of the top layer about 2mm smaller than the other layers. I sewed them together all around the edged with a blanket stitch, lining up all the edges exactly. This caused the bowl of the spoon to curve like a real one would.

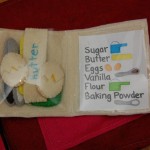
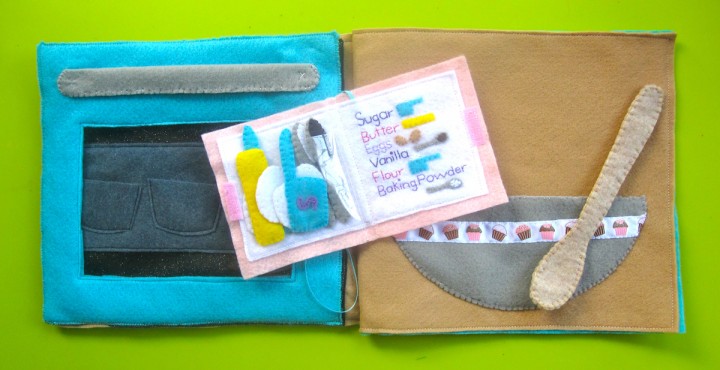
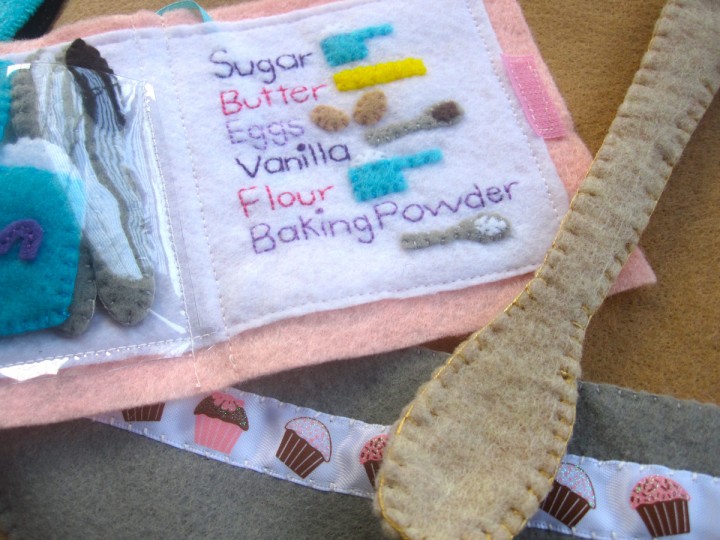
Recipe Book: I started out by stitching the recipe to the right side of the white felt “page”. I did mine totally by hand, but I later made up a pattern for you. The text is done in back stitch. The little felt pictures are sewn down in my usual applique technique of tiny perpendicular stitches around the edges. I sewed the white sugar, flour and backing powder with gray felt to make it show up more. I decorated the cover by back stitching the felt letters on, sewing down the cupcake and adding a pompom. I ran my needle straight through the pompom to sew it on.

I pinned the white page down to the inside of the cover and laid some clear vinyl over the left-hand side and the other end of the aqua ribbon sandwiched in like a bookmark. I sewed the page down, and made two vertical lines of stitched up the middle to make a book spine and close the right side of the clear pocket. I finished the recipe book by added a little Velcro to close it. I happened to have pink in my stash from years ago.

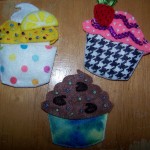
Cupcakes & Liners: The actual cupcakes are simply blanket stitched together all around the edges. For the cupcake liners, I trimmed the tops with my pinking shears to give that zig-zag look, then sewed the fronts to the backs along the sides and bottoms to make little pouches. I also added polka dot ribbon to my chocolate cupcake’s purple liner because I didn’t have the right polka dot felt. You can use whatever felt you’d like for your liners. Be creative!

Lemon: I sewed the four lemon segments to the cream colored rind, the sewed the rind to one of the yellow semi-circles. I sewed the two semi-circles together into the lemon wedge, then sewed it to the front of the lemon glaze. I also outlined mine with an orange-y thread to make it stand out more. I decorated both the front and back lemon glaze pieces with lime green French knots and cream colored stitches to look like sprinkles. I sewed the front and back together, leaving the bottom open so it can go over top of the cupcake and liner like a little hat. I then layered the two whipped cream pieces around it and sewed them together as well.

Strawberry: I had a little roll of pretty pink trim (mini ric-rac would work well too) I got for $0.50 at the fabric store. I stitched it down in two rows of waves on both the font and back of the strawberry icing. I made white French knots to add sprinkles. I sewed tiny brown stitches to the front of the strawberry to be the seeds, then sewed it down to the front of the icing through both layers of the strawberry. When I got to the top where the strawberry hung off of the strawberry, I sandwiched in some loops of green ribbon to make the top of the strawberry and finished the edge with a blanket stitch. I then sewed the front and back of the icing together, leaving the bottom open so it can go over top of the cupcake and liner like a little hat.

Chocolate: The chocolate is made the same way as the other two cupcake tops. I sewed down two shades of chocolate chips and added French knot sprinkles in colors to match my ribbon. I sewed a pom-pom to the top of the front. I then sewed the front and back of the icing together, leaving the bottom open so it can go over top of the cupcake and liner like a little hat.

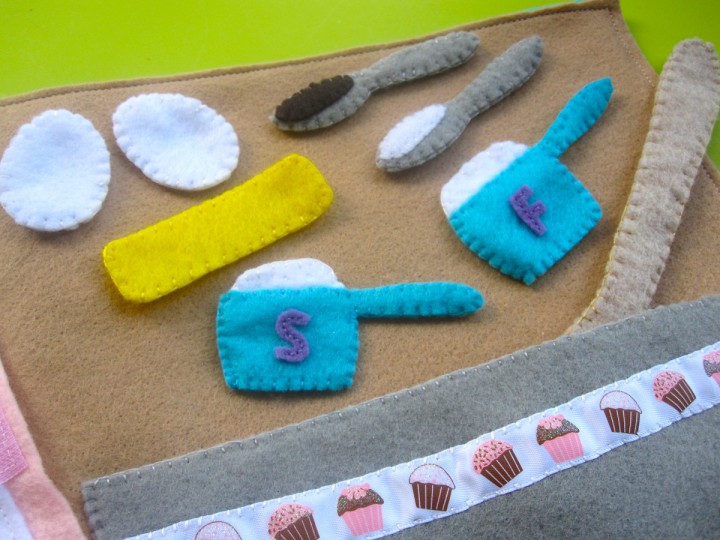
Baking Ingredients: The baking ingredients are all pretty similar in construction. They are sewn together with a blanket stitch around the outside. Where noted, I use 3 layers of felt for stiffness.

Measuring Cups: I back stitched the letters onto the front of the cups. I sewed little stitches on the white flour/sugar parts to giving it texture. When I stitched the handles, I stuck an extra strip of felt to stiffen it.

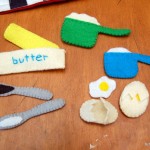
Butter & Eggs: These are all just sewed together around the edges.

Vanilla & Baking Powder: I sewed the vanilla/baking powder down tot he front of the spoon, then sewed around the edges of 3 layers of felt for strength.

And that’s it! All the ingredients go into the pocket in the recipe book. I had Jax pull them out and put them into the bowl in the order the recipe asked for. He loved it!

He keeps trying to put the completed cupcakes (liners and all) into the oven pockets. If you want yours to fit into the tray with the liners, you’ll have to make larger pockets. He loves the three flavors I made. I may end up make more in the future. The pattern makes it easy to add on.

I hope you enjoy this pattern! Please send me photos or post on the Facebook page if you make it!

Anniversary Quiet Book Kit Giveaway!

Our little blog is 1 year old this month! While I’ve been making websites since 1997 and blogging since 1998, it wasn’t until I had my little Jax that I decided to create a separate blog for all things crafty, creative and kid-friendly in our lives. It actually took a few months before I started to work on making the site because I needed a name.

When inspiration struck, it was due to two of my favorite songs: Imagine, by John Lennon and Across the Universe by The Beatles.

Images of broken light which dance before me like a million eyes,
they call me on and on across the universe.

To celebrate our 1 year “blog-iversary”, I am giving away a kit to make our farmer’s market quiet book page. This is not a completed page, but the supplies to create your own.

Included:

  • felt (winner decides if the pieces are pre-cut and ready to sew or not)
  • wooden tags (winner decides if the vegetables are painted on or not)
  • Velcro (the green Velcro will be cut into the needed shapes if the felt is cut)
  • ribbon & ric-rac
  • yellow seed beads
  • embroidery thread
  • needles (hand-sewing and beading)
  • (I do not have any more of the seed packet beads I added to my page, and they are no longer sold. These will not be included in the kit.)

How to enter:

  1. To enter, leave a comment in the blog comment form below. Make sure you fill in your email address where it asks so I can contact you if you win.
  2. For a bonus second entry, retweet the following tweet first, then tell me you did (include your twitter name) in your blog comment.

The winner will be chosen randomly in a week on Wednesday June 13th.

Good Luck!

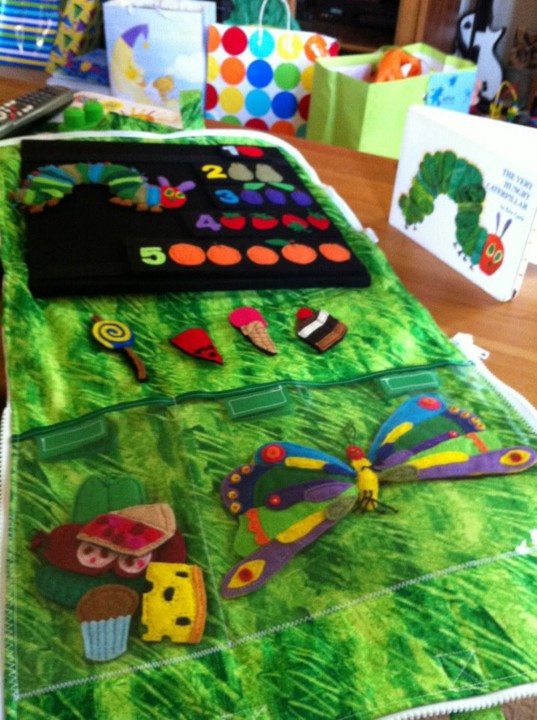
Very Hungry Caterpillar Felt Board

I’ve been quiet here on the blog while working on a large sewing project, though I’ve been posting regular updates on the Facebook page. I took a break from quiet book sewing to make a birthday present for one of Jax’s friends who was turning 2 years old. His friend adores all of Eric Carle’s books and was planning a Very Hungry Caterpillar themed party.

I’ve been itching to try my hand at making a felt version of all the pretty food featured in that book, and I was excited to finally have the perfect reason to! I knew they would appreciate a handmade gift, so two weeks before the party, I started tackling the project.
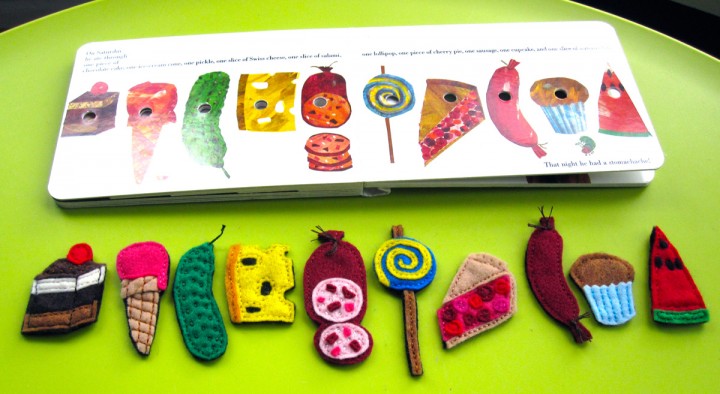
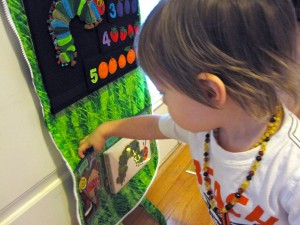
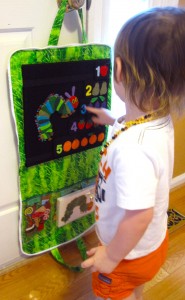
The felt items were made using only s felt from my scrap bags (I sort all my felt scraps by color and store them in freezer bags) with the exception of the black background felt. I would have preferred to have a white background like the book, but I was purchasing  felt board to save time and money, and white wasn’t an option. (You could make your own felt board by covering a blank art canvas with flannel fabric.) I purchased this black felt board. It comes in green and purple, but I wanted to easily match the background to a felt color, so I chose black. The colors really pop on it!

Because so much detail went into each piece, they were all heavy and wouldn’t stick to the board without the help of Velcro. I used Snag-Free Velcro so they wouldn’t snag each other when tucked away together in their pocket. Each item was sew to a base piece of black felt, trimmed to size, then backed with another piece of black felt with some Velcro sewn to it. I sewed to backings on by hand with a back stitch, only going through the two black layers of felt so the stitches wouldn’t show on the front.
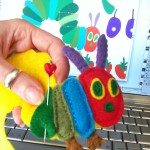
The Pattern
I’m afraid that I can’t post a pattern for this project here on my blog because I want to respect Eric Carle’s copyright. He does have a coloring sheet you could enlarge and use to make your own set. However, I have a PDF of all the sketches I did for my set, and I’d be happy to send it on to any of you lovely friends who would like to have it for your personal use. Please leave a comment below using the blog’s comment form (not the Facebook comment form – I don’t get notified of those!) In the email field, include the address you’d like me to send the PDF link to. I’ll do my best to send you an email within a day or two with the link.

Here is a quick run-down of how I made each item:

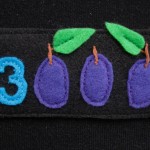
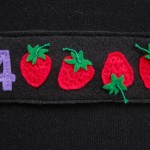
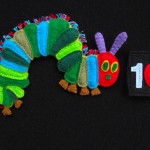
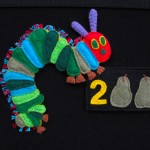
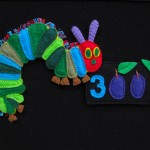
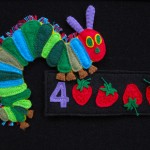
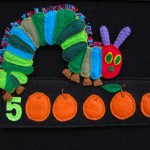
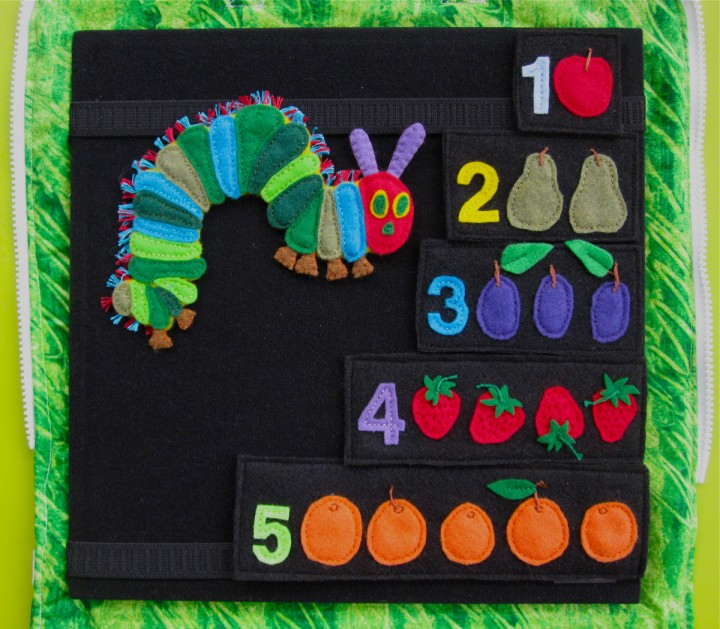
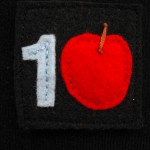
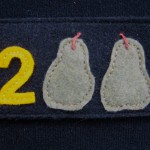
Fruits 1 – 5: For the sets of fruits the caterpillar starts out eating, I used rectangles of black felt as the background of each group instead of having tiny, separate fruits and numbers that would get lost. I sewed the fruits down to the background using back stitch and 2 strands of floss. For the stems, I used all 6 strands of floss: I made a knot in the end of my floss and came up from the back. I tied another knot flush against the felt to hold it in place, then made a knot at the end of the stem and cut of the rest. For some of the stems I went back down into the felt after the top knot to hold them in a certain position. Leaves were sewn down with a line of back stitch along the vein. For the strawberry tops, I made an x-shaped stitch in the center before doing the stem. The numbers are sewn on with back stitch down the center. I stitched little circles and open circles on the oranges to make the navels. I sewed all the rectangles to backing pieces with Velcro using the sewing machine to save time.
     

[img src=”http://www.imagineourlife.com/wp-content/uploads/2012/06/oranges.jpg” w=”600″ h=”200″]

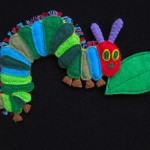
The Very Hungry Caterpillar: I tackled this guy first, as he is the star of the show. The caterpillar and the butterfly were the only ones I used yellow felt as the background for sewing down all the details (I still used black for the back side with the Velcro.) I cut his segments out of various colors of green and blue. The color variations are more subtle in the book, but I was working with what I had. Each segment is back stitched down. You may need to trim them up to get them just right – different felt stretches different amounts – especially with little, tiny pieces. for the feet and antennae, I used 3 layers of felt to make them stiff and blanket stitched round the edges.
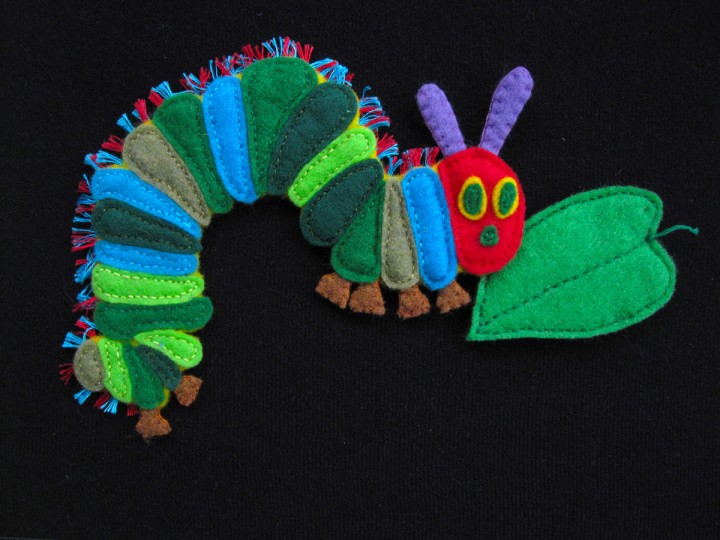
The fuzzy fringe along the caterpillar’s back was the most annoying part of the whole project, but I didn’t want to leave it out! I made each little fringe the same way I did the fruit stems, but without the knot at the end: knot the floss, go through the back of the caterpillar (the yellow piece only), make another knot, then cut off and repeat. I alternated red and aqua blue, then went back and spread out the strands and gave him a “hair cut” so they were all even. To finish him off, I sandwiched the feet and antennae between the front piece and the black back piece with Velcro and sewed them together.

Leaf: I back stitched around the outside and down the center vein, then made a stem and sewed on the backing.
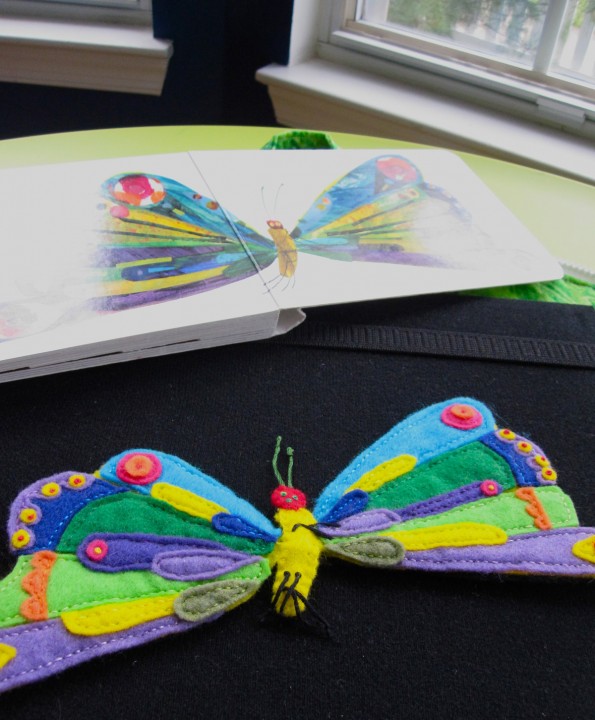
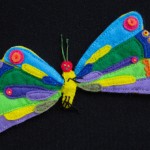
The Beautiful Butterfly: I took liberties when translating the butterfly from the book to a felt design, so you could certainly “wing it”! In fact, I only used my computer sketch for the basic shape, and ended up cutting out most of the pieces by hand. (I later drew them on the computer, so they are included in my PDF sketches.) Everything is back stitched down except the tiny felt circles – I have French knots in the center of those.  I added two layers of yellow to his skinny body to add strength before sewing on the head. His face is satin stitched on and his legs and antennae are done the way I made the fruit stems. His arms are long stitches I added at the end. When he was all decorated,  I cut out a backing of black felt to match, added Velcro and back stitched it on, only going through the yellow layer.
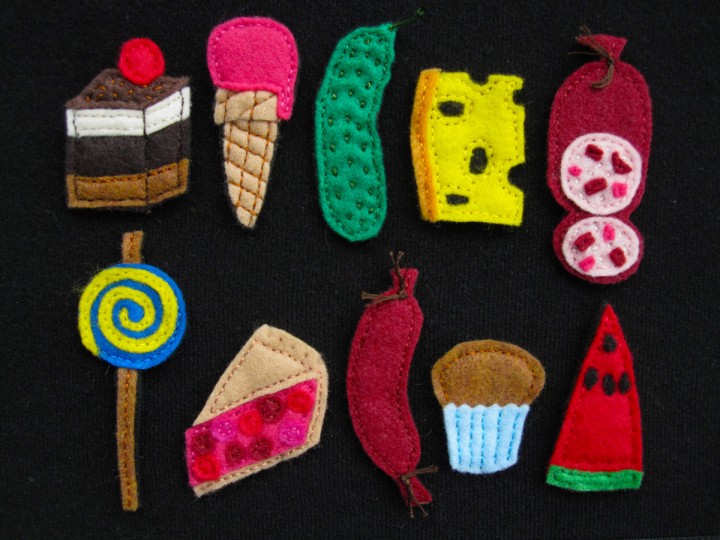
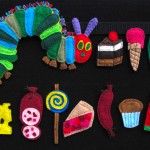
All the junk food items are sewn down to black felt then trimmed to size. The backs are all done the same: I cut out black felt to fit the finished item, sewed on Velcro, then back stitched it to the front, only going through the two black layers.

Chocolate Cake: I sewed the top and layer on, plus some dark brown back stitch to show the corner of the cake. I made light brown stitches to add texture to the top and then sewed the cherry on.

Ice Cream: I back stitched a grid design on the cone, then sewed around the edge of the ice cream scoop.

Pickle: After sewing it down, I made lines of little dashed stitches to add the bumpy texture then added a stem.

Cheese: I sewed a strip of dark yellow down the side to match the book, then sewed around the edges, I didn’t bother to cut out the holes in the cheese in the black felt.

Salami: After sewing down the body of the salami and the pink ends, I sewed down little scraps and made white stitches to match the book. I stitched a bit of brown thread to the “tied” end and tied it in a knot.

Lollipop: I sewed down the middle of a long strip of brown felt to make the stick. I took a long strip of yellow with a point at one end and sewed it down to the blue circle (starting with the tapered end in the center) in a spiral, then sewed down the exposed edges of the blue circle.

Pie Slice: The pie crust is sewn down around the edges, except for the extra crust along the top-back of the slice. I made a basting stitch that I pulled tight to give it a little ruffle. The pie filling is sewn down with scrap circles in pinks and reds to make the cherries.

Sausage: The sausage is simply sewn down around the edges with little brown ties added on to each end like the salami.

Cupcake: I cut out the top of the cupcake liner using pinking shears to give it a zigzag. I sewed down the cupcake, then sewed down the cupcake liner using vertical lines of back stitch.

Watermelon Slice: The watermelon is sewn down around the edges. The seeds I cut by hand (very hard to do because they are so tiny. Use sharp, micro-tip scissors!) the sewn down with a few stitches running vertically down the middle.
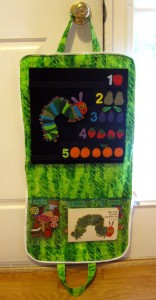
   

Because this felt set is a gift and I went with a 12″ x 12″ travel size felt board, I wanted to sew a quick case for it. I had limited time – just a few hours on on Saturday – so I don’t have many photos to the process, but I’ll do my best to explain it.

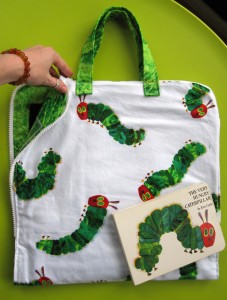
I made the case so it could be zipped shut for travel or storage, opened flat or hung from a door knob at toddler height for play time. I used Eric Carle fabric in Very Hungry Caterpillar white/green and Grouchy Ladybug Grass green/lime. I already had a 36″ white separating zipper and clear vinyl. I purchased a pack of fusible fleece.

The finished size of the case when unfolded is 14″ wide by 28″ high (with the 12″ square felt board.) I cut rectangles out of both fabrics and the fusible fleece that were 15″ x 29″. I ironed the fusible fleece to the back of the green liner fabric according to the instructions. I cut a 14″ x 7″ rectangle of vinyl for the pocket. I sewed ribbon over the sharp upper edge of the vinyl, but it would be easiest to just use some bias tape. (I didn’t have any on hand.) I sewed the pocket down to the liner/fleece piece with a regular stitch followed by a zigzag to cover the sharp edges. I also divided it into a 4.5″ pocket and left the rest a large pocket for the book and bigger pieces.
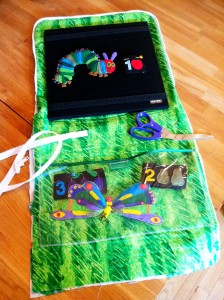
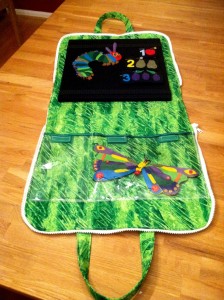
 

I cut strips of the green fabric and lined them with the fusible fleece before making them into 1″ wide straps. There are a zillion ways to make straps. I started with a 2″ width, ironed .5″ edges in on each side, folded it in half and pressed, then sewed down each side and the ends.

For the felt board, I sewed down two 11″ strips of black elastic. (See the photo at the top for an example.) I folded the ends of mine under (towards the center of the case) and sewed them with a zigzag on the machine. It is probably easiest if you sew the elastic on by hand after finishing the zipper so you don’t have to deal with the elastic folding your fabric in.

The zipper is the hardest part to explain – especially without photos. You may need to search around for zipper tutorials before tackling it. I drew some sketches of the steps I took. I used a zipper foot when sewing the zipper on.

Here is the finished case when closed!
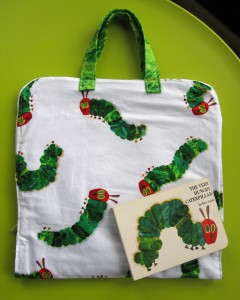
 

I hope you enjoyed reading about this project! I had so much fun doing it, and I was very proud to hand it off to its new owner. If you create a felt board case or Very Hungry Caterpillar felt set of your own, let me know! I’d love to see it…
Reader Gallery – Dinosaur Quiet Book Page

I love seeing what others create with my quiet book patterns! Now that they have been online for a little while, I’m starting to see so many great photos of the work you all have done! Keep the photos coming!

I will be featuring galleries of each page. If you’ve used one of my patterns and would like to share what you’ve done here on Imagine Our Life, submit it ion the Facebook Page or email it to me. I will link to your blog if you have one. If your photo is posted here and you’d rather it not be, just let me know.
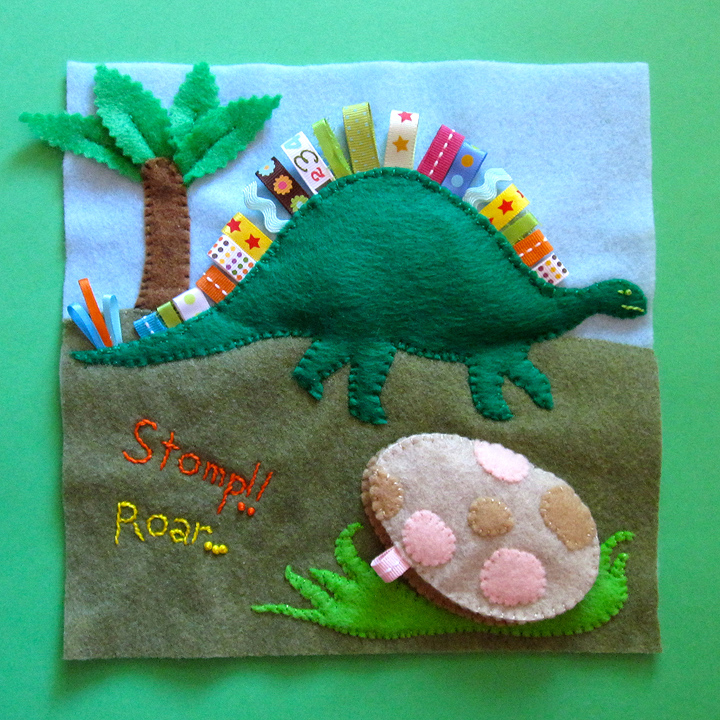
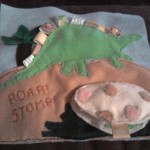
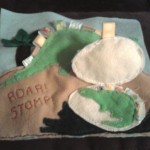
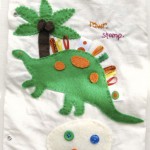
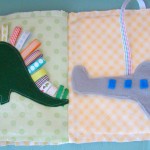
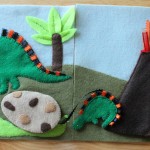
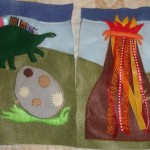
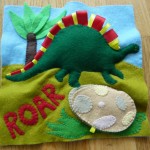
This first gallery is for the Dinosaur quiet book page. The ribbons on the dinosaurs’ backs make it a very easy page to customize. I’m amazed at how different it looks just with different colored ribbons! Some of you took it even further and made a 2-page spread with volcanoes and additional dinosaurs. They are all great!

Photo Credits: Adriana A., Jen at Beebee Bellies, Bridget Mc., Ginna K., Rachel at her threaded needle, Jessica at Just Enough Style, Loree H., Susan at More Holiness Give Me and Philippa H.

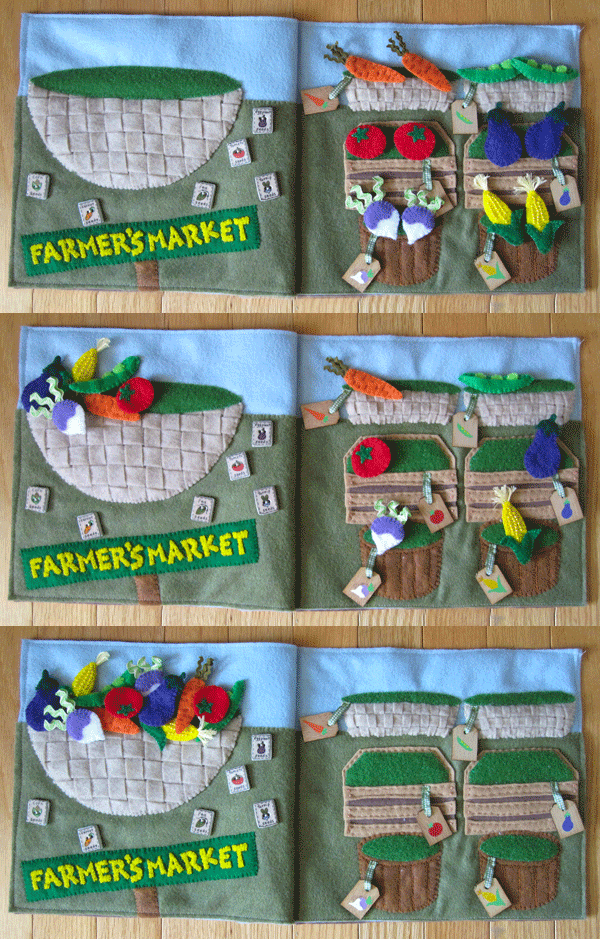
Farmer’s Market Quiet Book Page

At last, I have another quiet book pattern for you! I got a little bit carried away on the details of this one, as I did everything but the veggies while on vacation at the beach. Feel free to simplify things wherever you need to.

Someone on the Facebook page suggested I do a farmer’s market page, and I loved the idea! I thought it was a great way to feature vegetables. Jax recently fell in love with this classic Sesame Street song from a sing-along DVD we got at the thrift store, so was is perfect timing.

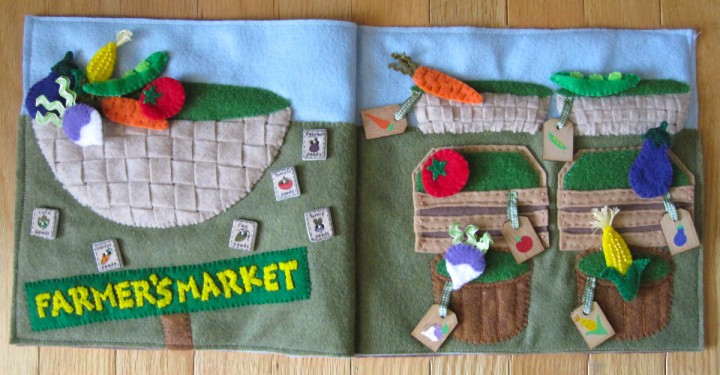
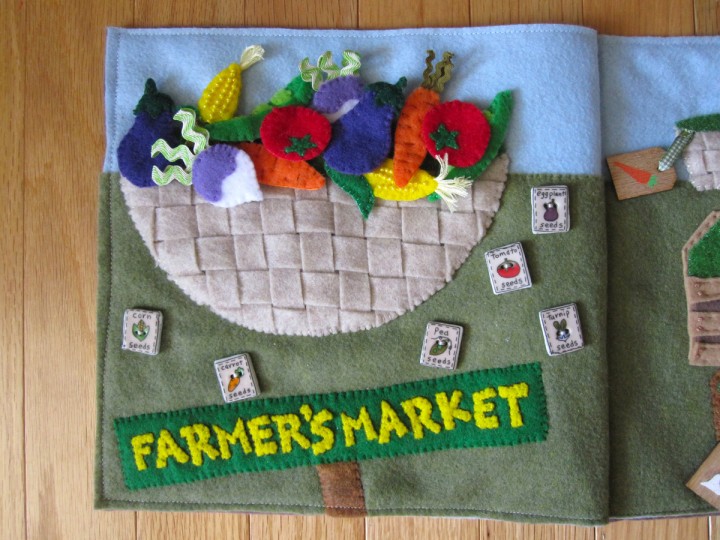
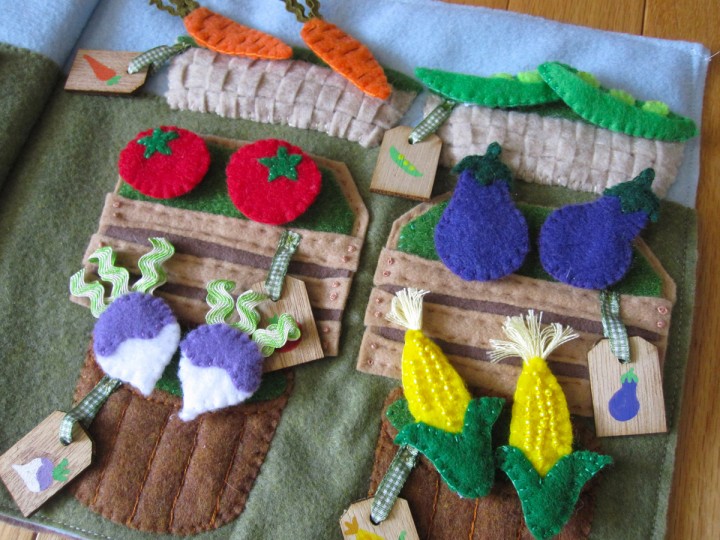
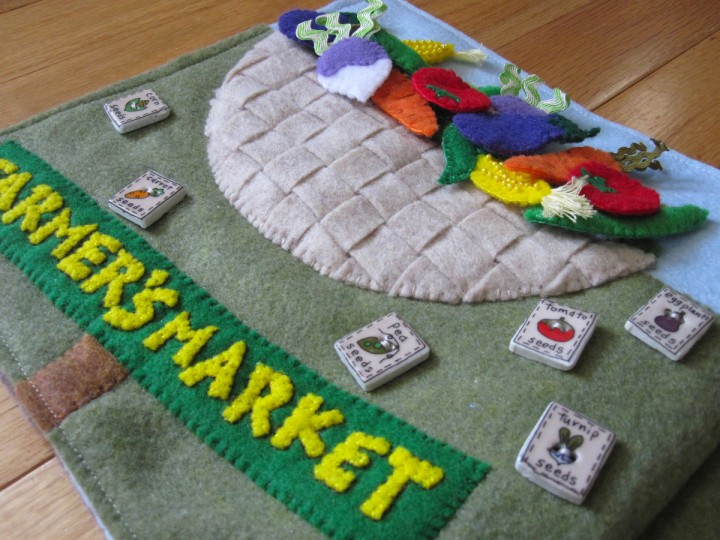
This page features sorting and matching. I also added some seed packet buttons I found at the thrift store. (I’d originally planned to make potatoes, but when I realized all but one of my veggies matched the buttons, I switched to a super cute turnip!) They have the veggie names so Jax can read them when he gets older. Right now he just tells me the letters he sees. The seed buttons are no longer sold, though I did see some on Etsy.

All of the bins and baskets have green Velcro (the soft loop side) for the green inside part. I used Babyville hook & loop tape I bought at Joann’s fabric store. I didn’t use the hook side. I find that the hook side of Velcro ruins felt when you pull it off. Instead, I used snag-free Velcro on the back of my veggies. While they don’t stick quite as strong to the loop unless you press down, they do zero damage to the page or the other veggies!

What I used: The pattern, background felt in sky blue and olive green, felt (in natural, tan, 2 browns, red, orange, yellow, 4 greens, purple, violet and white), thin green gingham ribbon, tiny olive green ric-rac, varigated green ric-rac, seed packet buttons and wood tags (that I painted to have the matching veggie shown.)

Background, Sign & Large Basket: I pinned olive green down to my sky blue background. Once all the baskets were sewn down, I went back and sewed down the exposed edges of the olive green. For the sign, I sewed down all the yellow letters to the green backing, then outlined them with a back stitch in dark brown. For the large basket, I cut scrap strips of natural felt and wove them together a little larger than the basket shape. I pinned it together and trimmed the woven strips to fit, then sewed it all down to the page. I cut the green Velcro (loop side) into the basket top shape and sewed it down.

Vegetable Bins & Baskets: For the top baskets I cut three shapes for each. One was the base, one was cut into horizontal strips and one cut into vertical strips. I woven and sewed down the baskets the same way I did the large one. When I sewed them to the page, I let them puff up a bit to give a rounded shape. The tops are green loop Velcro.

For the middle bins, I laid down the tan backing piece, then the brown inner shadow piece, then the Velcro top piece and then finally three tan wood slats and pinned everything down. I used 2 French knots at each end of the wood slats, then did a running stitch across the top and bottoms. I did more running stitch around the top of the bin’s backing, then sewed down the Velcro.

For the bottom barrels I sewed down the barrel and the Velcro. I did a back stitch following the curve of the Velcro to make the lip of the barrel. I did a stem stitch to make the barrel’s slats. A back stitch would work well too.

I used plain wooden tags that I painted with craft acrylics as labels, sewing them on with loops of ribbon. If you have printable fabric, you could make tags that way to avoid painting.

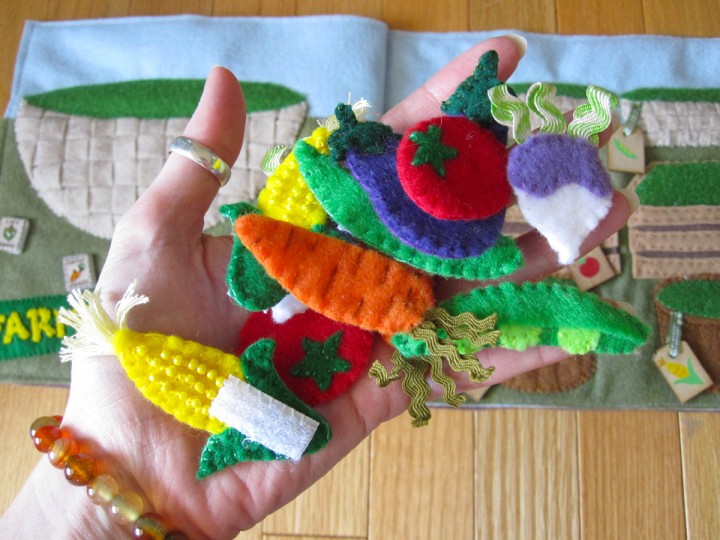
Carrots: I decorated both sides with long, horizontal stitches in an orange-brown thread and sewed snag-free Velcro to one side. I sewed the two sides together with bits of tiny ric-rac sticking out of the top. I got my ric-rac at the craft store in the $1 trim bin.

Peapods: I sewed 3 peas down to one of the larger pod pieces and sewed snag-free Velcro to the other. I laid the smaller pod piece on top and sewed all three layers together around the edges. The top piece will become a little pocket.

Tomatoes: I sewed the green bits down to the fronts and snag-free Velcro to the backs before sewed them together.

Eggplants: I sewed snag-free Velcro to the backs of each eggplant, then sewed the purple pieces together. I layered the green tops around them and sewed them together as well.

Turnips: I sewed the violet tops to the white shapes then sewed snag-free to the backs. I sewed the front sand backs together with loops of variegated ric-rac sticking out of the top. That was also from the $1 trim bin.

Corn Cobs: I decorated my corn cobs with yellow seed beads. If your child will be playing with it unsupervised, I’d suggest skipping that step. For the corn silk, I tied a little bunch of cream-colored embroidery floss with a knot at the end. When I sewed the two sides of the corn ears together, I put the knot between them with the tassel stitching out of the top. I made sure to make a few stitches through the knot. I layered the green leaves over the bottoms of the ears and sewed them on. I sewed my snag-free Velcro on last, making sure to only go through the back layer.

For the seed packet buttons, I just sewed them on randomly by the big basket like they were laying out on the farmer’s market table.

I love this page! And I really love that all the little pieces use Velcro but don’t stick to each other or cause pulls in the felt. Jax knew just what to do when he sat down with the page. He knows all the veggies except the turnip. We’re working on that one!

Sewing Basics – Embroidery Floss and Back Stitch

I will be featuring some hand sewing basics here for those of you who are new to it. If you have a special request, please let me know!

Embroidery Floss

When I sew with felt, I almost always use 2 strands of embroidery floss. Embroidery floss comes in 6-ply – 6 strands put together. I generally use DMC or Anchor, but sometimes buy bulk packs of cheaper stuff. The brand name floss tangles a lot less. It comes in a skein – an elongated coil that is banded at the top and bottom with paper rings. You can just pull on one of the tails to get the length of thread you need, but the skein will most likely get messy. I recommend buying paper bobbins and winding your new skeins around them. Write the color number on the side and pop them in a craft box for storage.

Threading the Needle & Getting Started


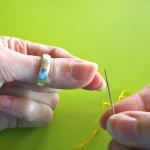
Let’s get started! Cut off twice the length of thread you want to work with. I usually cut about 4 feet that will end up 2 feet once folded. Separate out one of the six strands of floss and hold one tight to it. Use your other hand to slide the other 5 strands in a bunch down the length. Make sure the bunch doesn’t start to get too tight and tangle. A little wiggle here and there will keep it from tightening. When you have your single strand, fold it in half so the ends meet. (You can set aside the rest of the thread to use a little later, or wind it around the bobbin for storage if you won’t need that color again for a while.)


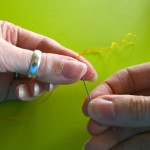
Now, thread your needle, with the two ends going through the needle eye together. I like to get the ends of the thread damp then pinch them between my thumb and forefinger, with just a couple mm sticking out. Then I slide the hole of the needle down onto the thread, wiggling back and forth slightly. Trim the ends of the thread first with sharp scissors if they are at all frayed. (I use these.) Pull the ends through the needle for a few inches. You should have a loop at the end of your thread.


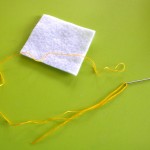
Ready to stitch? I’ll be doing a back stitch, so my first stitch will be a simple straight one. Come up through the back of your felt, but don’t pull the thread all the way through. Come back down to make your stitch, then pass your needle through the loop at the end of the thread. Gently pull it tight to secure your thread. Quick, easy and no knot!

Back Stitch

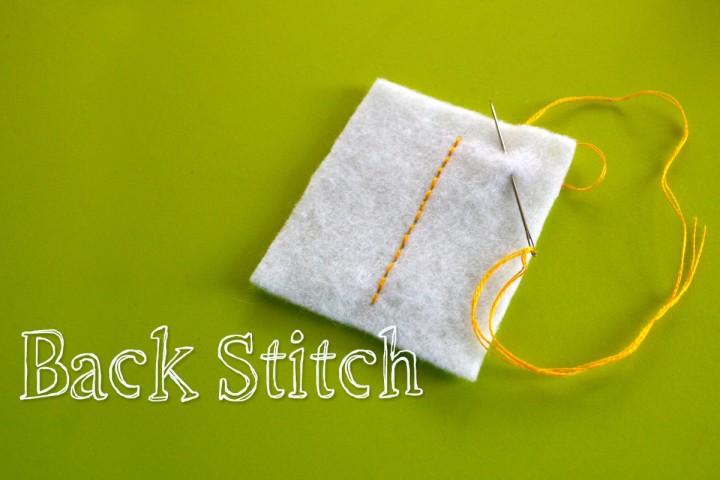
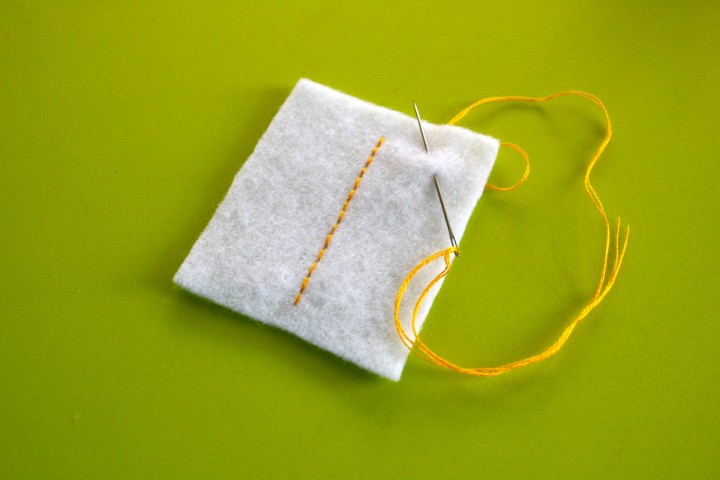
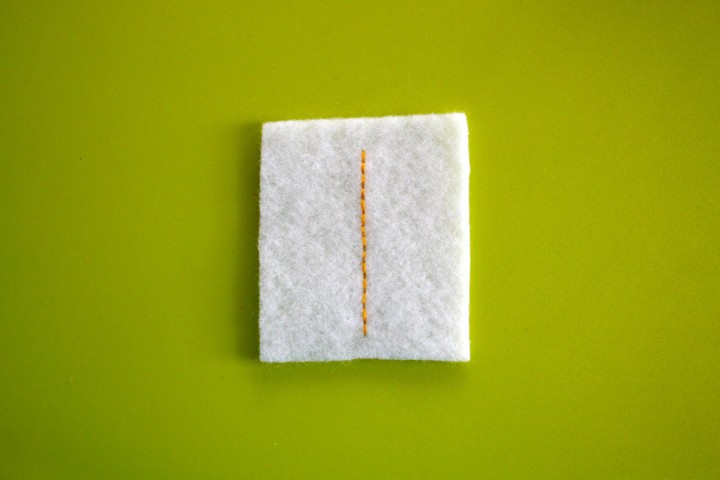
A back stitch will give you a nice straight line of dashed stitches with no space in between them. Start with your first stitch already done. Come up through your felt from back to front at the spot you want your stitch to end. (So if each stitch is 3 mm long, come up 3 mm from the last stitch.) Go back down through your felt in the same spot your first stitch ended. Your two stitches will be sharing the same hole in your felt where they meet.


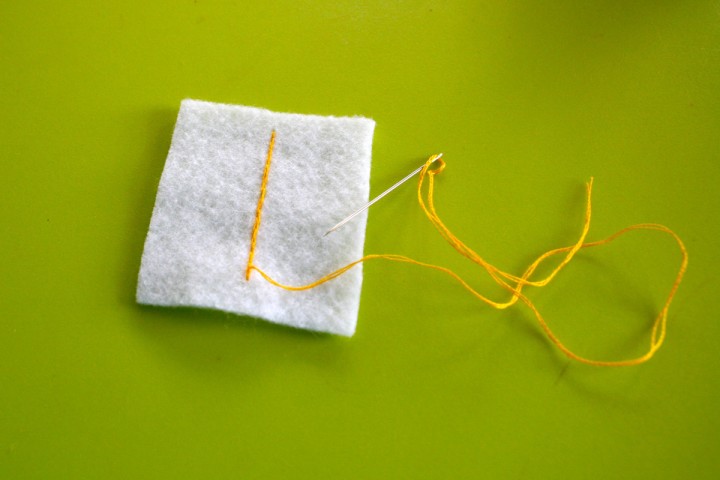
Continue on the same way – come up where you want each stitch to end, then go back down through the previous stitch’s hole.


Here is what the front looks like:

And here is the back:

Tying off the Thread

There are many ways to tie off your thread – use whatever works best for the situation. This is what I tend to do most often to keep the back of my work neat.


On the back of your work, run the needle through one of the stitches, but don’t pull it all the way though. Pass the needle through the loop your thread makes then pull tight into a knot. Go back through the stitch the opposite way and repeat making the knot. I don’t like cut my thread close to the knots, so I run my needle through several stitches before snipping it.

All done!

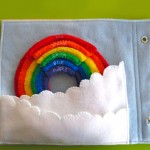
Rainbow Quiet Book Page

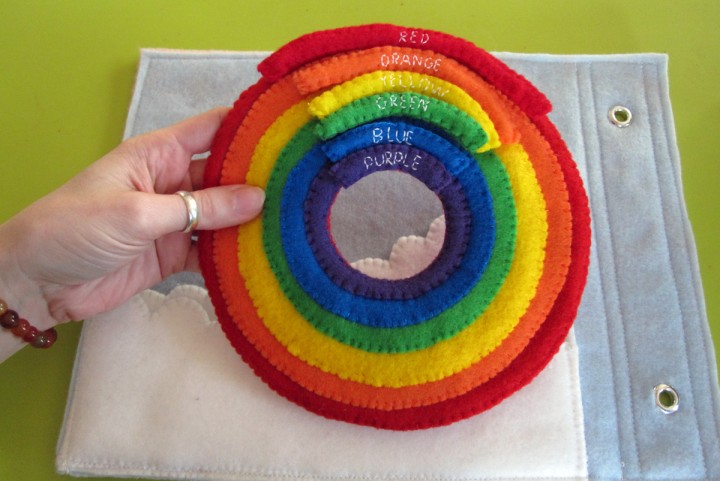
“It’s a rainy, sunny day. The rainbow‘s here to play!”

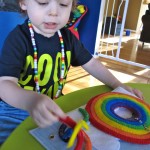
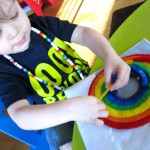
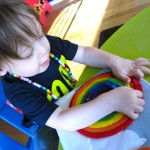
Jax loves color and he really loves rainbows! It was inevitable that a rainbow page had to happen. It took a while for me to decide what exactly to do. My first thought was a rainbow stacker that comes out of a cloudy pocket. But, I’d need to make each ring 2 sheets of felt thick for strength… 6 x 2 = Way too thick for a quiet book page!! So I changed plans and made a rainbow puzzle.


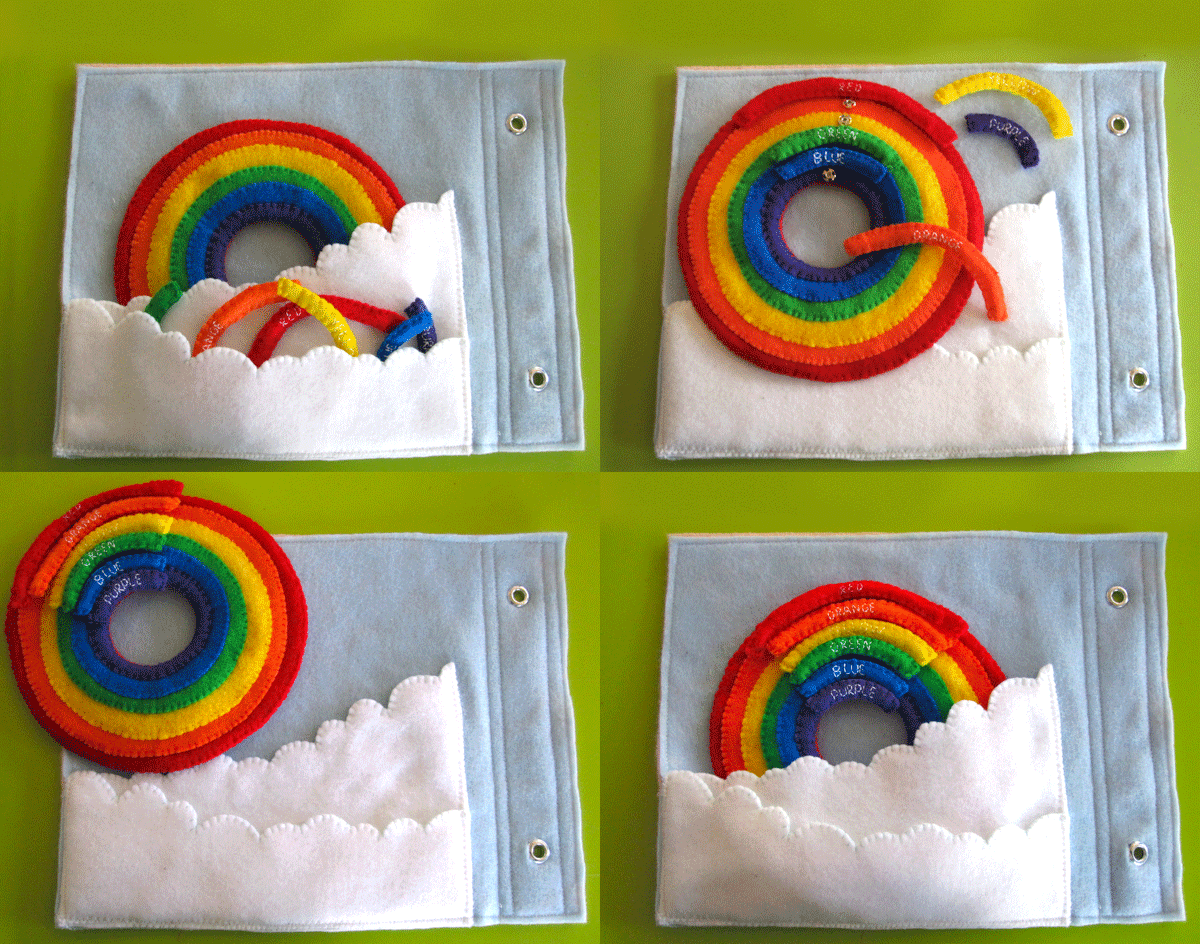
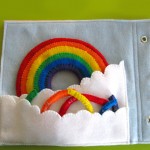
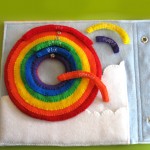
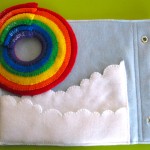
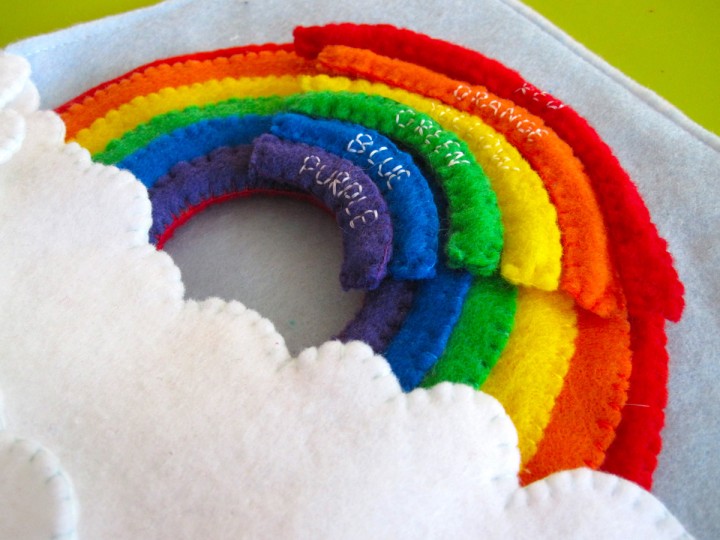
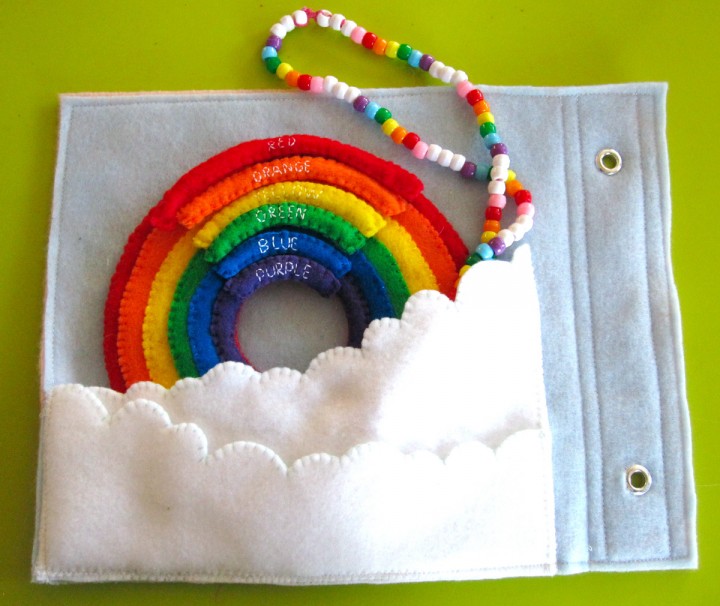
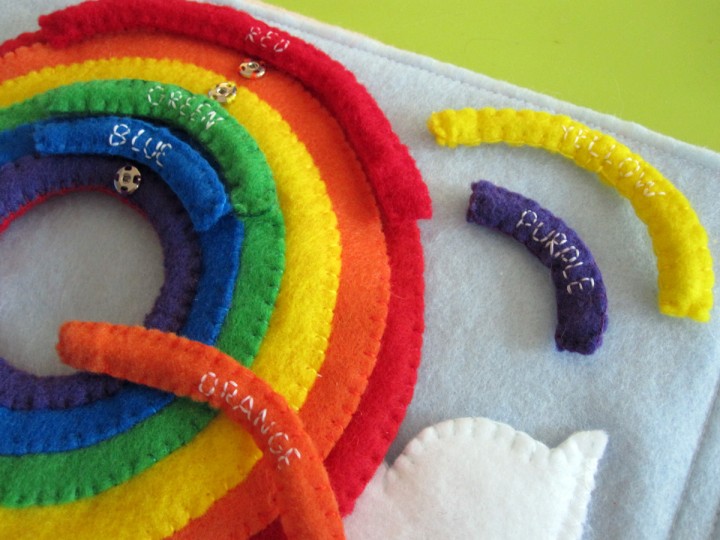
The base of the puzzle is a ring. When you store it in the cloud pocket it looks like a rainbow. Along one section is a row of snaps. There are rainbow color puzzle pieces that snap on. Jax is not good with snaps yet, so this is good practice for him. (If you use Velcro, I recommend this snag-free version that won’t catch on your felt!) The puzzle pieces have pipe cleaners in them so they become playthings themselves.

What I used: The pattern, sky blue background felt, felt (in white, red, orange, yellow, green, blue and purple), 6 snaps, several pipe cleaners and thread to match. I also made a little rainbow necklace as a little surprise inside one of the cloud pockets. I used pony beads from the thrift store.

Cloud Pockets: Sew the across the top of the two layers of felt on each cloud. I used sky blue thread. Pin the pockets onto your background felt and sew the sides and bottom down. I used a machine to go through all the layers quickly and neatly.

Puzzle Base: First sew half of a snap to each ring. (To find your snap placement, stack all the rings and mark a dot where you want it.) Pin the orange ring to one of the red rings and sew them together along the outside of the orange. Pin the yellow on top and sew it down the same way. Continue through the all the colors. Pin the red backing on to the back side and sew it together around the outside. Carefully trim the inner circle if needed to even it up. Using purple thread, sew through all the layers around the inner hole.

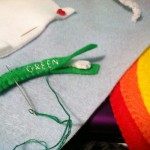
Puzzle Pieces: For each puzzle piece I prepared a length of pipe cleaner with the ends folded in twice to hide the pointy wire end. (You could also duct tape around the folder end to be extra careful.) I sewed the other half of the snaps to one side of each backing and free-hand stitched the color names to the fronts. Sew the fronts and backs together, inserting the pipe cleaners when they are halfway sewn.

I hope you enjoy this page! Please stop by the Facebook page and share your creation if you make it. You could change it up to be a ROY G BIV rainbow if you prefer.


Jax adores it! And, maybe it will save me from having to draw him eleventy billion rainbows a day… But, probably not!

Recycling Old Crayons

We eat out more than most families – I’m vegetarian and my husband is not. It can be hard to cook meals that satisfy us both. It can be easier (and often cheaper) for us to each pick out what we want in a restaurant instead of us having to cook two dinners at home.

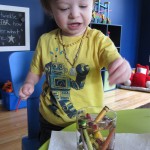
One side effect to eating out with a toddler is I end up with a lot of kids’ menu crayons in my purse. I’ve been collecting them in a baggy for some time (as well as broken ones from home and party leftovers) and was finally ready to create something new with them.

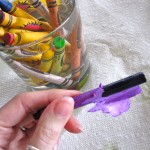
There are plenty of recycled crayon tutorials online, though we just winged it. I heated the oven to 275° F and sat down at lunch time to rip the wrappers off. Ugh! Easier said than done! I ended up dropping the crayons into a glass of warm water. After a little soak, 90% of then peeled right off. Some of them were difficult to peel regardless of what I did. I think the baggy got left in the car at one point.

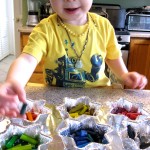
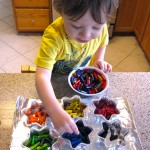
Sorting by color is a great toddler activity!

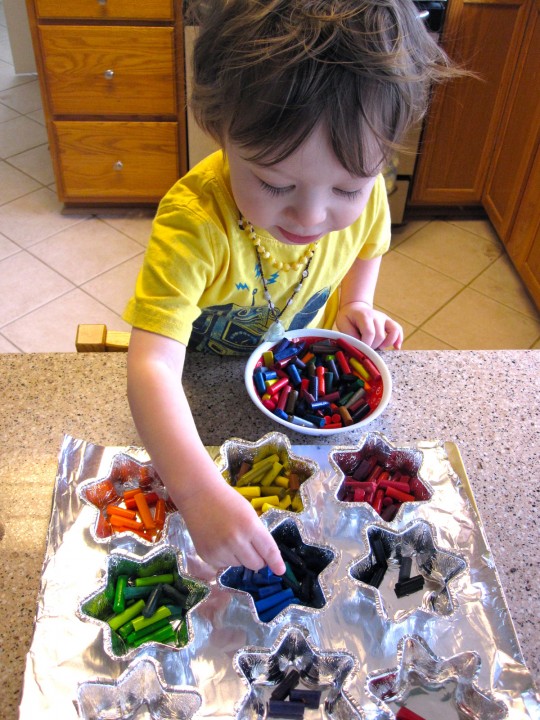
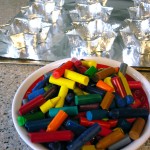
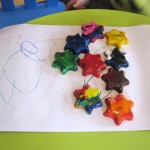
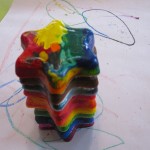
When the crayons were all peeled, I broke them up into a bowl. Jax loves to sort items by color right now, so he helped me put all the like colors together into cupcake tins. I also did a rainbow one with some extras. My tins are Reynolds Wrap Fun Shapes I’ve had forever, but you could use a normal tin or a silicone mold.

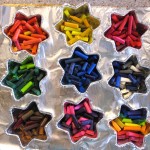
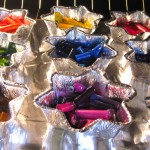
We stuck them in the oven and I watched until they were all melted. It was maybe 20 minutes. The deeper the crayons, the longer it takes. Quality crayons like Crayolas melt the best and color the best. Cheap, waxy crayons (which we unfortunately had a lot of) don’t melt as well or color as dark. I’d recommend Crayolas if you are making these as a gift. I made a trio of crayons (not shown) with just some of the primary color Crayolas we’ve collected, and they color great.

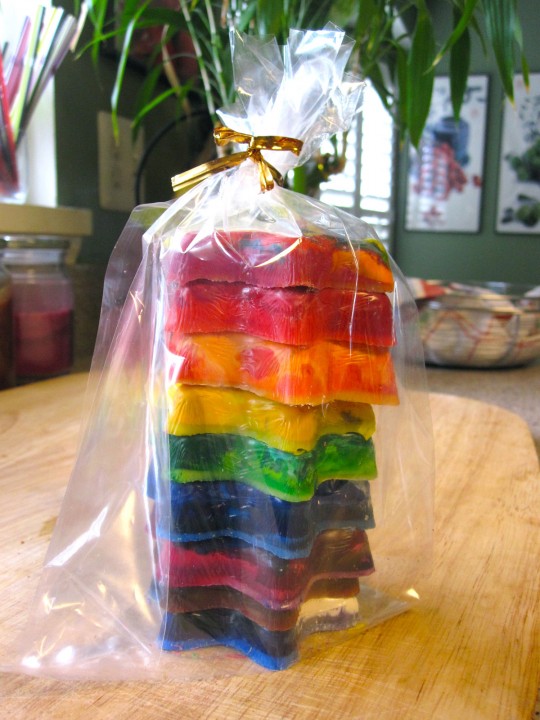
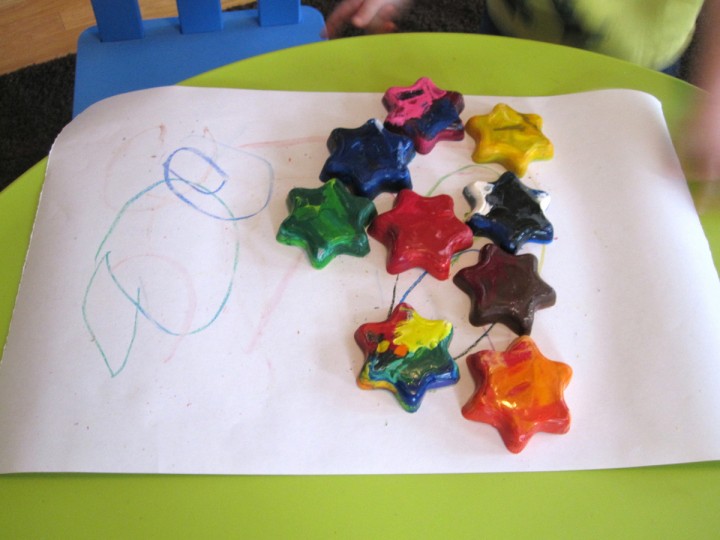
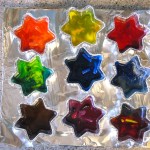
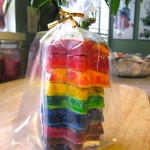
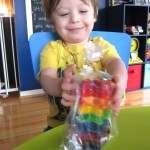
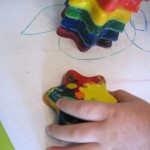
When they were fully melted, I  took them out of the oven to cool. I sped up the cooling by sticking them in the fridge. They popped right out of the tins once solid again. They look so cute all stacked in a treat bag! Jax loves then, even though some of them don’t color very dark due to the cheap crayons. I’ll definitely be making these again!