Tag Archives: Crafts

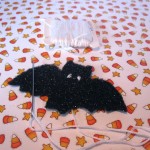
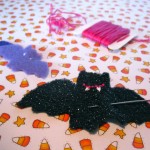
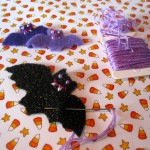
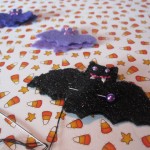
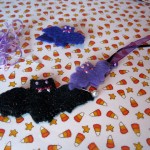
The Happy Bat Necklace

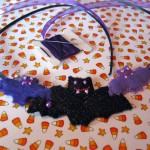
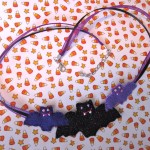
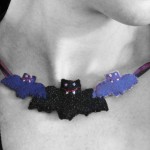
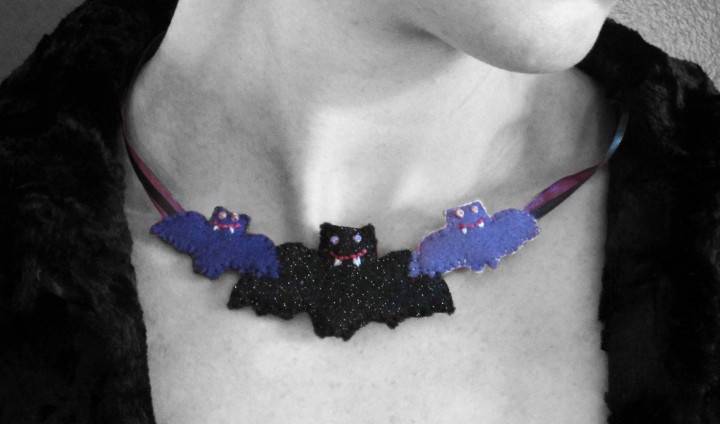
Here’s a little felt tutorial for you! I made a quick Halloween necklace during a break from sewing quiet book pages.

Make Some Happy Bats:

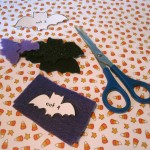
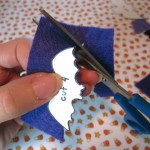
  1. Grab the pattern here. Cut out two felt bat pieces (front and back) for each bat. The small bats can be tricky to cut out! I did one side at a time, then matched them up and trimmed.
  2. Embroider the faces: Satin stitch fangs, back stitch smiles and French knot eyes. Be creative!
  3. Sew the center bat pieces together with a blanket stitch around the edges.
  4. Cut two 10″ lengths of your ribbon. I used a thin black satin and transparent purple.
  5. Layer a small bat around the edge of the center bat with the ends of one set of ribbons coming out of the other side. Blanket stitch around the edges, making small stitches when you cross the bat and ribbons.
  6. Repeat on the other side.
  7. Try the necklace out for length and trim the ribbons as needed. Using jewelry pliers, attach your ribbon clamp clasp. Mine came with some chain for adjustability.


Starbucks Felt Breakfast Quiet Book Page

Edit: Updated photos here.

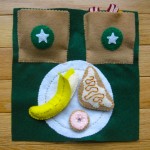
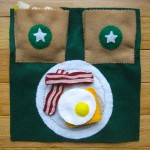
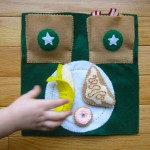
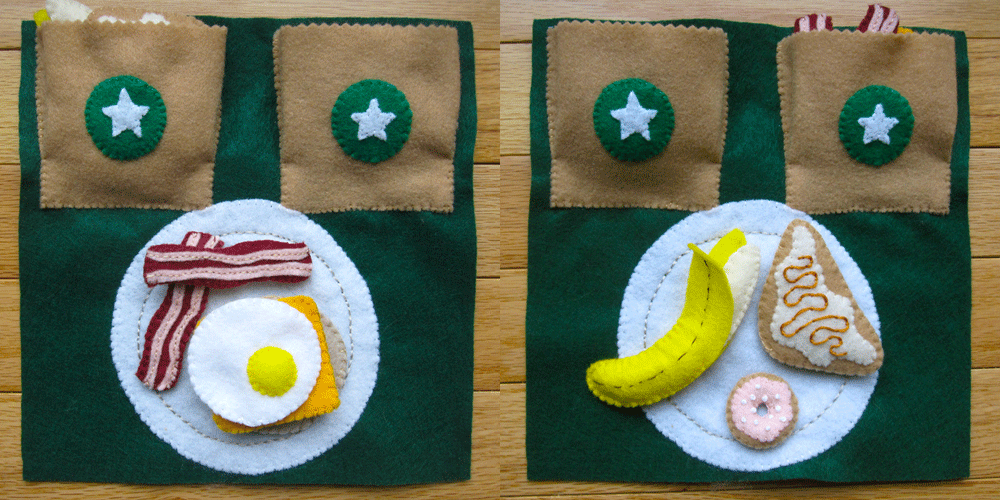
I wanted a food page in Jax’s quiet book, because he is so into his play kitchen. Since I already did a Starbucks page, I decided to make the food page go along with the same theme.

Nothing too fancy here. Just a lot of food and a plate to play on. You could add silverware too. I didn’t because he would just try to put the food on a felt fork and end up dropping everything on the plane. I made so much food, I had to make two “pastry bags” to hold it!

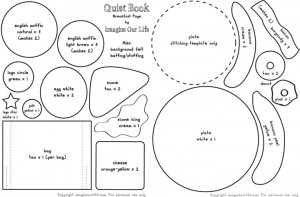
Here’s what I used: dark green background felt (because I couldn’t find any more of the same brown I’d used on the Starbucks page), felt (in white, yellow, orange-yellow, green, tan, cream, natural, pink and light brown), batting/stuffing, pinking shears and embroidery floss to match.


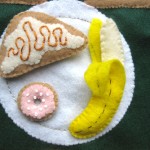
Mini Birthday Cake Donut: Make white French knots as sprinkles on the pink frosting. Sew the frosting to the donut top. Roll a strip of batting into a ring and sew it between the two halves. Banana: Roll a strip of batting into a tube and sew it between the two banana pieces. Using one strand of dark brown thread and a sharp needle, take your peel pieces and run the thread up through the felt as if the felt was made of two layers and you were going between them. Every now and then, come out of the felt and loop back to make a random stitch on the surface, then go back into the felt. Do this to make all the subtle, dotted lines that form on banana peels. Sew the two sides of the peel onto the banana halfway. You could add snaps or Velcro if you wanted the peel to stay closed.
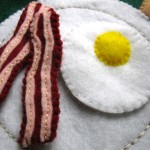
Egg: Sew the yolk down with a bit of batting. Sew the two sides together. Bacon: Cut wavy pink stripes to fit your bacon and sew two on to each side. Sew the two halves of each piece of bacon together. Cheese: I made cheese and an English muffin so you can build a breakfast sandwich. Simply sew the two cheese halves together. English Muffin: Sew the darker circles to the muffin bottoms to make the crust, then sew the two sides together with a thin layer of batting.
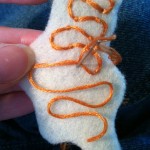
Pumpkin Scone: Take a piece of embroidery thread and knot the end. Come up from the back of the icing and lay the thread out in a squiggle as you’d like to have the decorative icing to look. Go back down throughout the felt, being careful not to disturb your squiggle. Make a series of couching stitches all along the squiggle to hold it in place. Sew the icing to the top of the scone, then sew the two halves together with some batting in between.
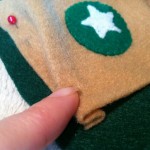
Pastry Bags: Decide if you need one or two bags. If you make all of the food, you need two! Sew the stars to the green circles to make the logos, then sew them to the center of the bag pieces. You will be making a pleat in the bottom of each side of the bag, like in the photo to the right. Sew the edge of the bag down until you are an inch from the bottom, then sew through the edge and the fold above it. Sew across the bottom, then through the edge and the fold for an in, then up the edge to the top. Leave the top open for a pocket.
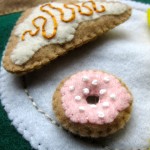
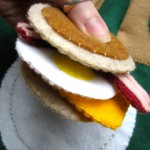
   

Plate: Sew the plate down to the background then pin the stitch template to the center. Stitch around the template with gray thread to make the plate edge.
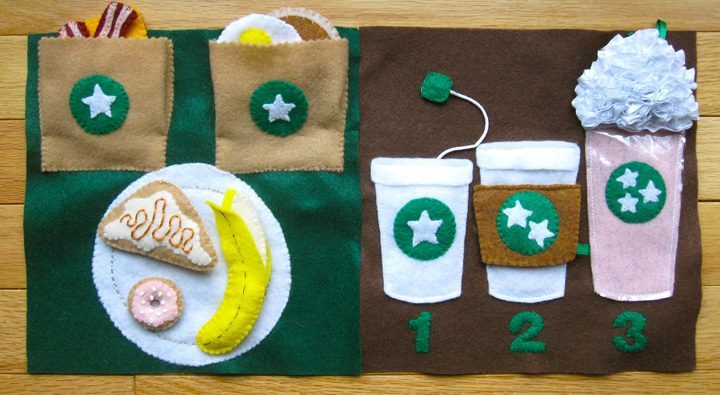
I’ll be sewing this page into the quiet book beside the Starbucks drink page. The logos tie together and you can dunk the donut in the tea or put the strawberries on the plate.
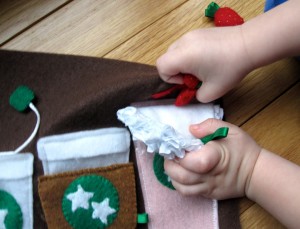
 

If you use this pattern, please add a comment or link to me. I really would love to see your version! Jax loves these pages and had a meltdown after I finished taking pictures and put it away. His favorites are the banana and strawberries (neither of which he likes to eat in real life, silly boy!)

Here is an update on this page.

Hungry yet?

Jax’s 20 Month Painting

It is so, so pretty outside! The husband is cooking chili (My apple butter can wait till tomorrow. Chili, yum!), sun is shining and the baby finally took off his cranky pants.

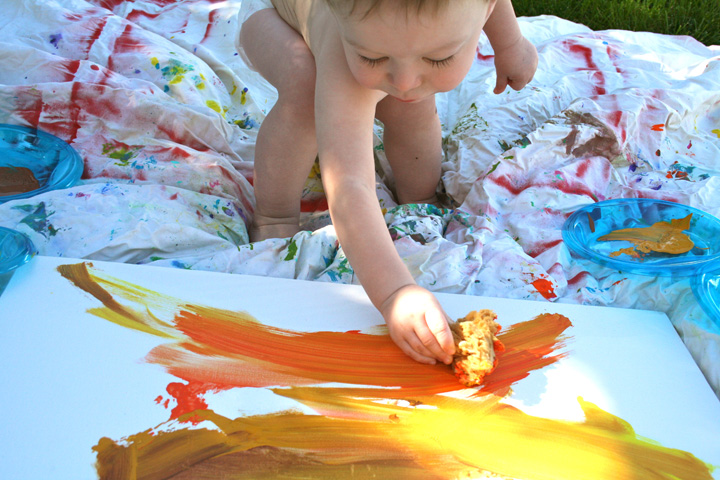
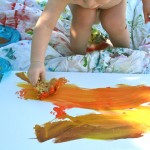
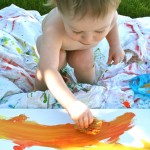
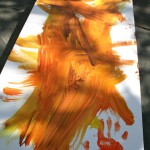
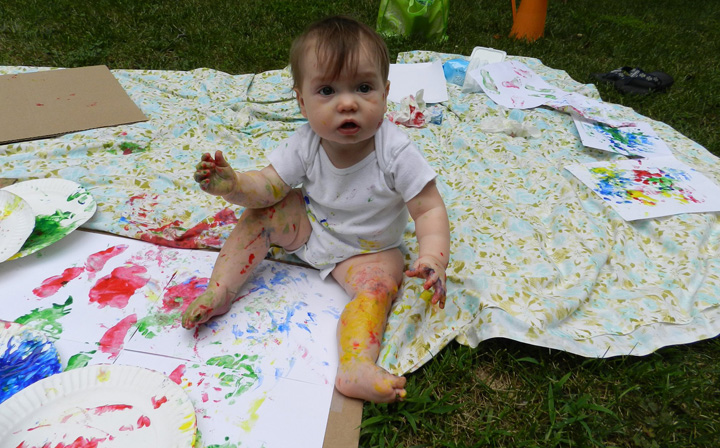
We took advantage of the warm fall weather to do Jax’s 20 month painting. This time I added a sea sponge and showed him how to blot with it. He did a couple times, but them switched to using it like a brush with big strokes. We used autumn paint colors (mostly because that is all I have left!)

Cookie Shapes & Colors Quiet Book Page

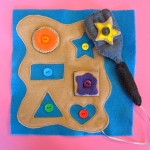
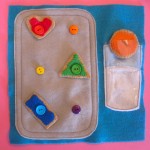
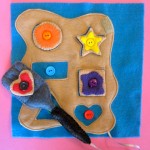
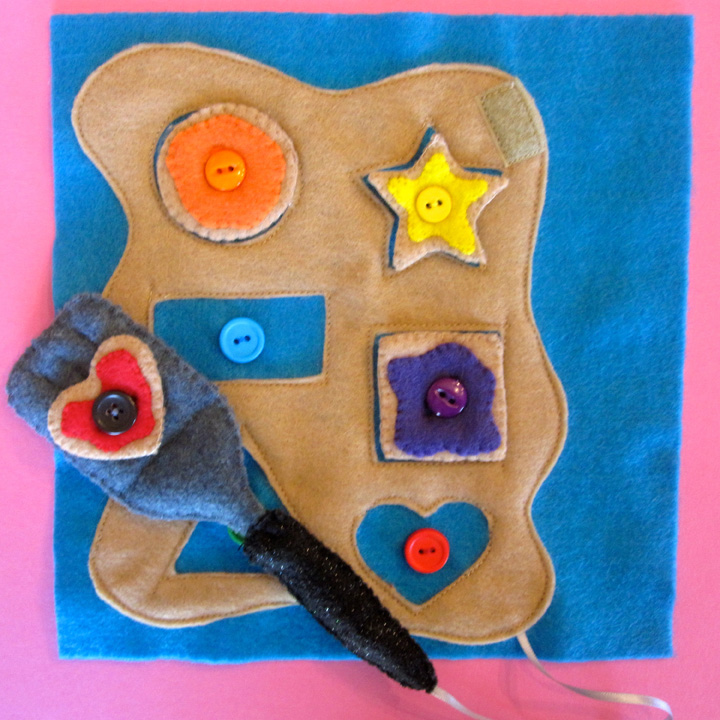
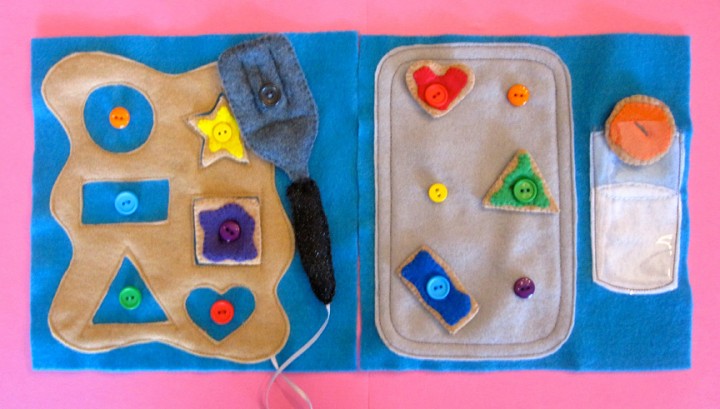
The next set of pages for Jax’s quiet book is done! This cookie-themed layout helps practice shapes, colors and buttoning. One side has the dough where you can match the cookie shapes. There is a spatula you can put cookies on. It’s attached by Velcro and a ribbon so it can’t get lost. The facing page has a cookie sheet where you can match the cookie frosting to the button colors. There is also a glass of milk to “dunk” them in.


The supplies I used were: two sheets of turquoise felt cut to 9″ squares for the background, felt (in white, light gray, dark gray, black glitter, tan, red, orange, yellow, green, blue, light blue and purple), clear vinyl, ribbon, Velcro, a gray button, 2 buttons for each rainbow color, batting, and matching embroidery floss/sewing thread. You could swap your buttons on the shape side with shape buttons if you had them. I was trying to save money.

I hand-sewed everything on the cookies: the frosting to the top, top to the bottom, then homemade buttonholes. You could machine-sew, but I already had the thread colors as embroidery floss. Took me about 30 minutes per cookie by hand. I cut a rectangle of grey with rounded corners for the cookie sheet. I machine-sewed it twice around the edge to give it dimension. The milk glass was done on the machine except for some stem stitch to show the surface of the milk. The vinyl was left open at the top to make a pocket.

The cookie dough was machine-sewed on and all the buttons sewn on by hand. I made sure one end of my 8″ ribbon was under the dough when I sewed it, then the other end was in the spatula handle. The spatula was all hand-sewn with a layer of batting. The piece making up the main “metal” piece went down into the handle for stability. I also stitched some lines into it for both looks and sturdiness. The button was one from my stash that came as a spare with some item of clothing. I just picked a dark gray one that was the same size as the others. There is a square of black Velcro on the back of the spatula and the other half, in tan, on the dough.

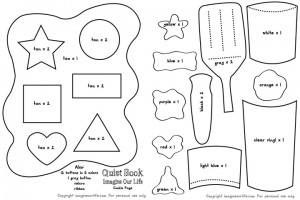
So far, Jax loves to dunk his cookies (“Dip! Dip!”) but can’t undo the buttons on his own. This will help him learn. I created a free pattern for your personal use as I went along. Let me know what you think of it! Please share photos or a link if you create your own version. Jax and I would love to see!

I’ll be starting the next page tomorrow – Starbucks inspired! I’ve already cut out most of the felt. If you missed them, here are the space pages I finished with free patterns.

Thrift Store Play Kitchen Makeover

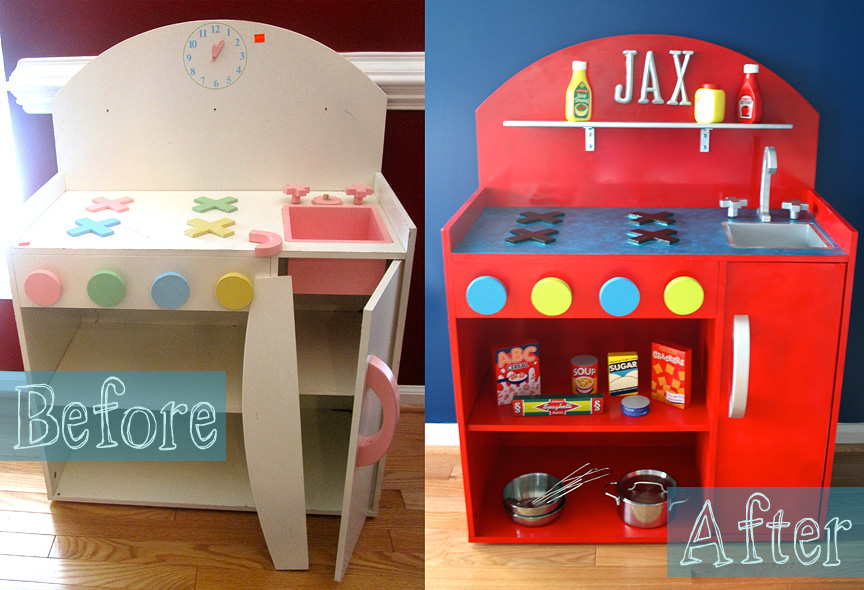
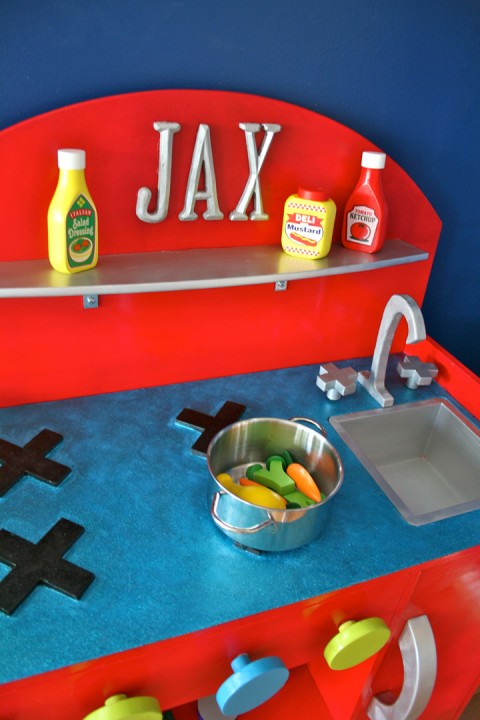
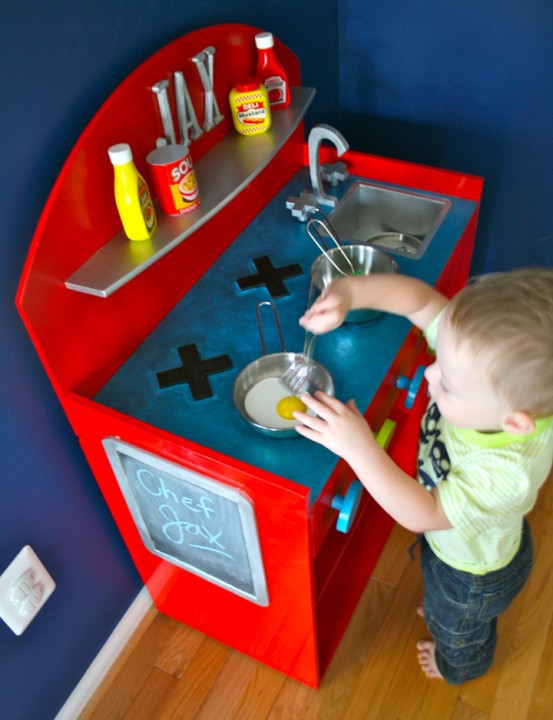
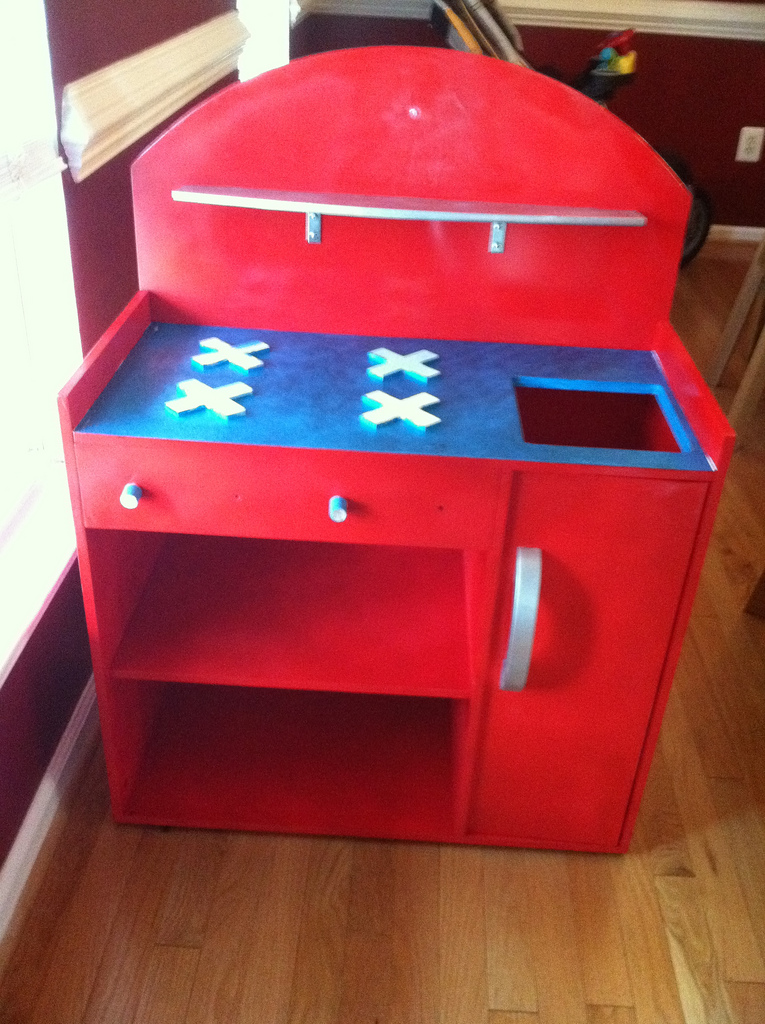
After a weekend of working hard, Jax has his shiny, new custom “retro” play kitchen! I was so lucky to find a wooden kitchen with great “bones” at our local thrift store. It had a lot of water damage, a broken shelf and faucet and a missing door, but the clean, simple lines were perfect. (To see more before pictures, view this post.)

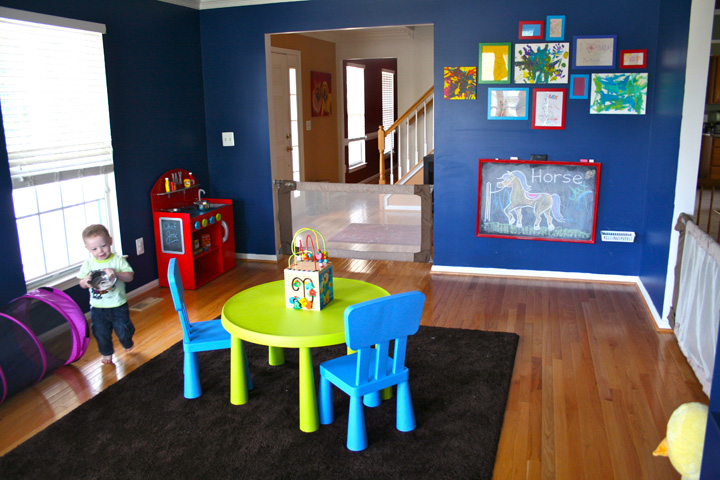
I started the makeover by deciding what I wanted the kitchen to look like. I had already used apple red spray paint when I created Jax’s chalkboard, so I chose that for the main body. His table and chairs are aqua and lime (as well and the shelves I recently put in), so those became the accent colors. I had some leftover glitter paint from a Christmas ornament project, and I knew that would be perfect for hiding any water damage I couldn’t sand out. Here is my color plan.

I started by scrubbing out the dirt and mulch in the cabinets then cleaning, sanding and priming the whole thing. I took the back two pieces off, as well as two knobs, but many screws were stripped on the rest of it. I ended up breaking off the knob discs to paint them separately from the dowels they were attached on. They were glued on crooked anyway, so I was able to fix that too.

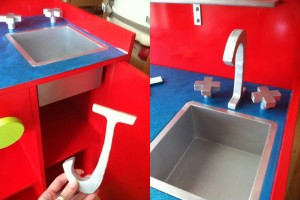
I used a wooden J to replace the faucet

I used 2.5 cans of apple red glossy spray paint (and I ended up needing to get a mini can for a little more coverage where the clock had been.) For all the silver parts I used a mini can of silver spray paint, then a coat of silver craft paint and glossy varnish. The knobs got several coats of craft paint and glossy varnish.

I needed to replace the broken faucet, so I bought a large wooden J and attached it with a wood screw and E-6000 glue. Looks perfect! For the backsplash, I bought smaller letters to spell out his name. Those were attached with the E-6000 glue. My husband glued a small chalkboard I’d painted to the side with Gorilla glue.

The shelf was detached when I bought it, and it wasn’t hard to see why… It just had 3 tiny screw holes. A super nice Home Depot employee helped me pick out the right size screws, as well as which L brackets would work best to fortify the shelf. I chose to leave the brackets unpainted to match the rest of the silver.

The counter top got two coats of aqua craft paint, then 10,000 (or so) coats of my favorite glitter paint (which is more of a glue with lots of glitter). The burners were painted black, then got a very thick coat of black glittery paint (and a clear coat.)

I adore it! It looks perfect in the room, and Jax loves it already. I started him off with Melissa & Doug Wooden Pantry Products and the KidKraft Metal Accessories Set which comes with 3 pots/pans, a lid, 2 utensils and some wooden food. I’m really happy with both purchases. I wish the pantry products had labels on both sides, but they are nice, sturdy wood toys. The pots are holding up great so far, and Jax is enjoying the bonus food items: a chicken leg, fried egg, two carrots and two broccoli florets.

This was such a fun project! I’m already looking ahead to the next playroom DIY… a reading nook!


Kitchen Progress

Here is where I am after a day of working on Jax’s kitchen. I ran out of red spray paint and still need to do more coats to cover where the clock was. I need to touch of the silver and attach the faucet and knobs. The sink tub is all done. I have to do a few more coats of the blue on the counter and then paint the burners black. Looking good so far!

We Tried It: Sandpaper Crayon T-shirt Transfers

When I saw this craft idea on Alphamom, I had to try it out with Jax! All you need is sandpaper, crayons, a t-shirt and access to an iron and dryer. I bought my t-shirt for a few dollars and got a 24 pack of Crayola crayons for 40 cents (the 8 pack was 79 cents!)

Check out Alphamom for all the details on how to make your own!

I love how Jax’s drawing came out looking like a subway map shirt. I still need to throw his shirt into the dryer to set it, but we had to try it out!

Sweet Edible Playdough

Sweet is an understatement!

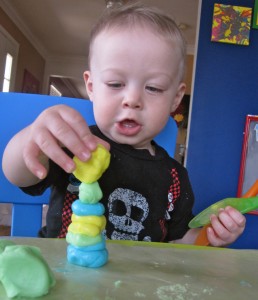
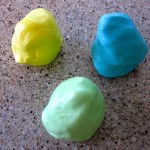
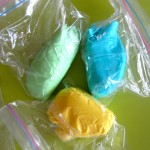
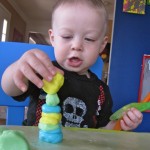
I wanted to introduce Jax to playdough, but I wasn’t sure if he would try to eat it. I looked online, and most edible recipes involved peanut butter – something we haven’t added to his diet yet. I finally found one made with powdered sugar. Way more sugar than I’d want him to eat, but I planned to teach him to keep it out of his mouth.

Turns out, he thinks it is way too sweet to eat anyway! We had fun playing with it, but it gets a little sticky in warm toddler hands after a while.

Here’s the process:

Glass Instagram Photo Magnets

As soon as I got my iPhone, I started using Instagram. It’s fun, free and lets you make your less-than-exciting cell phone photos interesting with filters. But what do you do with the tiny square photos it saves? While I always have mine set to save the original hi-res photos, I wanted to do something with the processed images. So I thought of the magnets I’ve made as gifts for years.
little tins are great for gift sets

Supplies:

  • Clear glass floral marbles (shaped like flattened globes) – avoid the iridescent kind, they are hard to see through.
  • Strong, round craft magnets. I find these in the craft store in various sizes.
  • Your Instagram photos (or magazine clippings, pretty paper, etc…) printed to fit your chosen size of marbles.
  • E-6000 glue
  • Scissors (and I sometimes use a circle punch the size of my magnets, but it’s currently lost.)
  • Toothpicks for glue spreading.
  • Optional: metal tin for giving your magnets as a gift set (found in craft stores.)

DIY Coloring Tablecloth

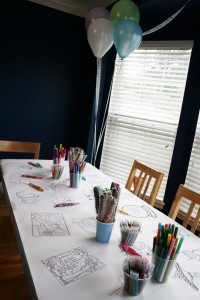
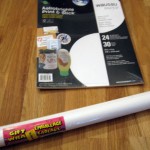
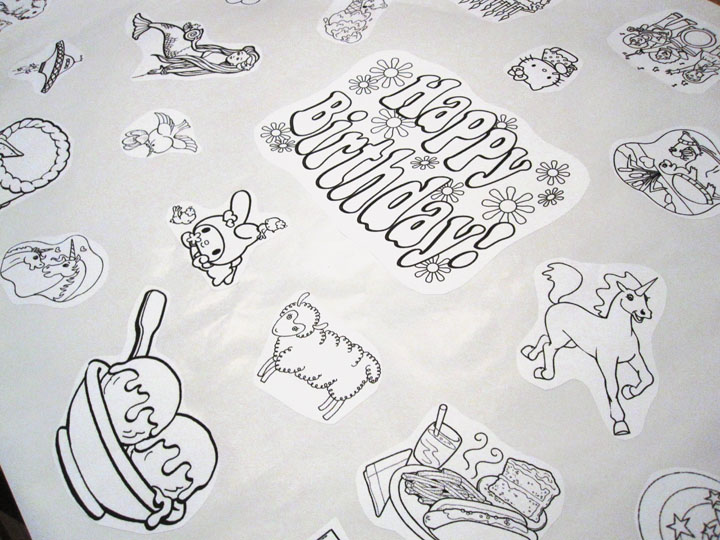
Here’s a very simple party craft that doubles as a decoration. A custom coloring table covering! All you need is a printer, some sticker paper sheets and a roll of paper.

I used a dollar store roll of white wrapping paper. It was the perfect width for my table and the length had a few inches to spare on each end (good for taping it down.) You can use the less shiny side of the paper to have it take markers better. Of course, you could use rolls of butcher or drawing paper if you have that. The sticker paper I bought from Amazon. I liked how clear it printed and the fact that the back peels off in strips.

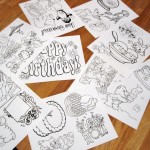
The first step is to find or make your coloring pages. You can find a bunch here or here (or just do a Google image search). I used mostly pictures I found online, but I’ve drawn custom ones by tracing photos. I laid them out in Photoshop so that I could make use of every inch of each sheet of sticker paper.

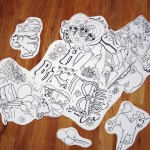
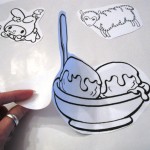
Once they are all printed out, I cut them out and arrange them on the paper. Having the images face the edges of paper lets everyone have something to draw where they are sitting. Then just peel off the backings and stick the images down!

I put cups of markers and crayons out of the table so everyone knows what it is for! If you try this project, let me know!

The coloring sheet I saved from my birthday in 2008.

Party Craft Ideas

Craft Table

To continue with my party themed week, I want to show you what has become a big part of most of my parties: crafts!

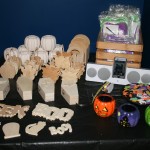
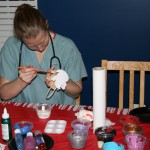
For the same party as the rainbow cupcakes, I decided I wanted to have crafts for everyone to enjoy, since I love to be creative. It was a huge hit! Because the party theme was puppies, rainbows and anything girly, I chose paint-your-own bobble-head dogs and flocked jewelry boxes you can color in, both from Oriental Trading. At our Halloween parties I have had ceramic pumpkins, wooden treat boxes and coffins to decorate. When I hosted a money-themed party for a friend, we painted piggy banks!

Probably the most in depth craft project I’ve done at a party was last year. Despite having a 5-month-old, I was determined to do tie dye!

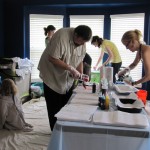
We set up in our empty front room (now the playroom) since it was extremely hot out and due to storm. I put down a tarp and set up the prep station and the dye station. The prep station had a bucket od solution to pre-soak items in and a bucket of water for rinsing. There were plenty of rubber bands and some instructions on how to fold and tie shirts that I’d printed out. The dye station had plastic gloves (from the dollar store) and lots of paper towels! I put trays lined with paper towels down and guests could set their shirts down as squirt the dye without it getting all over.

Tie Dye Party

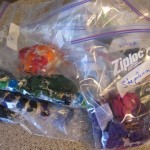
The dyes and bottles were all purchased from Dick Blick Art Supplies. The dyes were professional quality and worked best if you let them cure for 24 hours. So I printed little take-home instructions and had plenty of freezer bags and Sharpie markers so everyone could pack up and label their projects.

It was a blast and we kept dying until we ran out of things to dye!