Tag Archives: Crafts

Jax’s July Painting

I hope everyone had a safe and fabulous fourth of July! Jax and I celebrated by nursing to the sounds of fireworks going off around our neighborhood. The noise didn’t seem to bother him, so maybe next year he’ll be able to stay up and watch them.

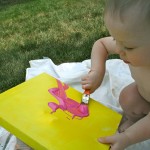
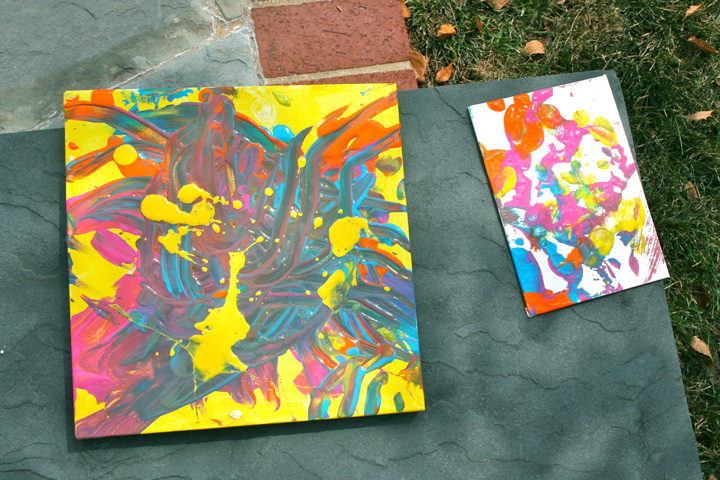
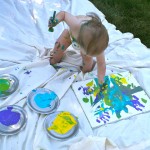
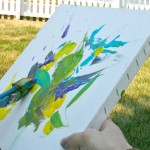
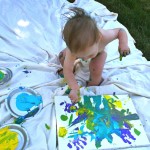
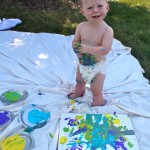
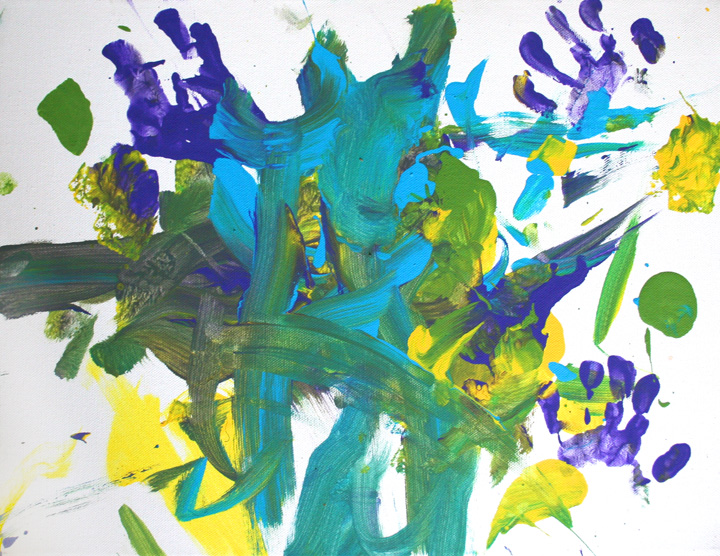
This weekend we did his second monthly painting! This time I painted the canvas yellow for him, then we poured paint onto the canvas and he used both brushes and his fingers to make a beautiful mess. It had to dry overnight because he piled on the paint, but it looks great!

He had very little paint on him this time. I think he is figuring out that it goes on the canvas – not his belly button!

 He also did a mini painting as part of the prize in our first giveaway. I think it looks adorable…

Finished Paintings

Super Easy DIY Chalkboard

I’ve been wanting some sort of chalkboard in Jackson’s playroom for some time now. I just wasn’t sure what would work. The room was built to be a living room and has outlets everywhere. We have the baby proofed, but their placement blocked me from being able to just paint a chalkboard onto the walls.

When I discovered they make chalkboard spray paint, I knew just what I wanted to do. I measured out the wall where the chalkboard would be to find out how wide I’d need to make it so it could both be centered and cover the outlet. Three feet wide was just perfect.

Supplies:
In the clearance aisle of the craft store, I purchased a 2’x3′ frame that was 50% off. It was a tacky gold that wasn’t my style at all, so I also grabbed some spray paint. At the hardware store, I had them cut down a 2’x4′ piece of chipboard (I brought my frame and tested it after he cut 12″ off the board. Good thing I did – it was too short because the board hadn’t been 2’x4′ after all!) I also grabbed the chalkboard spray paint there. Here is the full list:

I started by sanding the frame so it was no longer shiny and sanding one side of the chipboard to rough it up. Then I set up a drop cloth outside and laid out both pieces. I did three light coats of spray paint on the frame, waiting 15 minutes or so in between. I did about 4 light coats on the board with the chalkboard paint. (Quick tip: I thought my paint was clogged, but it turned out my too-big gloves were blocking part of the spray and causing spatter!)

The hard part comes next: waiting! When everything was dry, I brought it inside to cure. Resist the urge to try the chalkboard for 24 hours. Easier said than done!

24 hours later, it was time to prime the chalkboard with a layer of chalk. I found that the spray paint left a layer of black sooty dust after it dried, so I covered the whole thing in chalk as directed, then used paper towels to get all the chalk and black dust up.

All that was left was to put the frame back together (minus the glass it came with) and hang it up! My frame came with one teeny tiny picture hook so I got a picture hanging kit rated for up to 50 lbs. It looks great under his art gallery! I chose a frame that had a perfect dip in the molding to hold our chalk.

What do you think of our little project? It was so fast and easy, and Jax was super excited when I hung it up!

He was so excited, he couldn't stand still!

(Check out my Friday Follow-Up about this project!)

Starbucks Crafts and Halloween Costume

1st Starbucks Visit

I love Starbucks! Their soy no-water chai lattes are always delicious! But I get a little something extra out of my visits…

When I had Jax, I switched to working from home full-time. Perfect for taking care of a little one, but suddenly my only adult contact was my husband in the evening. So I started taking Jax out to Starbucks. Our trips have become a beloved routine and we’ve become friends with all the baristas. We both like to people-watch and he adores flirting with the ladies. I get adult conversations and a worn-out baby when we get home.

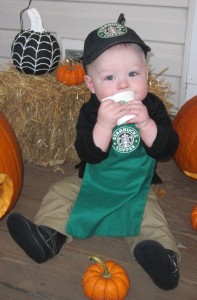
For Halloween, I created a Starbucks barista costume for Jax that was a huge hit. You can recycle Starbucks cups to create it. I bought some green fabric and sewed a simple apron in a tiny baby size. I cut the logo out of a vente (large) cup and used strong glue to attach it to the chest. For his hat, I painted an old ball cap of his black, then attached another cut-out logo. Because he was so tiny, we used little sample cups as his drink prop. So simple!

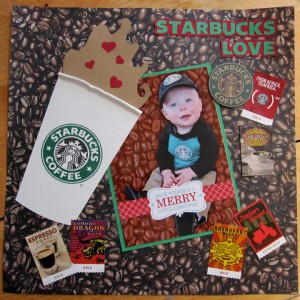
Later on, I made a scrapbook page featuring his costume. I re-used some coffee stickers that had decorated the envelope of the birthday card Jax received from all the baristas at our Starbucks. I love how it came out!

More crafts from around the internet:

Starbucks Felt Playset
Make It Lovely has an adorable tutorial for making a felt Starbucks play set with two drinks and two mini donuts. Recycle your Starbucks sleeves and a pastry bag to add the branding. You could use one of their paper shopping bags to store it all!

No-Spill Paint Cups

No-Spill Paint Cups
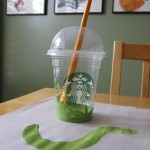
Muffin Tin Mom came up with a great idea for reusing dome-top cold cups from Starbucks – no-spill paint cups! The straw hole up top is perfect for your paint brush. Jax isn’t quite coordinated enough for this, but it is a great idea for the future. I tested it out with some leftover green paint from our last project. This would also work great with clean water in the cup to clean your brushes between colors.


Starbucks Card Notepads
Onegroovyday on Crafster came up with the cutest way to reuse your old Starbucks cards. She made mini notepads! If you aren’t feeling crafty, you can snag one pre-made off Etsy.

Starbucks Card Jewlery
Okay, there are so many cute things to made with empty Starbucks cards. Maybe some of my favorite baristas can snag some for me that are destined for the trash bin. Knitphomaniac has made some really pretty jewelry by cutting old cards and stringing them with jump rings and other findings. Gift ideas for barista friends!

Bottle Cap Flower Mosaics
I love these mosaics by Shawn DuBois available on Esty! A fun way to reuse any bottle cap.

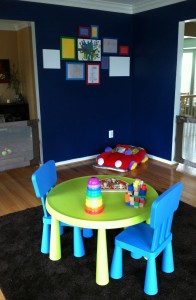
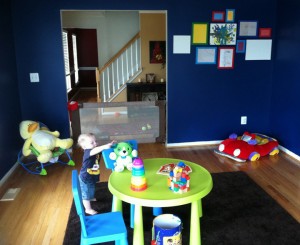
Colorful Playroom Art Gallery

Our playroom has been a blank canvas since before we even became parents. I love color and painted in a rich blue despite the fact we had now furniture for it. It became the craft room whenever I’d host a party. The room has seen: painting, coloring, photo booths of various themes and even tie-dye (with a tarp down on a hot, stormy day).

When Jax became mobile, it was clear he needed a safe place of his own to play – free from hazards and dogs who steal baby toys (and shred them into 10,000 tiny pieces. Don’t ask.) So we put up some great wide gates (that double as travel gates when we rent a beach house) and got a soft, brown rug from Ikea.

Fast forward to now… The playroom is Jax’s favorite place (besides my breastaurant! Hah!) and he runs to the gate, begging to “pway”. He’s getting old enough to start taking interest in different activities, so as a part of introducing him to art, I wanted to introduce art to his playroom. Back to Ikea we went (with the long drive perfectly timed during nap) where we chose a table a chair set for him to play and make artwork at.

My other reason for going was the great, inexpensive frames they carry. I chose four large frames and four small ones in bright colors. Back at home, I laid them out on the dining room table, along with his first painting and two blank canvas he’ll paint on soon. When I was happy with the collage of frames, I put them up on the wall, eye-balling it, as I wasn’t feeling too particular about placement. I have a feeling the gallery will grow and change with time anyway.

For now, the plan is to rotate his paper artwork in the frames and hang all his canvas art up as well. As you can see, his first painting currently holds a place of honor. I painted over the edges to hide the staples using one of the colors we had used. The bottom half of that wall is going to become a chalkboard eventually. I might have more fun with that than Jax!

How do you display your child’s artwork? I’d love more ideas, as I know I’m going to have a hard time letting go of any of it!

Toddler Canvas Painting

I inherited my love of art from my mom, even though she passed away of breast cancer just before I turned 5. I have a degree in studio art and make a living doing web and graphic design. Art is something I definitely want Jax to grow up surrounded by!

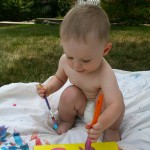
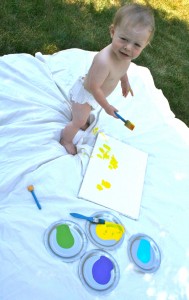
Jax is 16-months-old and I decided we’d start painting on a canvas every month or so. I have extras in my stock pile and craft stores are always giving out 50% off coupons. It was a hot day, so I chose to try painting instead of taking our after-lunch walk.

Here’s what we did:
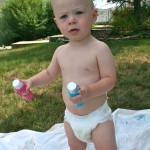
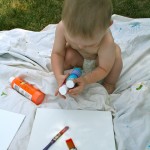
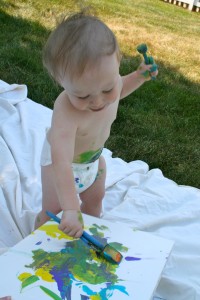
I laid out an old sheet in the backyard. Beside it I had our clean up supplies ready to go: a plastic bin of water, paper towels and an old towel. I put the canvas down on the sheet with 4 paper plates of non-toxic paints and some kid-friendly brushes. I dressed Jax in nothing but a disposable diaper. He has a major belly button fetish right now, so I knew his tummy would be covered in paint!

To start him off, I handed him a brush dipped in paint and aimed him towards the canvas. He took to it right away and had a blast! I had to remind him not to put the paint brushes in his mouth, but he didn’t try to eat the paint. However, he did hear me say “brush” and tried to brush his hair with green paint. Oops!

At this stage, I’m still offering him the paint and showing him how to make hand prints and spatter marks. I think it will be fun to see how he progresses each month. Eventually he will be choosing his own colors and techniques.

When we were all done, I let him splash his hands and feet in the bin of water while I washed the paint off him with a wet paper towel. The diaper was so paint-covered it was nearly modern art itself, but we tossed it. And headed inside with Jax snuggled in his towel.

His painting is now hanging in his new playroom art gallery. I’ll show you all the cuteness in an upcoming post!

The finished painting!

Have any of you done arts and crafts with young toddlers? What was your experience like?