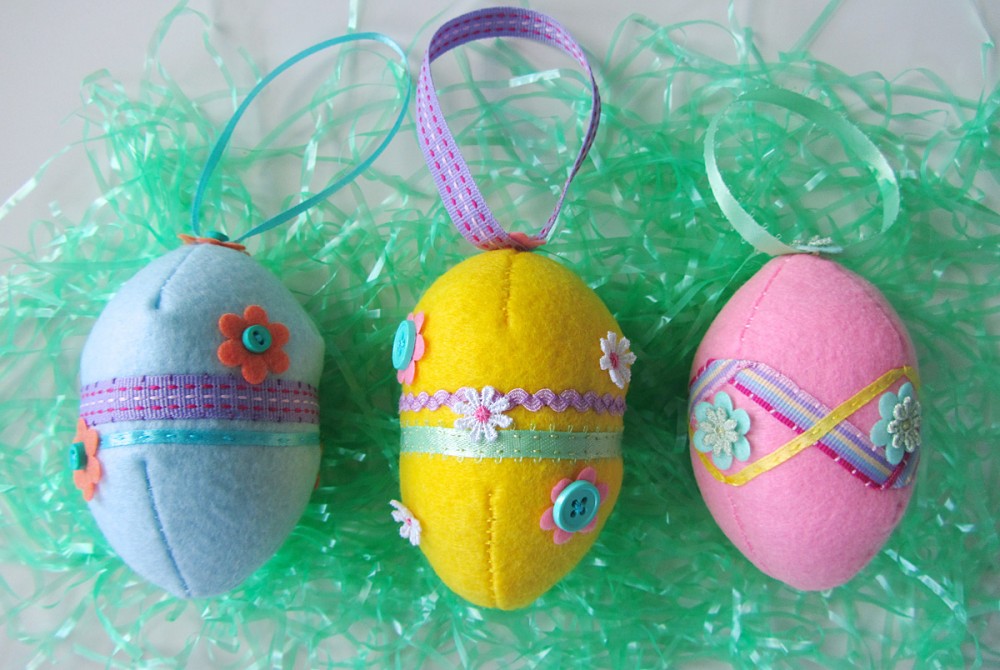
Easter is almost here!
I wanted to do a quick and easy project for Easter that I could share with you all. The hardest part is already done – figuring out the pattern to sew a 3d egg! (I used a plastic egg, paper and tape to draft it out.)
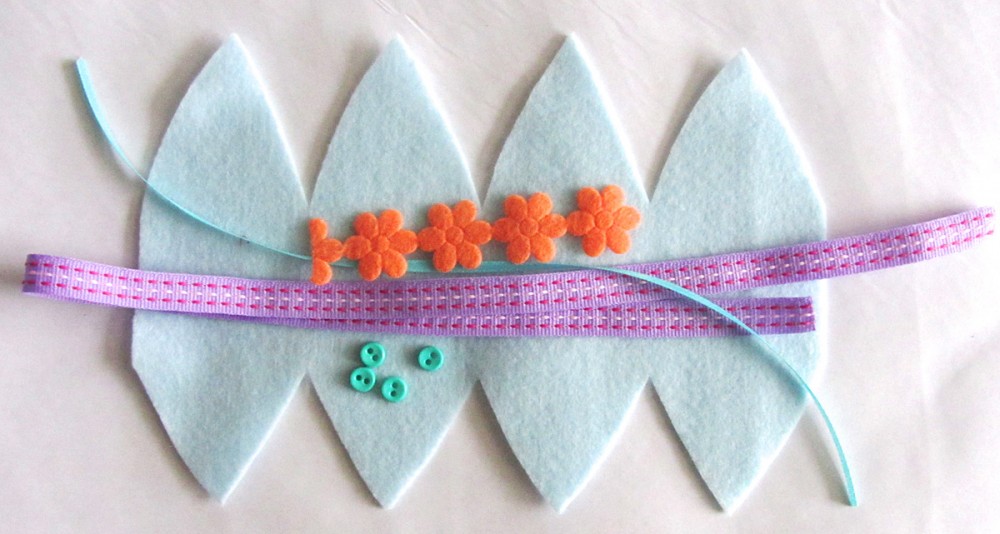
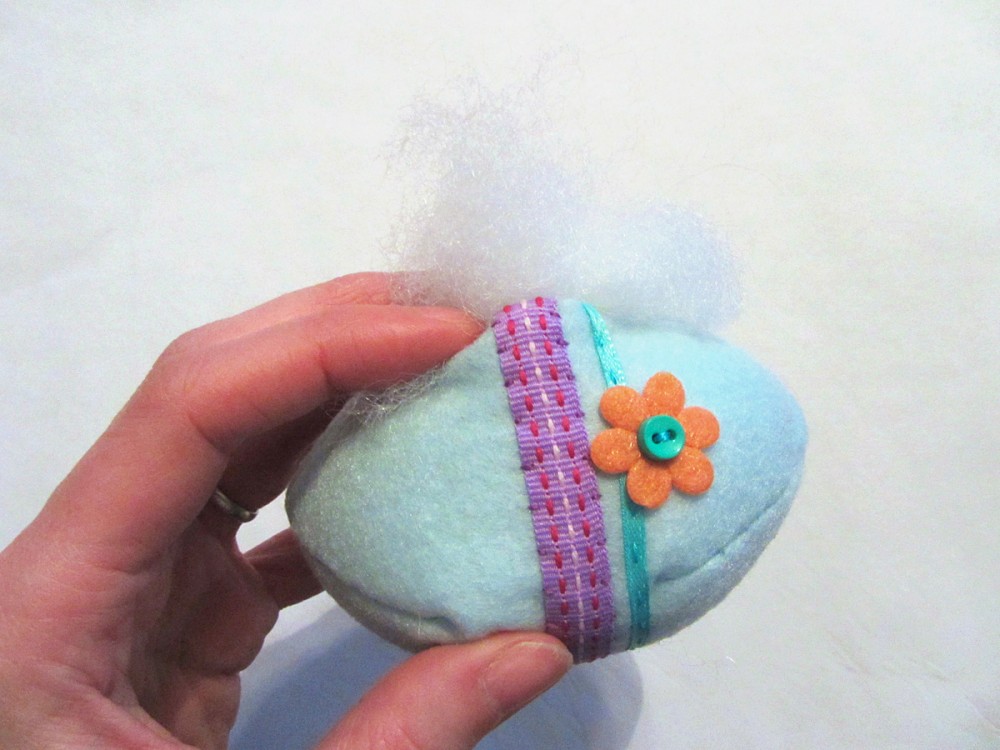
For this project, I used some extra eco felt, plus some pretty trims and buttons. Many of my embellishments were from the Target dollar aisle!
What I used:
- The Pattern
- Eco Felt
- Trims: felt flowers from Target, buttons
, Wrights daisy trim
, assorted ribbons & ric rac
- Stuffing
I started by cutting out the felt and choosing some pretty trims.
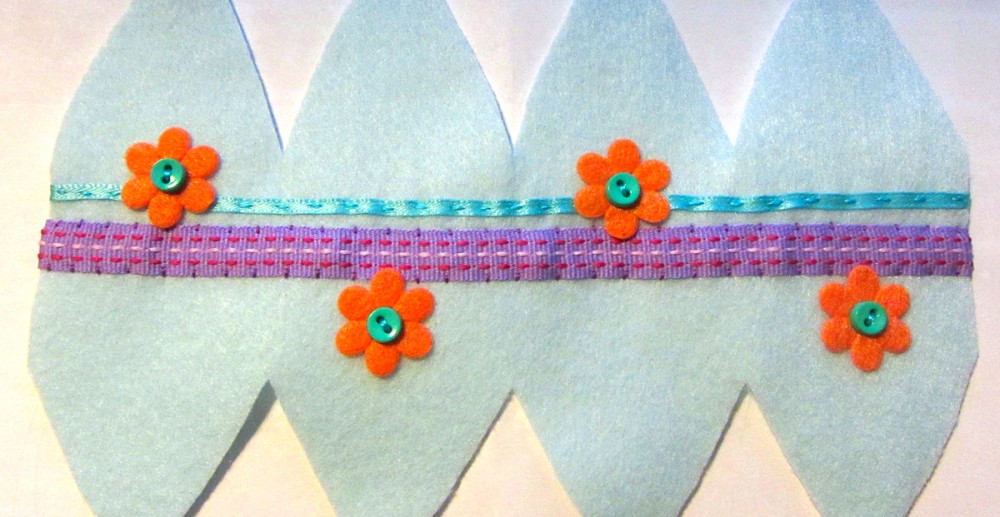
I then sewed all my decorations on before constructing the egg. (For my pink egg, I added a flower after sewing the egg, as it landed on the final seam.) Make sure your ribbons line up when you fold the felt into a tube.
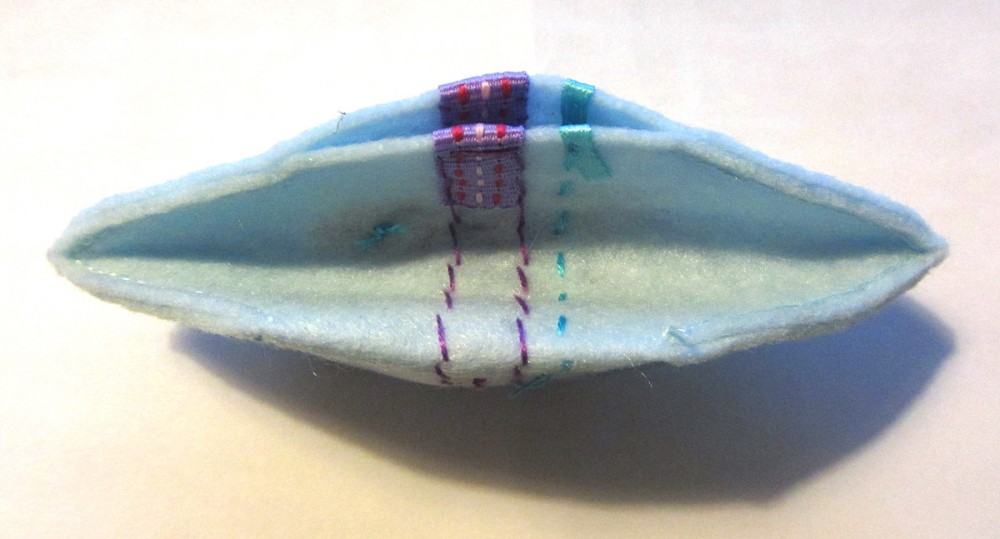
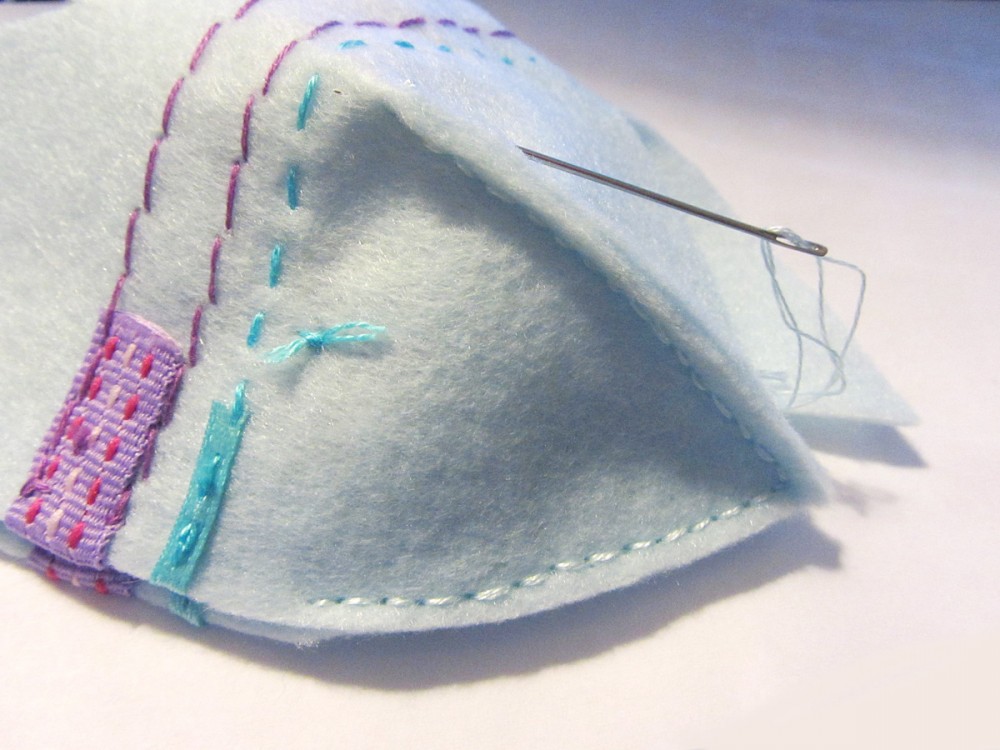 When sewing the egg together inside-out, I left the two flat ends open (middle side of the egg) and just sewed the triangle sections closed. I used a very small seam allowance (included in the pattern) of around 1/8″ (4mm) and hand sewed with a back stitch.
Once both ends were sewn shut, I turned it right-side-out.
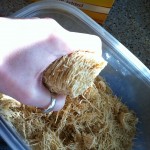
I filled it full of stuffing.
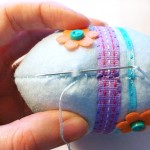
Using a ladder stitch, I sewed the opening shut.
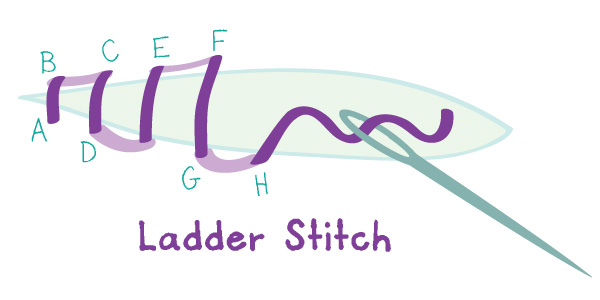 Ladder stitch is most easily done with a curved needle. I don’t have one, but didn’t have any problems. Make a stitch across the gap you are closing, then run your needle through the felt in a small dash perpendicular to the opening. Repeat on alternating sides as shown. (In the diagram above, the lavender parts of the thread are under the felt.)
I finished my eggs off by stitching a loop of ribbon and a little embellishment to the top so they can be hung up.
There are so many possibilities with how you can decorate these eggs! If you make some, you are welcome to stop by the Facebook page and share a photo of your work. Have fun!

