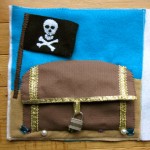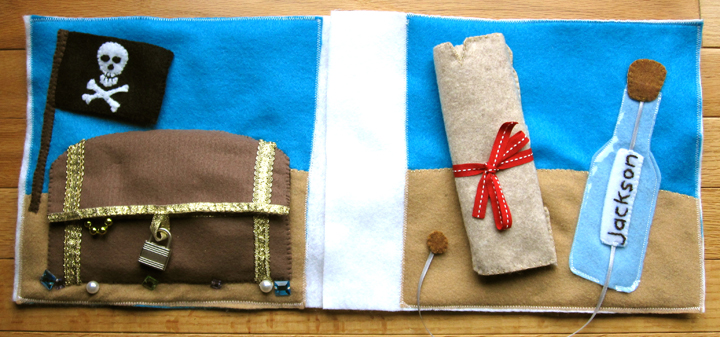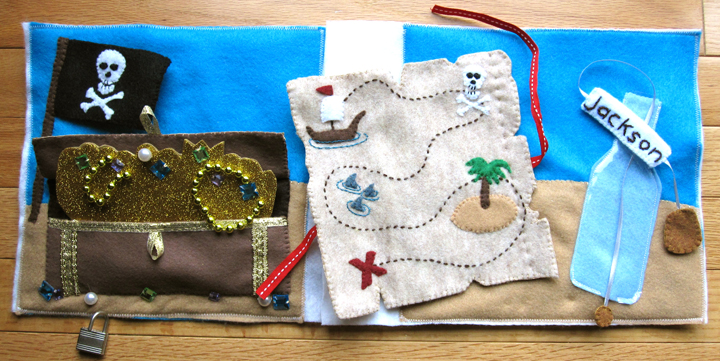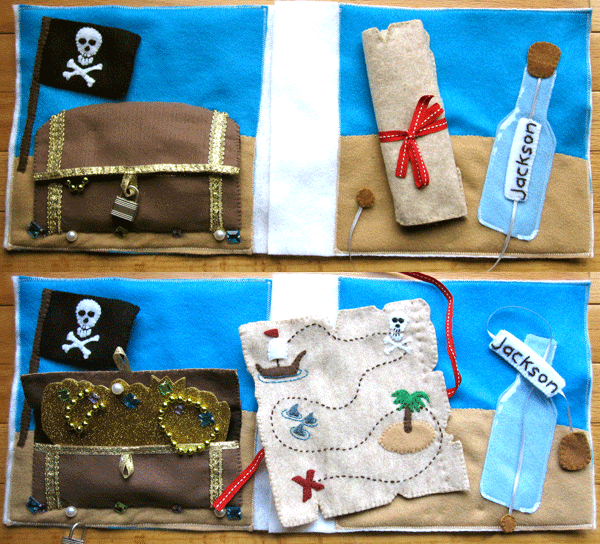
When a treasure chest was requested on the Facebook page, all kinds of ideas started popping into my mind. Maybe I went a bit overboard, but I’m not one to craft something halfway!
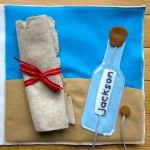
This page engages a lot of skills: tying a ribbon (on the map), unlocking a lock (on the chest) and pulling things in/out (the bottle and treasure.)
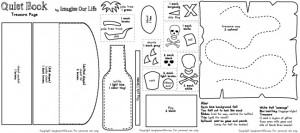 To make this page I used:
Aqua blue background felt (two 9″ squares), tan felt cut to look like sand, felt (in natural, light brown, brown, dark brown, light blue, burgundy, green, tan, gray, black and white), clear vinyl, gold trim, ribbons, sew-on gems/pearls, a luggage lock and embroidery floss.
Background:
Very simple – just cut out some tan felt in gentle slopes to make the sandy ground. Make sure the pages line up, though! I actually just pinned my “Sand” in place at the beginning and sewed the other elements down over top. At the end, I went back and stitched down the “sand” wherever it wasn’t caught under something else. That saved me a lot of time because I was hand-stitching on the couch.
 Message in a Bottle:
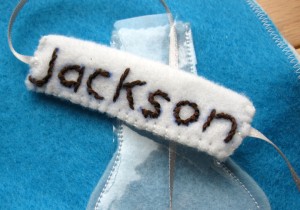
To make a “message”, cut two skinny rectangles out of white felt. Make sure they are narrower than the neck of your bottle. Write the word you want on one of them (preferably in a pattern pen), then embroider it. I wrote Jax’s name, but you could write “help!” I used stem stitch and dark brown floss. Cut a piece of ribbon about twice the length of your bottle and sew the two cork pieces onto one end (sandwich the ribbon.) Sew the matching circles onto the other end of the ribbon in the same way.
 Pin the light blue bottle piece in place, then sew the top and bottom down. Sandwich the ribbon, cork side up, in between that and the clear vinyl bottle piece. Sew the sides and part of the bottom on a machine (it’s tough the hand-sew vinyl) according to the pattern, letting the ribbon go through the top and bottom holes.
With the cork down in place, make note of where you want your message to be. Pull the ribbon up and sandwich the message pieces around the ribbon. Pin and test that the message fits through the bottle neck (trim if needed.) Sew the message pieces in place, making sure to catch the ribbon on both sides so it doesn’t slide.
 Map:
Map:
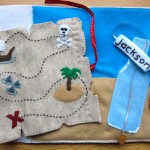
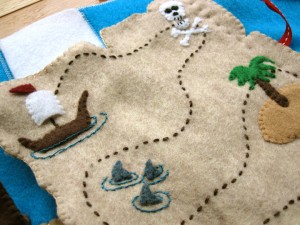
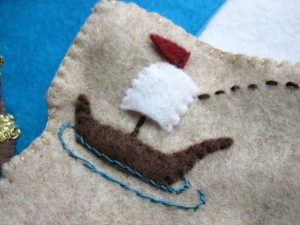
Transfer the map path to the top piece of the map, or pin the pattern down and stitch through the paper. (If you do this, as I did, you’ll need to cut away the paper afterwards and pull bits out of the stitching. Annoying, but my stitches came out very even.) Sew down each map element using the photos as a guide. The boat mast is sewn in dark brown stitching. The skull’s eyes/nose are stitched on in black since they were so tiny. I stitched some blue-green waves around the boat and sharks to show water. Once everything is on the map, sew the front to the back.
Roll up the map and figure out where you want it on the page. Take a length of ribbon and lay it under the rolled up map so that it will be centered behind where the map is. Stitch the ribbon to the page with a couple stitches to the center. Unroll the map and lay it so the center of the ribbon is 1″ from the right edge of the map. Sew the map to the page in a straight line 1″ from the edge. You should be able to roll it up from the left afterwards and tie it with the ribbon.
Flag:
Sew one skull & crossbones to each flag piece if you want a two-sided flag. I actually only put it on the front. The eyes on this one are little bits of felt I cut out and stitched down. Sew the two sides together along the top, right and bottom. Pin it on the page and sew down the flag pole over top.
Treasure Chest:
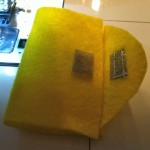
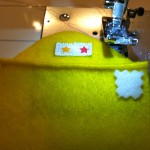
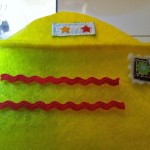
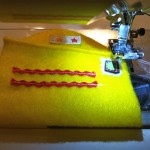
Sew the dark brown inner chest piece down to the page. To make the pocket, embellish the pocket piece with gold trim. I used a 1/4″ ribbon with an 1/8″ trim on either side to make two vertical bands. I sewed a loop of ribbon that the lock will hang on and pinned it hanging down from the center top of the pocket piece. I sewed gold ribbon along the top, holding the loop in place. Sew the pocket piece down to the page along the left, bottom and right.
Embellish the top piece of the chest lid in the same way as the pocket, but have the ribbon along the bottom instead of the top. The lid’s ribbon loop should also hang down. Sew the front and back of the chest lid together then sew it to the page along the top, starting where it starts to curve.
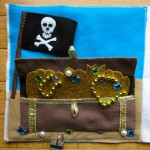
This part is optional/changeable. I used sew-on gems and a few plastic pearls to add some spilled treasure around the chest. If you are concerned about choking hazards, omit them or cut out little felt shapes instead. I triple-stitched mine on and Jax does not play with his quiet book alone.
Treasure:
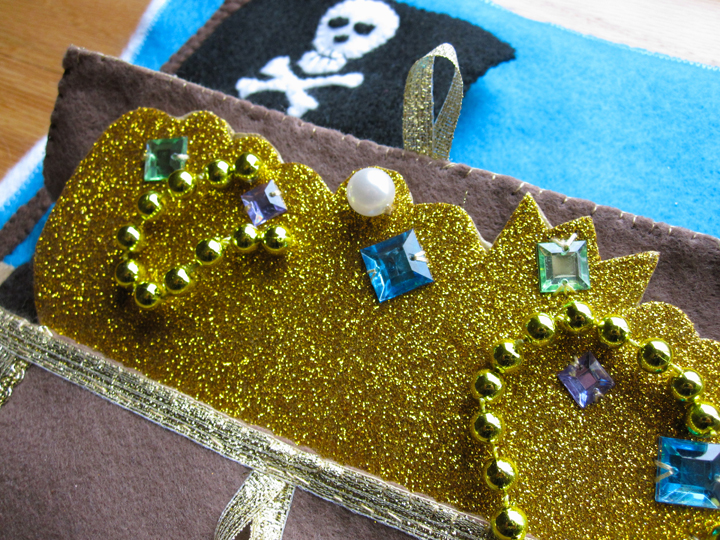
I didn’t include a pattern for this. If you have some play gold coins and necklaces, you could just put those in. You could also cut out circles of gold felt to make your own coins. I made my treasure all one piece for now. I used gold glitter foam and cut out a rough shape of a pile of gold and a crown. Leaving the sticky back paper on, I stitched some on jewels and bits of Mardi Gras beads I cut up from the dollar store. Then I peeled of the backing (ripping it around my stitching) and stuck it to the back of another piece of glitter foam (with the backing off.) I cut around the second piece of foam to match and was done! The glitter sticks a bit when you pull it out of the chest due to the roughness of the glitter, but it works fine.
The lock I have is not the one I want to use permanently. It’s just one I already had. I’d like to find a gold tone one. Once I have the one I will use for real, I’ll sew a ribbon to the edge of the page and attach the key. Jax is too young for the lock still, anyway.
Hope you enjoy this pattern! You could certainly use bits and pieces of it since there is a lot of elements. If you sew this page, I’d love to see it! Leave a comment here or post a photo on the Facebook page!

