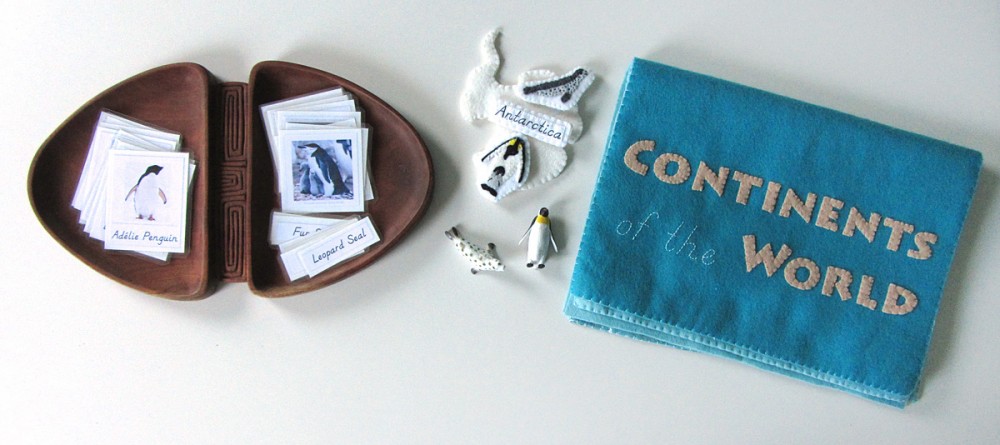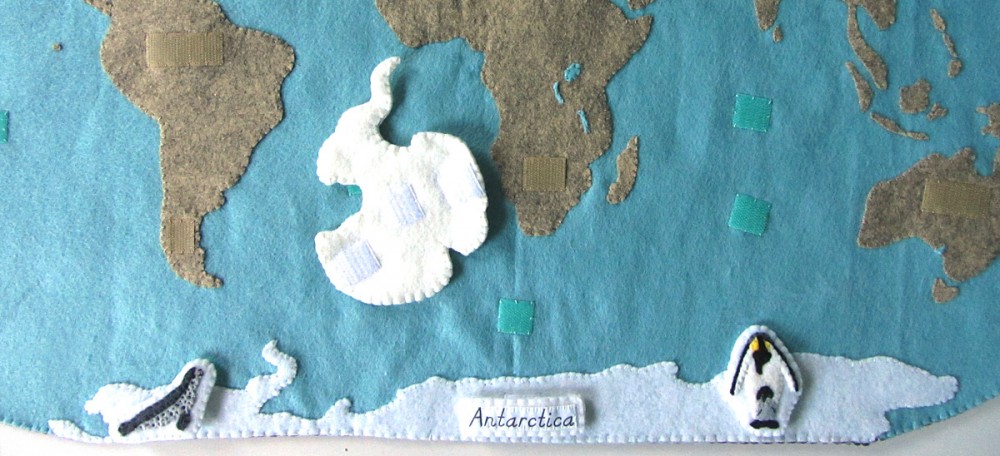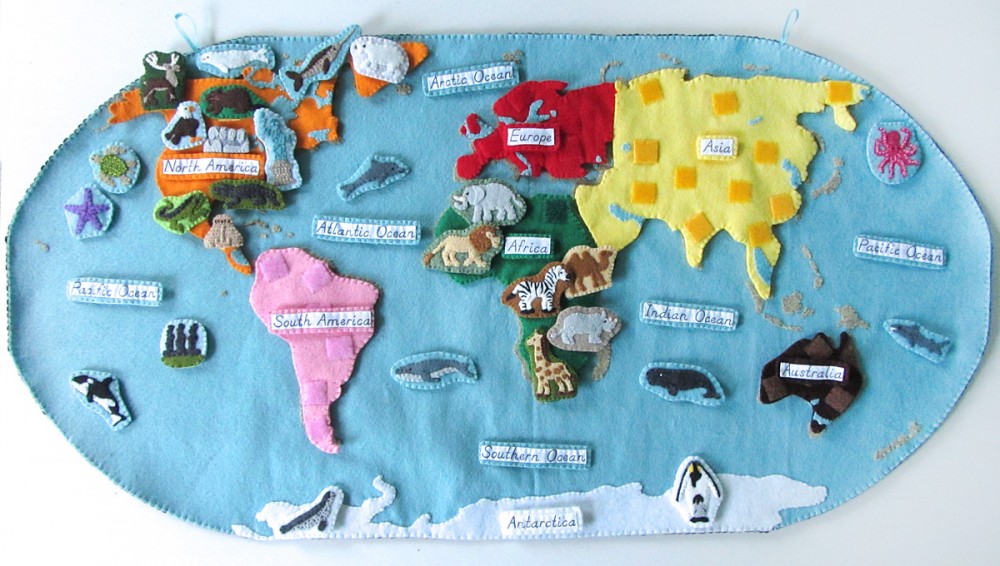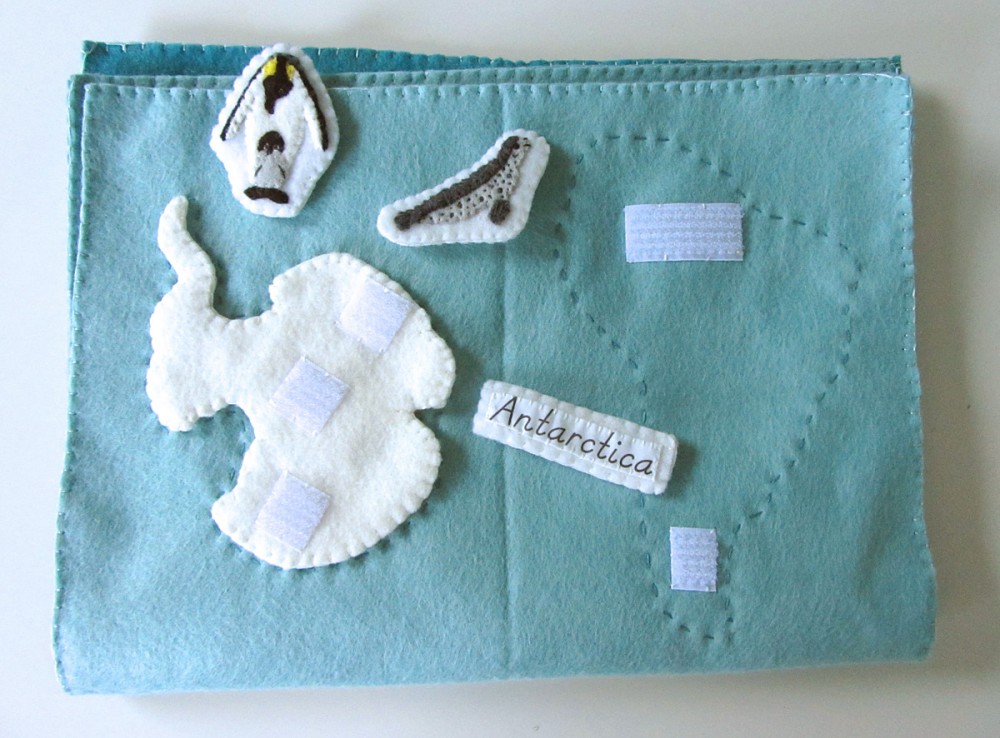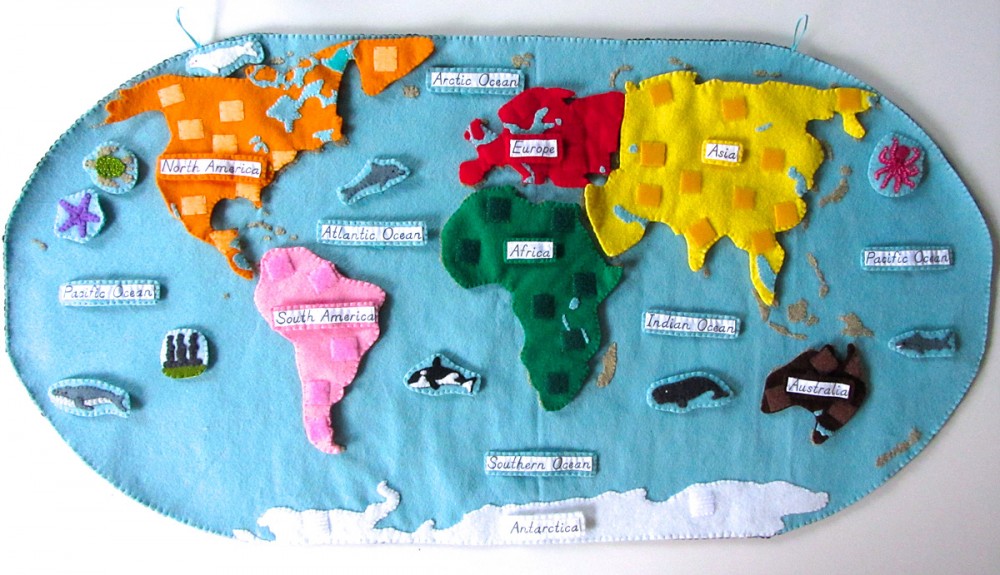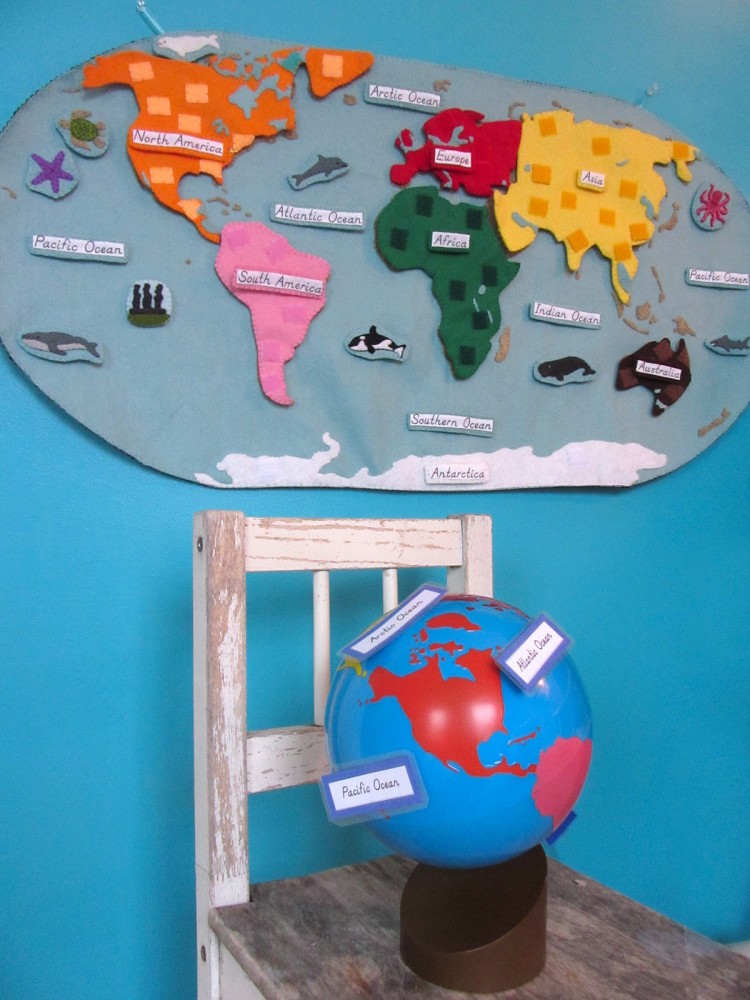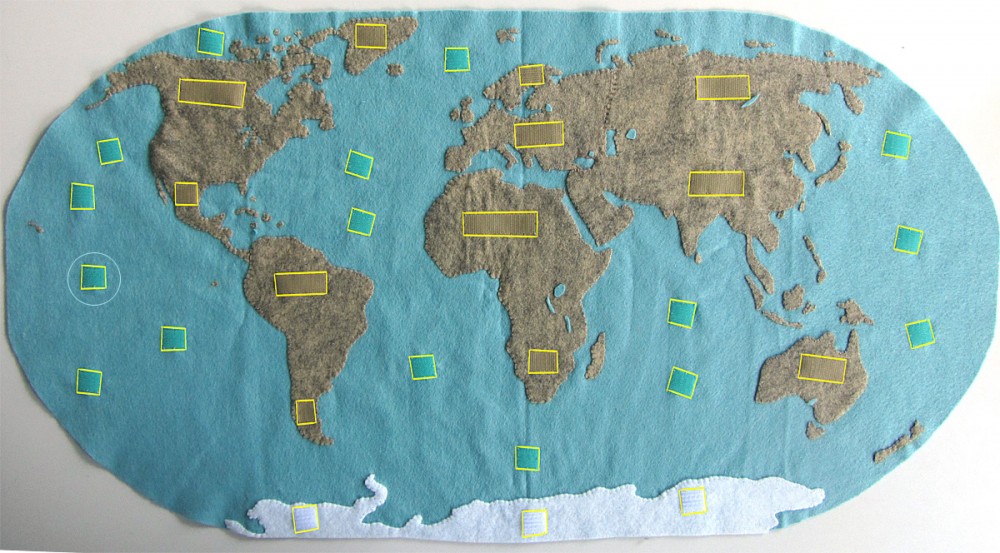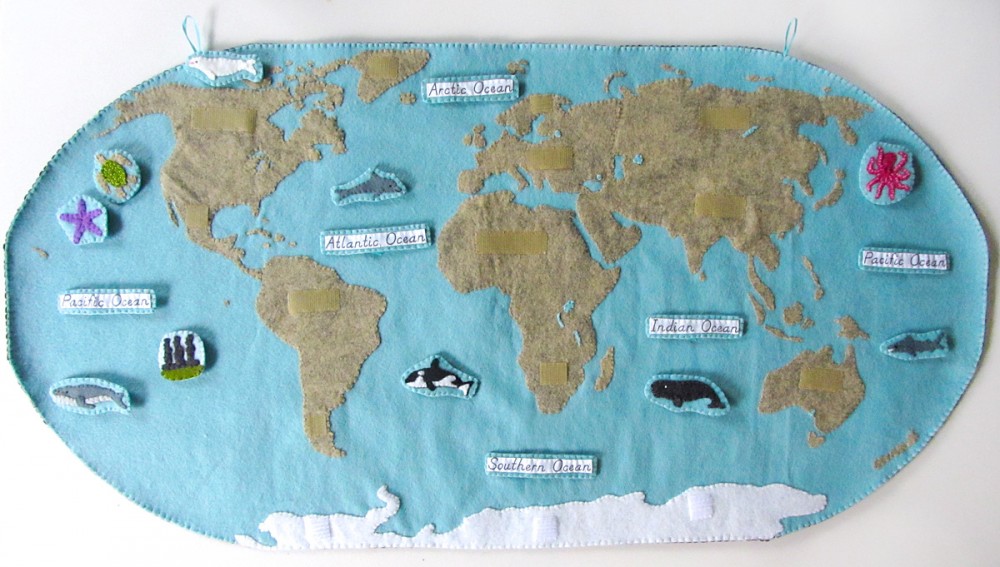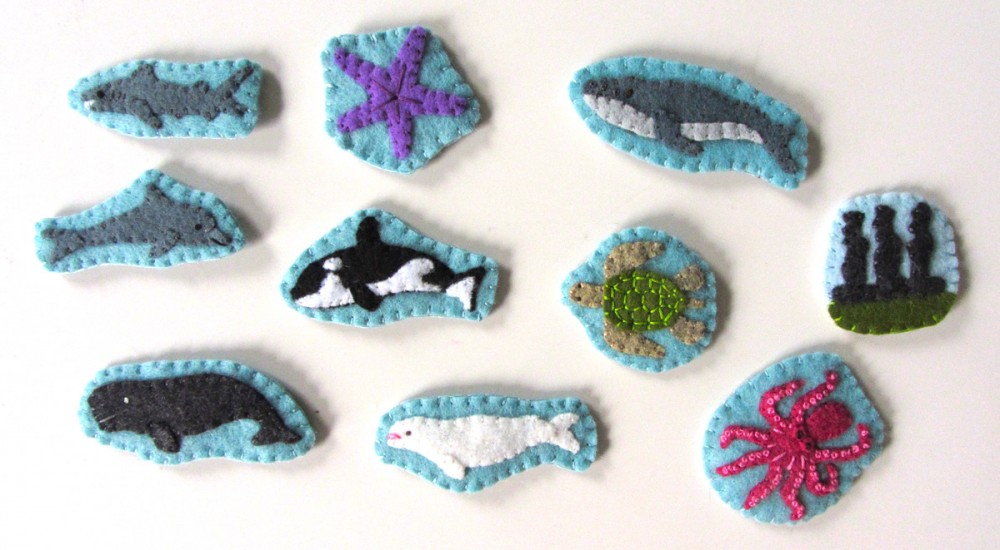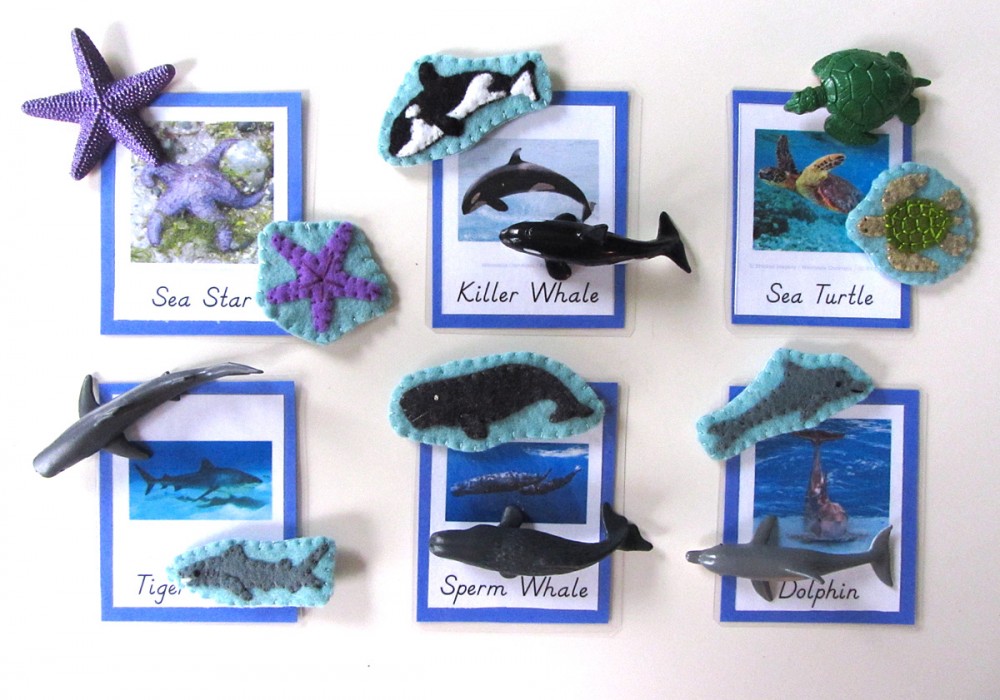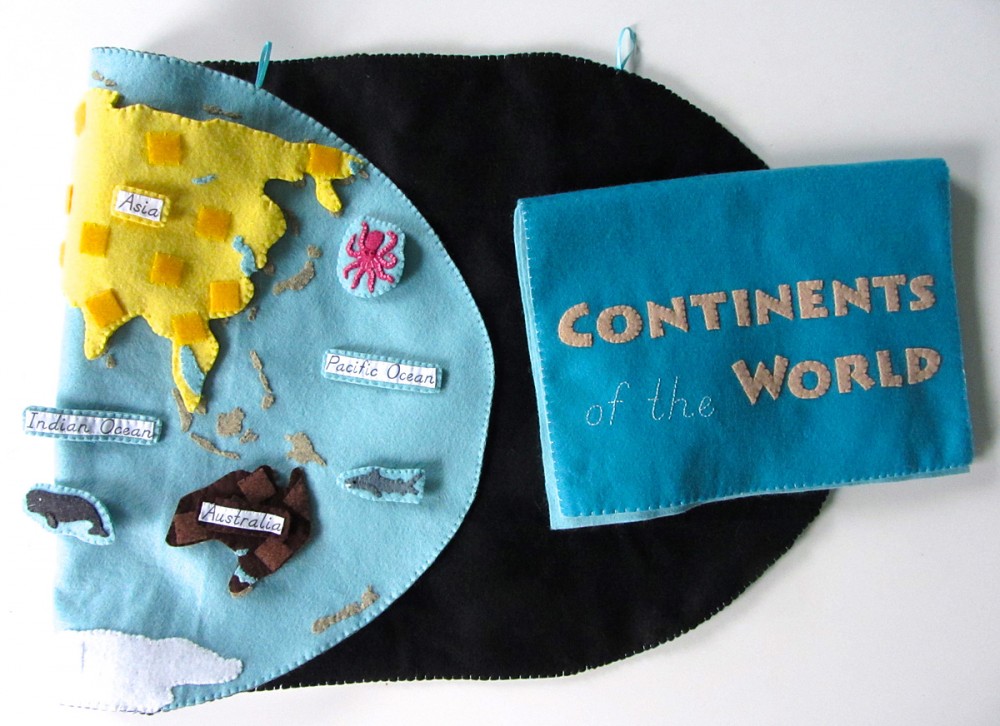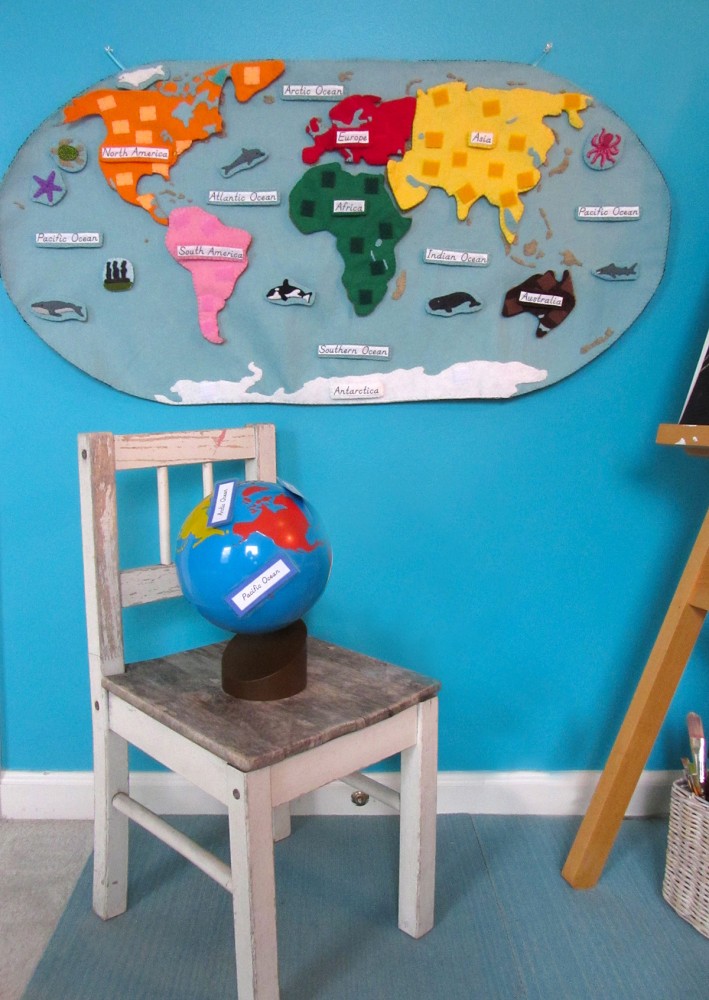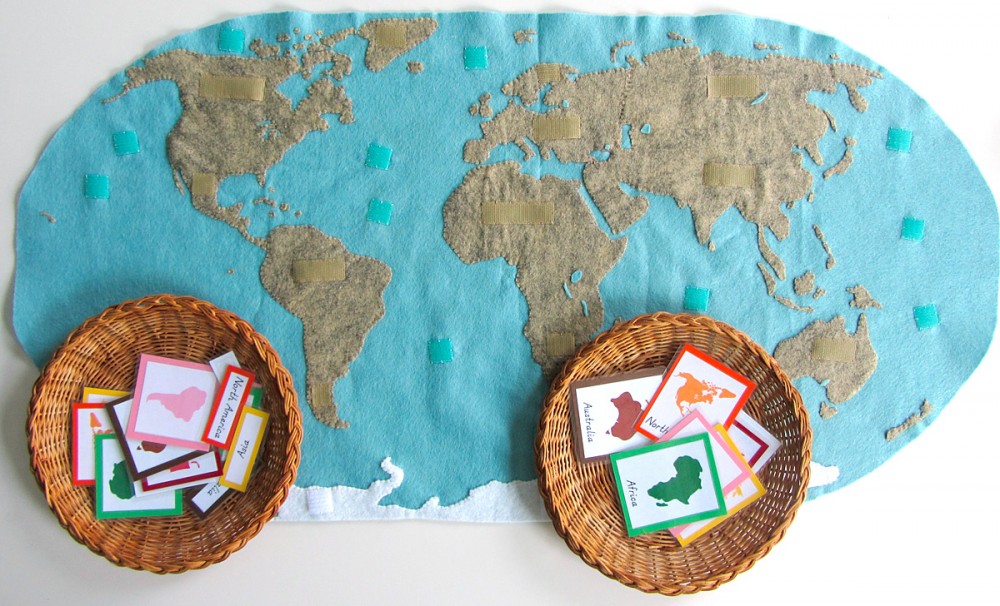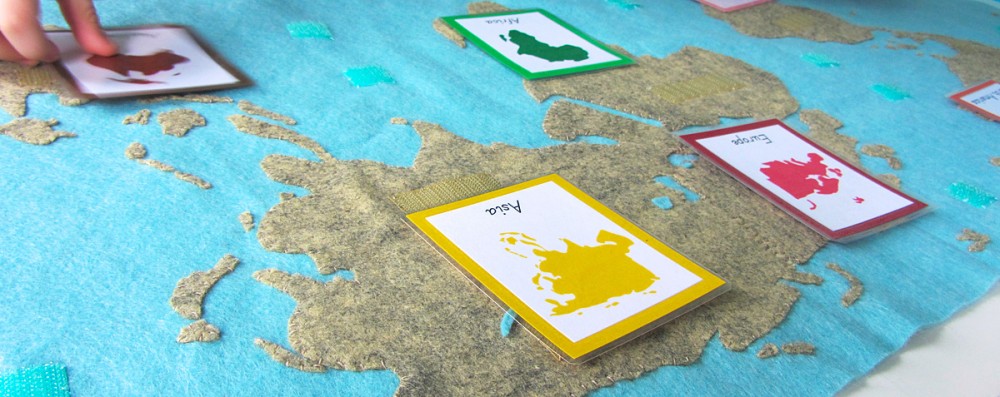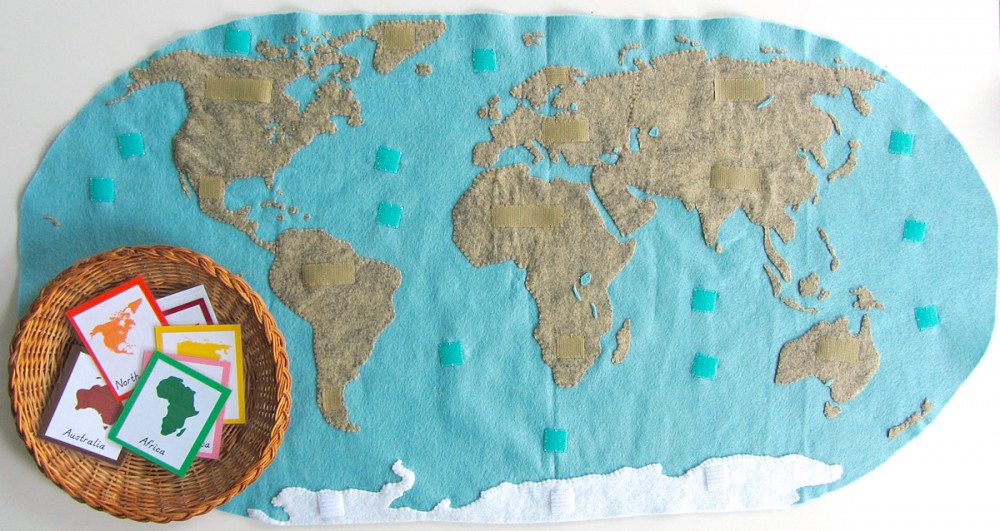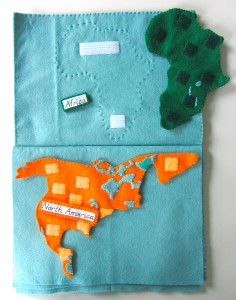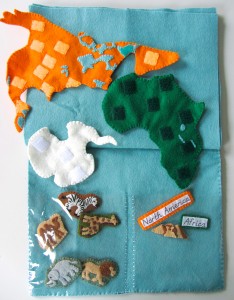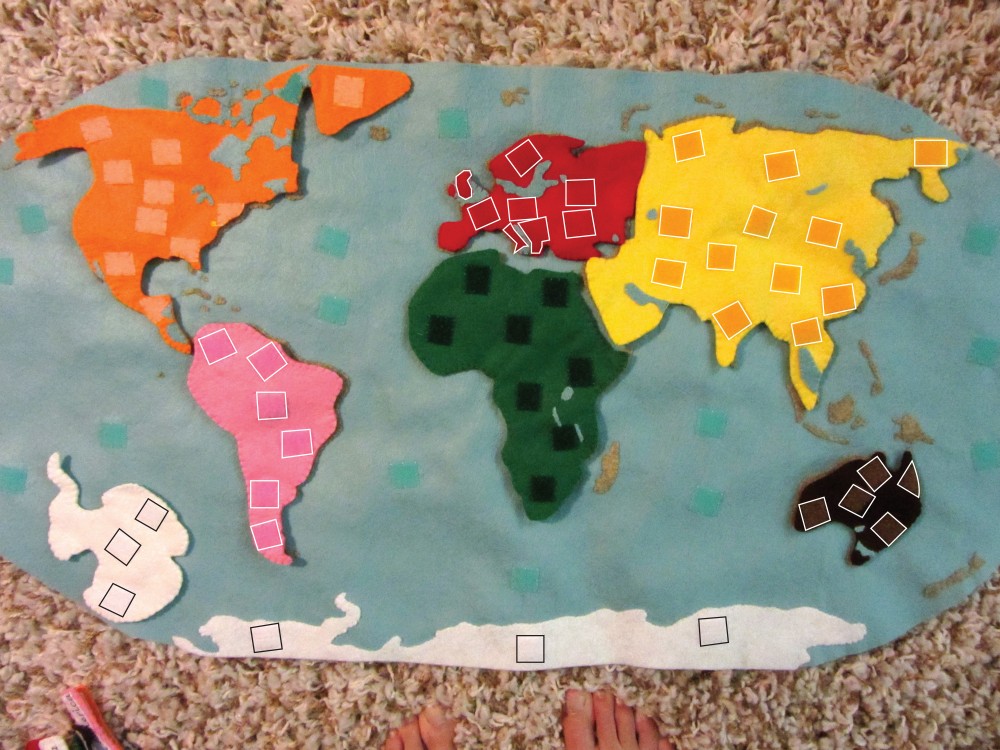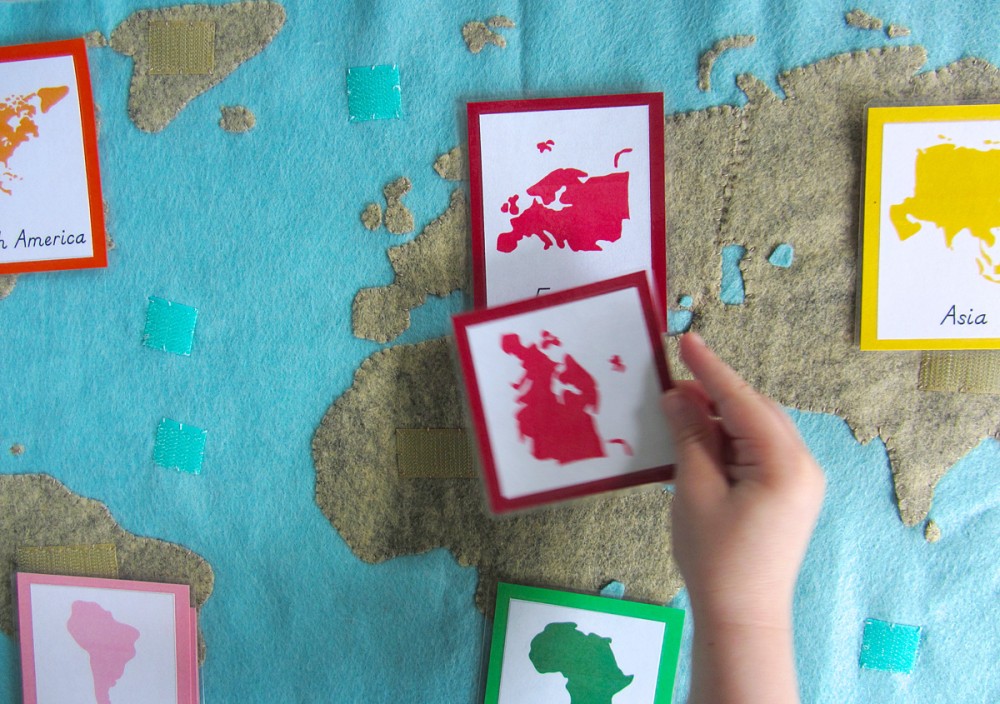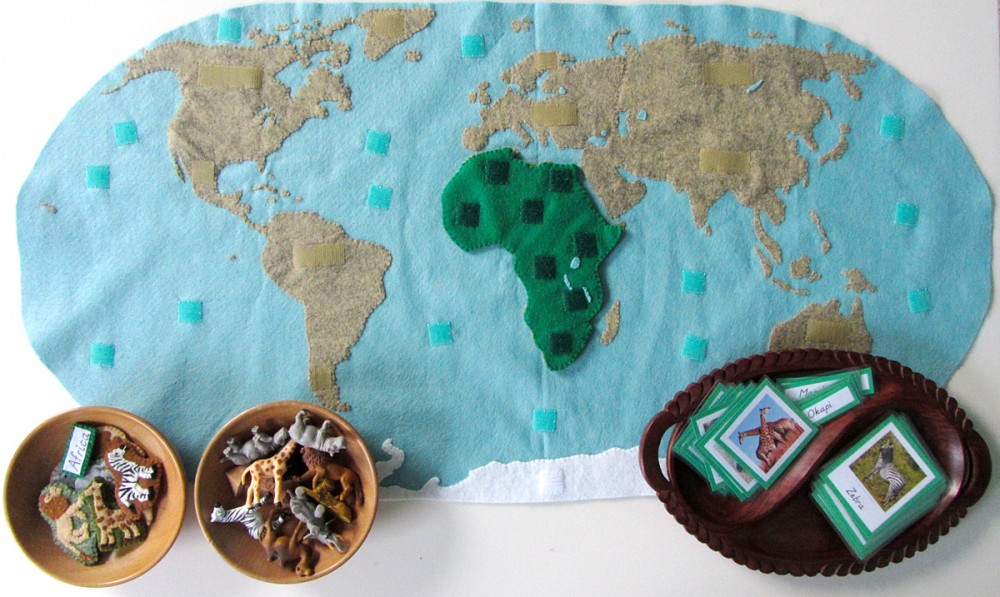
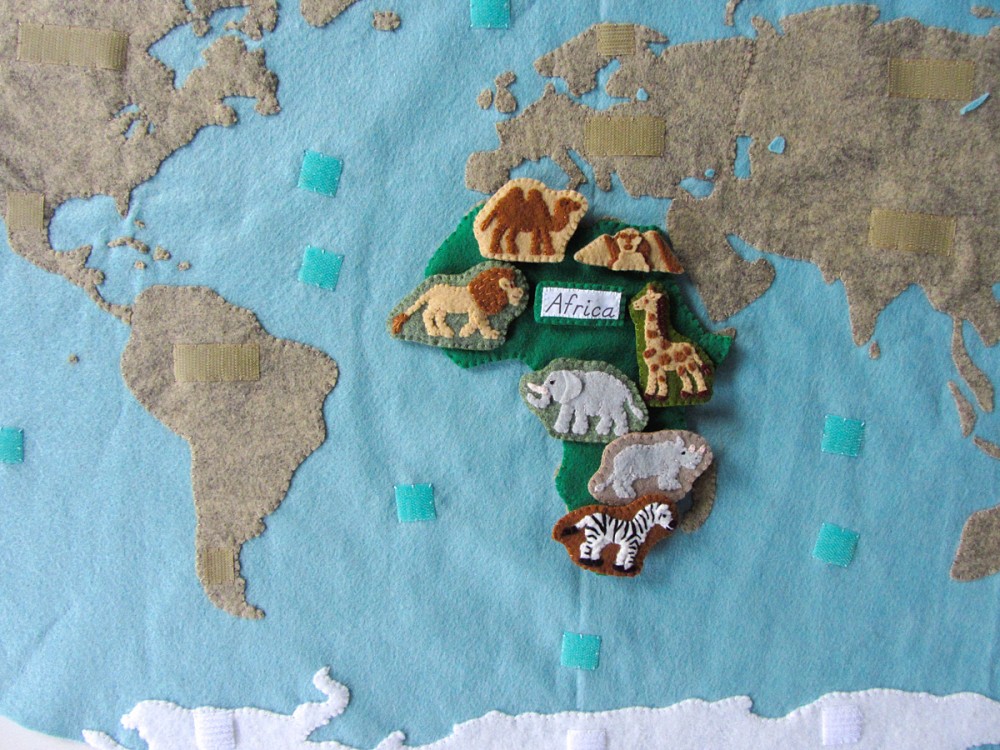
If you haven’t been introduced to our Montessori wall map and quiet book yet, you can read all about it here. This post will be for the first continent in the series: Africa! Every continent will have landmarks and animals. Some, like Europe, have more landmarks than animals. Africa is heavy on the fun animals!
Overview and Map Patterns • Africa • Antarctica • Asia • Europe
North America • Oceans • South America
Those of you who follow along on Facebook or Instagram have already seen the animals and landmarks I created for Africa. I’m so exciting to be working on this project! It was YOU who voted on the Facebook page to make a world map the next quietbook project, and I’m so glad! This will be an amazing resource for Jax throughout his school years. I am posting this project in segments instead of all at once so that you can sew along with me!
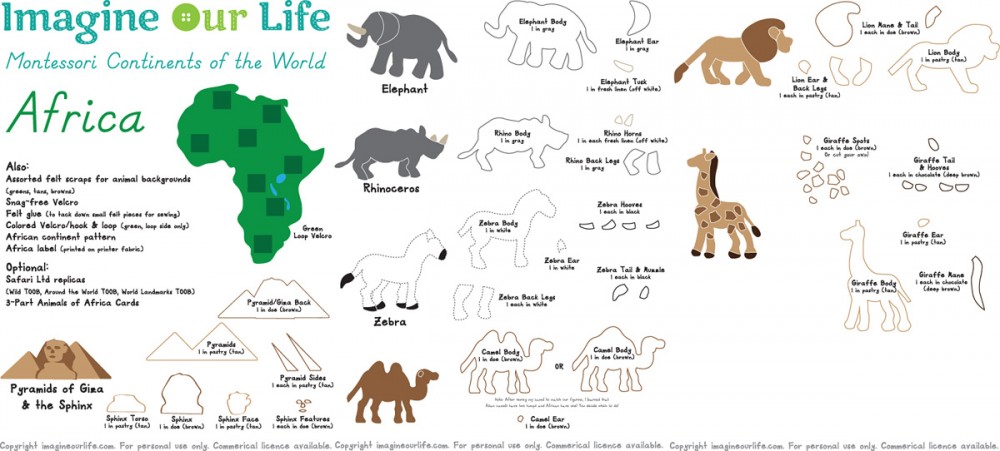
Materials I Used
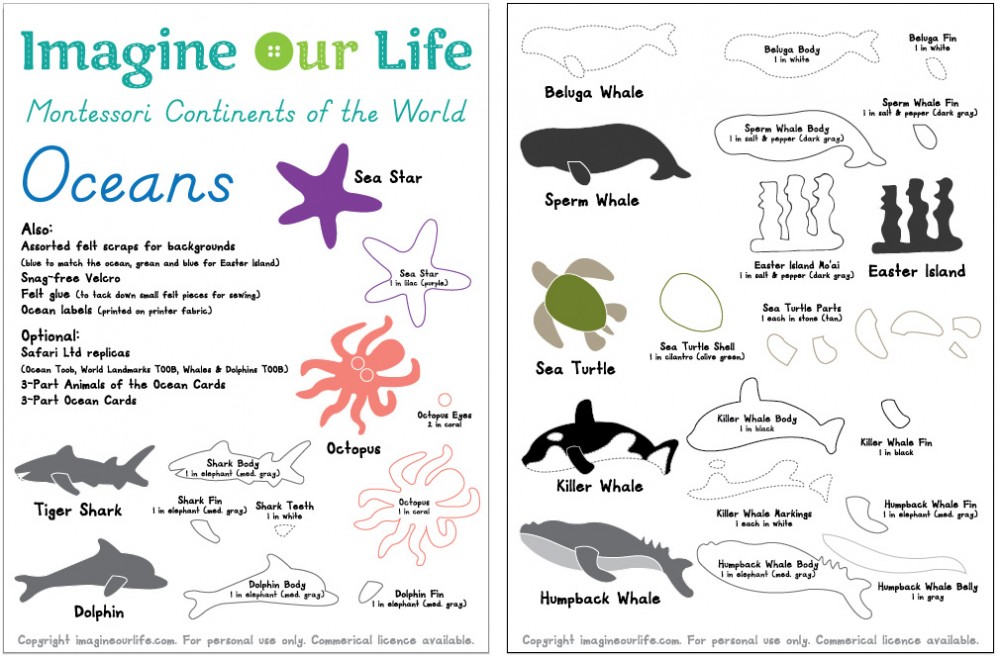
The Pattern (see the first post for the main patterns)
Felt from American Felt & Craft – jungle vine [green], pastry [tan], doe [brown], cactus [gray-green], chocolate [brown], cilantro [green], white, black, gray, chai [beige] and fresh linen [off-white]. From Benzie Design – swan [blue] for the water.
Hook & Loop – I used white snag-free Velcro on the backs of all pieces, including Africa. I used the soft loop side of green hook & loop on the front of Africa.
Felt glue to tack down the pieces before sewing, printer fabric
 for the continent label, embroidery floss in colors to match the felt and micro tip scissors
 .
.
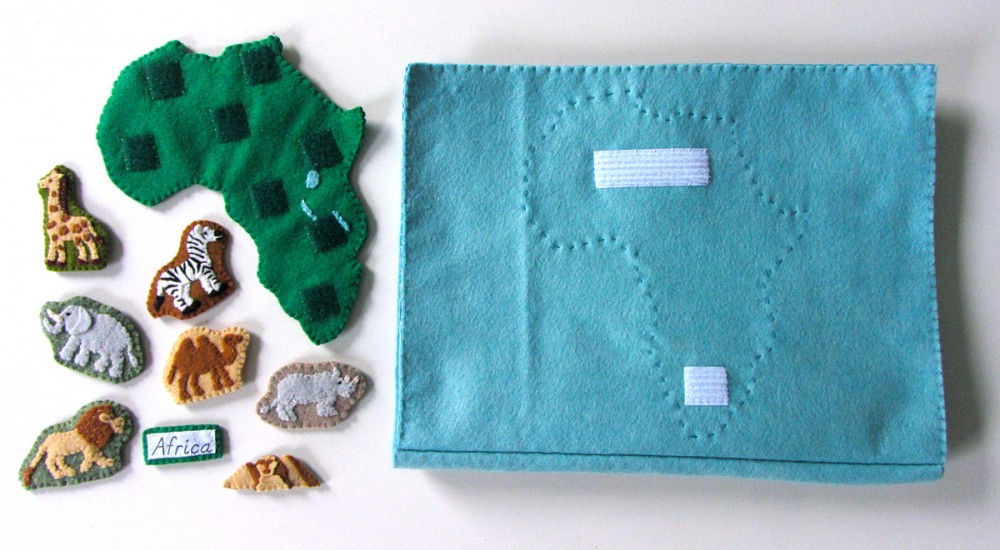
Sewing the Pieces
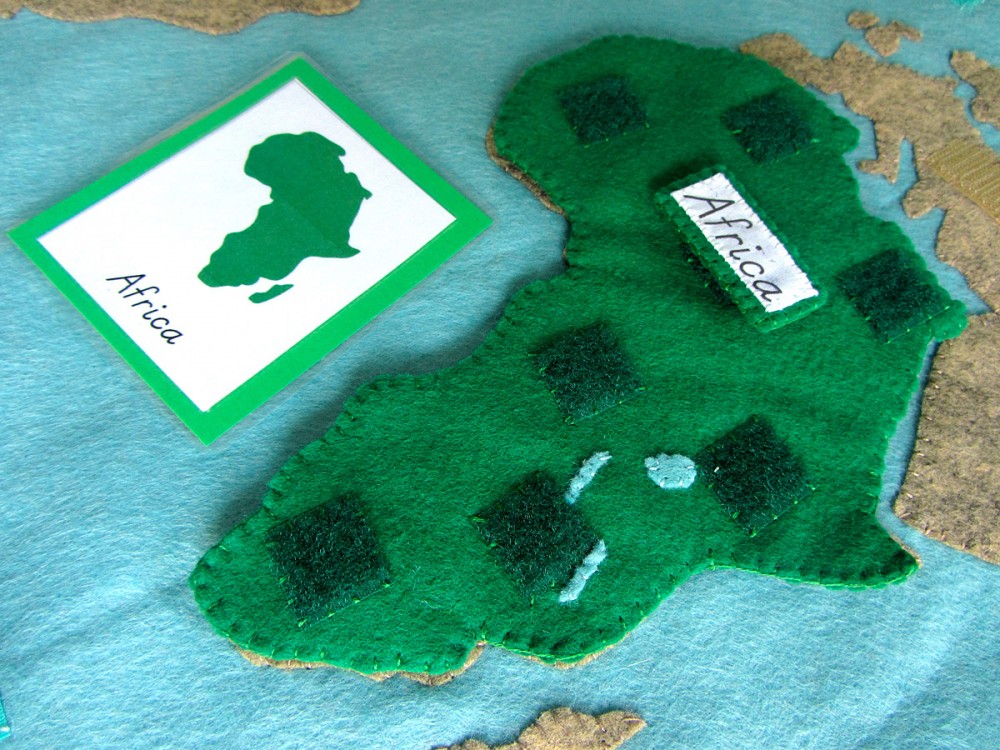
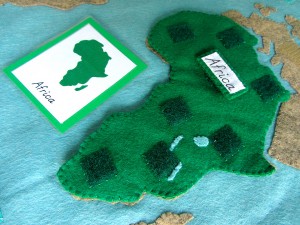
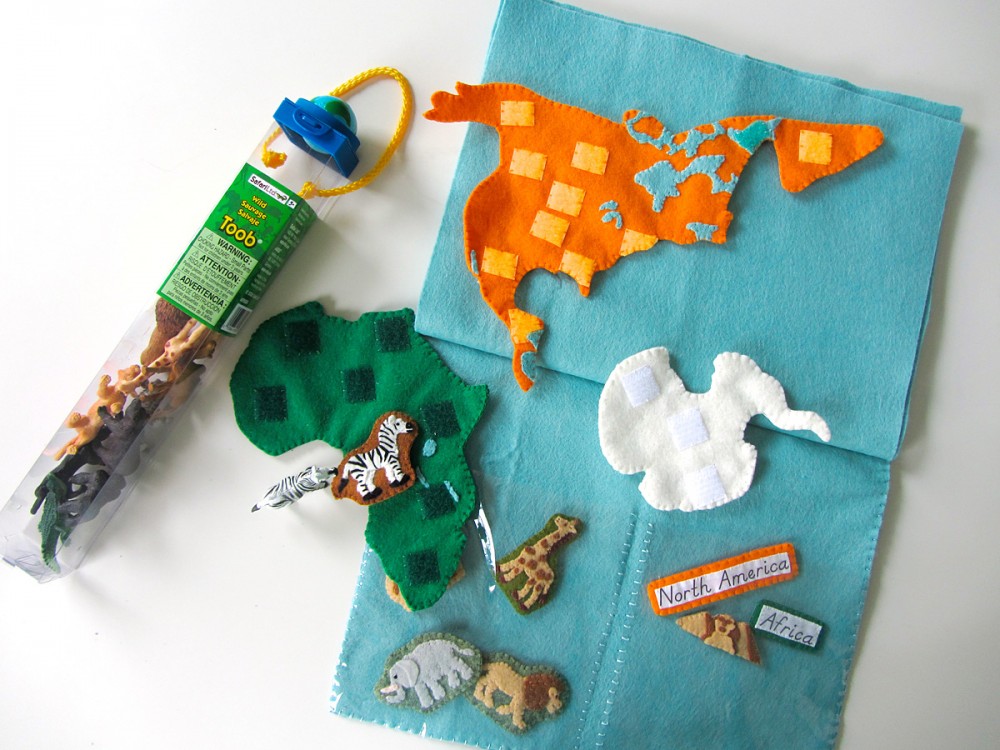
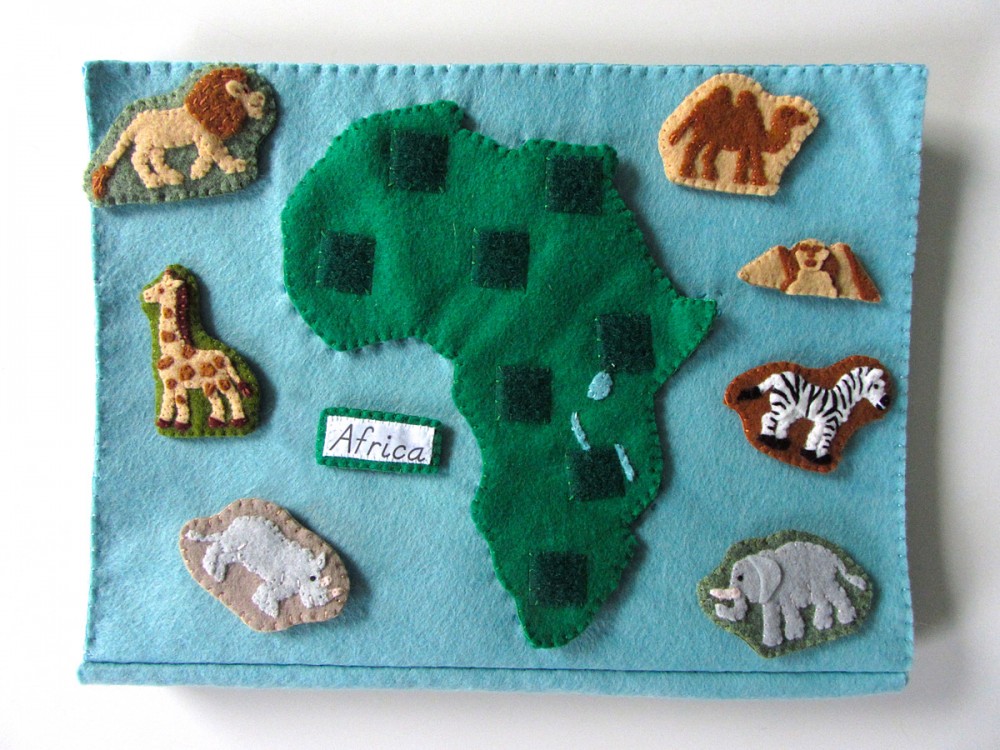
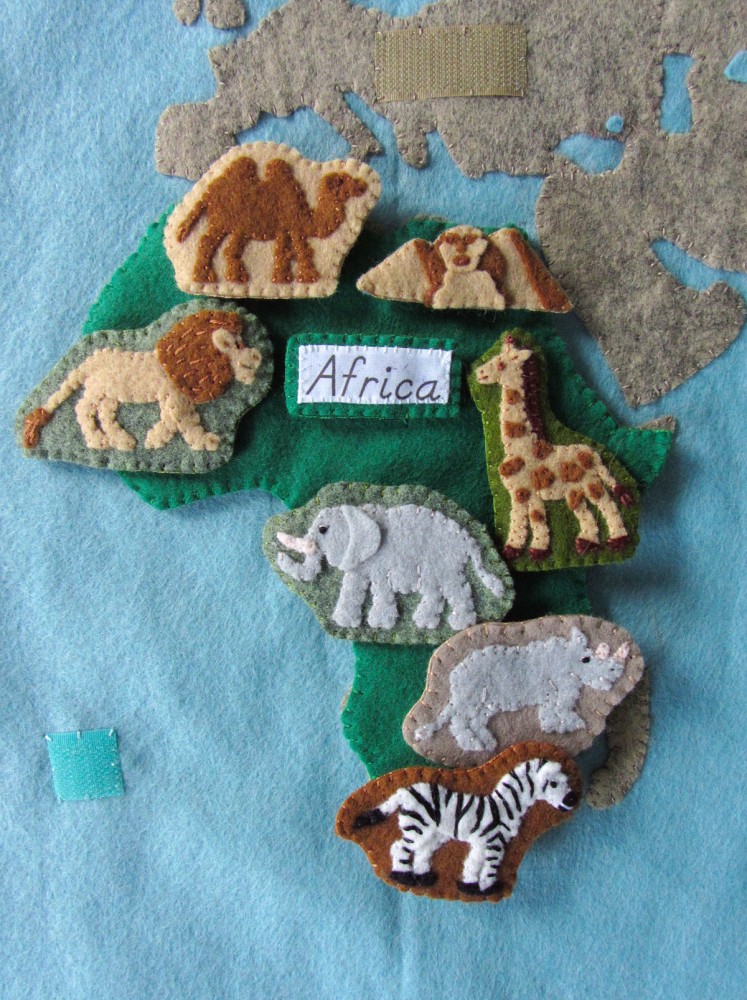
Africa: (Felt used: jungle vine green and scraps of swan blue for the water) For the African continent puzzle piece, I started by gluing then sewing the water down to the front side. Then I sewed down pieces of green loop Velcro. On the back, I sewed strips of white snag-free Velcro to correspond with the Velcro on the wall map and quietbook. I finished it by sewing the two sides together around the edge with a blanket stitch.
Label: (Felt used: jungle vine green) For the continent label, I folded under the edges (just a tiny bit to hide the rough edges) and creased it with my nails. The printer fabric held the folds nicely without ironing. Then I stitched the label to some green felt and trimmed it down to be a border. I cut a matching felt rectangle for the back, sewed snag-free Velcro to it and then sewed both sides together.
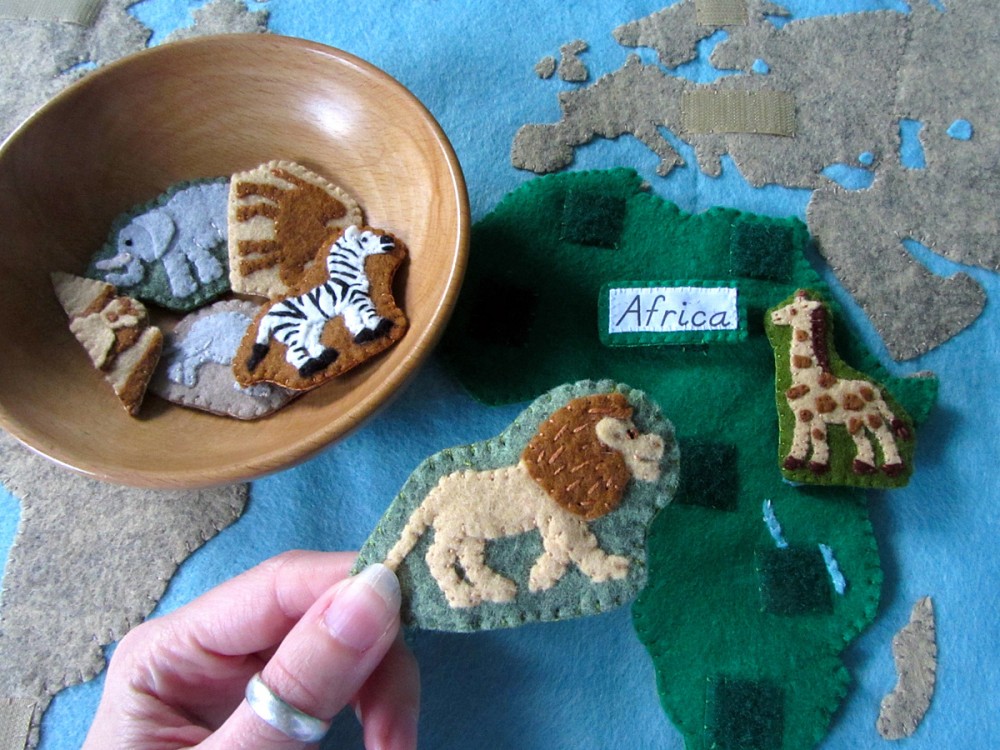
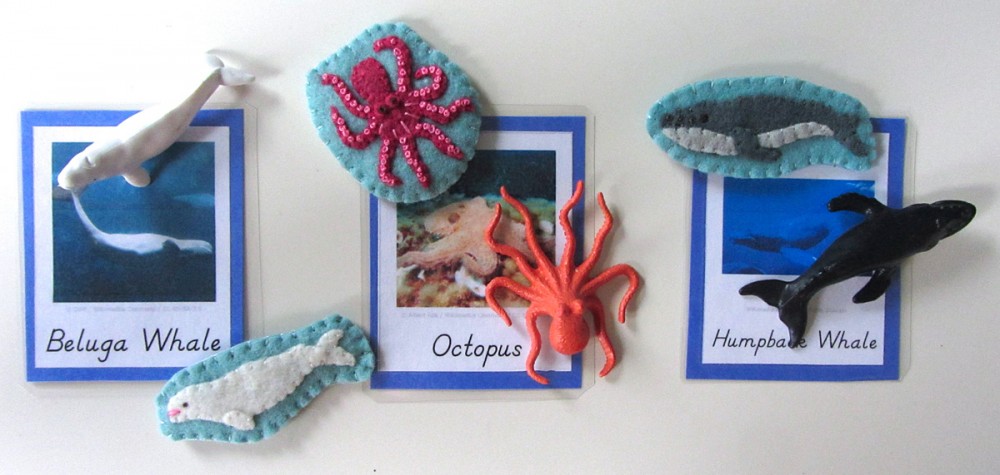
For all of the animals, I started by gluing the pieces down to a scrap of background felt with a very light amount of felt glue. I glue several animals at a time to give them time to dry. I sewed them down, trimmed the background and cut a matching backing piece. I sewed snag-free Velcro to the back and sewed both sides together with a blanket stitch.
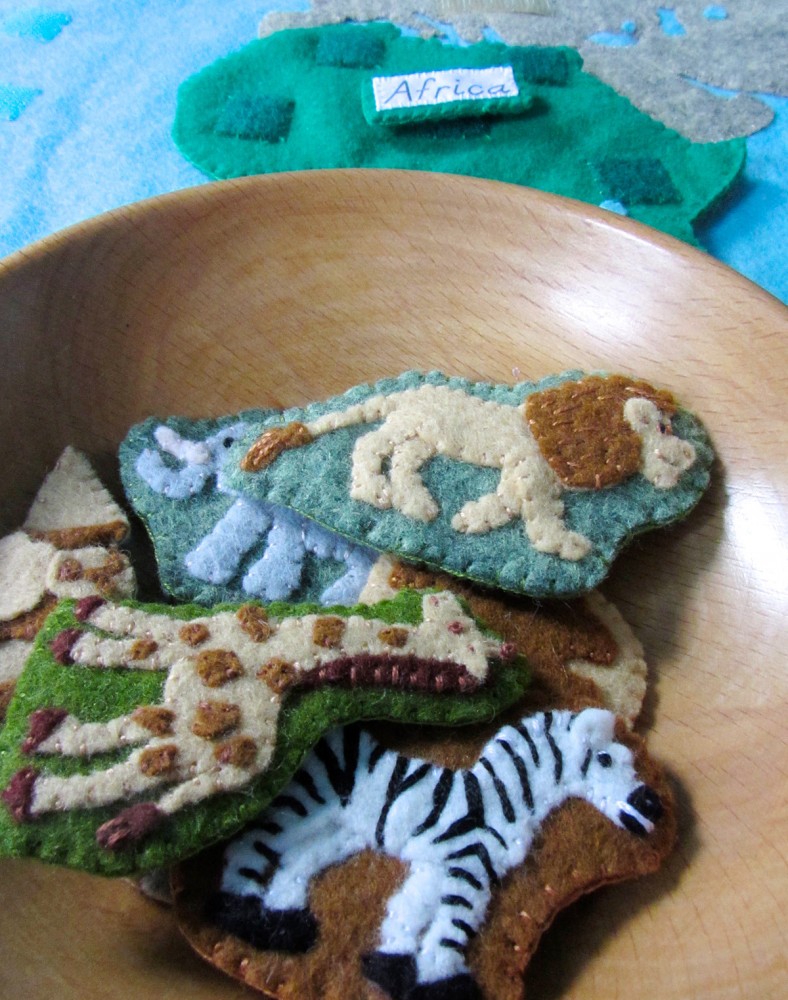
Lion: (Felt used: pastry tan for the body, doe brown for the main/tail and cactus gray-green for the background) For his ear, I put glue on the entire back side but only stuck it down where it attached to the head. The glue dries to stiffen the ear. I made one stitch across the bottom of the ear to keep it secure. I sewed around all the edges, then made some long stitches in the mane and tail. His eye is a French knot with a black stitch going vertically through the center. His mouth is a long stitch and his nostril is a little stitch.
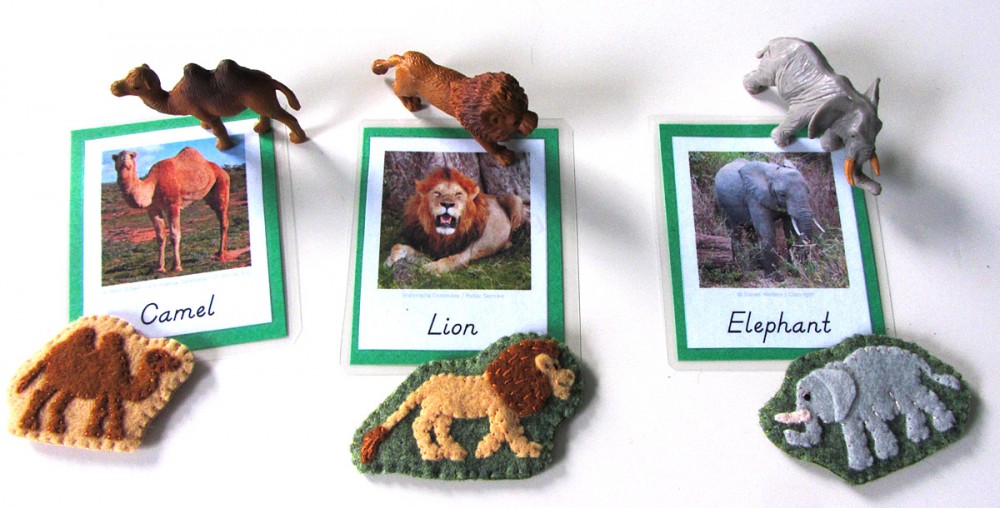
Camel: (Felt used: doe brown for the body, pastry tan for the background) I started sewing the camel from the SafariLTD figurine before I’d done anything more than check where in Africa camels were located (northern and the horn). Once I started researching for the 3-part cards, I learned that African camels have one hump – Asian camels have 2! Oops! I’ve included patterns for both, so you can take your pick. I sewed all around his body. His ear is done the same as the lion’s. He has a French knot eye and a long stitch for his mouth.
Elephant: (Felt used: gray for the body, fresh linen off-white for the tusks and cactus gray-green for the background) The elephant’s ear is glued down on one side. I actually forgot to put some stitches in, so I have to go back to that. I added some back stitching to make the wrinkles around her legs and a French knot eye. I used gray floss to stitch a line over the eye for an eyelid. The mouth is a long stitch.
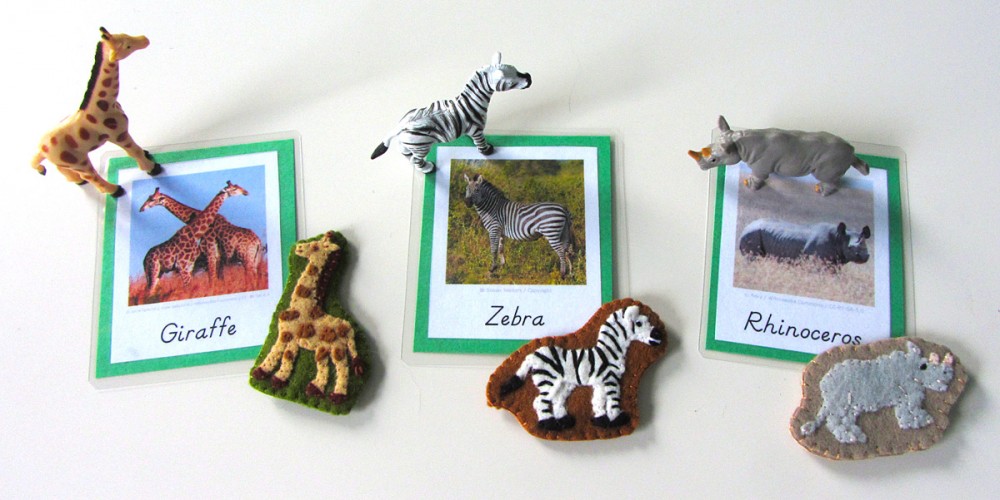
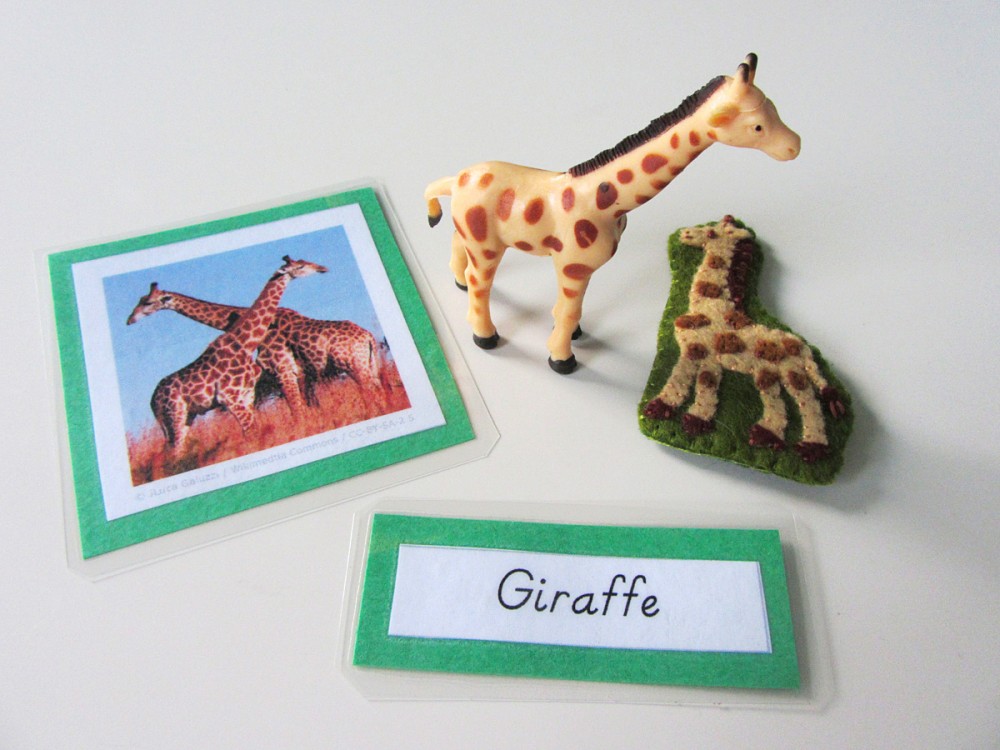
Giraffe: (Felt used: pastry tan for the body, doe brown for the spots, chocolate brown for the hooves and mane and cilantro green for the background) I glued down the mane and body (with the body on top), then glued the hooves, tail end and spots on. I stitched all the way around, making longer stitching in the edge of the mane and tail to look like hair. I used a few small stitches to sew each spot down. There is a French knot at the top of the horn and for the eye. I stitched a little nostril and a mouth. The ear is attached the same as the lion’s.
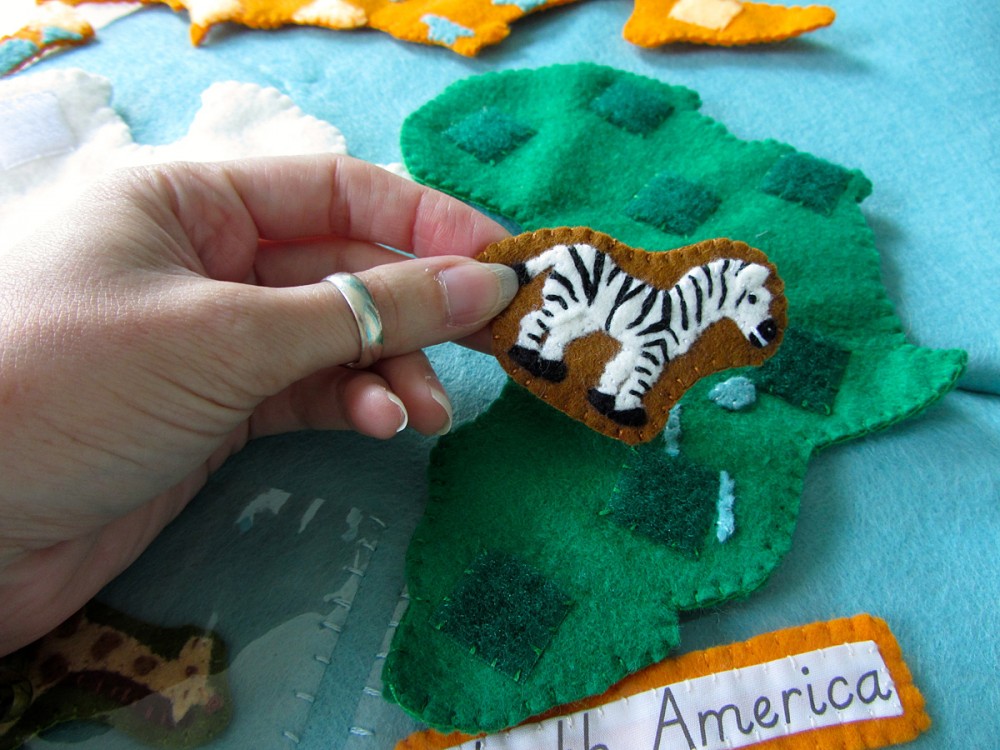
Zebra: (Felt used: white for the body, black for the hooves/muzzle and doe brown for the background) The zebra has the most intricate stitching. After I sewed all around her body, hooves and muzzle, I made a French knot eye, white long stitch mouth and attached the ear the same as the others. Then, using black floss, I stitched on the stripes, using my SafariLTD figurine as inspiration. The stripes were stitched almost in a kind of satin stitch (where you fill in an area with stitched that all go in one direction). I just kept added stitches to widen the lines, often at angles to make them slightly triangular. At the neck where the mane would start, I made sure to start a new stitch in the stripe at a different angle to show the neck’s edge.
Rhinoceros: (Felt used: gray for the body, chai beige for the background and fresh linen off-white for the horns) The Rhino was stitched very simply, though I did add some back stitching to show the wrinkles at the tops of his legs. He has a stitched mouth and nostril and a French knot eye.
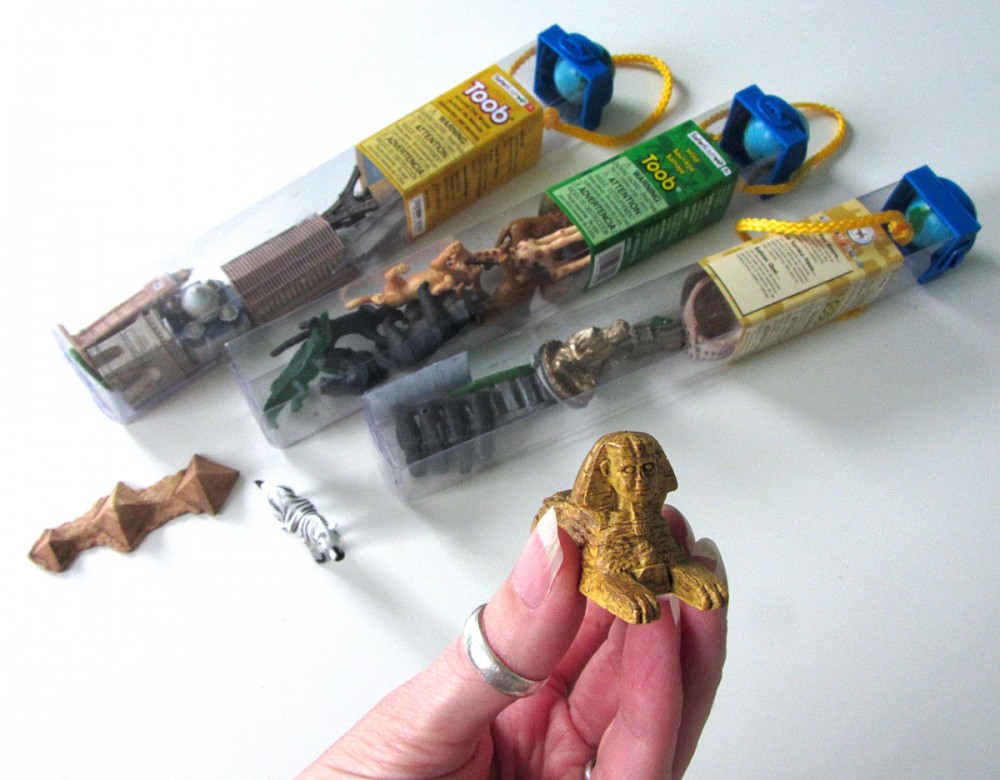
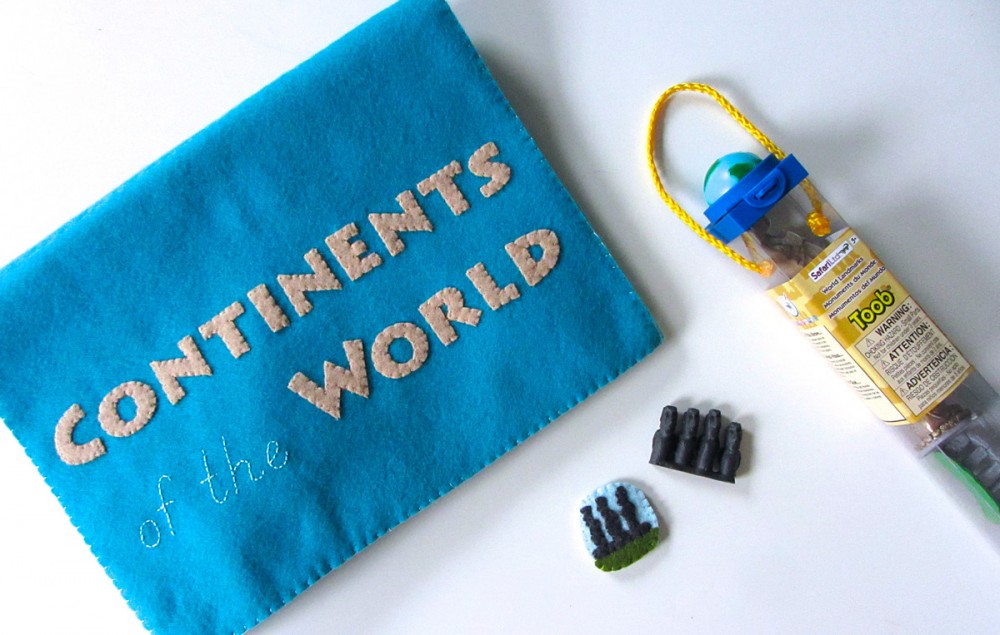
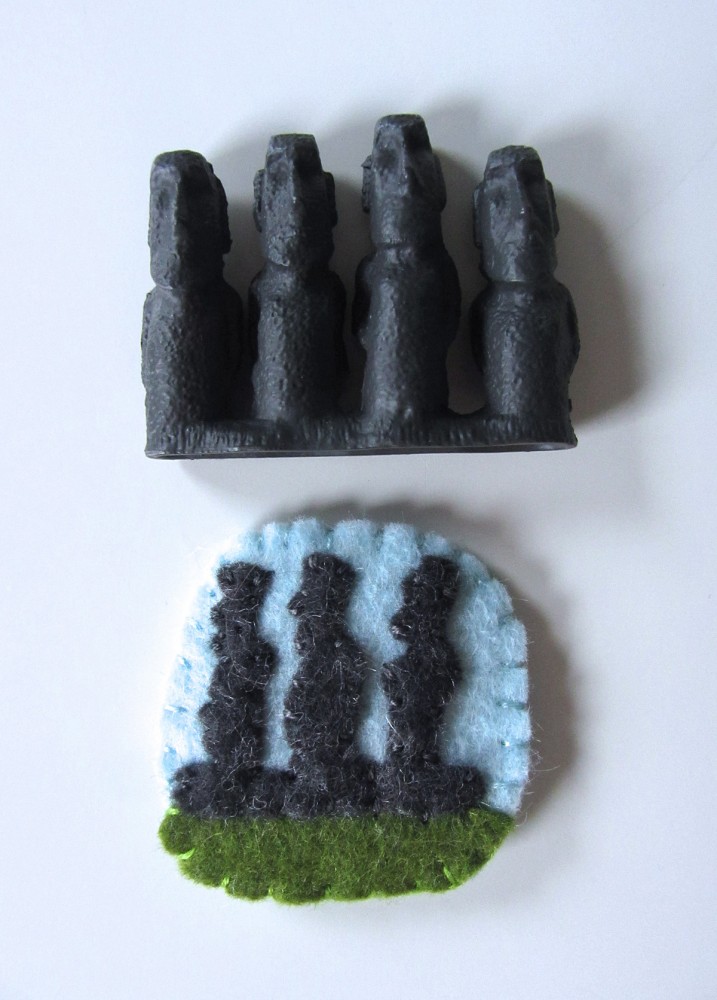
SafariLTD provided me with these beautiful World Landmarks and Around the World TOOBs. I am working with them to make this project as amazing as possible. All opinions of these products are honest and my own. We are planning an exciting giveaway for you at the end of this project!
Pyramids & Sphinx: (Felt used: doe brown and pastry tan) I combined two landmarks into one felt piece for the pyramids of Giza and the Sphinx, as they needed to be at the same spot on the map. I will eventually make 3-Part cards for the world landmarks, and there will be two for these to make the beautiful SafariLTD figurines.
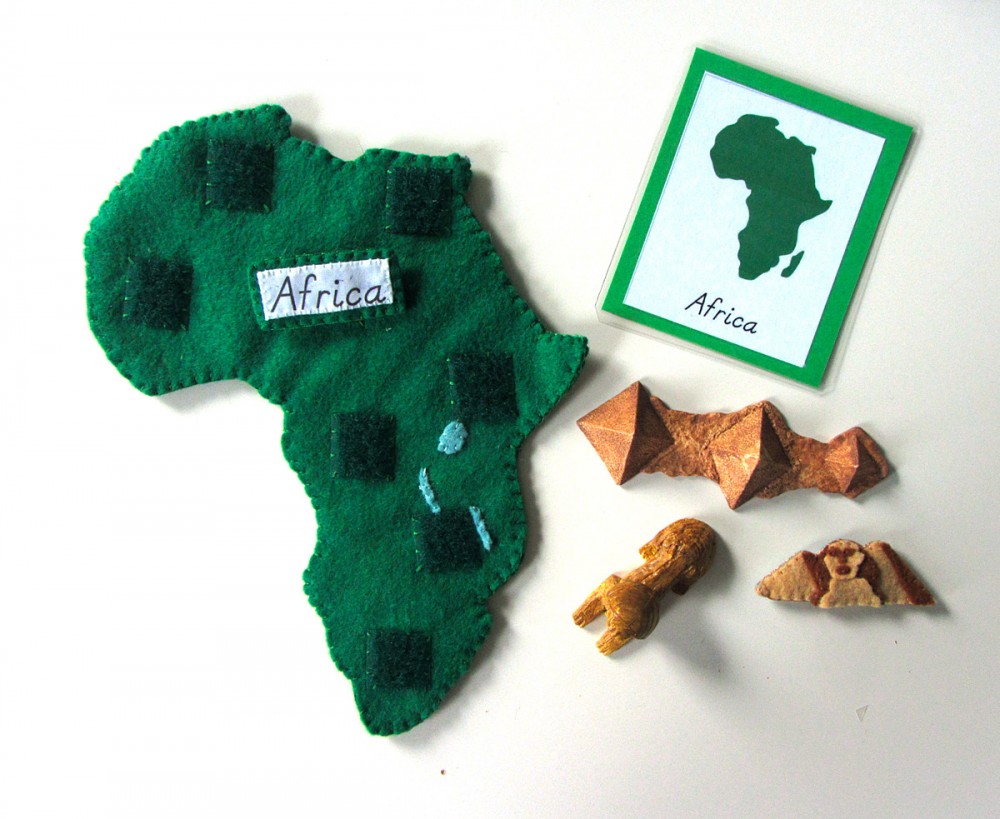
I started by gluing down the layers: the pyramid sides onto the pyramids, then the sphinx, torso, face and finally the features. You may need tweezers for those. Goodness, they are small! I made some small stitches in the features to keep them secure, but didn’t sew down anything else. I cut out a backing felt to match the final shape and added some snag-free Velcro to it. Then I sewed around the whole edge, switching colors where needed.
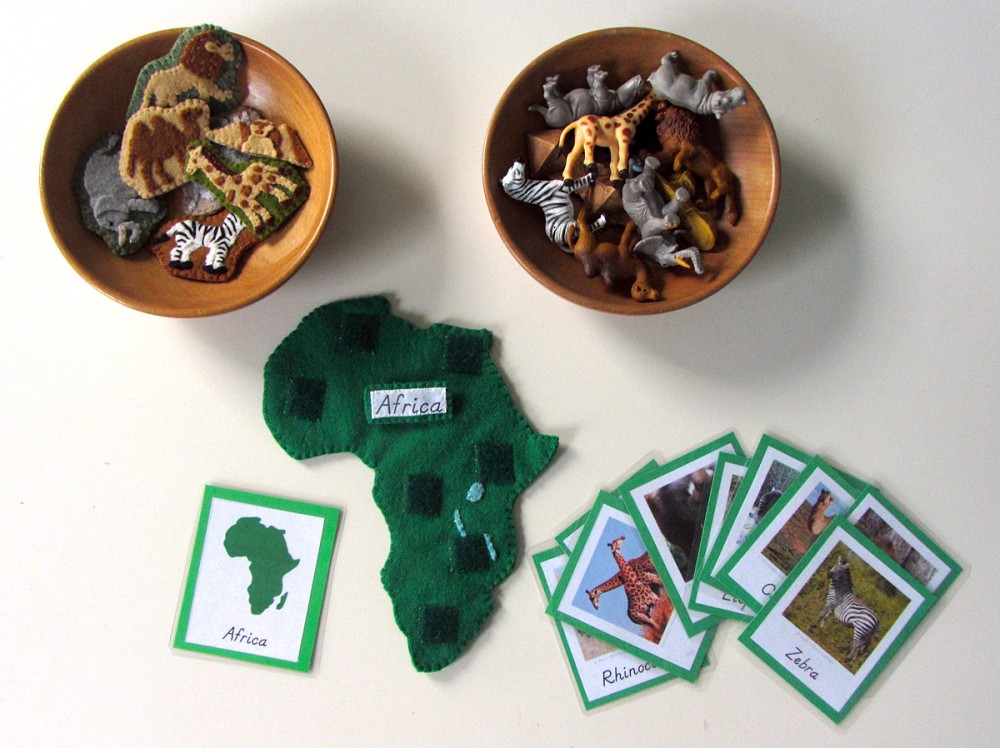
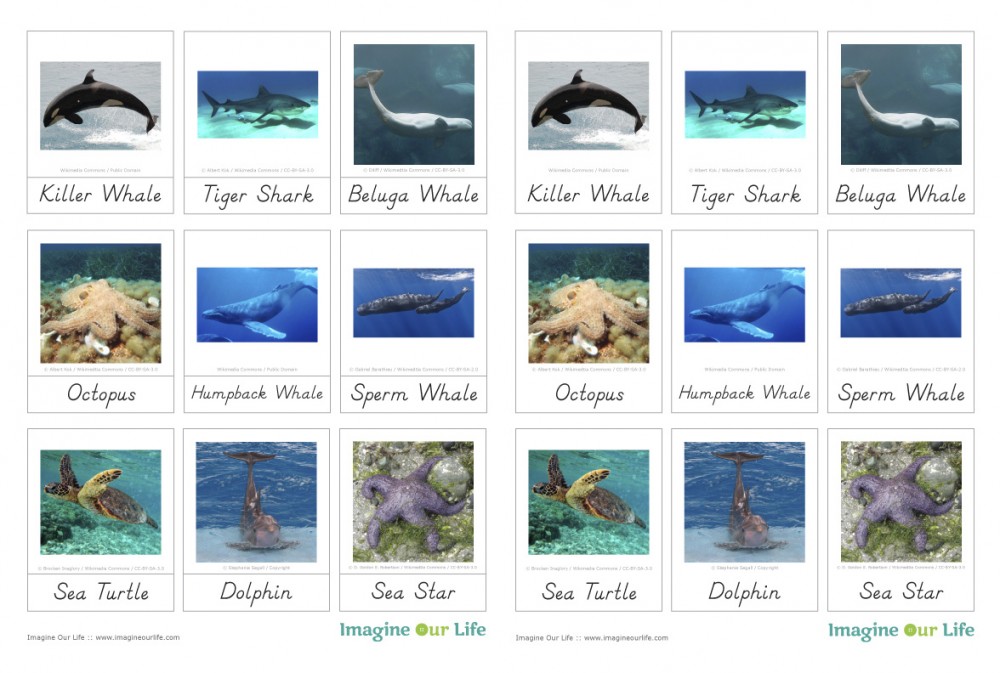
Montessori African Animals 3-Part Cards
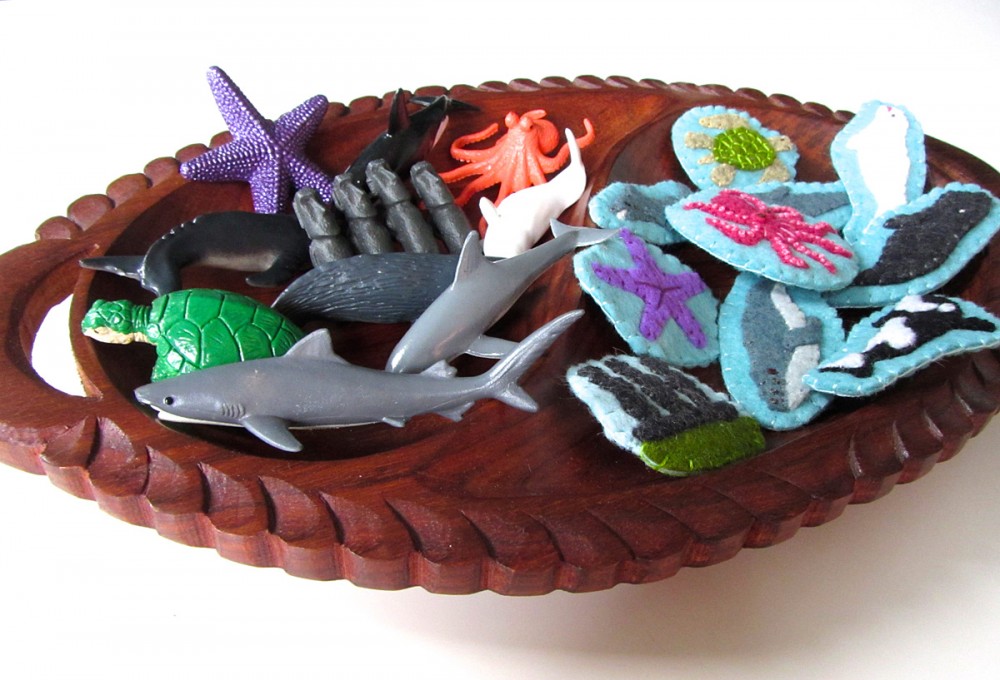
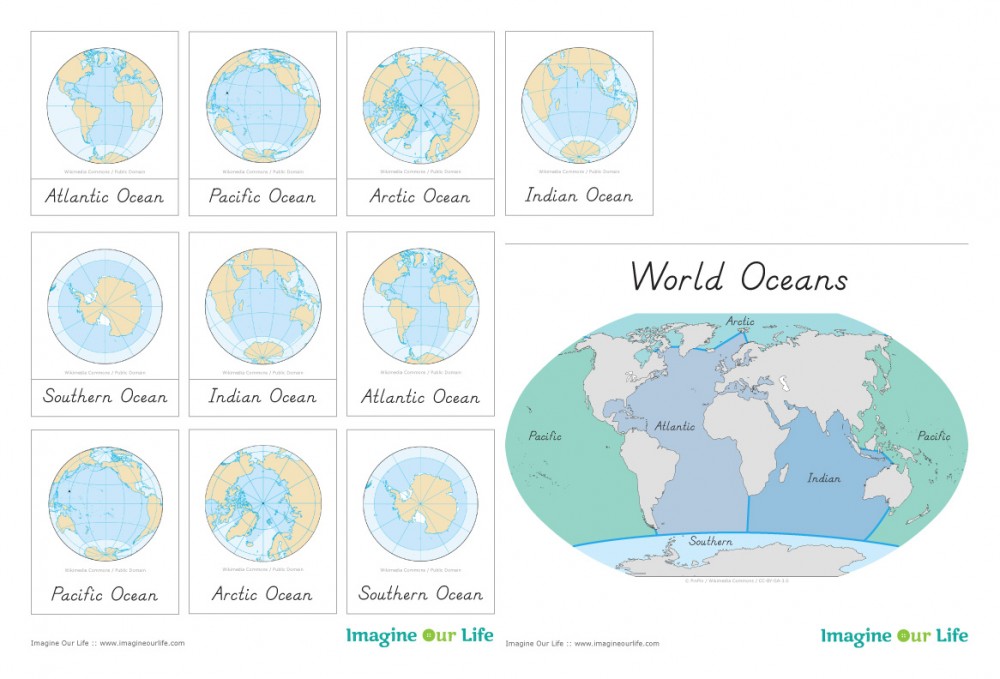
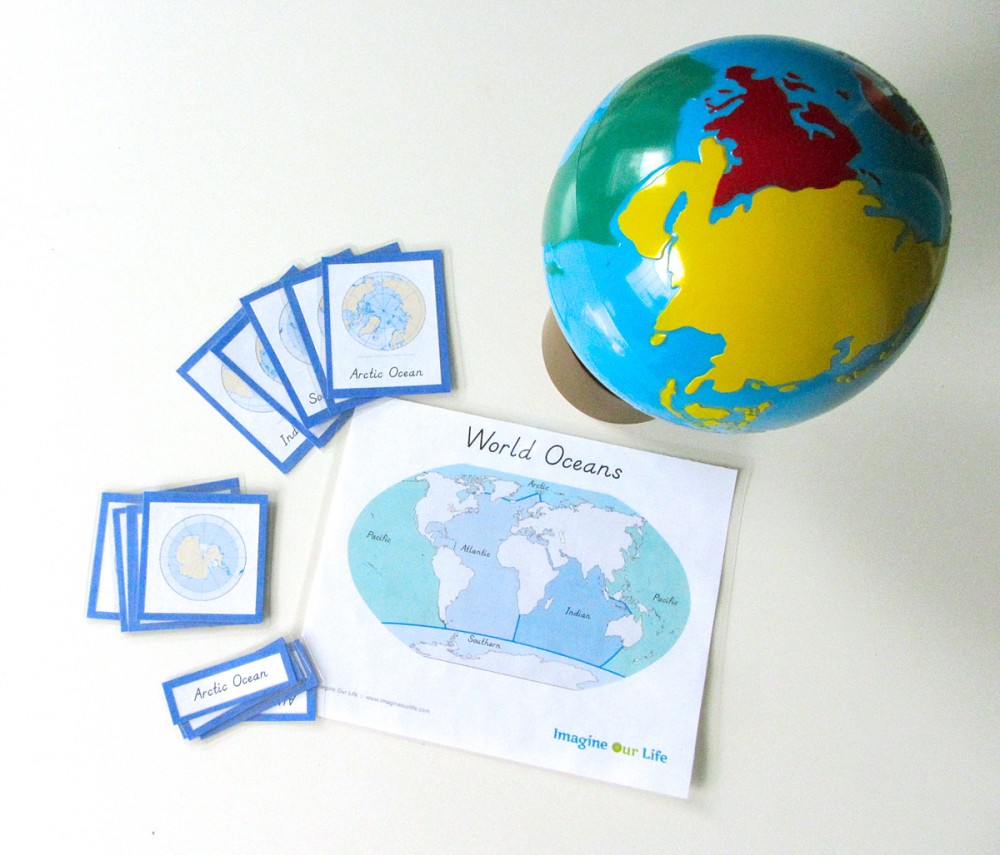
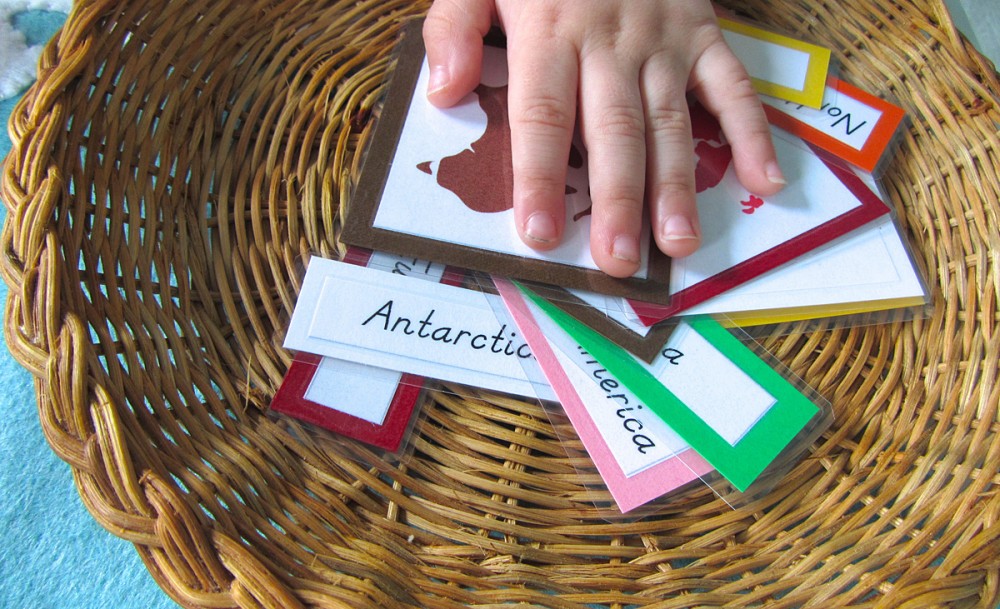
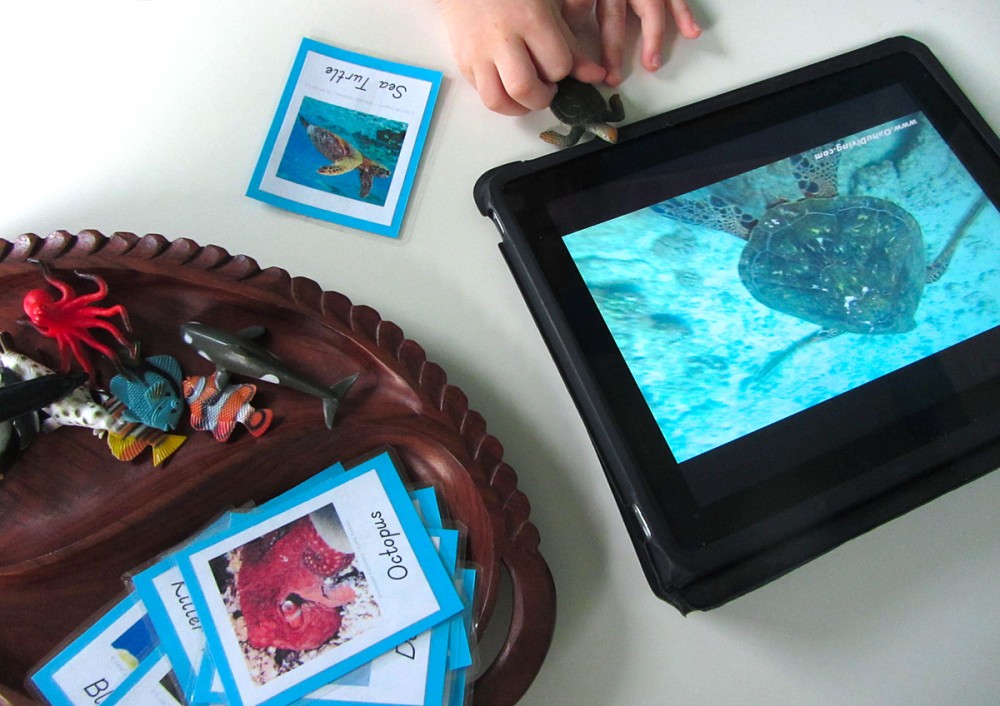
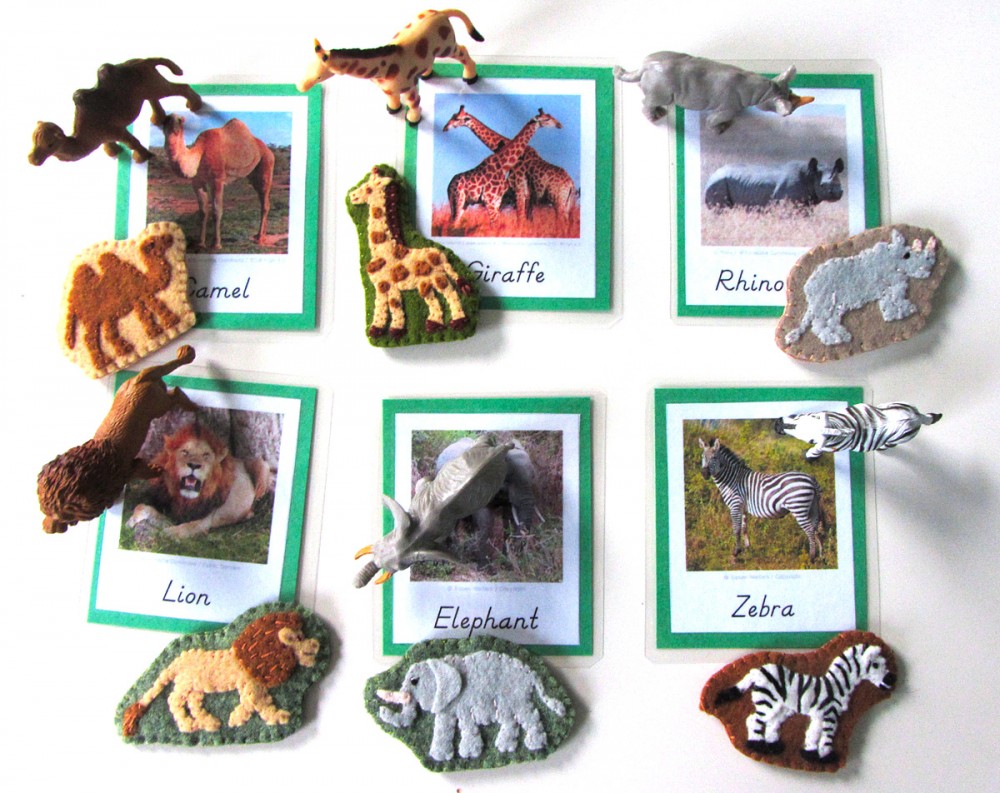
Jax just started his world continent unit with the world continent 3-part cards I made up for him. I’m saving up for a Montessori globe at the moment, so I’m not really rushing the lessons. When we start on his Africa unit, I will present these cards. I created these cards to be used along with SafariLTD’s TOOB figurines. My African animals use the Wild Toob and Monkeys and Apes Toob
 . I also need to pick up an okapi
 figurine. It will be a larger scale than the TOOB animals, but it is worthwhile for Jax to have something 3 dimensional to look at.
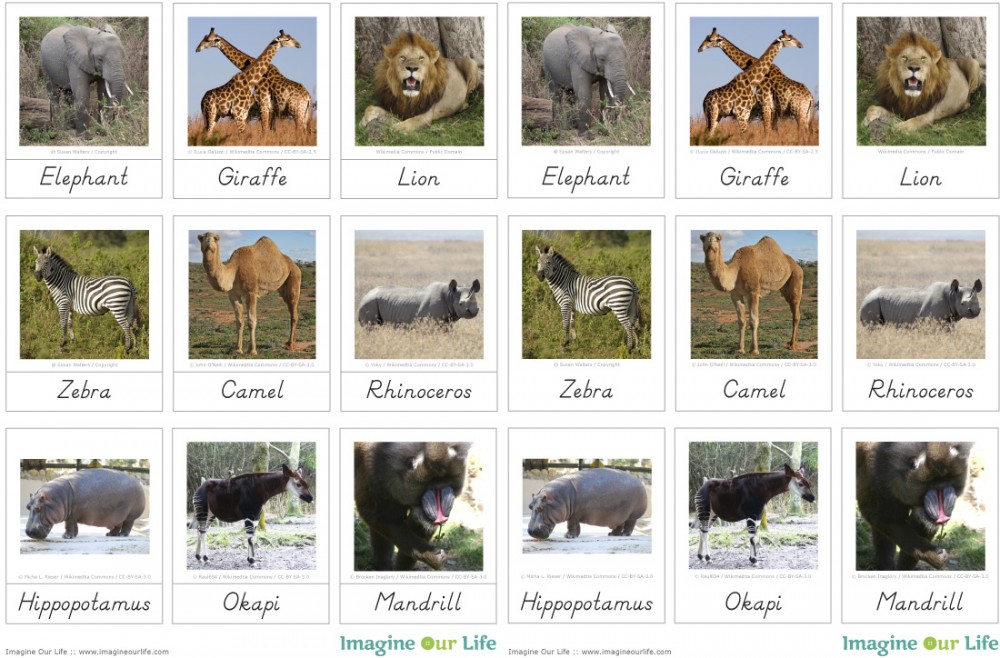
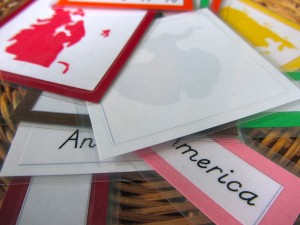
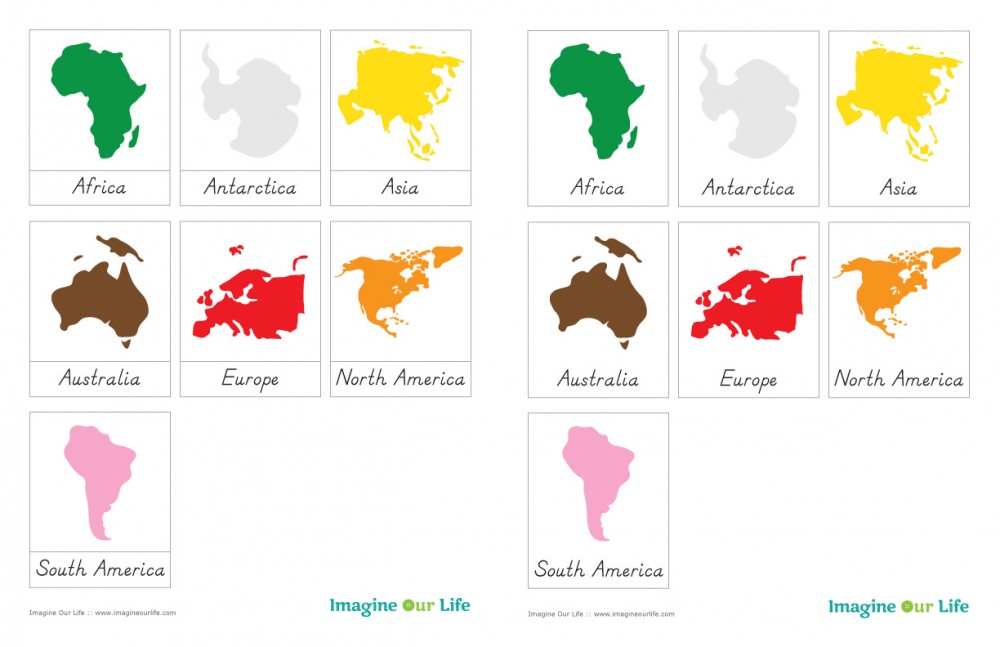
Click here to download my free pdf file to make your own. To make mine, I cut them out, glued them to green construction paper (to match Africa’s Montessori color) then laminated them. I’m still loving my new laminator ! It makes everything so pretty and durable!
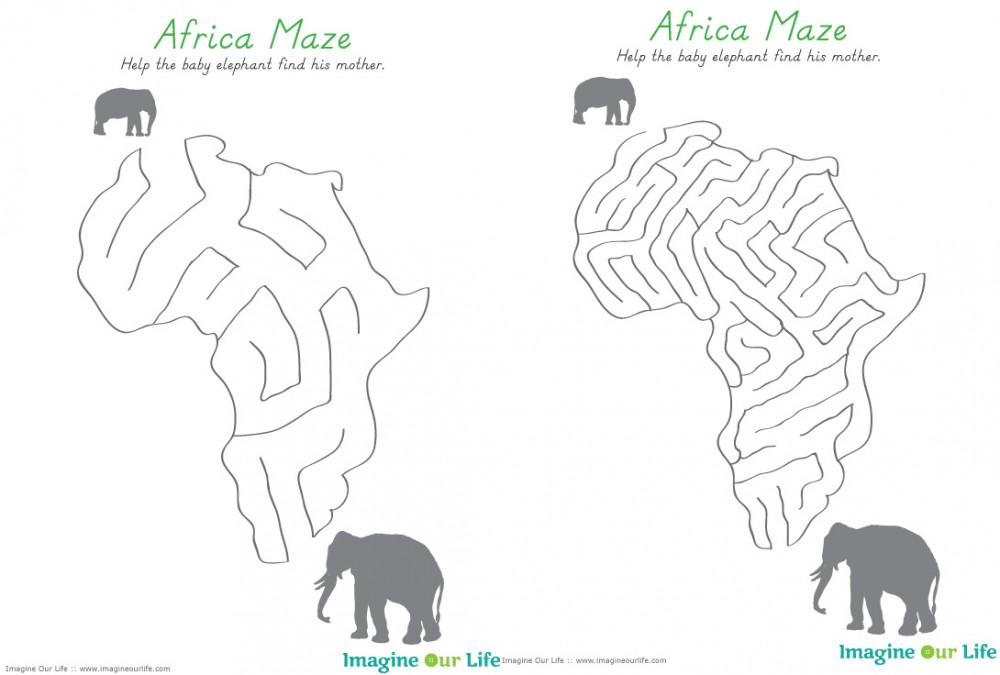
Africa Maze
Jax is really into mazes right now, and they are great for pre-writing skills! I’ve designed two mazes for him – one basic and one advanced. Grab them here! We’ll most likely laminate them so we can reuse them. I’ve included an answer key page on this if you want some correction of error. Silhouettes from All-Silhouettes.com.
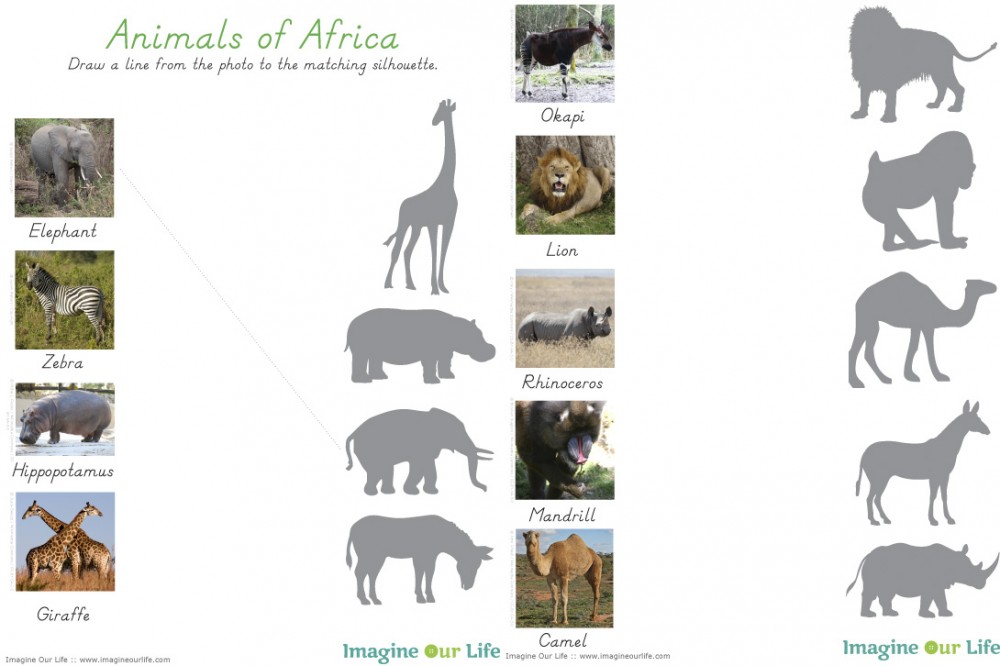
African Animal Silhouettes
Another activity that will help Jax with him reading and writing skills is the African animal silhouette match. Drawing lines between the matches help with writing skills, and recognizing the similarities between the photos and silhouettes helps build visual skills needed for reading. Silhouettes (except for mandrill) from All-Silhouettes.com.
Activities:
Introductions and Matching: There are so many activities that can be done with all of these materials. You could start with the SafariLTD figurines and introduce the name of each animal to them. You can then present the felt versions for them to match up. Once they are comfortable with the animals and know them by name, you can show them the labeled photo cards and have them match them. Once they have advanced some, you can use the unlabelled cards and have them match the right words to each card or figurine.
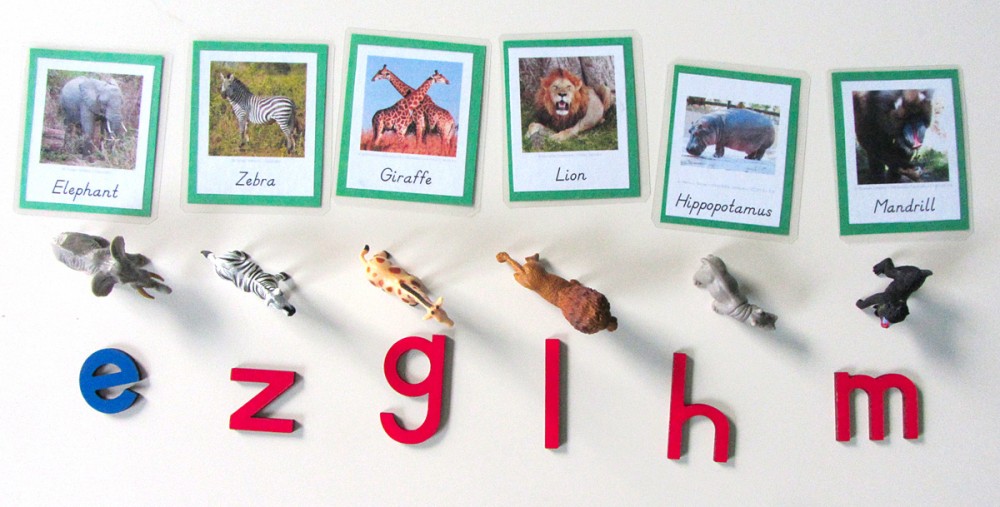
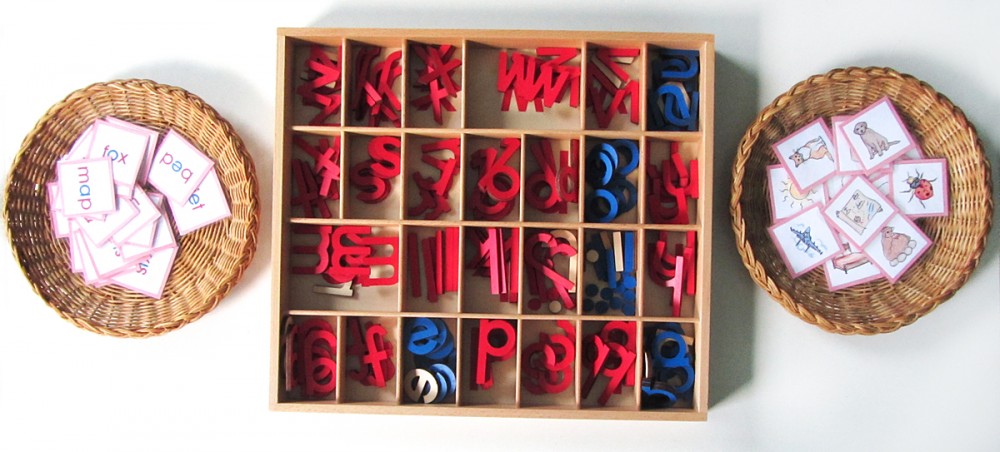
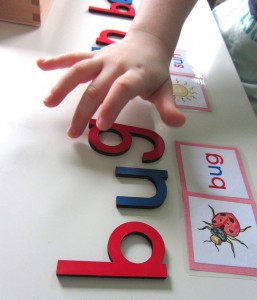
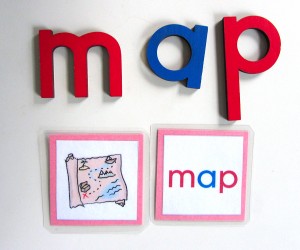
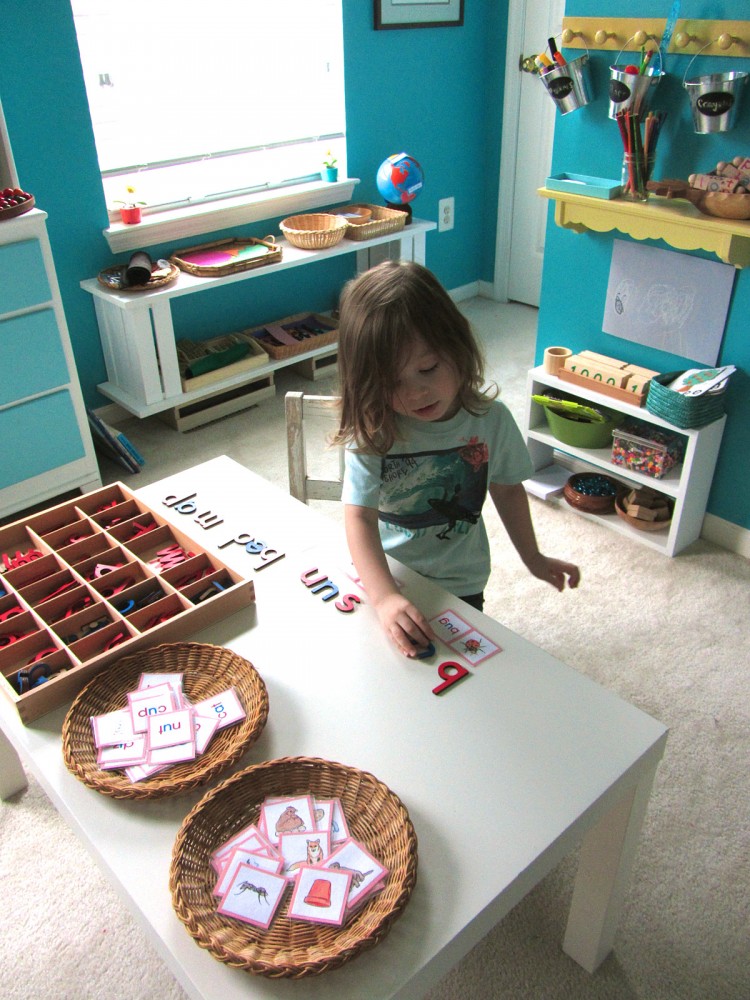
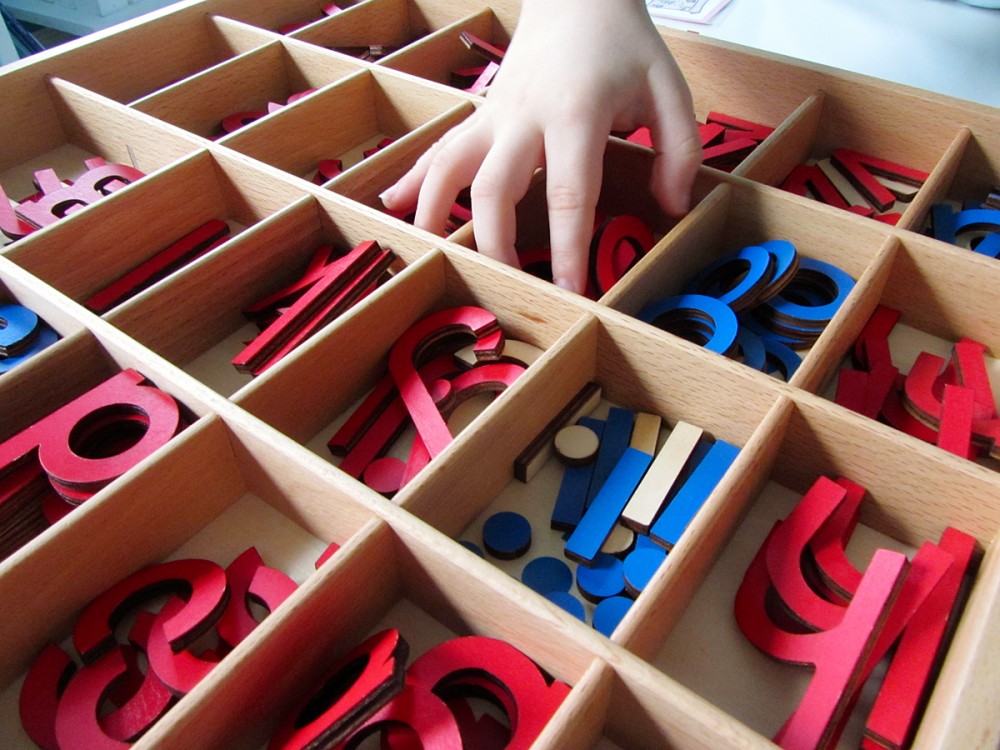
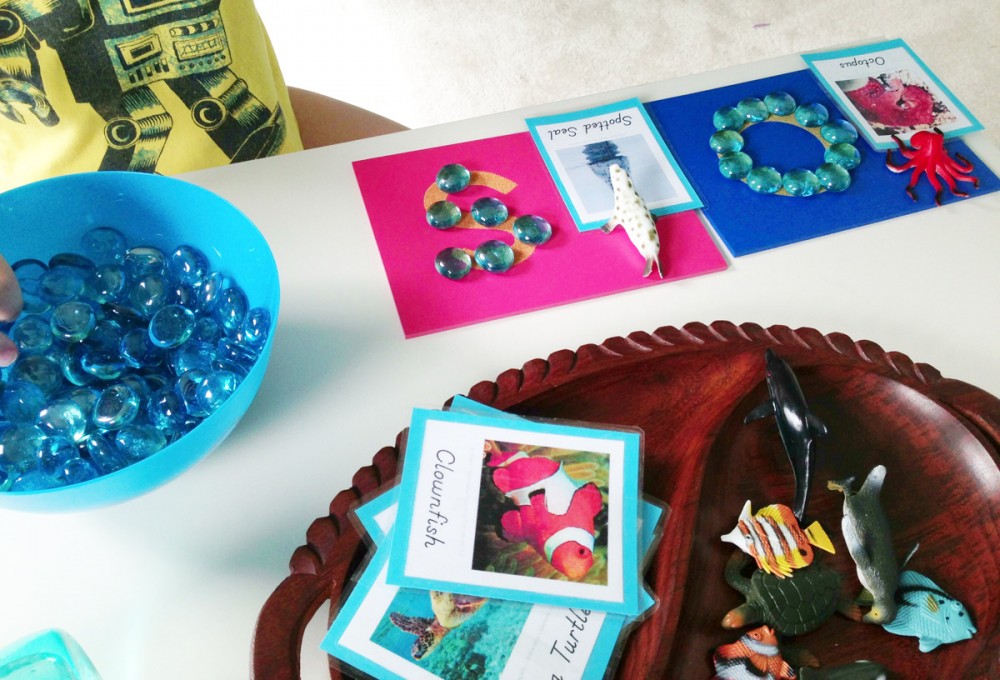
Starting Sounds: For a great language activity, have your child tell you the starting sound for each animal. To make games like this extra engaging for Jax, I call them “letter races” and have him run to our movable alphabet and grab the right letter. For correction of error, match your 3-part cards to see if the answers were correct. (We haven’t started on the soft G sound, so we might skip giraffe for now.)
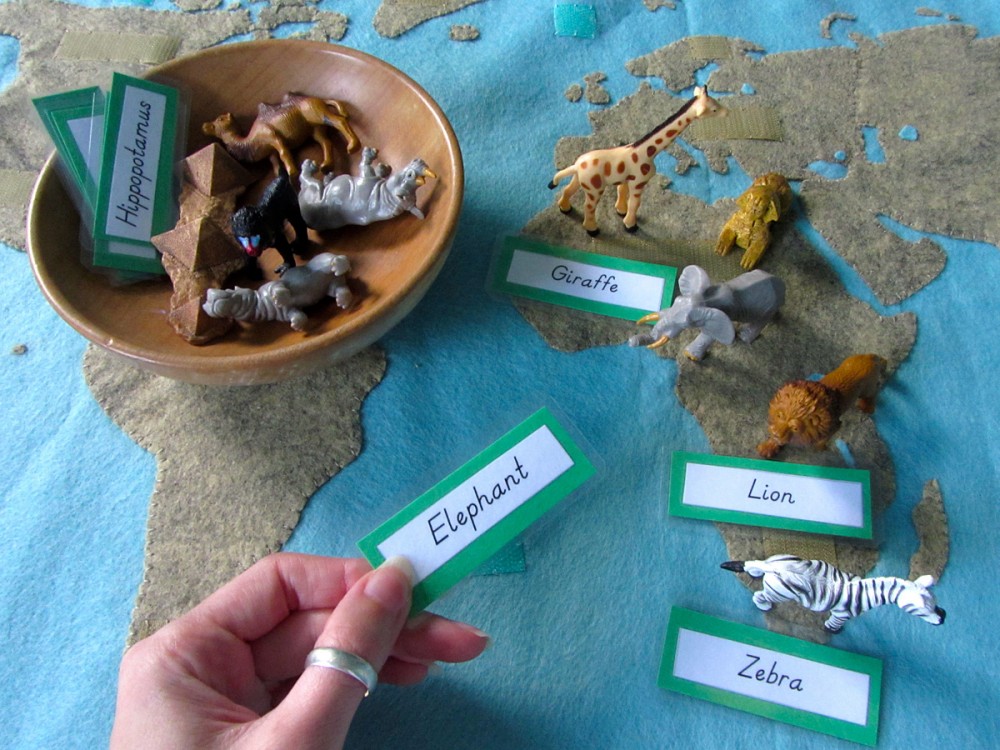
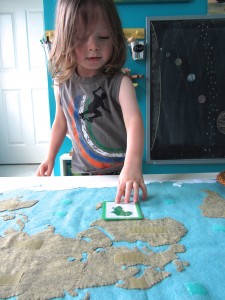
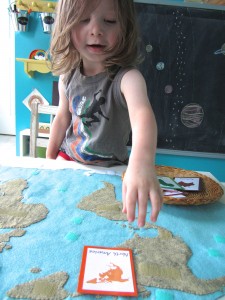
On the Map: You can move the wall map to the floor and have your child place the right SafariLTD figurines on each continent. While you are still introducing them, you can stick to one continent at a time and match the names or photo cards. Seeing the animals on the maps is a great way to help them remember!
And of course your child can match the correct felt animals and landmarks on the wall map or in the quietbook while on the go.
I hope you are enjoying this project as much as I am! A number of you have told me you’ve already begun the huge wall map. I’m really excited to see how they turn out! Tag me on Instagram @iolstephanie (I can’t answer on your photo if it you are private, but I can try to comment in a different place) or share photos on Facebook. You can also email me.
I’m a bit late for Montessori Monday this week due to vacation, but I hope you’ll check out the other great links!

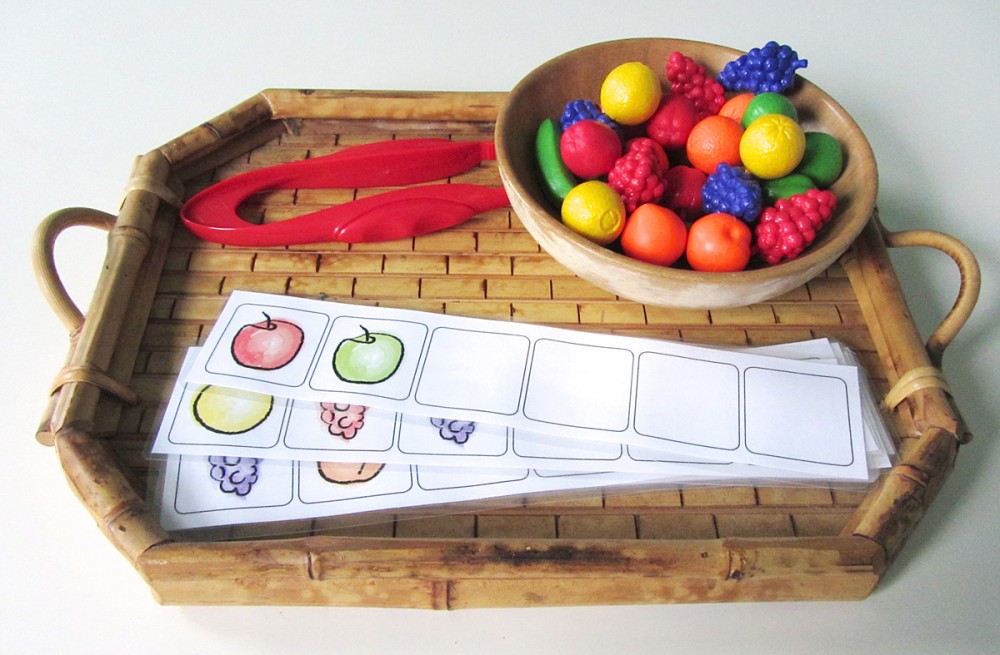
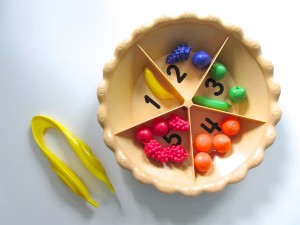
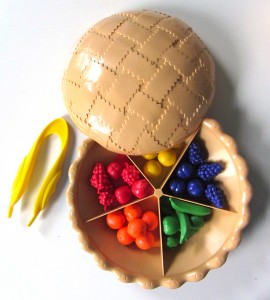
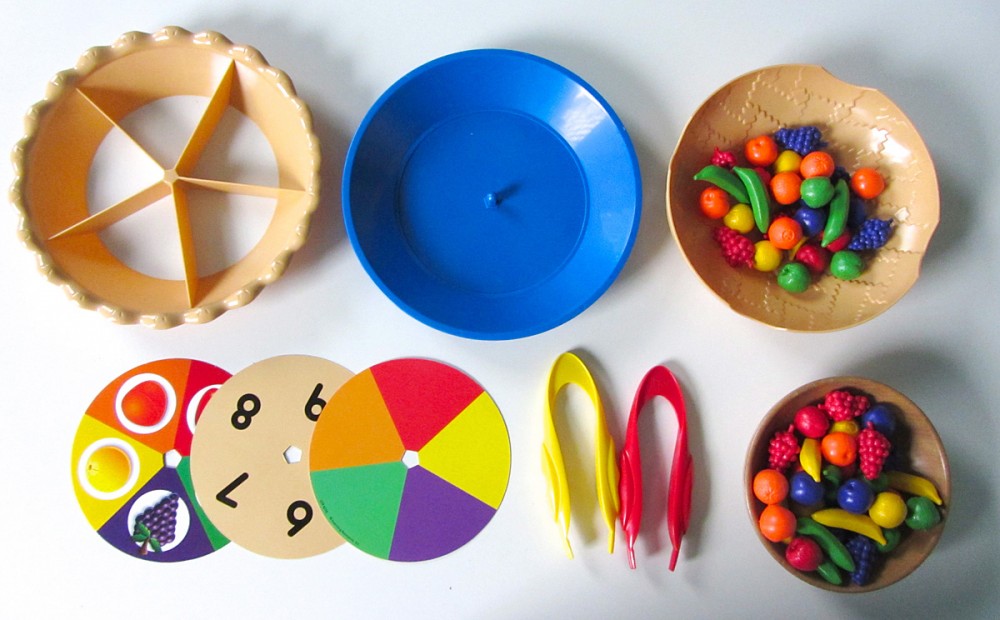
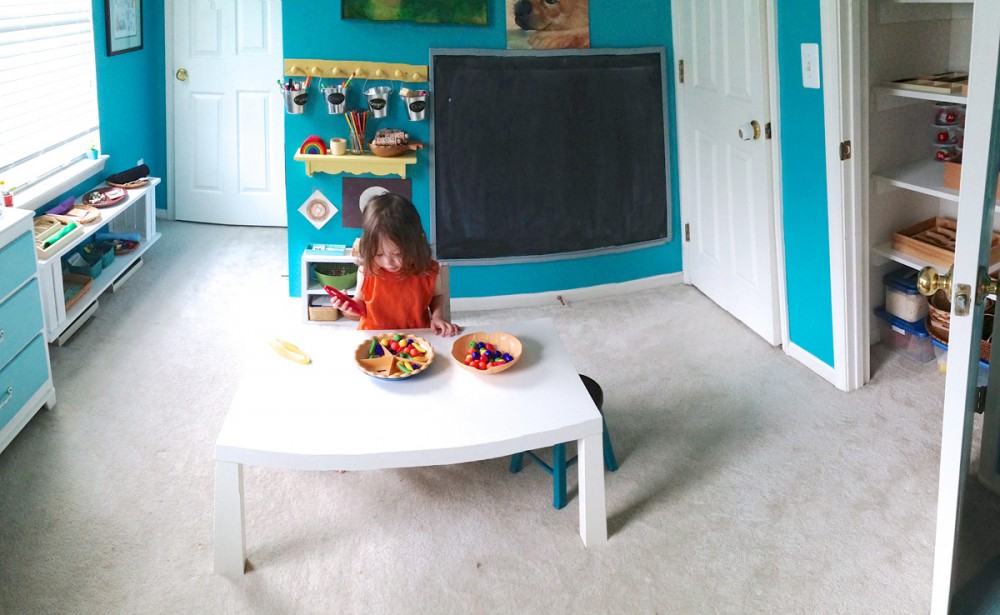
. This little fruit pie has become such a favorite for Jax that we just gave one as a gift at a three-year-old’s birthday party! I keep it in our homeschool classroom to keep it separate from our play toys. He is free to take it out and “play” with it along with the school activity trays I set up each week.
, I have added a sheet with fruits you can print and cut out.
and love it! (These are affiliate links, btw. I get a tiny bit of Amazon credit if you purchase it, at no cost to you!)

