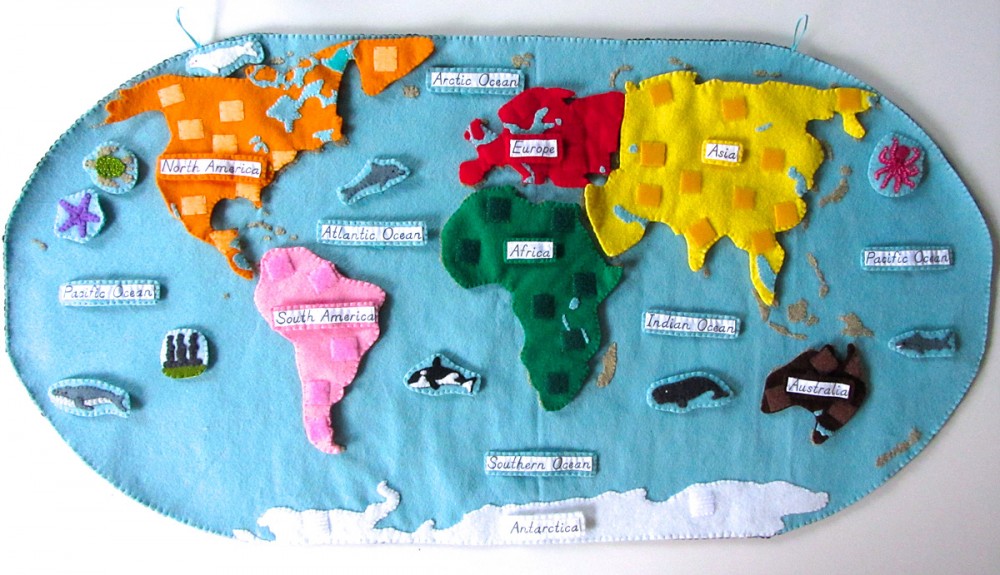
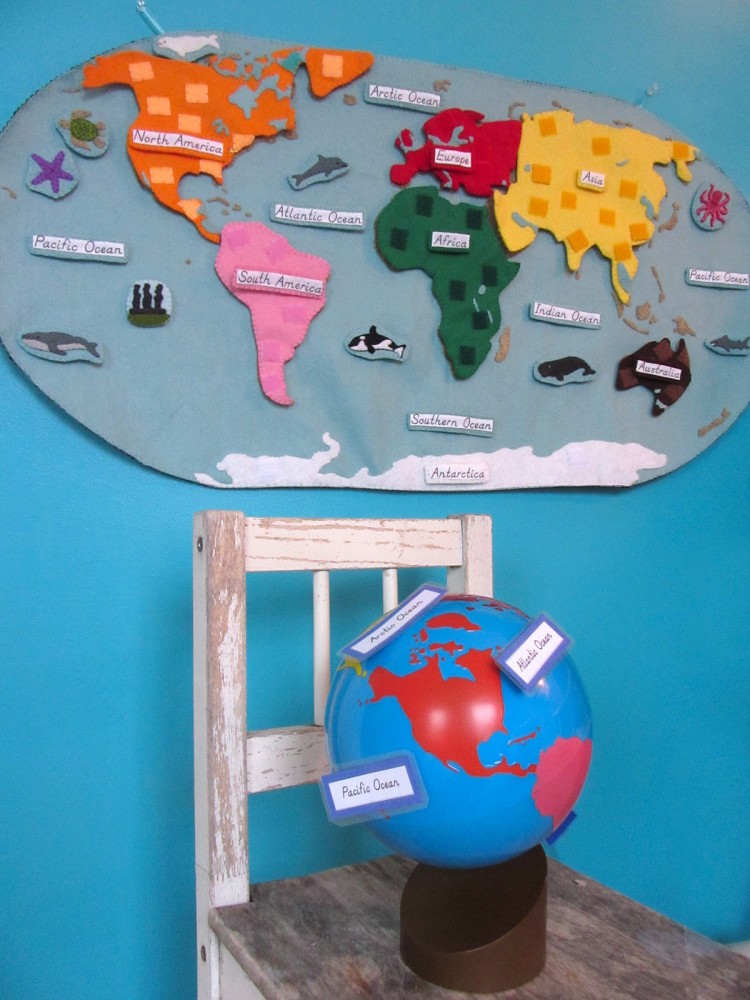
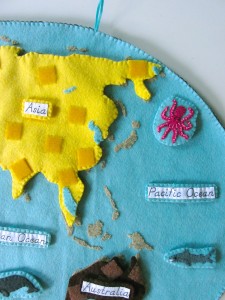
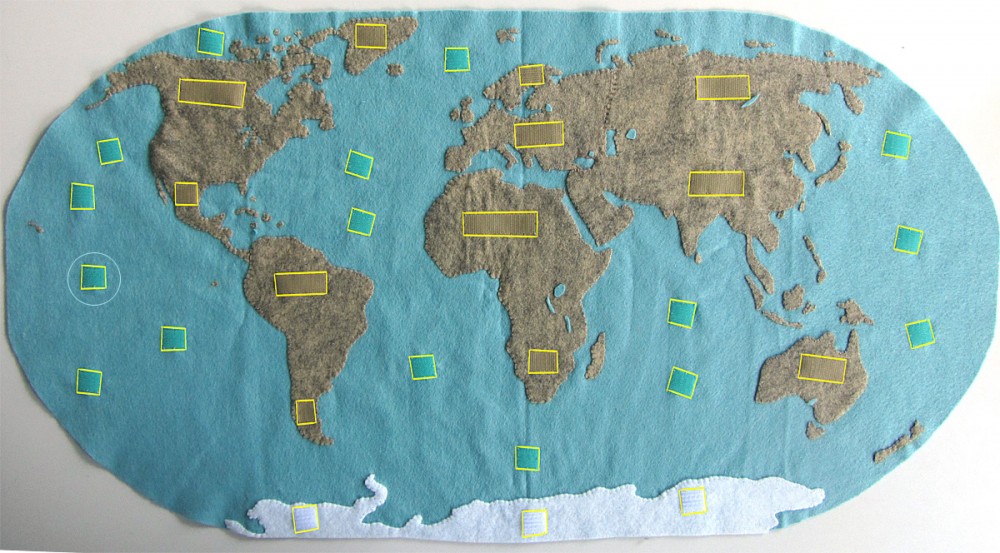
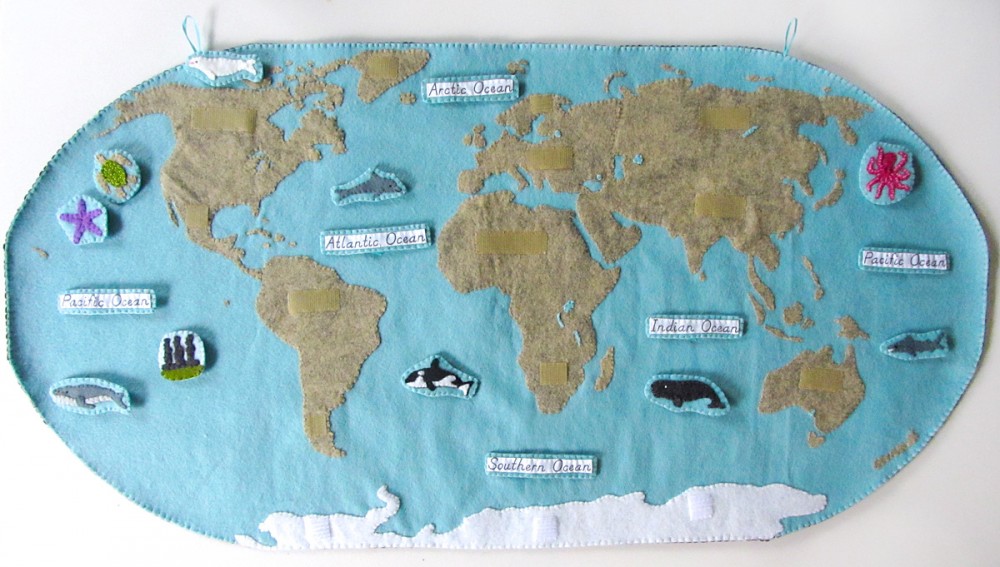
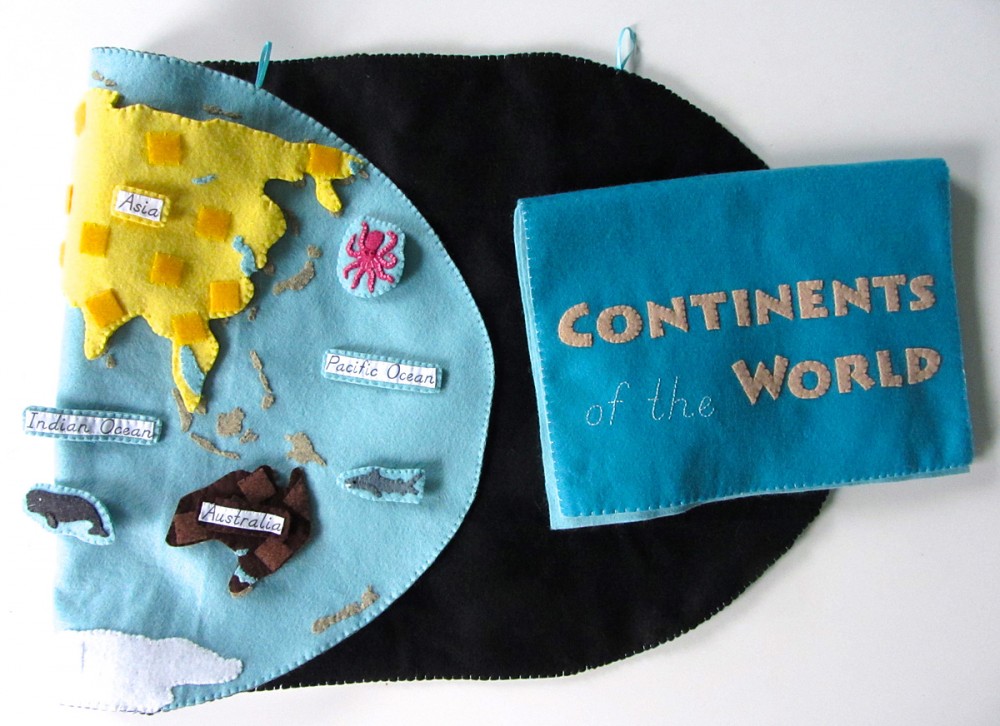
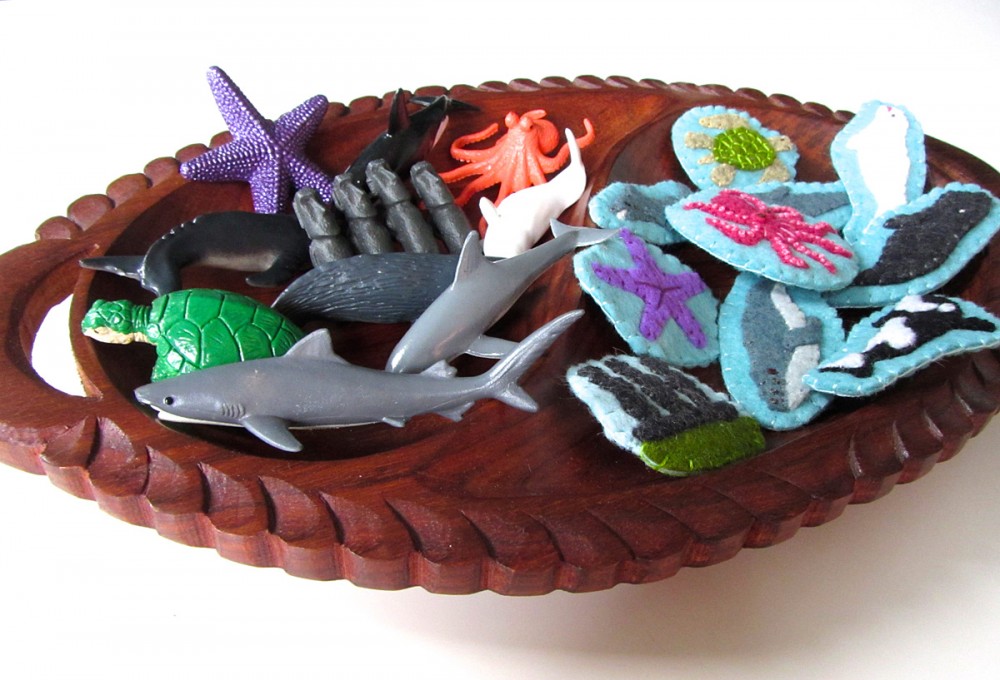
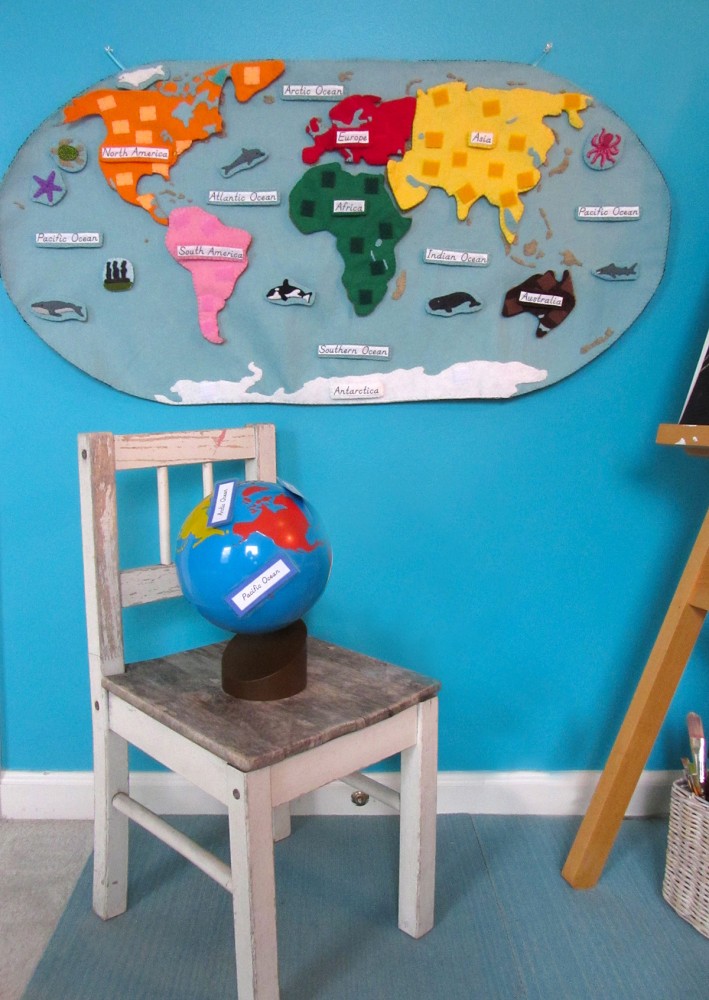
If you haven’t been introduced to our Montessori wall map and quiet book yet, you can read all about it here. This post isn’t actually for a continent… It’s for the oceans! Every continent (and the oceans) will have landmarks and animals. Some, like Europe, have more landmarks than animals. The oceans have a lot of labels, 9 animals and one island landmark.
Overview and Map Patterns • Africa • Antarctica • Asia • Europe
North America • Oceans • South America
Those of you who follow along on Facebook or Instagram have been seeing my progress as I’ve worked on the ocean animals. I’m so exciting to be working on this project! This will be an amazing resource for Jax throughout his school years. Yes, I am giving you all my patterns and printables for free! If you’d like to contribute, visit my support page. School items off of Jax’s Amazon wishlist always help!
Materials I Used
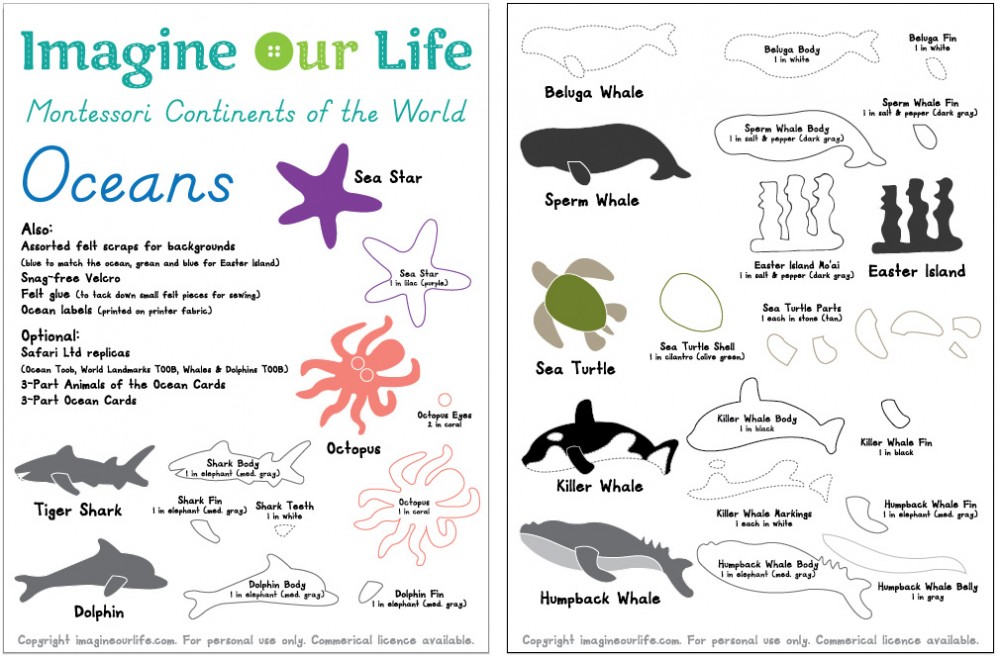
The Pattern (see the first post for the main patterns)
Felt from American Felt & Craft – lilac [purple], cilantro [green], stone [beige], pomegranate [pink], white, salt & pepper [dark gray], elephant [med gray], black and gray. From Benzie Design – swan [blue] for the water.
Hook & Loop – I used white snag-free Velcro on the backs of all these pieces. I used aqua blue hook where the animals attach to the ocean.
Other Things: Felt glue to tack down the pieces before sewing, printer fabric
for the continent label, embroidery floss in colors to match the felt and micro tip scissors
.
Sewing the Pieces
For all of the animals & landmarks, I started by gluing the pieces down to a scrap of background felt with a very light amount of felt glue. I glue several animals at a time to give them time to dry. I sewed them down, trimmed the background and cut a matching backing piece. I sewed snag-free Velcro to the back and sewed both sides together with a blanket stitch.
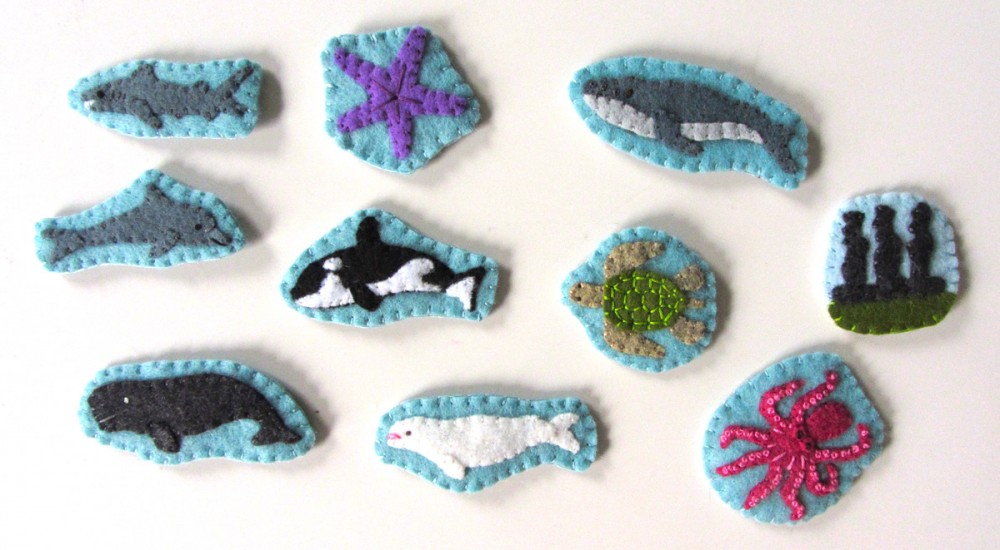
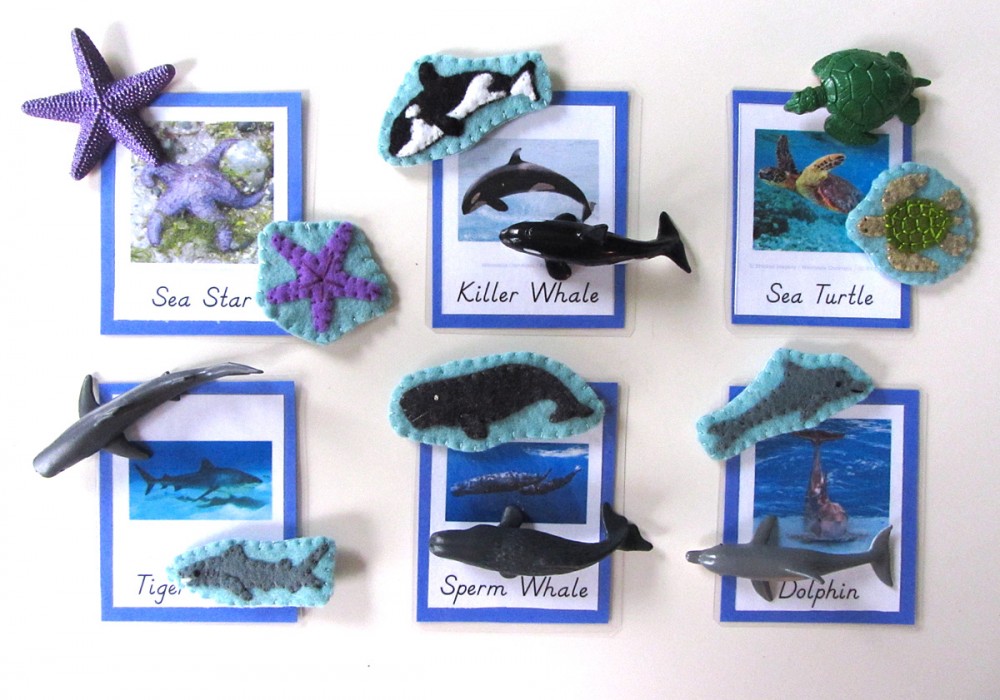
Sea Star: (Felt used: lilac purple for the star and swan blue for the background) I glued down the sea star then sewed all around it. Using long straight stitches, I sewed a starburst in the center.
Killer Whale: (Felt used: black for the body, white for the markings and swan blue for the background) For the killer whale (orca), I glued the black body down first, then the white markings and the fin. I stitched around all the edges.
Sea Turtle: (Felt used: cilantro green for the shell, stone beige for the soft parts and swan blue for the background) For the sea turtle, I glued the soft parts of the turtle down, then glued the shell on top. I sewed around the edges of the soft parts. On the shell, I used a lighter green thread and stitched all around the edge using longer stitches than I usually do. Then I used long stitches to make a shell pattern. View the image full size to use as a guide.
Tiger Shark: (Felt used: elephant med gray, white for the teeth and swan blue for the background) For the shark, I glued down the teeth first, then the body and fin. I sewed around all the edges, made some long, parallel stitches for gills and a French knot eye. I made some white zig zag stitches over his teeth.
Sperm Whale: (Felt used: salt & pepper dark gray and swan blue for the background) For the sperm whale, I glued down the body and fin. I sewed around all the edges, made a long stitch for his mouth and a French knot eye.
Dolphin: (Felt used: elephant med gray and swan blue for the background) For the dolphin, I glued down the body and fin. I sewed around all the edges, made a long stitch for her mouth and a French knot eye.
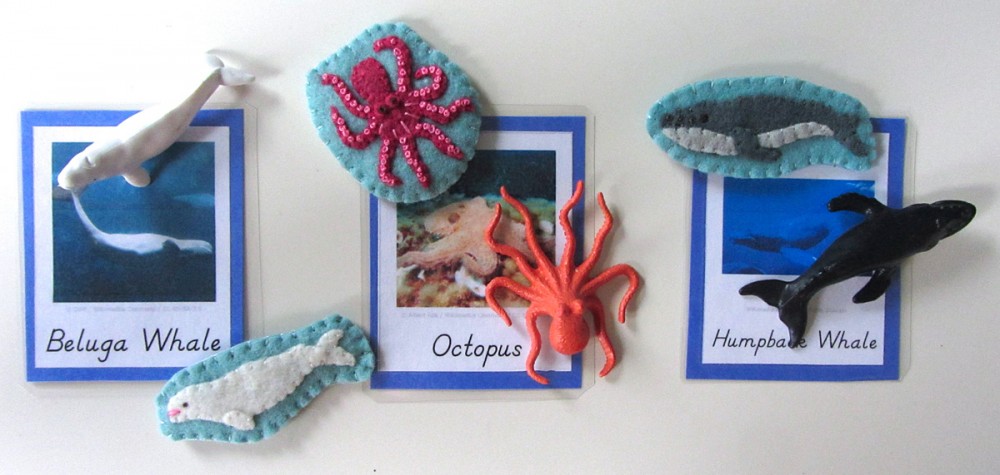
Beluga Whale: (Felt used: white for the body and swan blue for the background) For the beluga, I glued down the body and fin. I sewed around all the edges, made a few pink long stitch for her mouth and a French knot eye.
Octopus: (Felt used: pomegranate pink for the body [but I’d recommend a coral or peach if you have it] and swan blue for the background) For the octopus, I glued down the body and eye bugles. I sewed around all the edges and made French knot eyes in black on the bulges.I made a few light pink long stitches in between the tentacles to show the webbing. Then I made ten bazillion French knots! I used two strands of embroidery floss (of the 6 it comes with) and wrapped my needle twice for each knot.
Humpback Whale: (Felt used: elephant med gray for the body, gray for the belly and swan blue for the background) For the Humpback whale, I glued down the body, belly and fin. I sewed around all the edges and added a French knot eye.
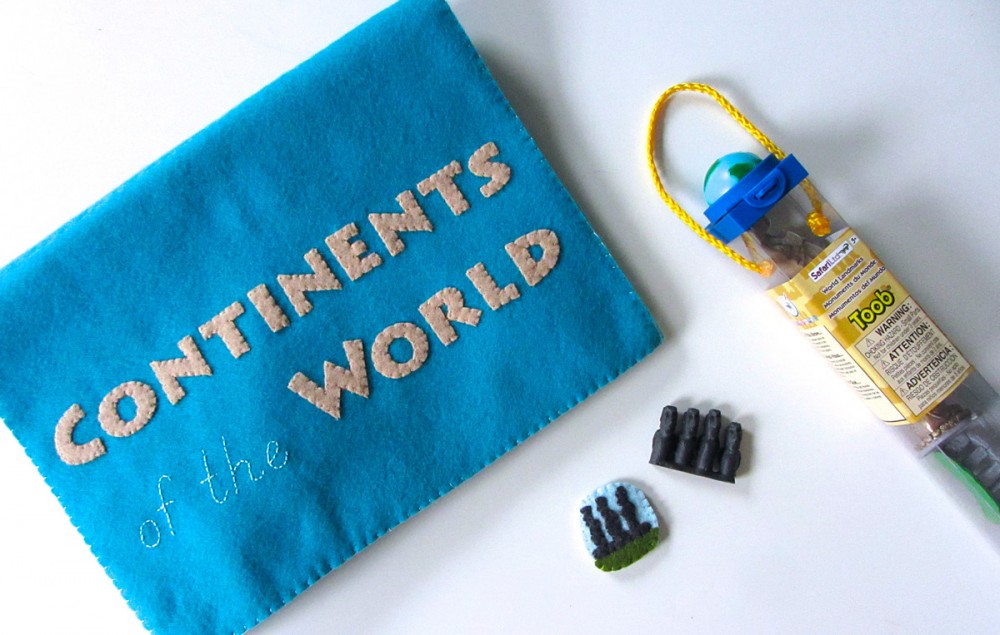
SafariLTD provided me with this beautiful World Landmarks TOOB. I am working with them to make this project as amazing as possible. All opinions of these products are honest and my own. We are planning an exciting giveaway for you at the end of this project!
Sewing the Landmarks
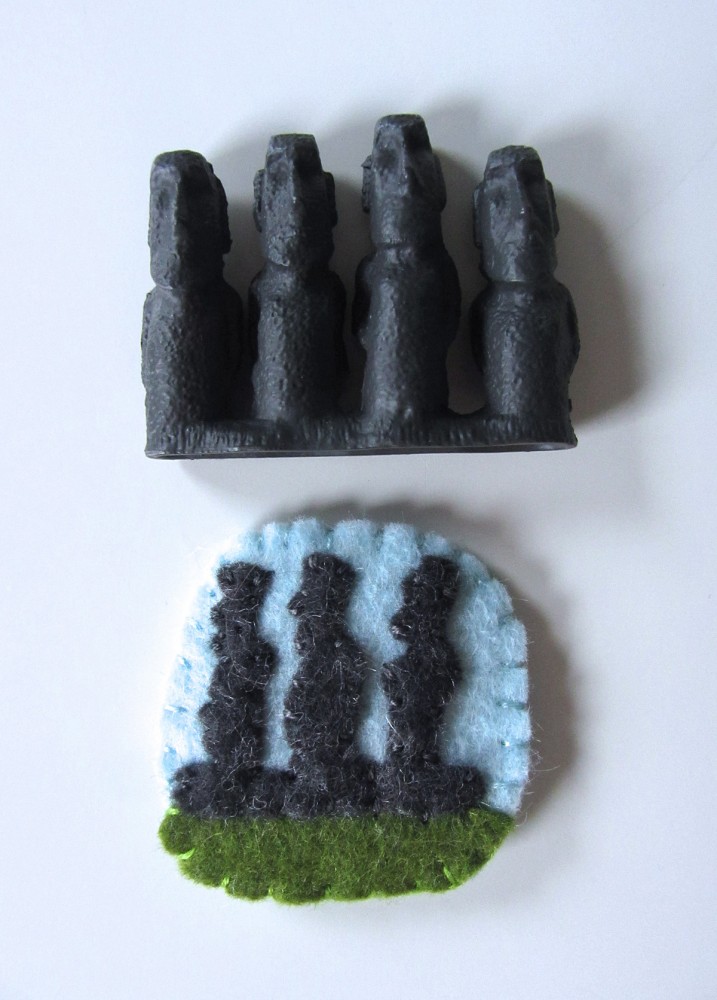
I only did one landmark in the ocean set: the mo’ai statues on Easter Island.
Easter Island: (Felt used: salt & pepper dark gray for the statues, cilantro green for the ground and sparrow blue for the background) I went very simple for this one and just glued and stitched the statues and background down. For all the landmarks, I started by sewing the front piece. Then I cut out a backing felt to match the final shape and added some snag-free Velcro to it. I finished sewed around the whole edge, switching colors where needed.
Did you notice I sewed the backing on? I used regular craft store polyester felt in black – the large piece that they sell in a package. It was only $3, and I figure I can turn it around and use the back as a felt board. I added two loops of ribbon for hanging. I sewed the backing on with a blanket stitch.
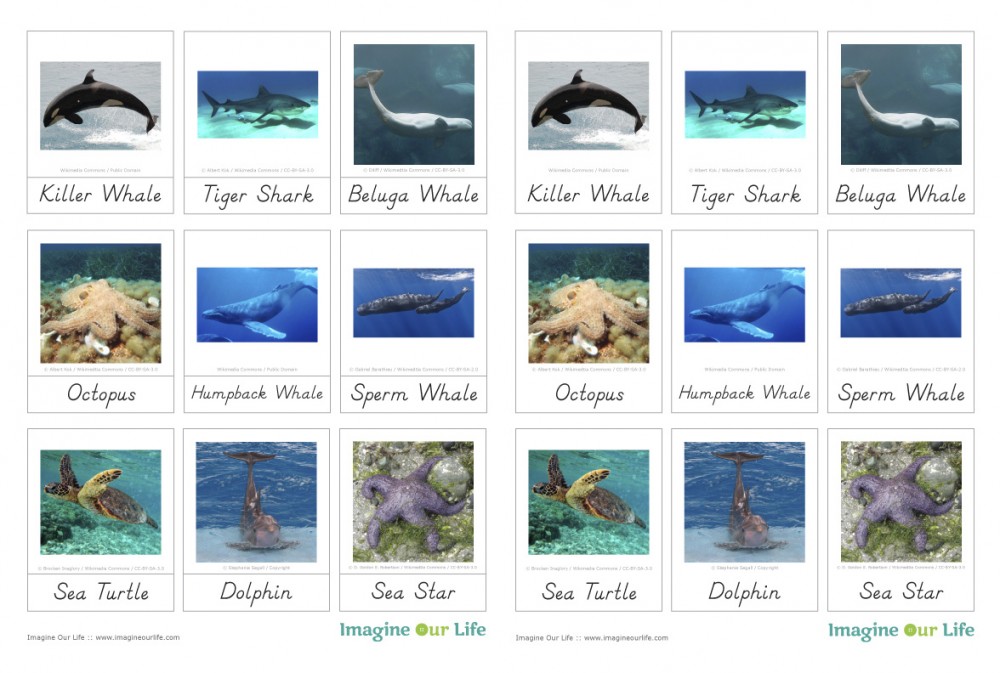
Montessori Ocean Animals 3-Part Cards
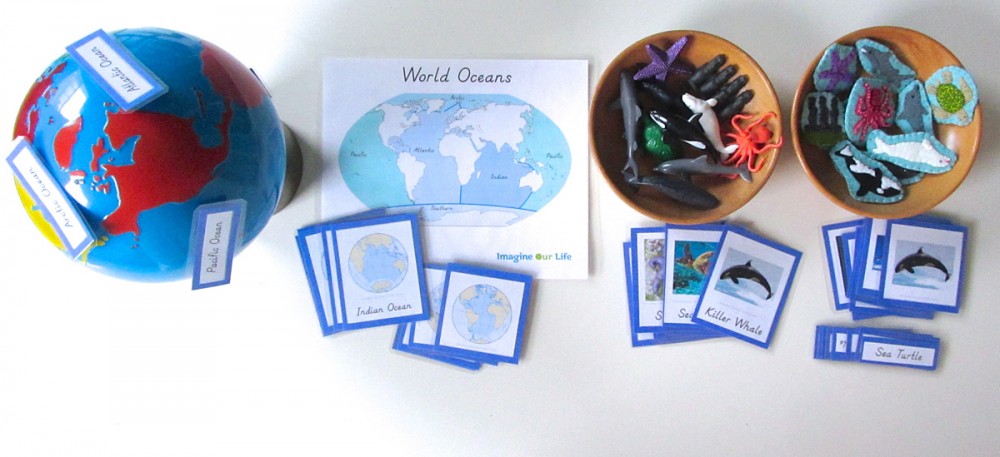
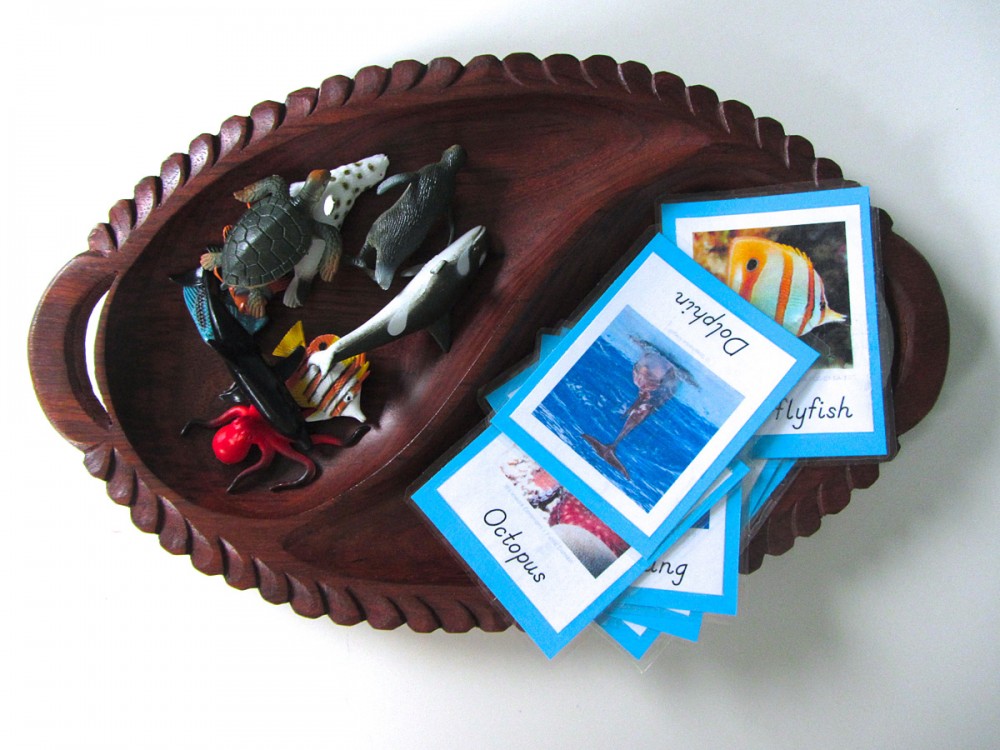
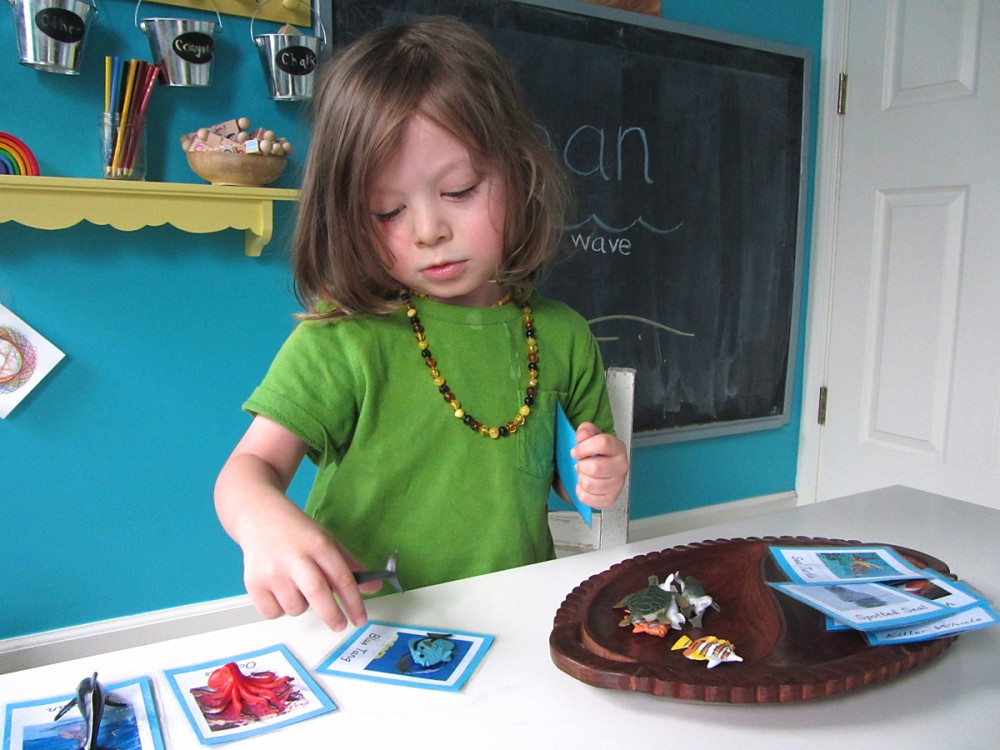
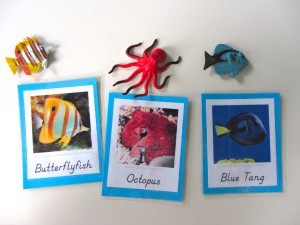
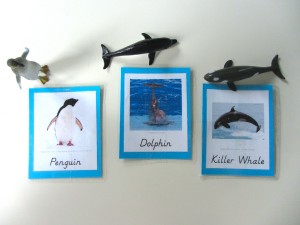
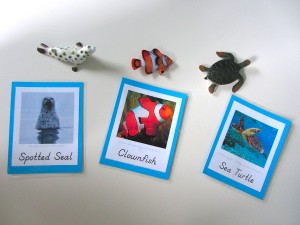
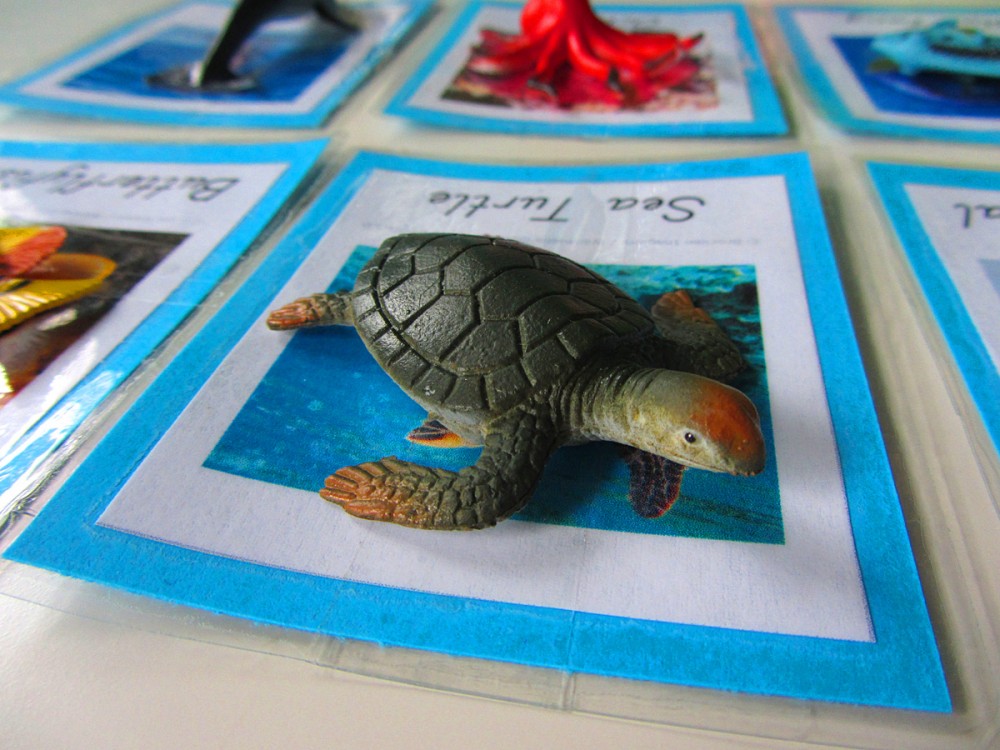
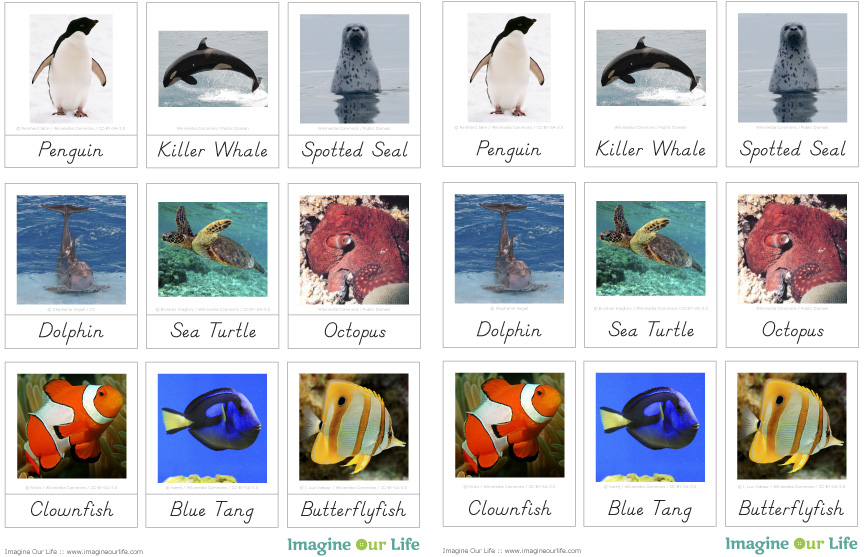
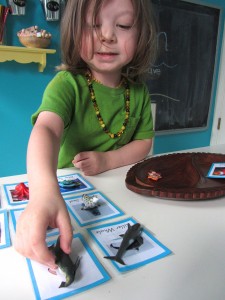
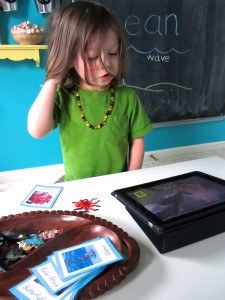
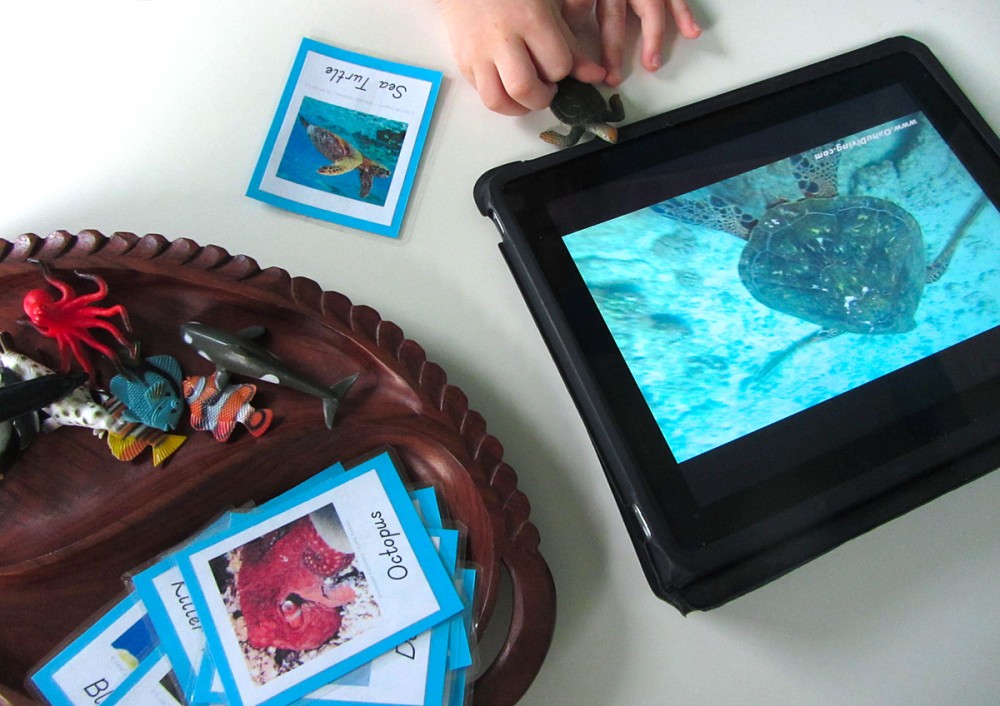
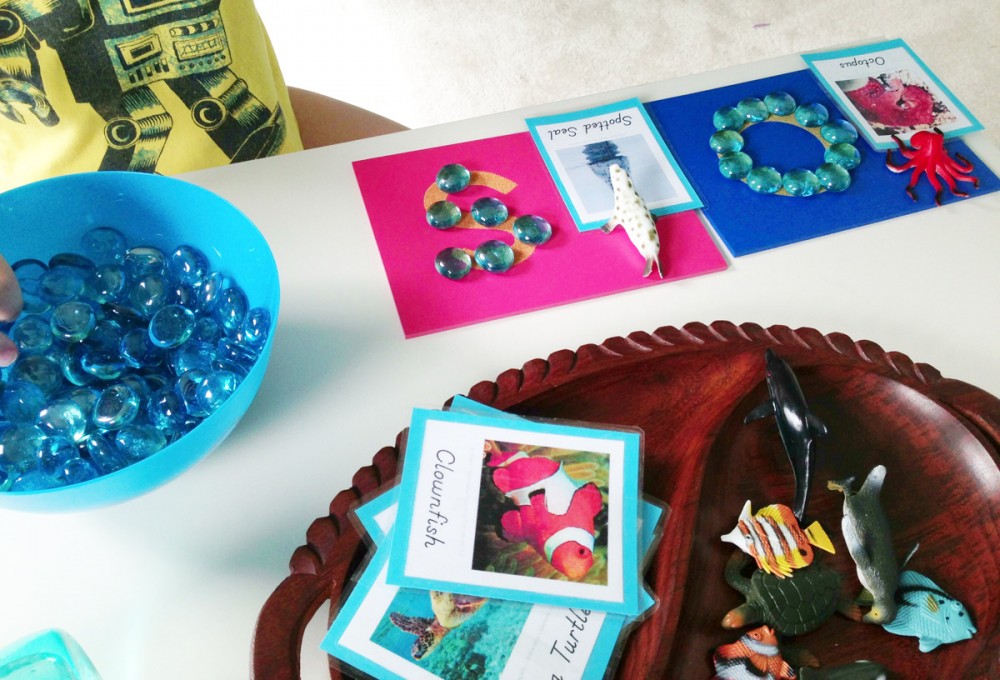
Montessori-style 3-part cards are great tools to help your young child learn new things. Jax loves them! I like to pair them with nature video clips from BBC and NatGeo that I play on YouTube about each animal. I created these ocean animal cards to be used along with SafariLTD’s TOOB figurines and my felt wall map animals. For the ocean, I used the following TOOBs: the Whales and Dolphins Toob and the Ocean Toob
.
Click here to download my free pdf file to make your own. To make mine, I cut them out, glued them to orange construction paper (to match North America’s Montessori color) then laminated laminated them. It makes them shiny and strong.
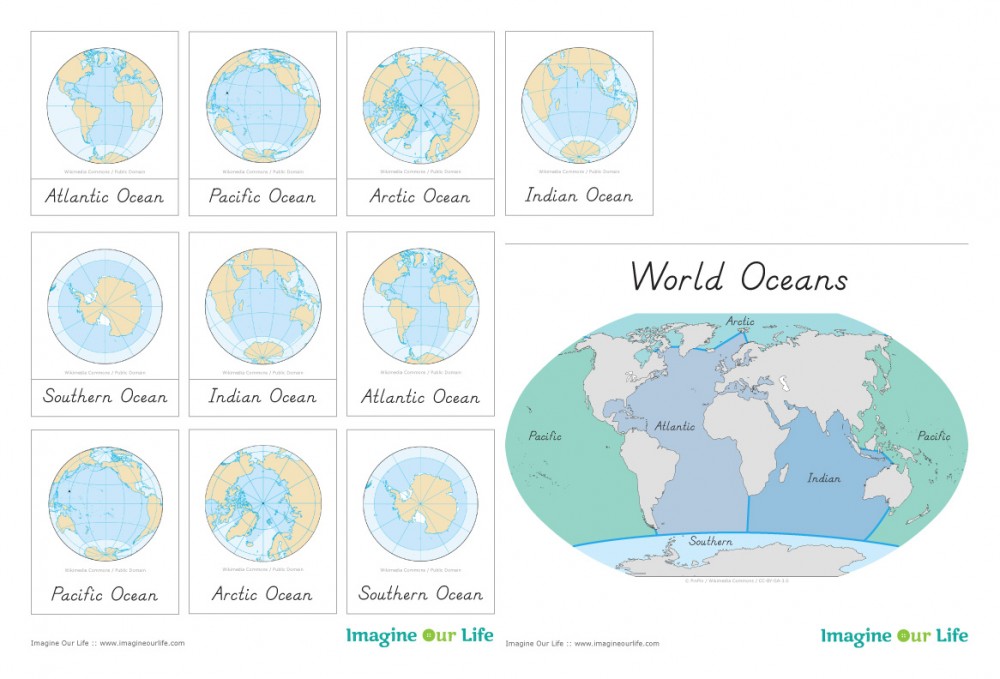
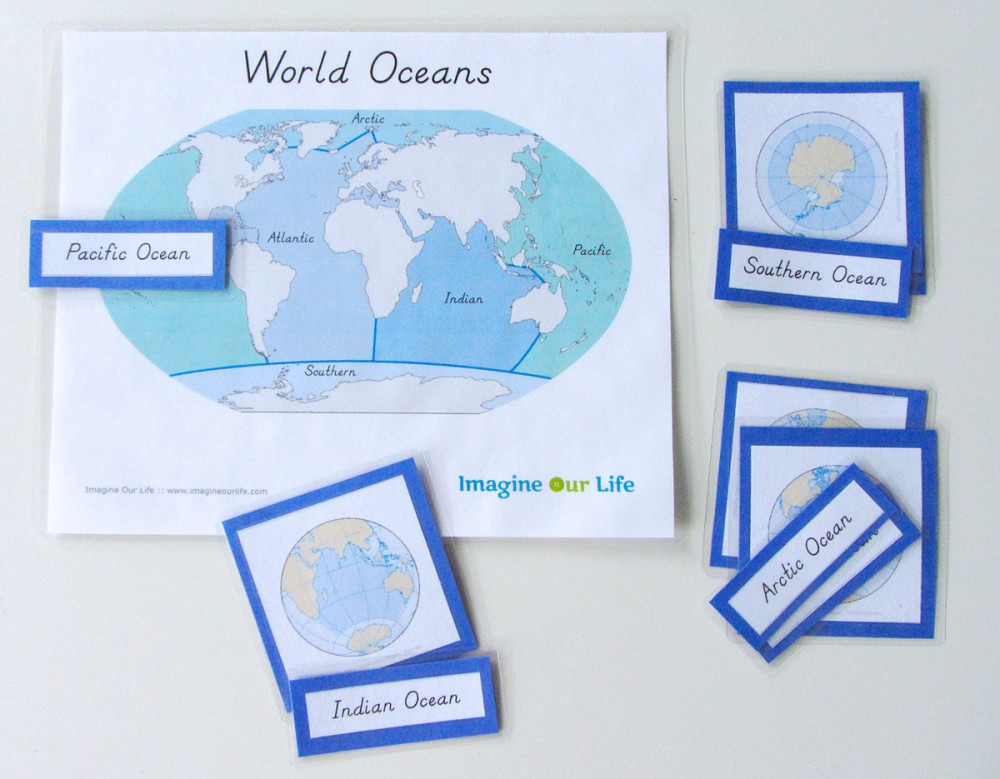
Montessori Ocean 3-Part Cards & Control Chart
Jax just started his world continent unit with the world continent 3-part cards I made up for him. He loves his new Montessori globe, and has his continent song memorized! This ocean set may be a bit advanced for him right now, but who knows – he is always surprising me! Montessori circles back through material, diving deeper into it each time, so it never hurts to introduce something when your child show interest.
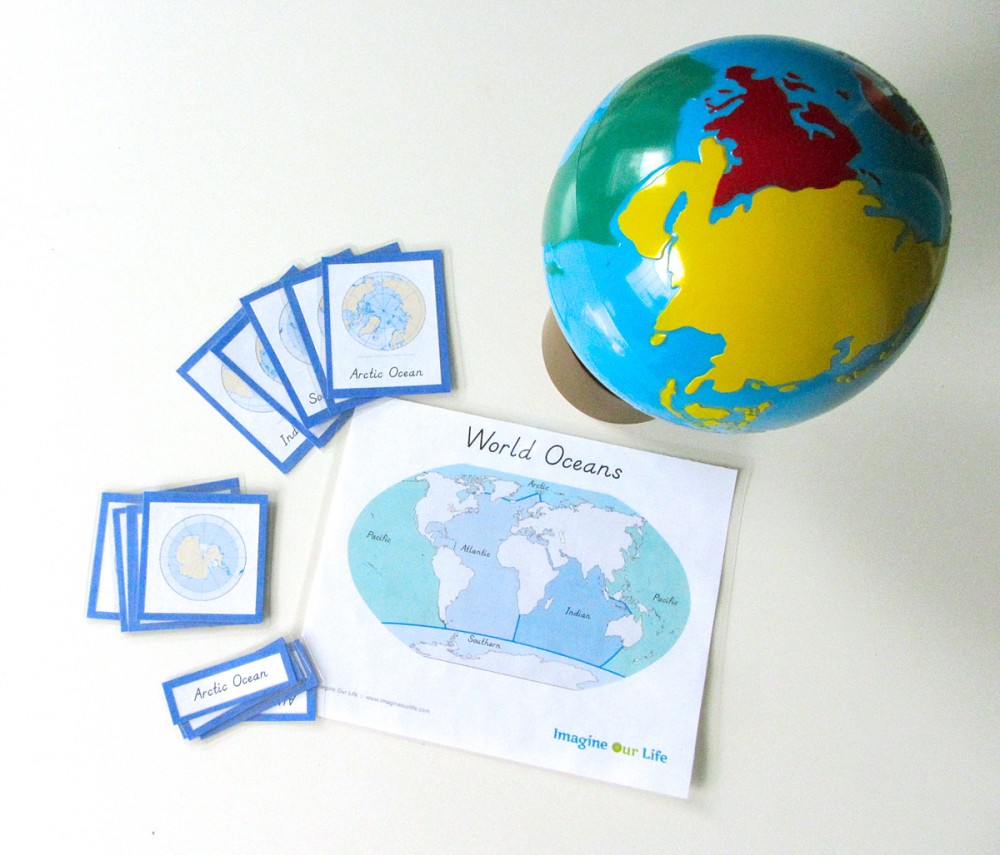
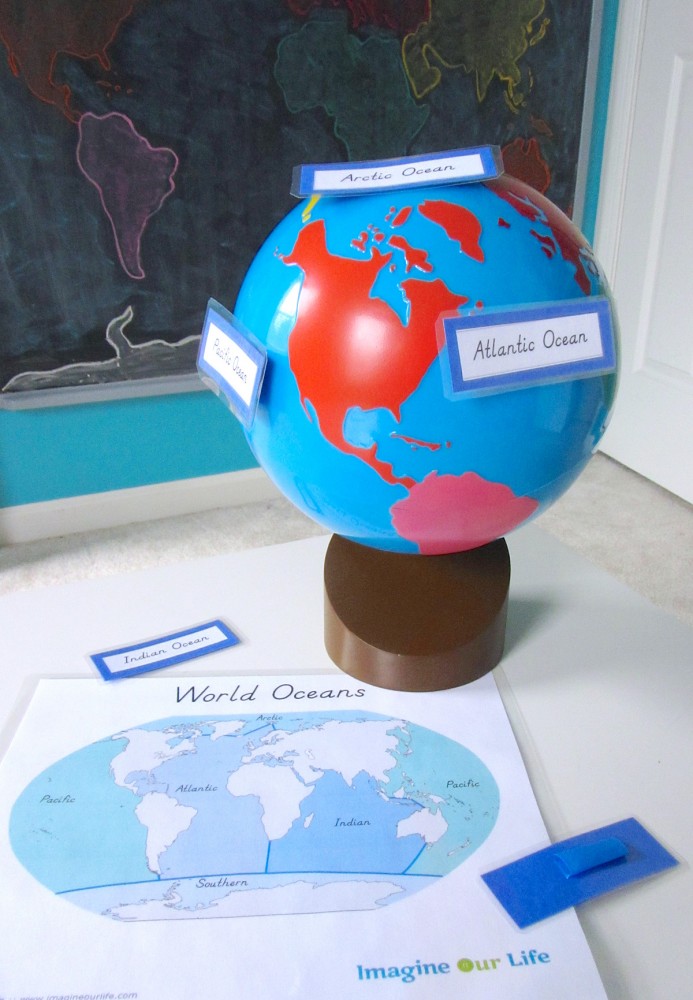
This set includes 3-part cards for the world’s oceans and a control chart showing the oceans outlined and labeled. You can start with a basic presentation of the oceans on our globe, comparing the globe to the cards. Click here to download my free pdf file to make your own
For younger kids, you can have them match the labels to the labels on the control map to help early reading skills. Talk about how the continents look on the cards versus the globe and control chart map projection.
For older kids, try a little painter’s tape on the backs of the labels and have them use the control chart to label your globe. Once your child is familiar with the labeled cards and chart, have them start matching the unlabeled cards as well. Eventually you can have them label the cards and the globe on their own.
Ocean Books
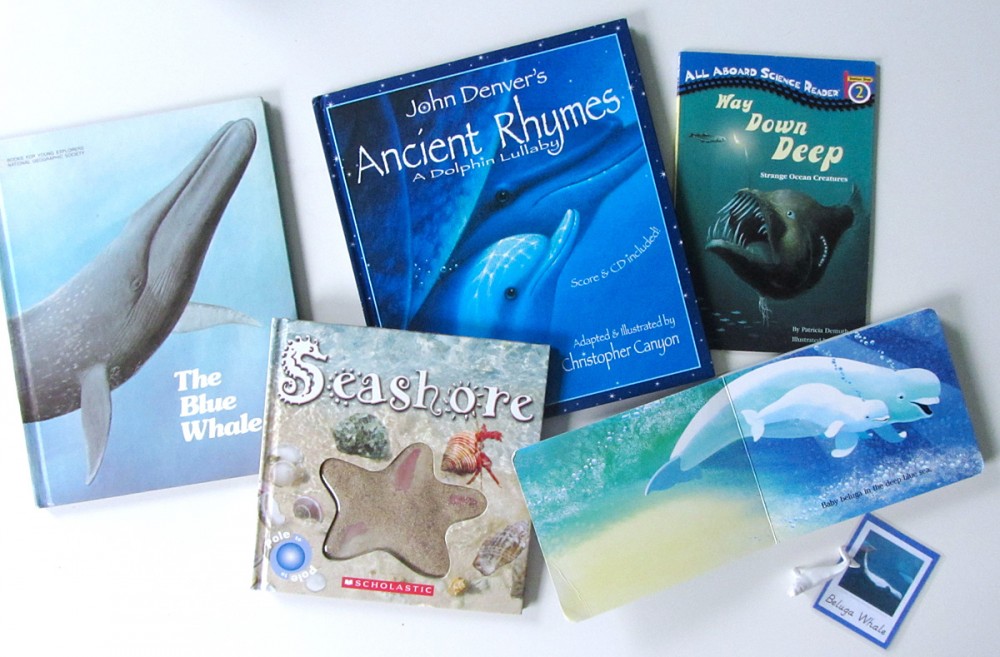
I’ve started collecting some ocean books, so when Jax chooses one in the schoolroom, I can pull out our SafariLTD figurines and 3-part cards to match them. Most of my books are from the thrift store and out of print. These are The Blue Whale, Seashore
, John Denver’s Ancient Rhymes: A Dolphin Lullaby (Audio CD Included) (John Denver & Kids Series)
, Way Down Deep (All Aboard Science Reader)
and Baby Beluga (Raffi Songs to Read)
.
I hope you are enjoying this project as much as I am! I’ve gotten see the maps a few of you have started! If you are sewing along, tag me on Instagram @iolstephanie and come comment on one of my pictures (I can’t see your photo if it you are private, but I can request to follow you temporarily if you comment on mine) or share photos on Facebook. You can also email me.
It’s Montessori Monday on Tuesday for me this week, but I hope you’ll check out the other great links!

