Hello everyone, my name is Katherine but everyone on the internet calls me OpalCat. I run a website at www.opalcat.com that has a little bit of everything. I’ve been friends with Stephanie for about 10 years, though I no longer live in the same state so I don’t get to see the family much these days.
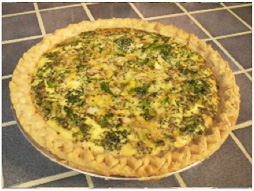
I’m an artist and a mother just like Stephanie, and I also like to cook. When Stephanie asked if I’d write a guest post on her blog about food I happily said yes. I’m going to share two recipes with you in this post, both of them vegetarian. The first is a recipe for a broccoli quiche.
This quiche has a lot of flavor. If you prefer a more subtle flavor, just cut back on the seasonings a bit. This recipe makes two quiches. I use frozen pie crusts because I don’t have time to make pie crusts, but if you want to make your own my favorite recipe is here.
The ingredients you will need are:
6 eggs
1 ½ cups milk
1 package frozen broccoli, steamed and cut into small pieces
½ cup diced onion
1 Tbsp minced garlic
about 4-6oz shredded cheddar cheese
1 ½ tsp nutmeg
3 tsp basil
2 tsp savory
2 tsp sage
½ tsp pepper
½ tsp salt
2 pie crusts, prebaked
Begin by preheating the oven to 375°. Next, in a medium sized bowl, beat together the eggs, milk, and salt and set aside.
In a large bowl, mix the garlic and onion with all of the spices. At this stage it will look a lot like dirty gravel from your driveway—don’t worry! It’s supposed to! Add the broccoli and mix it in well until the mixture is evenly distributed.
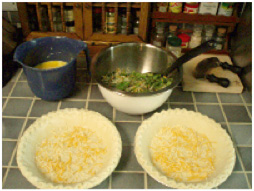 Next take the shredded cheddar cheese and put enough in each pie crust to cover the bottom. Add the rest of the cheese to the mixture in the large bowl and stir it in well.
Pour the mixture evenly between the two pie crusts. Pour in the egg mixture, half in each pie crust, using the back of a spoon to flatten out any spots where stray broccoli or other bits are sticking up above the surface.
Bake at 375° for 45 minutes, checking in at 30 minutes by inserting a knife in the middle. The quiches are done when the knife comes out more or less clean and the surfaces don’t jiggle when you gently shake the oven rack.
I actually recommend making these several hours before you want to eat them, then letting them set up in the refrigerator for a few hours (or better, overnight) because they’ll cut into individual pie slices much easier when they’re cold, and you can reheat them individually in the microwave. Cutting them hot right out of the oven tends to make for messier pieces.
Next I want to share with you a Mexican dish that was invented in my hometown of Tucson, Arizona: the Chimichanga. Our chimichangas will be filled with beans but you can add other things to the filling as you like. I sometimes put in textured vegetable protein to simulate ground beef, or I add some brown rice or grilled vegetables. The filling is entirely up to you.
The ingredients listed are enough for three chimichangas; you can adjust upward or downward depending on how many you want to make. I should note that you can freeze them before frying them and fry them up later, if you want to make a bunch at once and then eat them over time.
Ingredients:
You need the largest flour tortillas your store has. This may be 10” or 12” or if you’re lucky, something even bigger.
1 can of refried beans (or you can make your own quite easily—I recommend making them from canned pinto beans rather than dry because it takes so much less time.)
1/3 cup diced onion
2 cups shredded cheese of any type (I like the Mexican blend cheese in the bags at the grocery store)
1 diced tomato
2 cups shredded lettuce, cabbage, or spinach (this goes on top at the end)
1 can enchilada sauce
sour cream if you like it
1” deep vegetable oil in a sauté pan that is at least 10” across, but preferably bigger
3 feet of paper kitchen twine cut into 1 foot lengths
To begin, pour an inch (or more) of vegetable oil into the sauté pan and set it on medium to medium high heat. You will know it’s hot enough when a single drop of water dripped into the pan sputters and pops.
While the oil is heating, take your tortillas and put them on a paper towel and microwave them for about 10-15 seconds, to warm them up. They are much more flexible and less likely to crack when they’re warm.
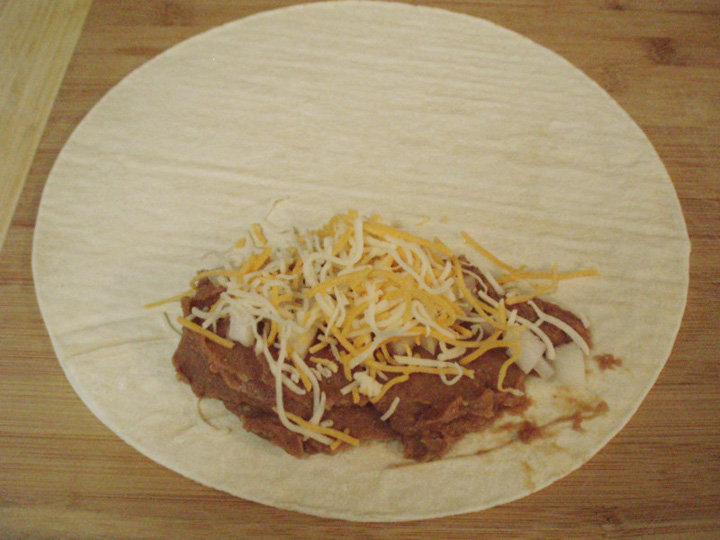
Spoon 1/3 of the beans onto one side of one of the tortillas, and add 1/3 of the onions and 1/3 cup of the shredded cheese. Next you want to roll your chimichanga. You’re basically making a burrito. It goes like this: Fold up the bottom half where the filling is until it’s covering the filling. Next fold in both sides as far as you can. Finish by rolling the rest toward the remaining “flap” of tortilla. You should get about two turns.
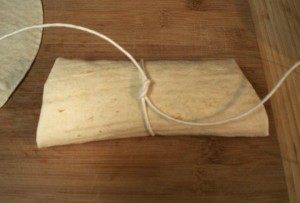 Now it is time to tie the chimichanga so that it doesn’t unroll in the oil. Tie one length of twine around the middle of the chimichanga with a square knot, and set it aside.
Repeat the procedure for the next two chimis. When you have all three rolled up and tied, transfer them to the hot oil in the pan.
Open the can of enchilada sauce and begin heating it in a small saucepan. It should be hot by the time the chimichangas are finished cooking. Now is also the time to chop the tomato and shred the lettuce, cabbage, or spinach (whichever you chose) if you haven’t already.
Keep an eye on the chimichangas in the oil. You are waiting for them to turn golden brown on the bottoms and sides where they’re under the oil. Once they are golden brown, use a pair of tongs to turn them over and cook the other side.
When your chimichangas are golden brown on both sides, lift them out with tongs and place them on several pieces of paper towel to soak up the excess oil. After a few minutes you can cut off the string and transfer them to serving plates.
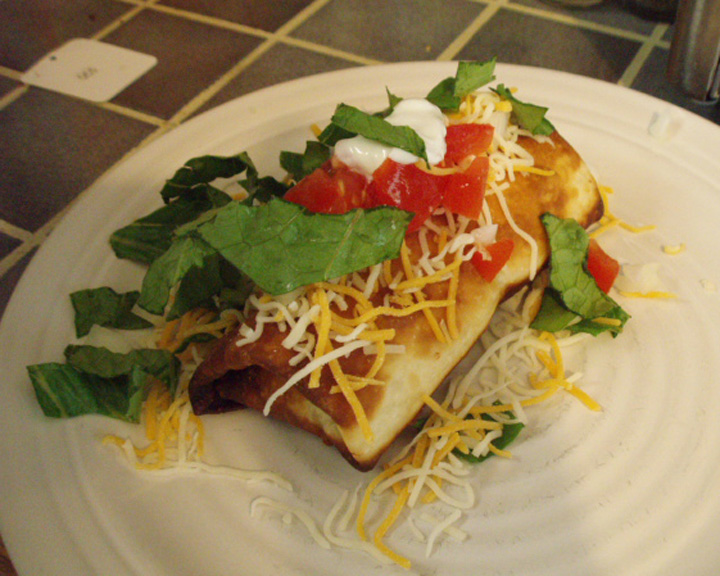
Pour some enchilada sauce over each one, then divide up the remaining cheese over the top of the sauce. Finish with shredded lettuce, cabbage, or spinach and a dollop of sour cream and you’re ready to eat!
I hope you enjoy this southwestern favorite. It’s easy to make and tastes incredible. You can change up the filling ingredients for a different taste. (Sorry, in the final picture there is no enchilada sauce—sometimes I make it without.)
These are both recipes that my son liked from an early age, so they are good for children. The quiche is a lot of stirring, which children are good at helping with, too, so it could be a good family activity. You can find more recipes in the Food section of my website. I hope you’ve enjoyed these two recipes.
Thank you, Katherine! Be sure to pay her a visit at OpalCat’s World Domination Headquarters!
