Tag Archives: Parties

The Nine Minute Pencil Bag

The Nine Minute Pencil Bag
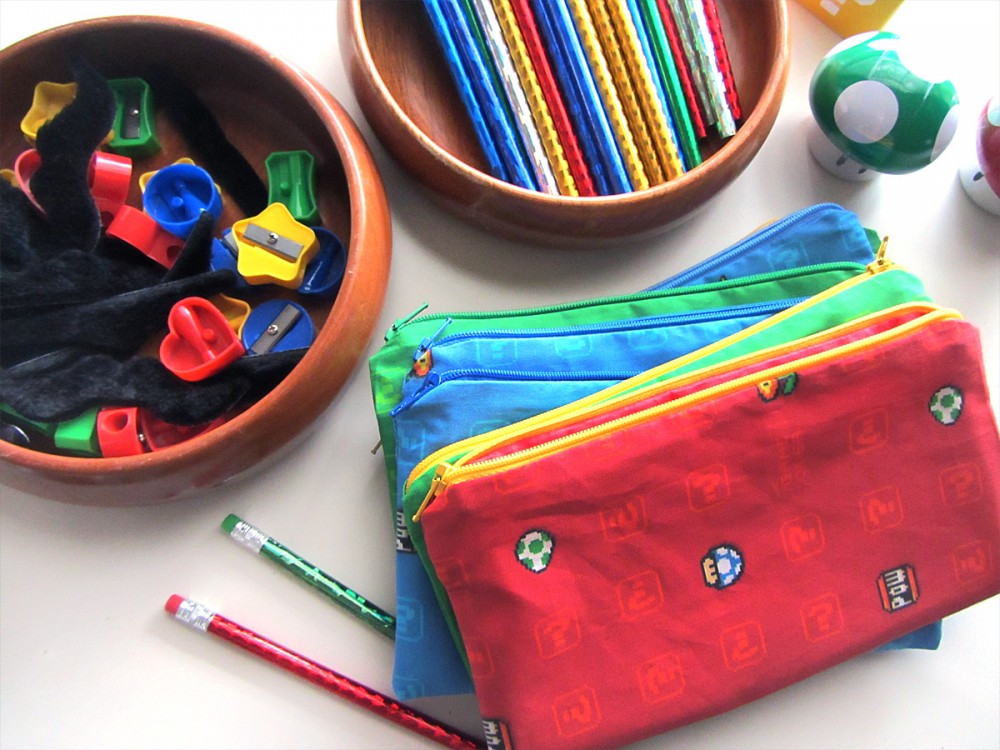
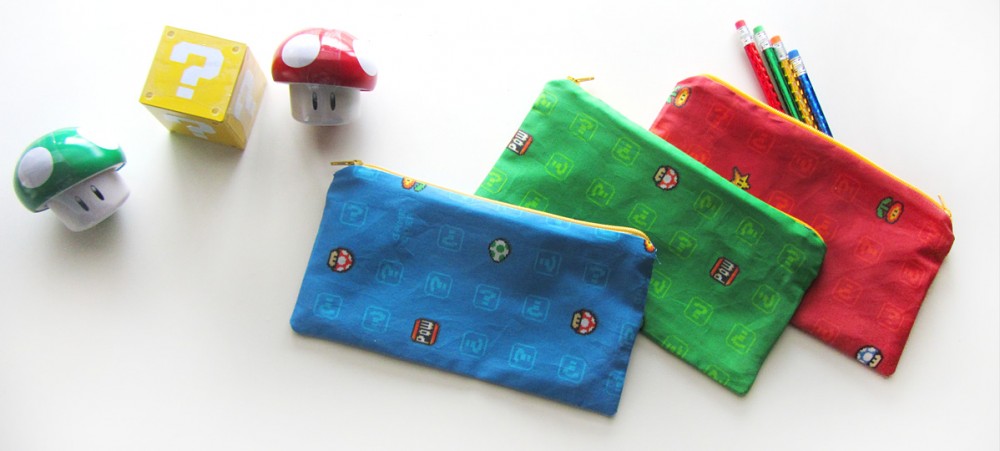
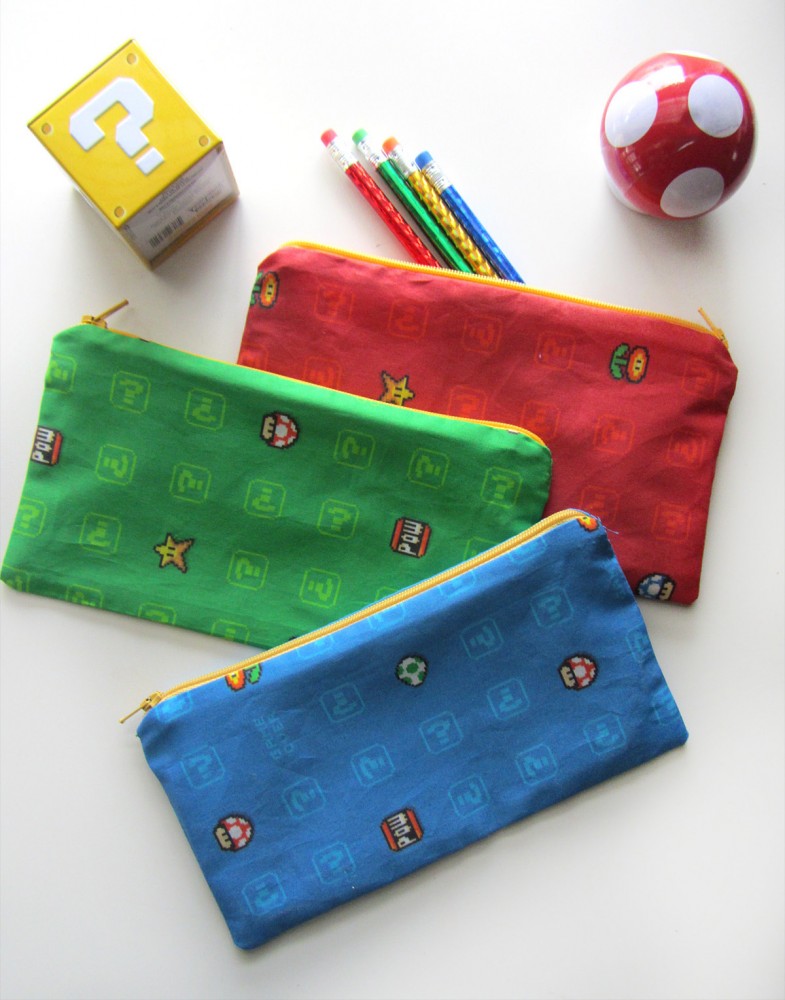
My little man is turning 5! He’s very into his Wii and anything Super Mario, so it was easy to pick his party theme. I always like to include a handmade party favor for our guests. This year, I’m making pencil bags! Since I am making 12 of them and my free time has been so limited lately, I had to make them quickly. And so, the Nine Minute Pencil Bag was born!

I used fabric that I custom designed and ordered through Spoonflower.  I made a question box tumble in three colorways: red, green and blue. I ordered one fat quarter of each. I needed a dozen 9″ zippers, so I ended up buying this zipper assortment. It came with a good assortment and only one of them was the wrong size out of 54. I also bought three additional fat quarters in coordinating colors. With 6 fat quarters (3 outer fabric and 3 lining) you can make 12 bags.

The Nine Minute Pencil Bag

What I Used:

  • Two 9″ x  5″ rectangles in my outer fabric
  • Two 9″ x 5″ rectangles in my lining fabric
  • One 9″ zipper
  • Matching thread
  • Iron, sewing machine (with zipper foot) and scissors

The Video:

I don’t talk in this video – turn on CC if you’d like written instructions. And enjoy one of my favorite classical pieces – The Blue Danube!

The Basic Overview:

You start with a “zipper sandwich” – take one rectangle of each of the fabrics and lay then stacked, right sides facing. Place the zipper inside the sandwich facing the outer fabric. Line its edge up with the long side of the fabric on the inside of the sandwich. Sew along the zipper with a zipper foot (moving the zipper pull partway). Flip the two rectangle so their wrong sides are facing and the zipper is sticking out of the sandwich. Make a new sandwich around it, right sides facing in, putting the lining on the lining side and outer fabric on the outer fabric side. Sew the edge with a zipper foot (moving the zipper pull partway).

Open up the rectangles so right sides are out and the zipper is in the center. Iron it smooth, then flip the sides so the linings are together (right sides facing) and the outer fabric pieces are together (right sides facing). Press the zipper/seam towards the lining. Open the zip halfway. Starting on the short side of the lining near the bottom of the zip, carefully sew across the zipper. (Make sure you do not sew over the metal crimp at the base of the zipper. It will break your needle!) Sew all the way around until you get back to your starting side, then stop when you have 3″ left to go. Leave that open for turning.

Clip the tails at both ends of your zipper, then clip all four corners. Flip the bag right side out through the hole, unzipping the zipper the rest of the way when you are able. Make sure you poke all the corners out. With the outer fabric and lining on each side, iron it smooth. Fold in the hems of the lining opening and iron it to crease it. Stitch it closed close to the edge. Push the lining into the bag and iron it inside and out, making sure to iron the fabric away from the zipper.

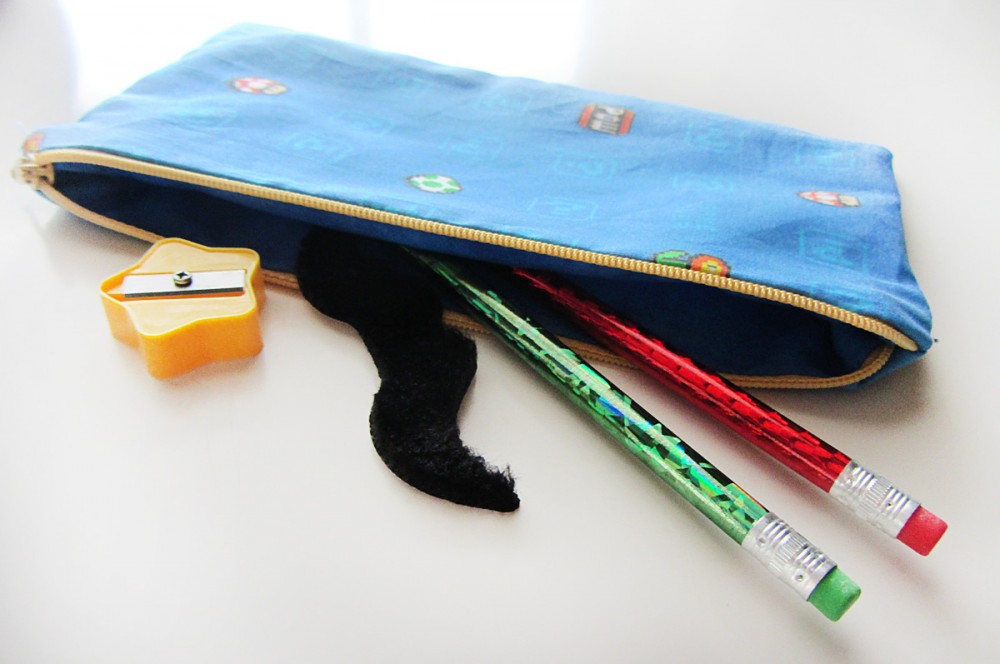
All done! I’ll be filling ours with Dollar Tree pencils, sharpeners and faux mustaches.
The Nine Minute Pencil Bag
They turned out super fun!

The Nine Minute Pencil Bag
If you make some Nine Minute Pencil Bags, I’d love to see them! Share them on my Facebook page or mention me on Twitter or Instagram ( @iolstephanie ). Enjoy!

DIY Dollar Store Cake Stands

DIY Dollar Store Platters

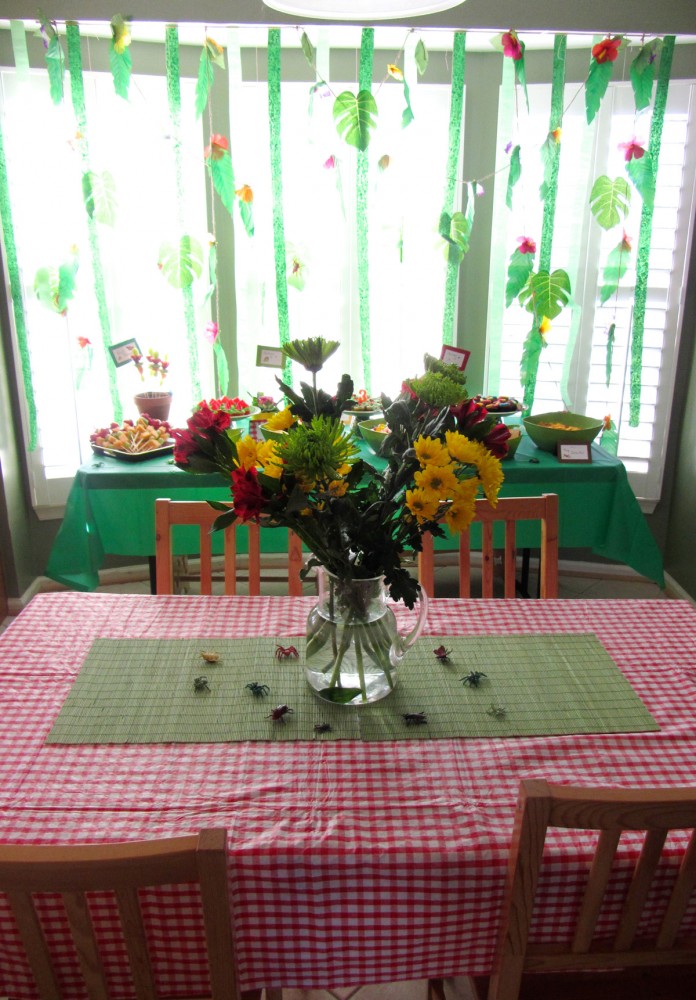
My sweet little man is 3! Yesterday we celebrated with friends and family at his bug-themed third birthday party. It was so much fun. Seeing your child SO happy just makes your heart want to burst!

3!

My budget for the party was very small. I don’t have a lot of serveware for parties, so I hit up the dollar store for inspiration. They had some great bowls in spring colors – I grabbed some in green. I didn’t find anything to feature the stars of my food table – the mini cupcakes!

bugcupcaketrio

Bug Mini Cupcakes

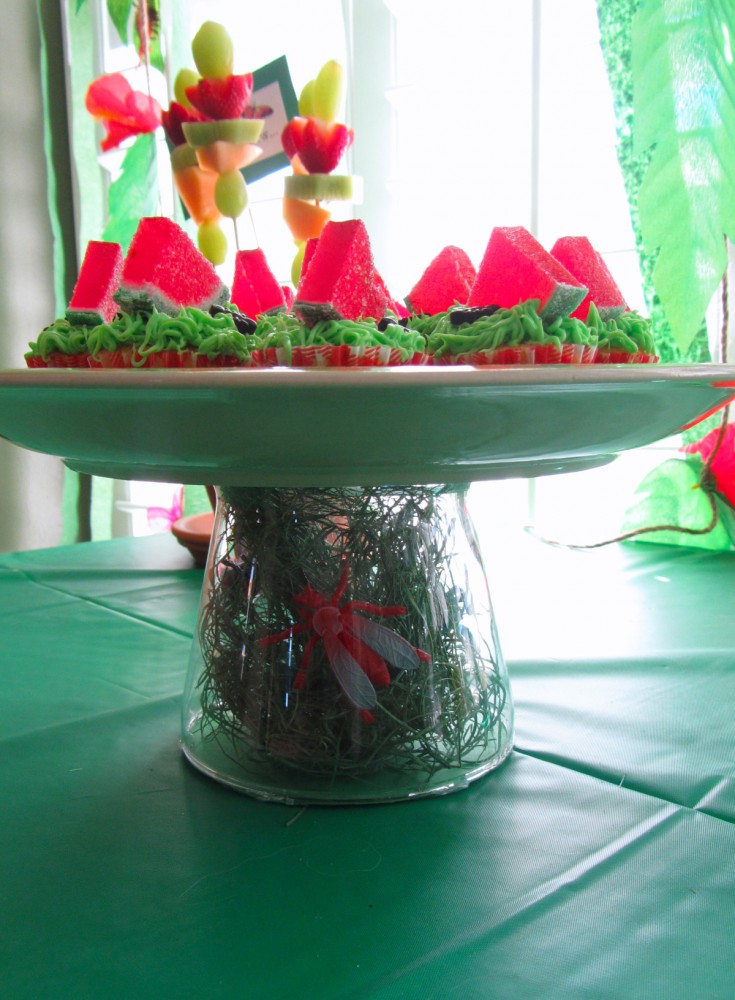
Picnic Ants: This was a lemon cupcake with lemon frosting (tinted green and piped with a grass tip), little black ant sprinkles, and watermelon slice candies. I baked them in red gingham cupcake liners. (I had a custom listing set up on Etsy will my three liner choices.)

Ladybugs & Leaves: These cupcakes were strawberry, strawberry swirl icing and fondant leaves I cut out with a cutting and embossing set. I added little pressed sugar ladybugs. I baked them in lime green cupcake liners.

Worms & Dirt: Our chocolate cupcakes were chocolate with fudge frosting, crushed Dark Chocolate Fudge Stripe cookies and sour worms. They were baked in simple brown cupcake liners.

I’d seen plenty of Pinterest pins with candlesticks and plates turned into cake stands. I decided to put my own spin of the idea! I got three green plates, three glass votives and some Super Glue Bond-All, all from the dollar store. I had already ordered plastic bugs and found a bag of decorative grass at the thrift store for $1, but saw both of those things at the dollar store as well.

DIY Dollar Store Platter

Pin me!

Pin me!

My supplies:

  • dinner plates
  • glass votives
  • super glue
  • plastic bugs
  • decorator grass
  • cardstock
  • hot glue & hot glue gun

I started by applying super glue to the bottoms of both the plates and the votives and letting it sit for a few minutes. Then I placed the votives on the plates and weighed them down with soup cans. They slide a little while the glue was still a little wet, so I made sure to recenter them after a few minutes. After drying for an hour, I flipped the stands right-side-up and weighed them down overnight.

The finishing touch was a butterfly hot glued to the edge of each cake stand!

This slideshow requires JavaScript.

To customize them for the party (something that can be undone, as hot glue peels off of glass), I hot glued some cute bugs to the insides of the votives, placing them so their backs showed well. I then stuffed the grass inside. I had traced and cut some circles of green card stock to fit the openings. I hot glued the those on as bases.

I’m so happy with how the cake stands turned out! they worked perfectly for the mini cupcakes and the rest of the party decor!

IMG_1653

For more details about Jax’s party, visit my personal blog, Stvlive.com.

IMG_1636

Build an Easy Party Photo Booth

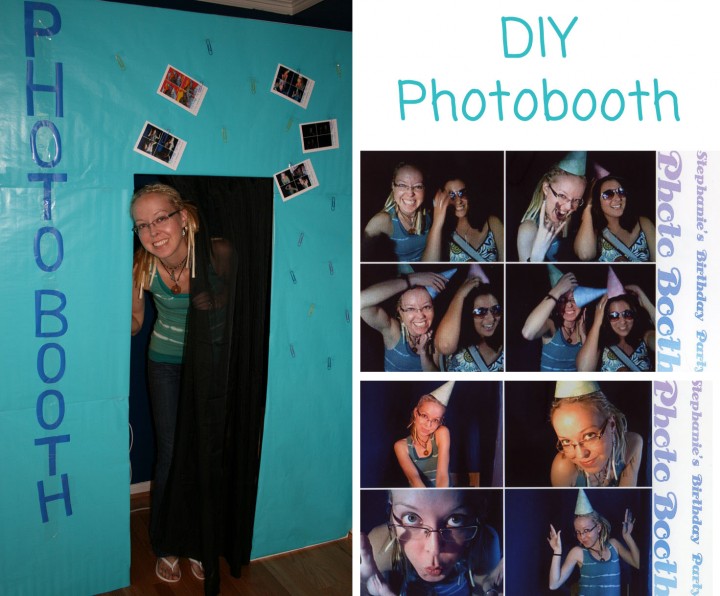
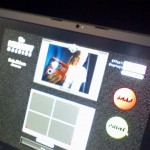
I fell in love with the photo booth at my brother-in-law’s wedding. It was so much fun! I knew I had to figure out how to do my own. This post goes over how I’ve made mine for several parties. Hopefully you can get some useful ideas should you try this too!

The most important part of my photo booths has been my MacBook Pro with a built-in camera. For software, I installed Mugshot Machine and turned on kiosk mode when it was time for the party (this hides the rest of your computer and sends the photos to the printer without your guest having to deal with print options.) It isn’t the prettiest program, but it’s free and lets you use a custom logo on the printouts. The biggest disadvantage to it is that you can’t save a digital copy and print a photo at the same time. Most guests were happy to let me scan their photos and give them back the next day. There are pay software options out there as well.

You need a way to print the photos, unless you are only saving them to disk. I have an HP photo printer I’ve had for years. It uses 4×6 paper that I stock up on at dollar stores and clearance aisles.

To build my booth, I start with a sturdy tv tray, and cover it with an upside-down box to make the surface area larger. I placed it in a corner so that I only had to make the walls on two sides. To build the walls, I used foam core board I got on sale that just happened to be the same blue as my walls. I think I used about 6 sheets (I didn’t bother with the ceiling.) I left a space for the door in the side of the booth. Behind the laptop, I left a ledge of the box and a cutout for the printer (so your photo comes out when it’s done printing.) It’s dark in there, so I always put a desk lamp in for better lighting.

For the door, I use a sheer black curtain hung on a string that is taped up inside the booth. I decorate the whole booth with wrapping paper. It’s inexpensive and I can change it based on the theme of the party. For my friend’s money themed party I used gold and taped play money all over it. I also got a party “scene setter” backdrop that time and decorated the inside. At my birthday party, I taped large paper clips to the outside of the booth so everyone could display their photos during the party.

You don’t even really need a booth… When I was pregnant and hosting a Halloween party, I decided to just set up the corner with a backdrop. Everyone still loved it!

I save all the main pieces of the booth in sections down in the basement and I’ve been able to reuse them again and again. So much fun!

DIY Coloring Tablecloth

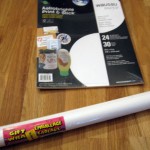
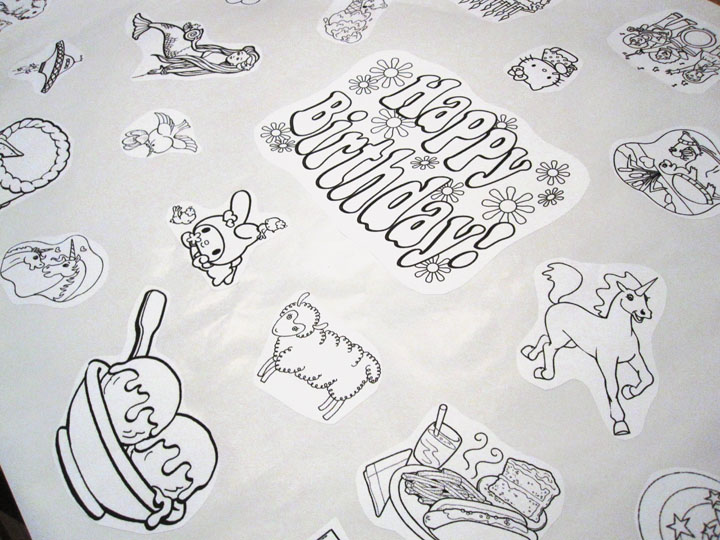
Here’s a very simple party craft that doubles as a decoration. A custom coloring table covering! All you need is a printer, some sticker paper sheets and a roll of paper.

I used a dollar store roll of white wrapping paper. It was the perfect width for my table and the length had a few inches to spare on each end (good for taping it down.) You can use the less shiny side of the paper to have it take markers better. Of course, you could use rolls of butcher or drawing paper if you have that. The sticker paper I bought from Amazon. I liked how clear it printed and the fact that the back peels off in strips.

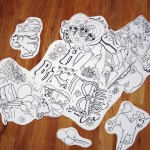
The first step is to find or make your coloring pages. You can find a bunch here or here (or just do a Google image search). I used mostly pictures I found online, but I’ve drawn custom ones by tracing photos. I laid them out in Photoshop so that I could make use of every inch of each sheet of sticker paper.

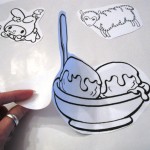
Once they are all printed out, I cut them out and arrange them on the paper. Having the images face the edges of paper lets everyone have something to draw where they are sitting. Then just peel off the backings and stick the images down!

I put cups of markers and crayons out of the table so everyone knows what it is for! If you try this project, let me know!

The coloring sheet I saved from my birthday in 2008.

Party Craft Ideas

Craft Table

To continue with my party themed week, I want to show you what has become a big part of most of my parties: crafts!

For the same party as the rainbow cupcakes, I decided I wanted to have crafts for everyone to enjoy, since I love to be creative. It was a huge hit! Because the party theme was puppies, rainbows and anything girly, I chose paint-your-own bobble-head dogs and flocked jewelry boxes you can color in, both from Oriental Trading. At our Halloween parties I have had ceramic pumpkins, wooden treat boxes and coffins to decorate. When I hosted a money-themed party for a friend, we painted piggy banks!

Probably the most in depth craft project I’ve done at a party was last year. Despite having a 5-month-old, I was determined to do tie dye!

We set up in our empty front room (now the playroom) since it was extremely hot out and due to storm. I put down a tarp and set up the prep station and the dye station. The prep station had a bucket od solution to pre-soak items in and a bucket of water for rinsing. There were plenty of rubber bands and some instructions on how to fold and tie shirts that I’d printed out. The dye station had plastic gloves (from the dollar store) and lots of paper towels! I put trays lined with paper towels down and guests could set their shirts down as squirt the dye without it getting all over.

Tie Dye Party

The dyes and bottles were all purchased from Dick Blick Art Supplies. The dyes were professional quality and worked best if you let them cure for 24 hours. So I printed little take-home instructions and had plenty of freezer bags and Sharpie markers so everyone could pack up and label their projects.

It was a blast and we kept dying until we ran out of things to dye!

Adorable Rainbow Cupcakes

To celebrate my birthday week, I am going to feature some fun party ideas I’ve tried in the past. I love planning parties and always do it on a small budget. I hope you enjoy these projects! Let me know if you try them!

A couple years ago I had a party for my birthday with no real theme other than cutesy, girly things. Being a summer baby growing up with just a dad, my birthday parties usually failed miserably (like two guests would show up, but my rocket scientist dad would let us play maze games on the Apple II. Ah, the ’80’s!)

This party would indulge all the childish whims I missed out on… Crafts! Twister! Balloons! Pink and blue puppy plates! And cupcakes…

Rainbow cupcakes, to be exact! And, these adorable cupcakes couldn’t be easier.

Here’s what I did:
I baked two kinds of cupcake for variety so guests could choose chocolate or yellow (both vegan to accommodate a guest). If you want to go all the way rainbow, try this recipe for a colorful surprise when your guests take a bite! Because my favorite cake is yellow with chocolate frosting, I used both chocolate and white frosting. Obviously your rainbows will look more realistic on white clouds, but chocolate clouds are oh so tasty!

To ice my cupcakes, I put the frosting in a icing gun (mine is a cheap dollar store version) with a star tip. I swirled and swooshed till my hand ached to make fluffy clouds. Then I used plenty of sprinkles: blue sanding sugar, rainbow nonpareils and little stars!
And now the fun part… Buy a few packs of Airheads Extreme Rainbow Belts, cut them to size and stick them in the frosting to create your rainbow!

Because I had a vegan guest, I also make a few cupcakes without the sprinkles and candy (which tends not to be vegan). I also filled some cupcake papers with jellybeans and stuck them in my cupcake stand for pops of color.

Let me know if you try this out!

Yum!