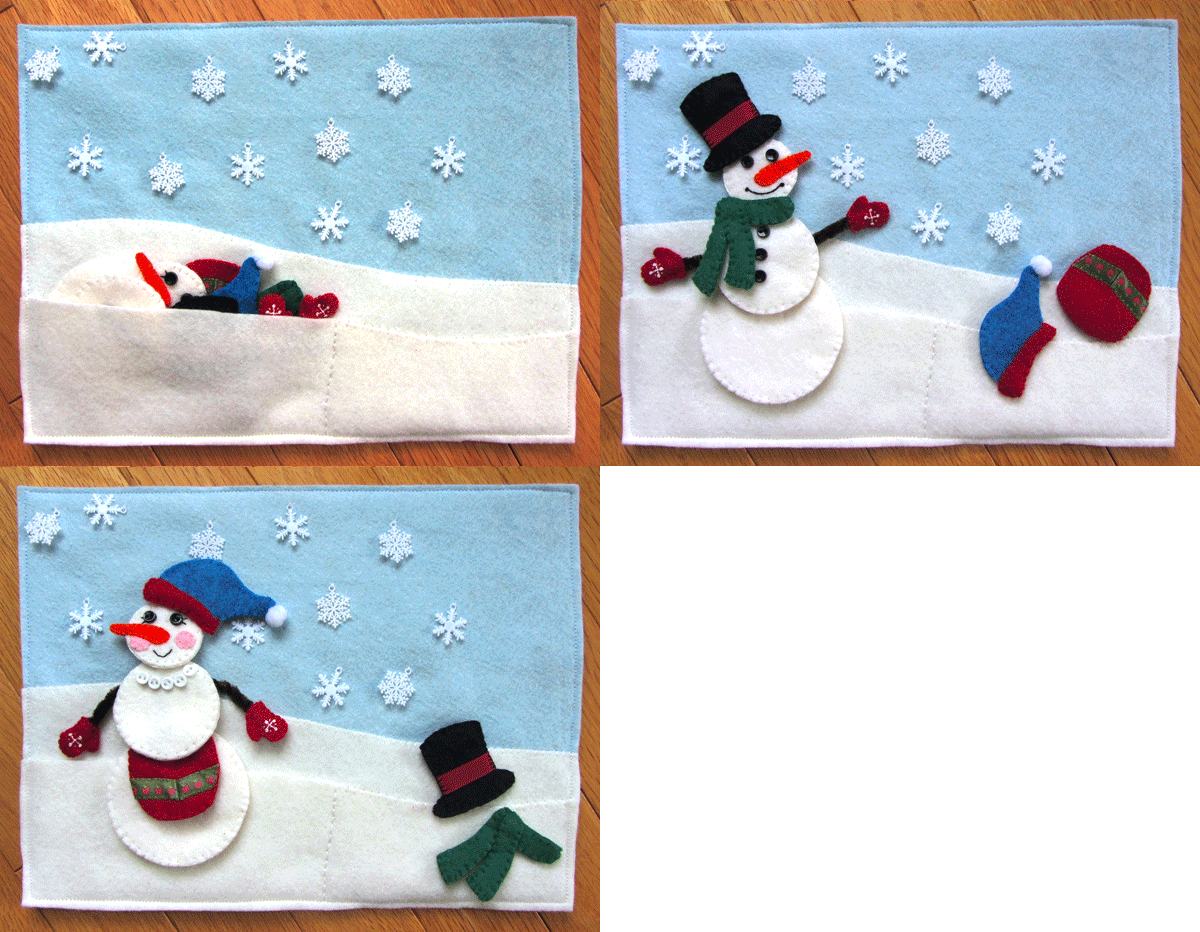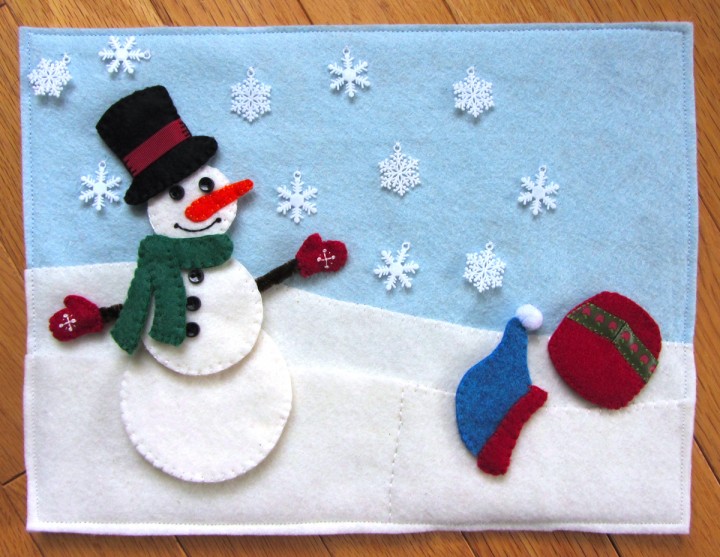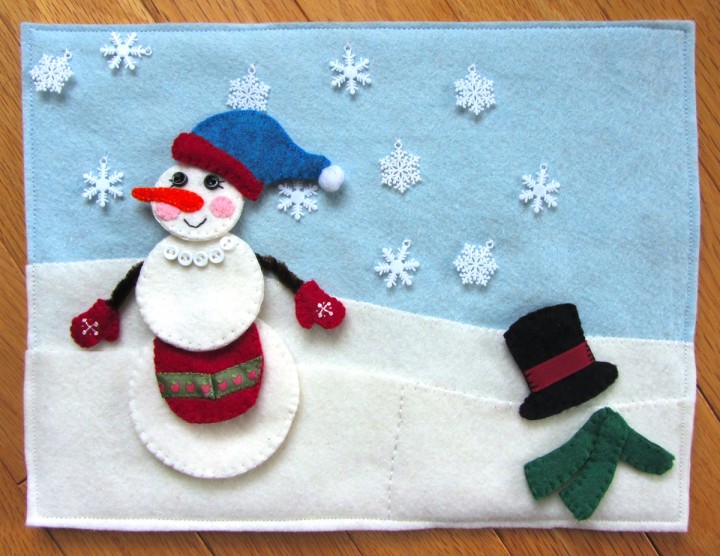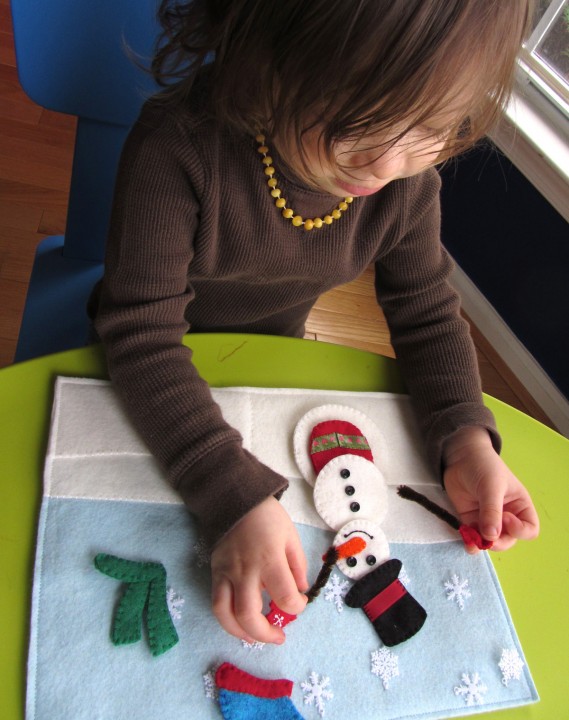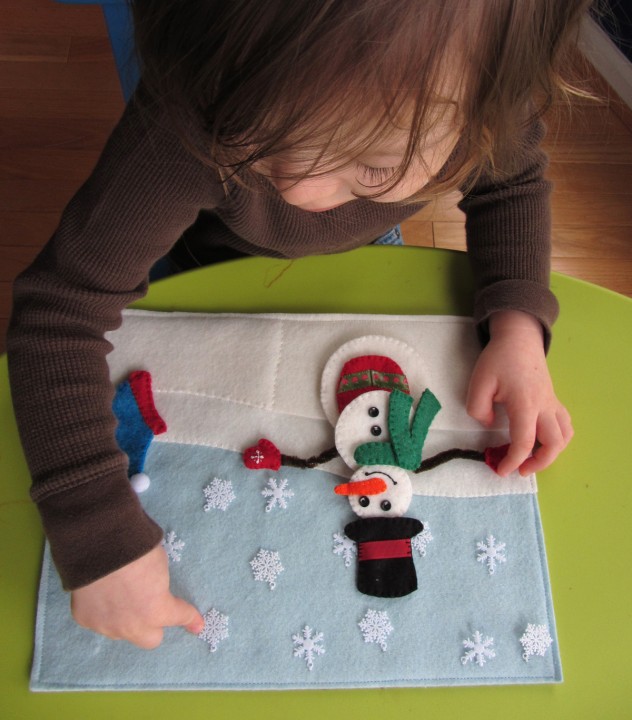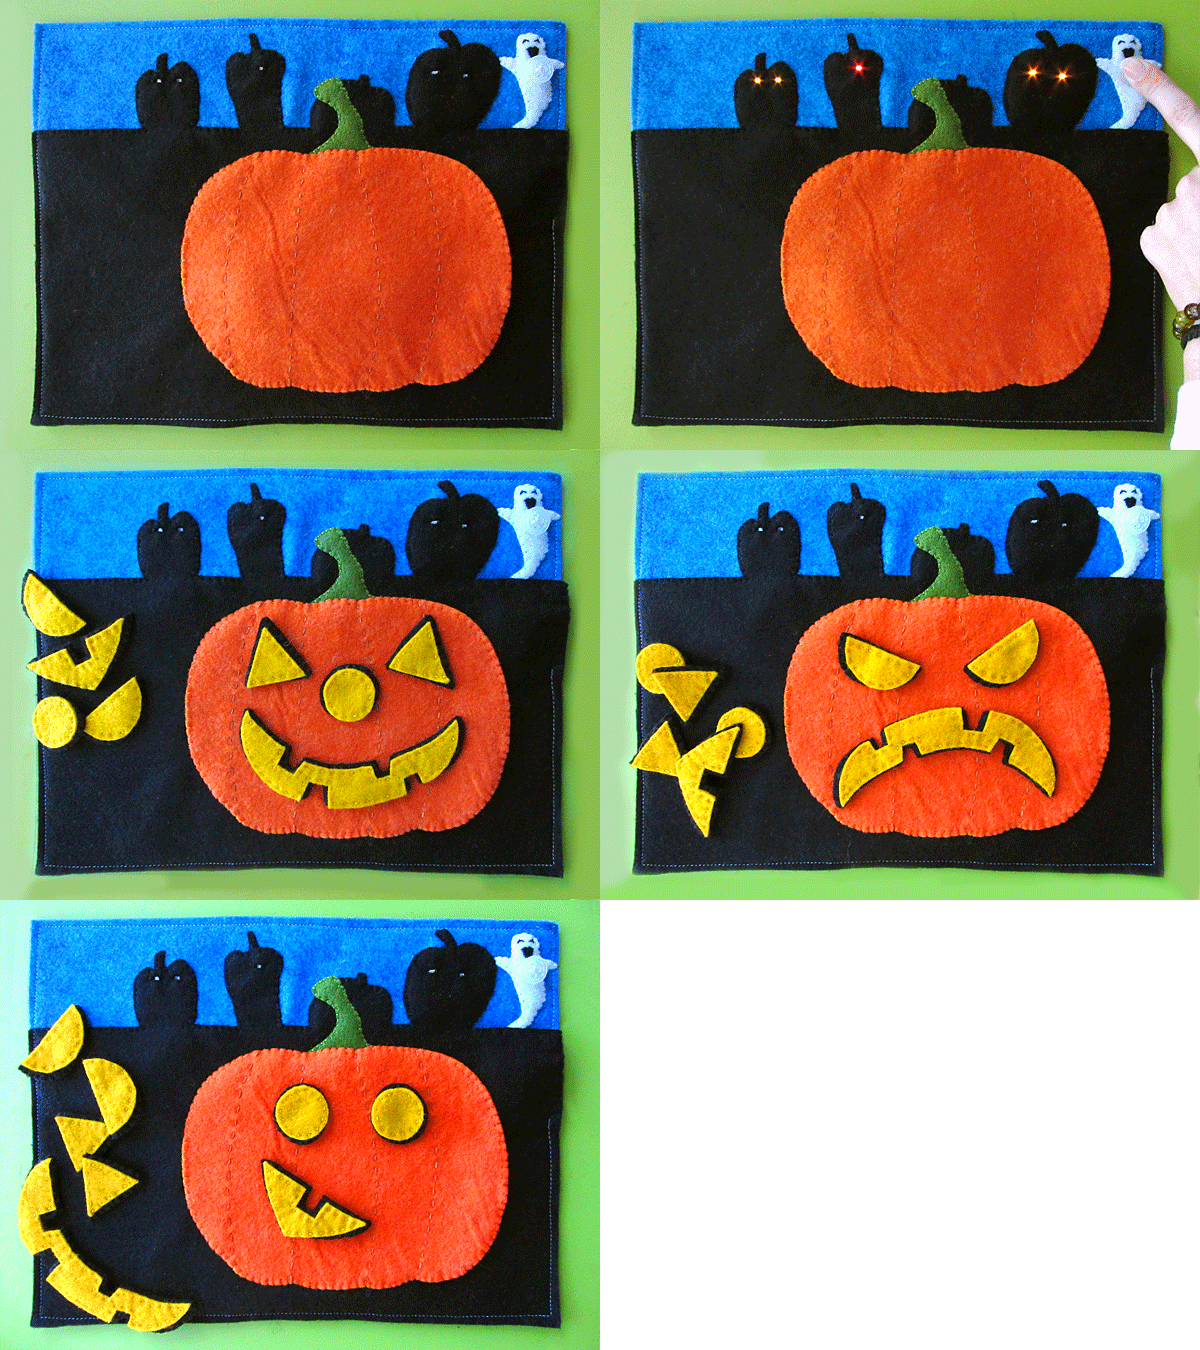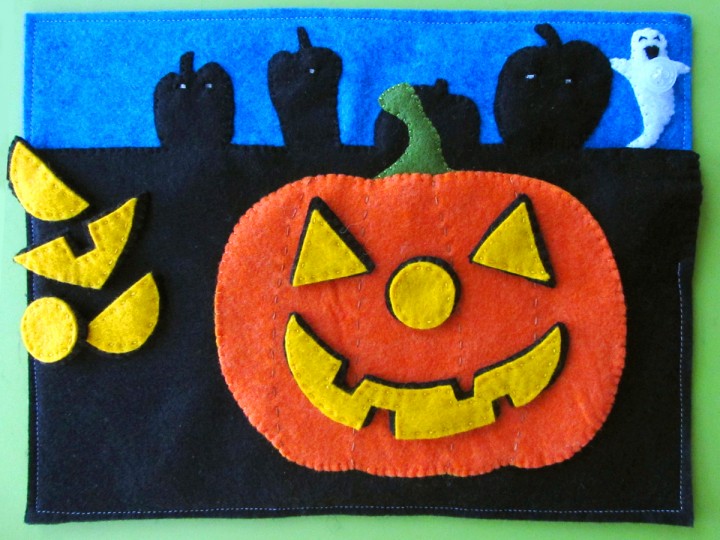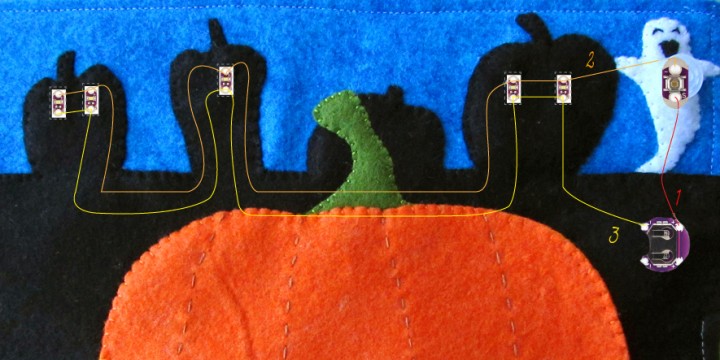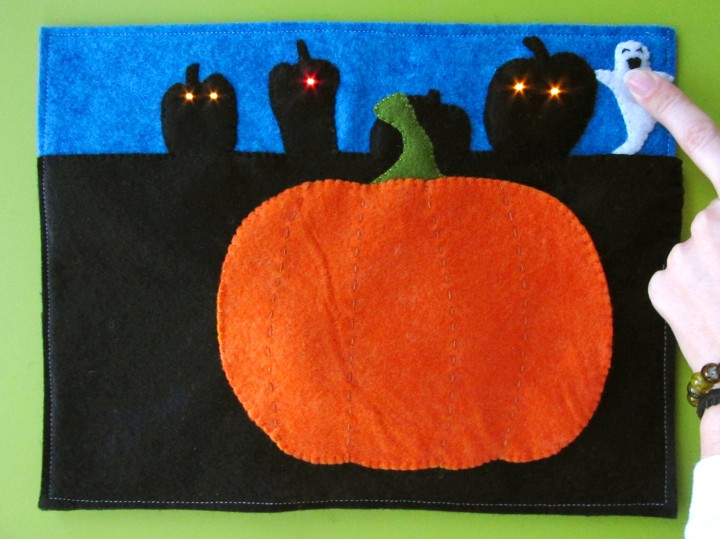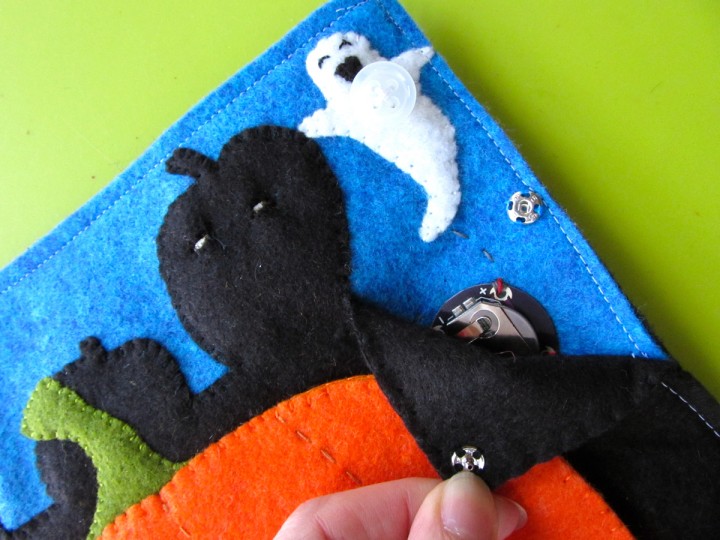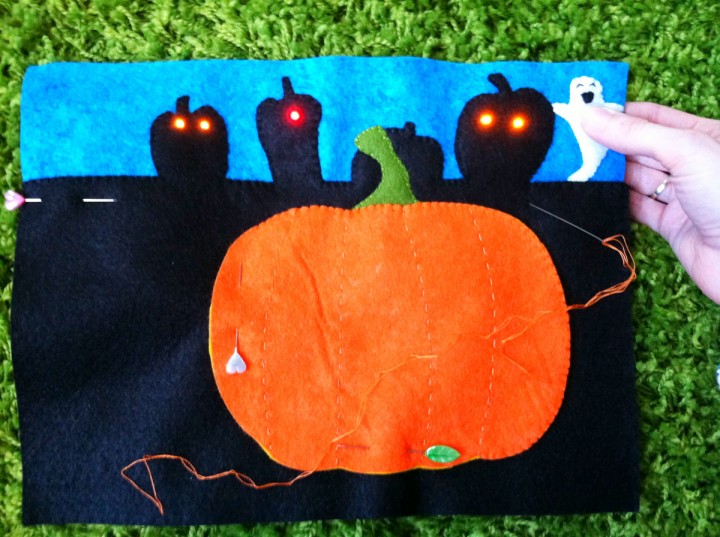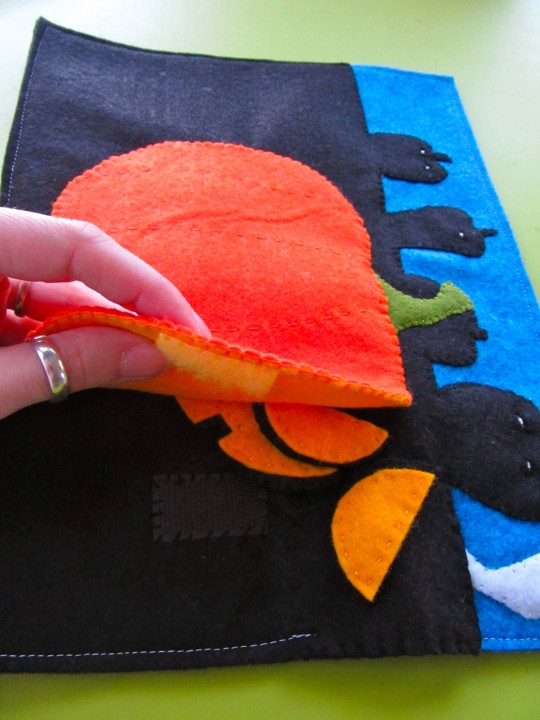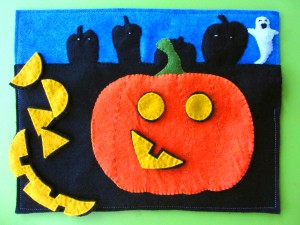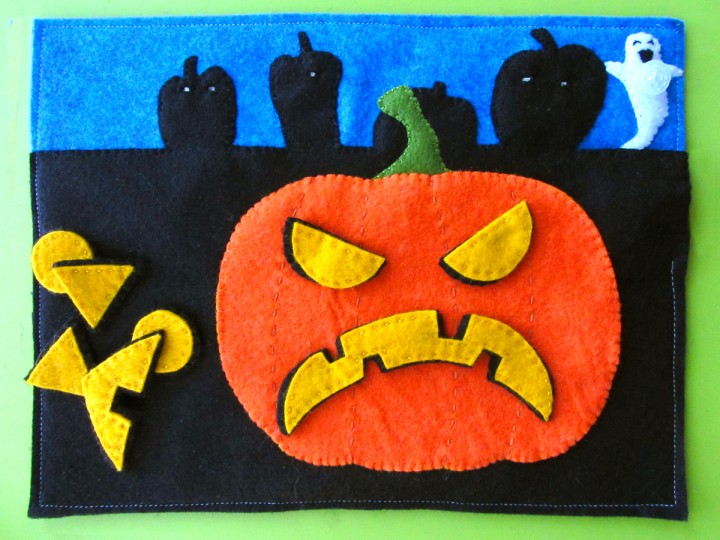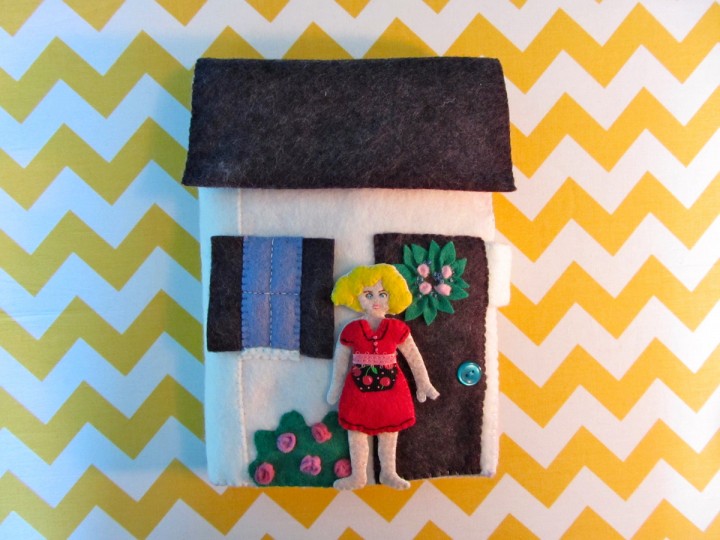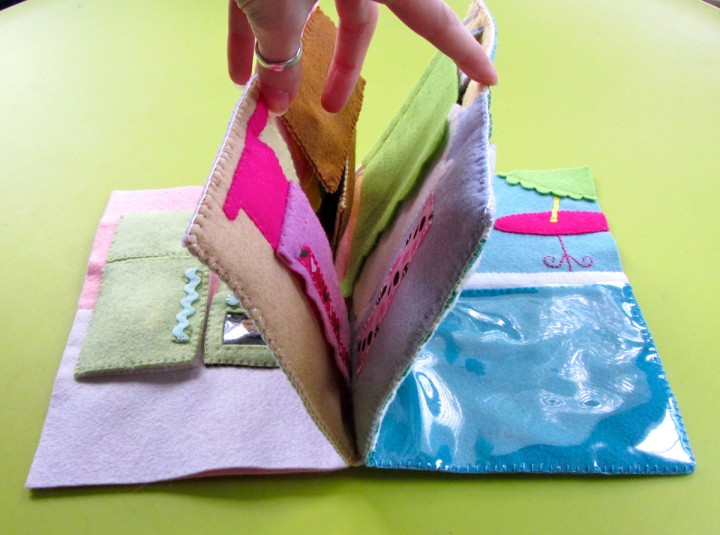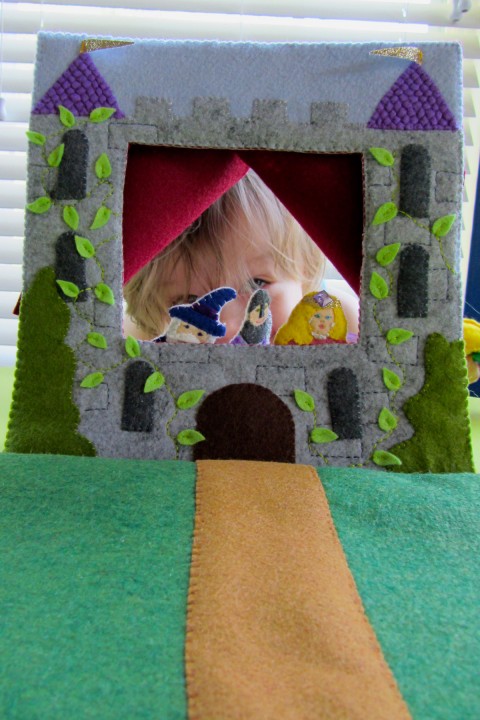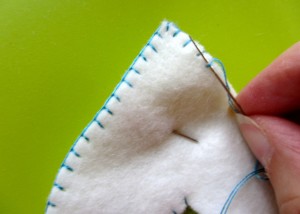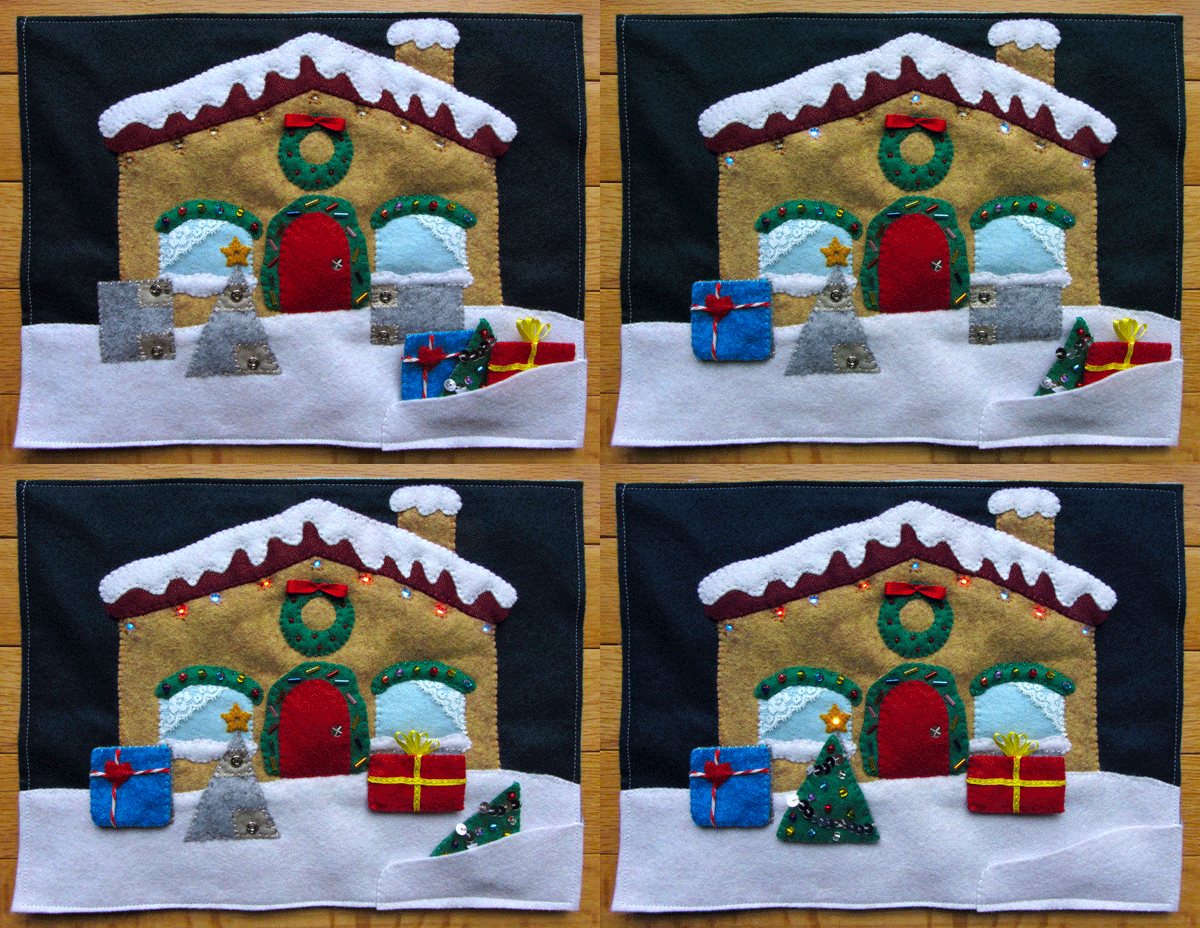
This quiet book page was quite the project! It is an interactive puzzle – you match the shapes to light up the LEDs. It is the second page in a series of pages I am doing for all 4 seasons. I’ll be doing one regular page and one LED holiday page for each season. The first was my Halloween Jack-o-Lantern page.
The planning of the circuits was a bit confusing to work out, but I really feel like I’m starting to get the hang of e-textiles. I admit, I went through two revisions of how I sewed the circuits before settling on the third. But, that is one of the things that makes e-sewing so forgiving. You aren’t soldering anything together… Not happy with it? Clip the threads and start again! But, don’t be scared. You can do it! Try the Halloween page first, or something similar using that wiring plan as a guide. You’ll get the hang of it!
This page can be made without the LEDs. Just skip that part and make it a regular shape puzzle. You could add a few more shapes if you wanted. You could still have the door open, but maybe put a photo or surprise behind it instead of the battery.
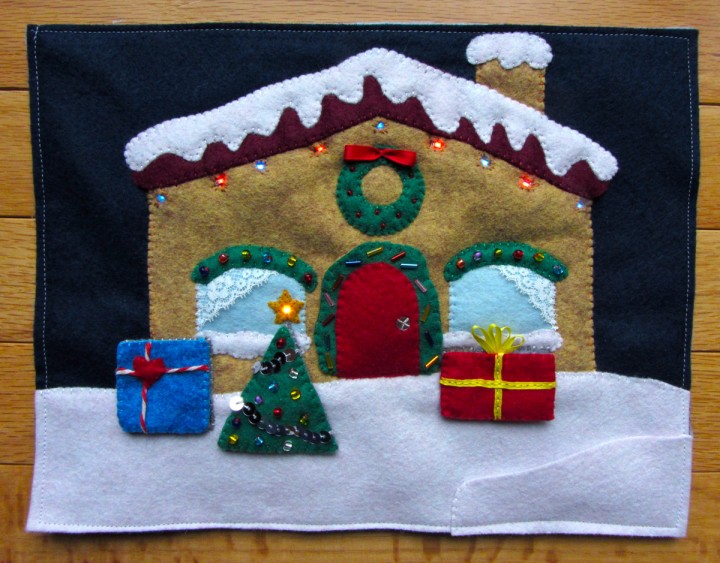
All of my e-textile supplies are courtesy of SparkFun. Their LilyPad line makes adding interactive circuitry to soft projects as easy as possible. They carry everything you need, from the conductive thread and fabric to snaps and needles. The lovely wool blend felt was provided by American Felt and Craft. I think the look and feel of wool felt is a match made in heaven for a Christmas themed page. The rich colors and soft, warm feel are just perfect!
What I Used:
This tutorial is going to be a little crazy! But, stay with me…
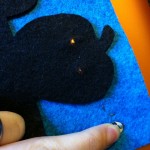
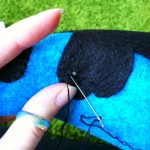
Red & Blue LEDs: Start by cutting some scrap felt into two strips that follow the roof line. On the first strip, stitch down the red LEDs: using conductive thread, make several stitches through the + hole of the first LED then use a running stitch across to the next. Make several stitches in that LED’s + hole and continue until you’ve linked all four positive (+) holes. Start a new conductive thread and repeat the process along the negative (-) holes. Don’t let the + and – threads touch. The strip holding the red LEDs will need to be layered behind the blue strip, so the running stitches need to be covered. I cut scrap felt and basted it down between the LEDs.


My strip of felt for the blue LEDs is thicker because the two circuits need to go over the red LEDs while still letting the blue LEDs line up. Stitch the positive (+) line of the blue LEDs the same way you did the red, but stitch along the edge to leave room for the negative line (see photos). Lay the blue over the red and cut out holes to let the red LEDs show through as shown. Then sew the blue LED’s negative line as shown.
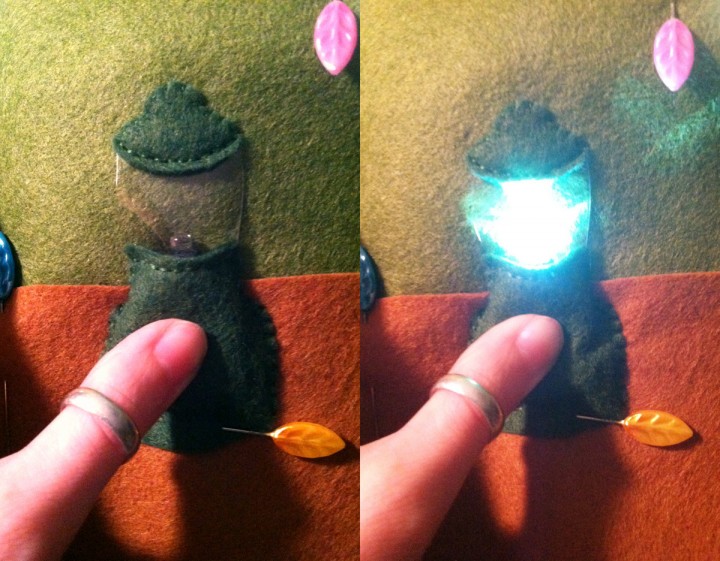
At this point I tested both circuits and set them aside. To test: put a battery in the battery holder and cut two scraps of conductive thread. Lay the ends of one scrap on the + hole of the battery holder and the + hole of the last LED. Lay the other thread on the – hole of the battery holder and the – of the last LED. They should light up.
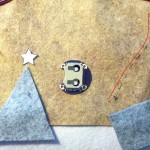

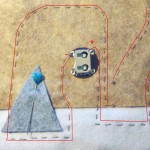
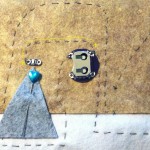
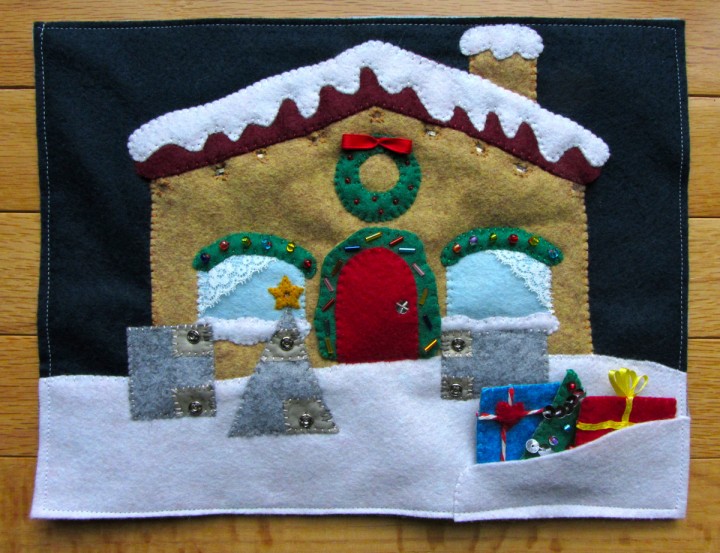
Main Circuitry: Pin the roof piece to one of the house shapes so you have an idea of where the LEDs will be. Cut a scrap of felt to go under the snow. Mine was about 8″ wide by 2″ high I suggest going 3″ high so you have more wiggle room. Cut out one set of the gray shapes and decide where they will be positioned on the house. Place the battery holder so the positive (+) holes are at the right.
Red: I started with the red circuit first. Sew a few stitches where the upper left corner of the rectangle will be. Do a running stitch up to just below where the far right red LED will go. Tie it off. (We will link it up to the LEDs later.) Start another thread by making several stitches in the upper right (+) hole of the battery holder. Go out and down (staying out of the way of the negative hole), then go right under where the rectangle will be. Go up and end near where you ended the first (negative) line. Now we stitch the other half of the negative line (broken by where the squares of conductive fabric will be.) Start a thread and make several stitches in the upper left negative (-) hole of the battery holder. Go out and down (staying out of the way of the negative hole), then stitch down and around the triangle as shown. You need to leave plenty of room over the triangle for the yellow LED circuit. End with several stitches under where the lower left corner of the rectangle will be.
You can test your red circuit by laying the red LED strip in place and running scraps of conductive thread from the – and + holes of the last one to the corresponding thread lines in the upper right corner of the house. Then place a scrap of conductive thread or fabric (I saved the selvage to use as test strips) to complete the gap where the rectangle will be. (See photo below of me testing the yellow.)
Yellow: Next is the yellow LED circuit. start a thread and make several stitches in the upper right (+) hole of the batter holder and go up and over (staying out of the way of the negative hole) to the triangle as shown. Position the LED just above the point of the triangle (with the positive hole on the left) and make sever stitches in the (+) hole.
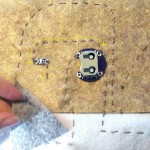


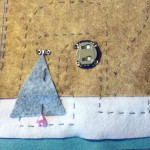
The negative line of for the yellow LED is a quick one. Make several stitches in the negative hole of the LED then a couple stitches down to under where the triangle tip will be. Start a new thread and stitch several times in the upper left negative hole of the battery holder. make a line of stitching going out and down (don’t touch the blue line!) and end it under where the lower right corner of the triangle will me. You can test this circuit by placing a scrap of conductive thread across the gap in the circuit.
Blue: To start the blue circuit, make several stitches under where the upper right corner of the square will be. Running stitch up to just below where the blue LEDs will be as shown.


To sew the other half of the blue LED’s negative line, make several stitches in the lower left negative hole of the batter holder, then stitch down and under the triangle, just below the red line you made earlier. My lines were close, which is why I suggest using a slightly longer scrap of felt down there. Make sure you leave room below the line you are stitching. There will be one more line down there. Continue your stitching up to where the lower right corner of the square will be and make several stitches.
Make the positive blue line by starting with several stitches in the lower right positive hole of the battery holder. Stitch down and over to the left (it will be the third line running under the triangle) as shown. Stitch over and up to the roof, ending beside the negative line. You can test your circuit the same way you tested the red earlier.
Conductive Shapes: Cut out a second house piece and use the door pattern piece to cut out a hole for access to the battery holder. Pin the roof piece on to it and sew it down (I was not sewing things down to a background at that point. The light blue was just a layer to insulate my laptop from the exposed circuits while I photographed steps.) I also sewed down the windows and window snow, as they are overlapped by the shapes. Cut out your star felt piece and cut a hole in it so the yellow LED can show through. I stitched around the hole for strength and also stitched it down around the narrow width of the LED so the hole doesn’t move. Stitch down the star.
Big Note: You don’t need the snaps I added to my puzzle! In fact, they almost make the conductive fabric unnecessary… But I was a little disappointed to find that (unlike the conductive thread) you needed some pressure when laying the two layers of conductive fabric together in order to power the LEDs. The finished puzzle pieces did not have enough weight to do this on their own once you let go. Since Jax is not old enough to understand he needs to press down on the pieces to get them to light, I went back and added snaps to hold the pieces down against the puzzle. I also used conductive thread when sewing them on to add conductivity.
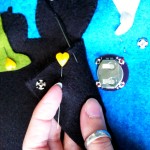
Cut scraps of conductive fabric and sew them to the triangle as shown. Cut out a piece of felt to be your snowy ground for the page (mine is “soap sud” – a blueish white) and lay it over the bottom of the house. Sew the triangle down. Using conductive thread, make several stitches through all layers to link the two “broken” ends of the yellow negative line to the two scraps of conductive fabric. Each scrap should be connected to its corresponding line of conductive stitching. Test the puzzle piece by pressing a scrap of conductive fabric across the triangle. (See photo below.)
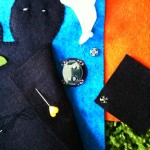
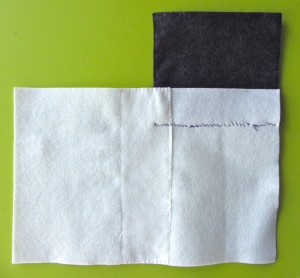
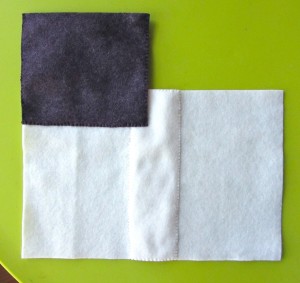
Do the same for the square and rectangle, adding scraps of conductive fabric (and snaps if preferred) as shown and sewing them down. Be sure to link the conductive fabric to the circuits with conductive thread. (See the last photo below. You can see my 3 dark stitches in the side of each square of conductive fabric.)


When designing this puzzle, I worked hard to find a balance between making the project easy to explain and having a design that was easy to product with minimal user errors (such as stitching circuits too close to each other and shorting it out.) In this third revision of the design, I knew this would be the most difficult part to explain. It really isn’t that bad, though! Stay with me…
Take your strip of blue LEDs and pin them in place between the house layers. The second photo above shows the top layer of the house pulled back. I hadn’t moved the roof piece up to the front house piece yet for that photo. Simply put, you need to connect your negative line from the house to the negative hole of the first LED and connect the positive line from the house to the positive hole of the same LED, WITHOUT touching! Touching the lines together will “short” the circuit and the LEDs will not light. To do this, I added an additional scrap of felt between the bottom house piece and the blue LED strip piece. I was able to directly link up the negative line from the house to the negative hole by just stitching up the house and then straight through the scrap of felt into the hole. For the positive line, I went up the house and then through to the scrap of felt, where I continued up and around the LED to get to the positive hole. I hope the sketches on my photos help explain!
You can new test and light up your blue LEDs with a strip of conductive thread. I kept mine pinned in place so the LEDs glowed while I cut tiny holes for them out of the front house piece. I stitched around the hole and stitched them down around the LEDs same as with the yellow star. You are done the blue! Phew!

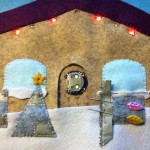
To attache the red LEDs, lay them so they line up with the holes you made in the blue strip, as shown in the first photo below. It was easy to connect the negative and positive lines from the house to the corresponding holes on the LED. Just follow the house lines and check the LED holes to make sure you are connecting the right ones. The positive line will go up beisde the LED to where the positive hole is at the top of the LED. Keep your stitches in the hole you cut out of the blue strip to avoid crossing and shorting circuits. Test it out with a strip of conductive fabric across the rectangle puzzle. You finished all the circuits! I knew you could do it!
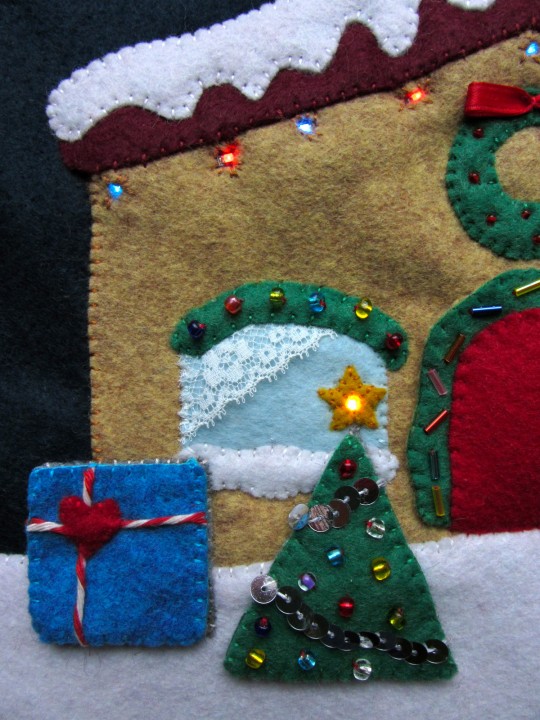
Decorating the House: At this point, after thoroughly testing all the circuits, I sewed the house and snowy ground down to the page. Before sewing the snow to the roof, I layered the chimney behind it. I also stitched down the opening of the door.
If you aren’t using LEDs, you can add a photo window or little surprise behind the door in place of the battery… Santa? A loved one? Whatever you’d like!
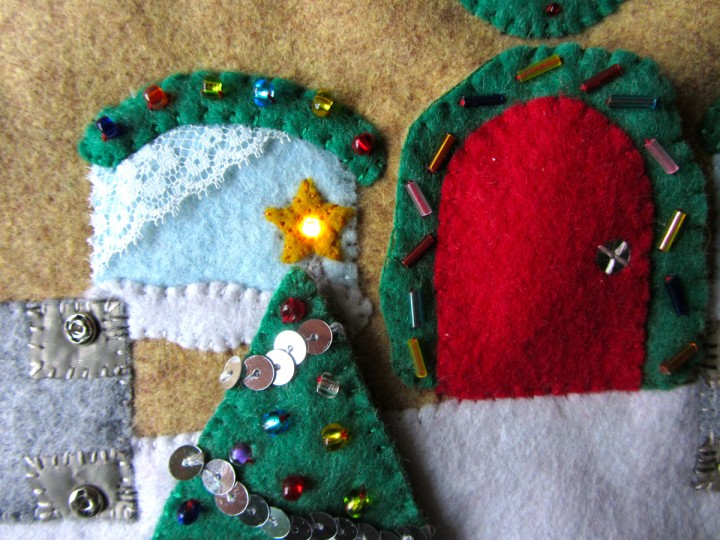
For the windows, I cut scraps of vintage lace as curtains, and stitched them down along the outside of the windows. Then I decorated the window garlands with beads and sewed the, down over top.
For the wreath, I decorated it with red seed beads before sewing it to the house. I folded a scrap of red ribbon into a bow shape and stitched it down at the top of the wreath.
If you are not doing LEDs, You can stitch beads or sequins down in place of the LEDs to be the string of lights.
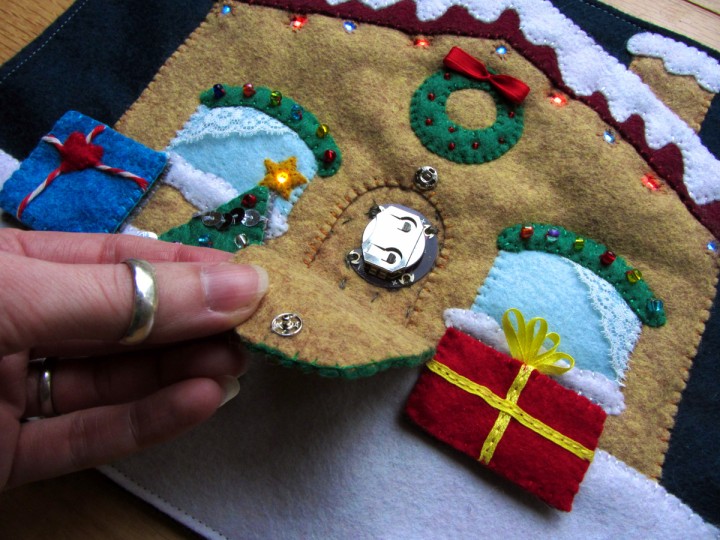
Making the Door: Sew a snap to the house just above the door hole. Sew the matching half of the snap to the back of the tan door garland backing piece. Sew the door to the garland piece and decorate the garland with beads. I also added a sequin doorknob. Sew the front and back pieces of the door flap together and sew it in place. I sewed mine along the bottom instead of the left as it is not there to function as a regular door and that felt more secure. If you are not using LEDs, a regular door would work well, and you might not even need a snap.
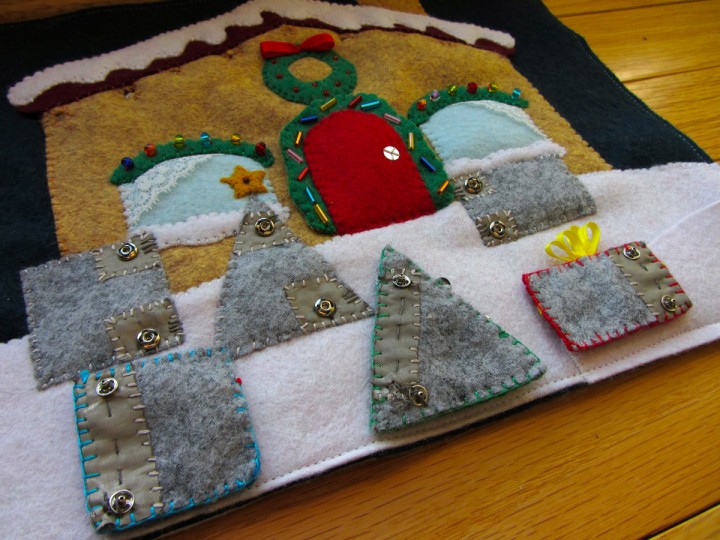
Puzzle Pieces: To start each puzzle piece, you need to make the gray backing that will complete the broken circuits when laid in the correct place. To do this, sew strips of conductive fabric onto the gray backings so that they line up with the conductive scraps on the page AND span the gap. I also added the optional snaps to hold the pieces against the page.
Decorate the fronts of the puzzle pieces however you like! On my tree, I used sequin trim to make a garland and beads as ornaments. On the square and rectangle, note that you will need to show which side is the top of the shape (so the conductive fabric lines up.) I added a bow to the top of my rectangle, and cut out a quick heart shape to Jax would realize which end was up on the square. Sew the fronts and backs together.
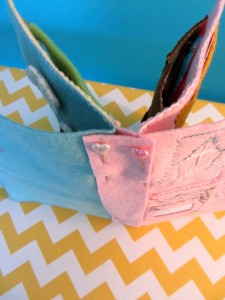
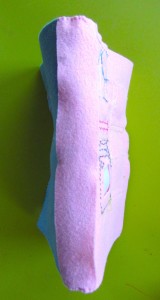
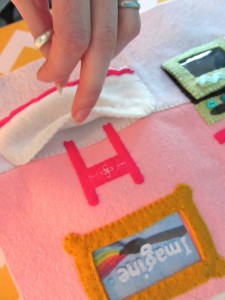
Before sewing your page to its backing, add a felt “snow drift” pocket to the corner to hold the shapes while not in use. You don’t want to store them on the puzzle unless you upgrade your battery holder to the one with a power switch.
All done! Not so bad, right? I admit, it was tricky at times. Electrical wiring is not something I learned while pursuing my fine art degree in college, But I am sure proud of myself for figuring it all out! Mad props to my programmer brother for patiently checking all my circuitry drawings for errors!
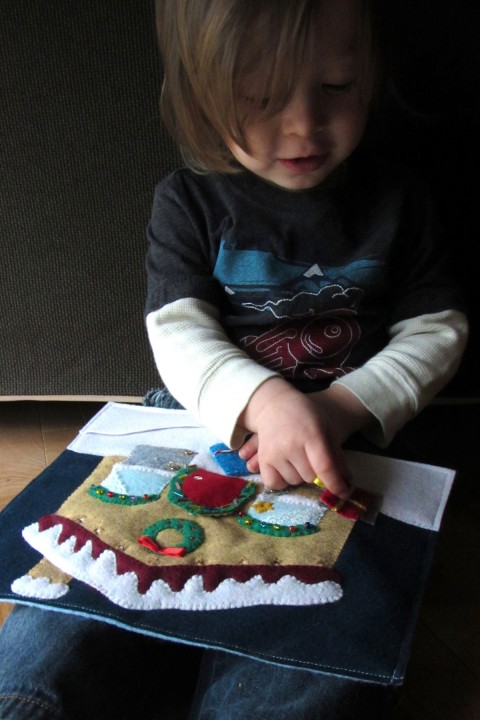
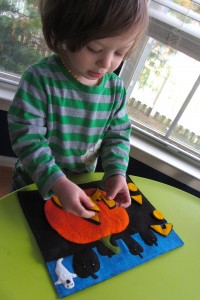
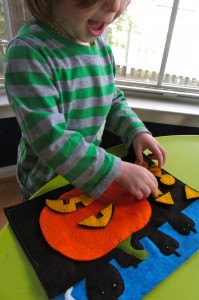
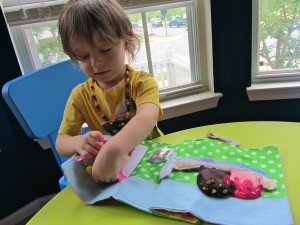
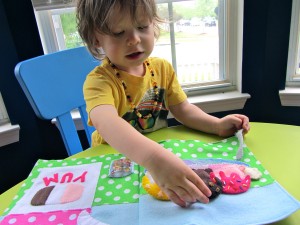
Jax knew exactly what this page was for before I even had all three of the puzzle pieces sewn. He kept asking if the shapes were all done so he could play with it. He can’t do little snaps yet, but this page will help him practice. I close the snaps for him after he solves each piece.
If you make this page, send me a photo! You can email it or post it on the Facebook page. I’d love to see both versions with and without LEDs. Happy sewing!
book
?

