Tag Archives: Recipe

DIY Holiday Tree Decorations – 3 Tutorials!

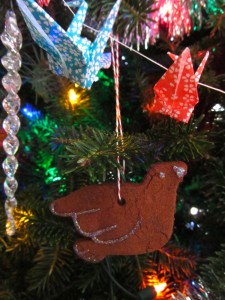
I feel like I’ve been waiting forever to get a Christmas tree, though it is only one week into December. Maybe because I started sewing felt ornaments in October? Last night we finally picked out a tree. An hour of living room tree surgery later, Jax and I hung our decorations.


For his first two Christmases, I only used unbreakable ornaments – mostly colorful balls and stars and plastic snowflakes. This year, we skipped the boring balls and mixed handmade ornaments with special family heirlooms. (Though I did keep the fragile glass and crystal ones in the box for another couple of year!)

I adore how the tree turned out! It is full of love and handmade touches. Jax told me it is his “favorite Christmas tree!” and that he loves it. Here are three little tutorials for some of what I created.

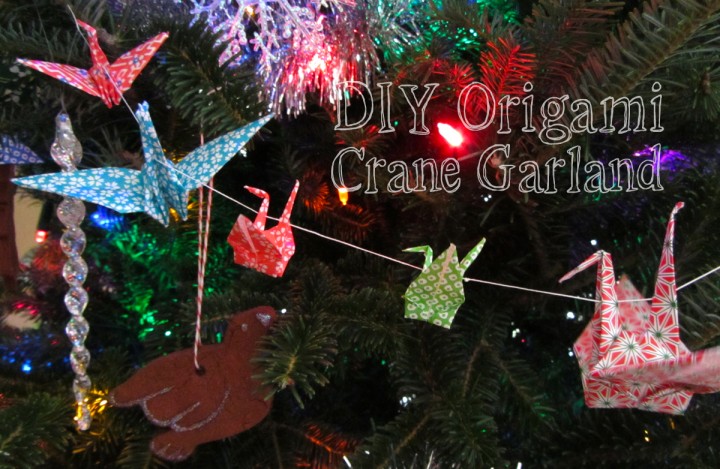
DIY Origami Crane Garland

Supplies:
Origami Paper
Beading Needle
Beading Cord

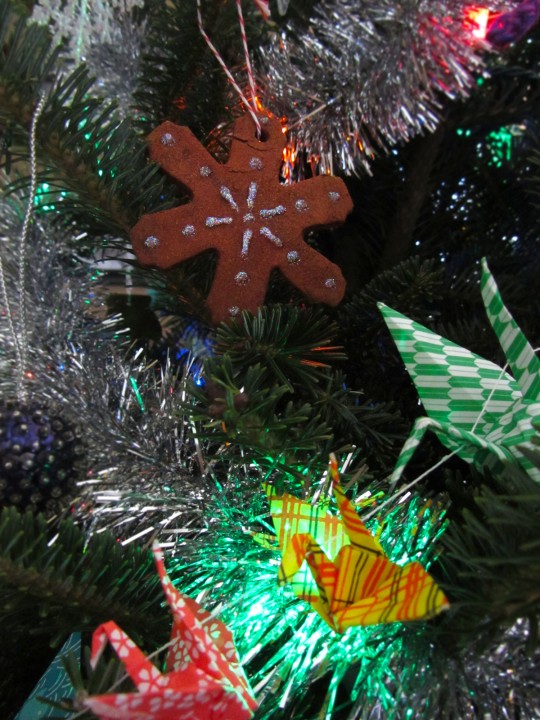
I originally made these origami crane garlands back in January for Jax’s sushi-themed birthday party. A friend had the great idea of reusing them on our Christmas tree. I’d been looking forward to pulling them back out all year!


Start by folding your cranes. I can do this in my sleep, as I used to make hundreds of teeny tiny cranes when I was little. I used three sizes of origami paper, the medium and large were purchase in the craft store, then I bought this 3″ paper for the tiny ones. Using strong thread (I used this) cut to your desired length and a needle, poke your need through the tail and neck of the first bird (for a horizontal garland) or up through the body (for a vertical garland). Tie a knot after each bird and repeat until your garland is the desired length. To make my knots, I made a slip knot, then ran my needle through the loop and pulled it tight.

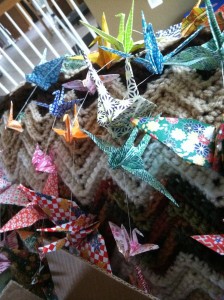
I made three 6 foot lengths of garland which made them much easier to manage. Those birdies love to tangle up when not in use!

Crochet Candy Cane Garland

Supplies:
Mosaic Yarn in Psychedelic
H Crochet Hook
Pattern
Tacky Glue
Wax Paper
Ironing Board
Pins (rust proof)
Old Paintbrush

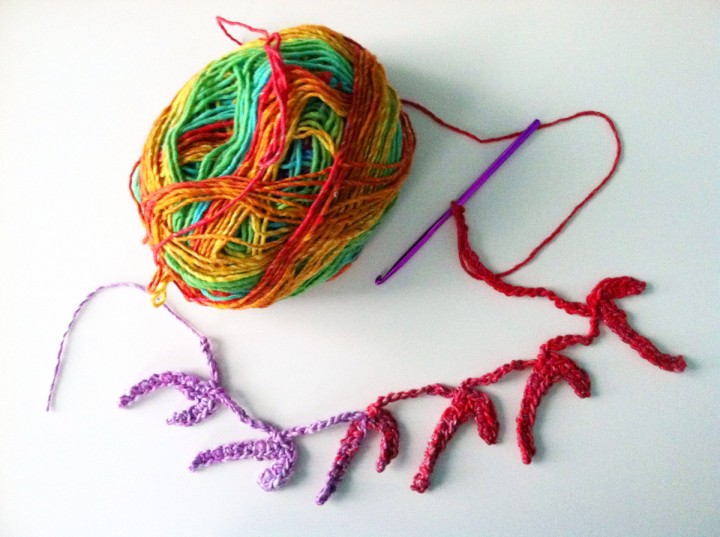
I hadn’t crocheted since having Jax, but after pulling out an old crochet hook to try to get a hairball out of the vacuum tube (I know, yuck!) I was itching to get back to it. I’d already had Jax pick out a ball of yarn to make pompoms ornaments with, but decided to do a garland instead. After washing the hook (hah!), I took a look online for easy garland patterns and fell in love with this candy cane one.

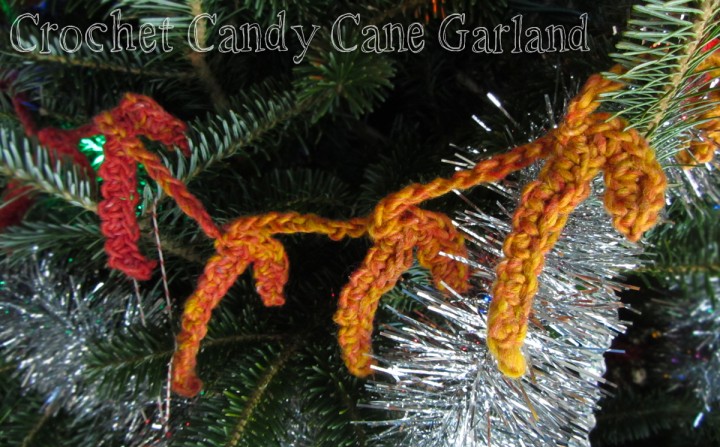
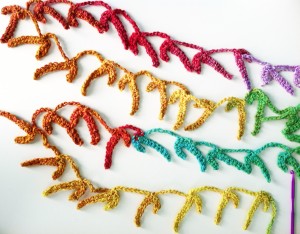
You could certainly got with yarn in more traditional Christmas colors, but Jax likes rainbows. Our yarn was Bernat Mosaic Yarn in Psychedelic. I followed the pattern, except that I did 18 chains where it asks for 14. I wanted an extra inch of space between the candy canes. After doing two repetitions I had the pattern memorized, and no longer bothered with the stitch marker. I used the full ball of yarn and the garland was the perfect length for our 6 ft tree.


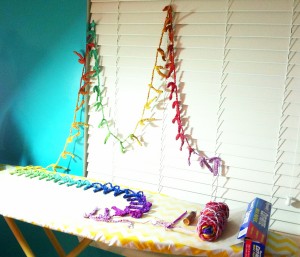
I worked on crocheting it for 3 evenings, and every night before bed I’d lay out wax paper on my ironing board and wet the completed candy canes with water. I pinned them down flat in their proper shape and then brushed on a 50/50 mixture of white tacky glue and water with an old paint brush. I left them to dry overnight. I liked doing this in batches, as they wouldn’t have all fit on my ironing board at once.

Painting the glue mixture onto one side of the candy canes gave them enough stiffness to hold their shape while still being soft to the touch on the other side. If you really want them sturdy, dunk the whole thing in the mixture.

DIY Cinnamon Ornaments

Supplies:
Cookie Cutters
Cinnamon Powder (4 cups)
Apple Sauce (4 cups)
Drinking Straw
White Glue (half bottle)
Parchment Paper
Baker’s Twine
Puffy Paint

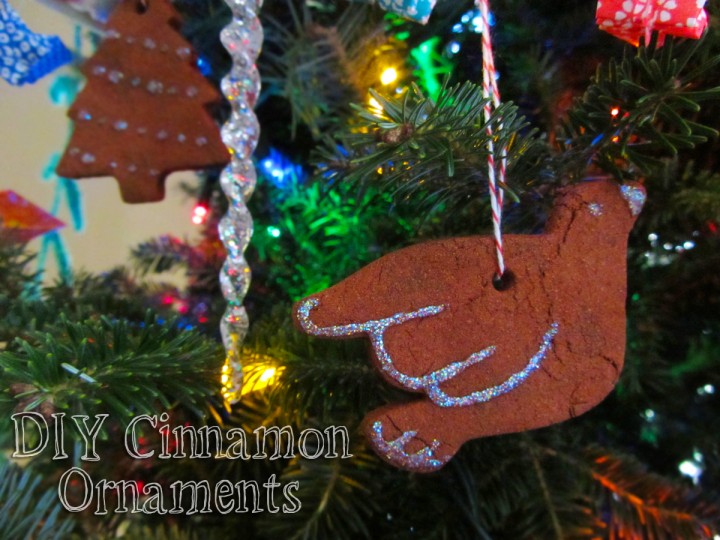
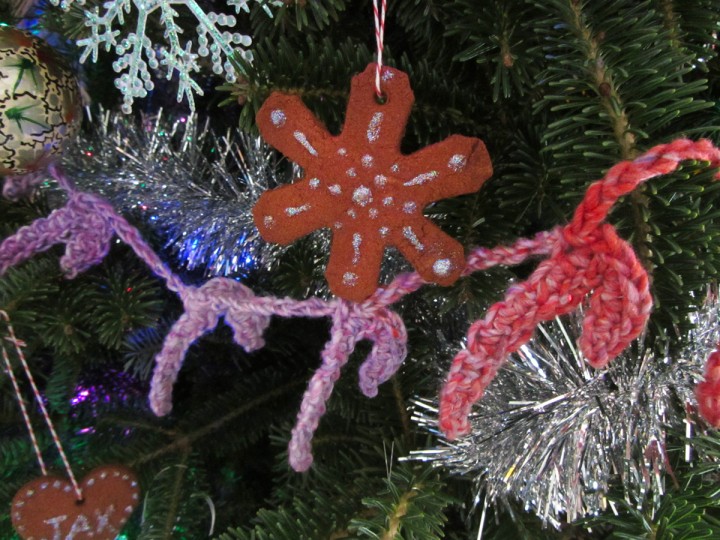
There are many tutorials and recipes for cinnamon ornaments online, but I just did my own thing. They turned out perfect and the house smells great! I ordered my cinnamon in bulk from Amazon. I have a full bag left. My cookie cutters are similar to the ones linked above, but it is a 30 piece set I found at the thrift store. My twine and parchment were ordered from Zulily (some good deals there, but they deliver via donkey – i.e. SO SLOW!)

Pre-heat your oven to 200° F. Mix together the cinnamon and applesauce in a big bowl. Stir in white glue until the dough is a good cookie dough consistency. I used half a 7-ish oz bottle.


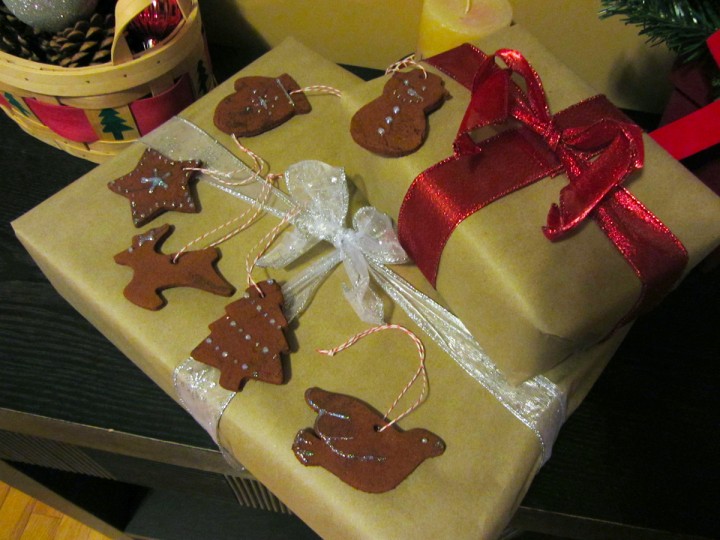
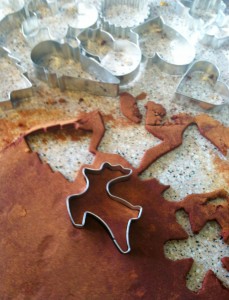
Sprinkle cinnamon on your work surface and roll out batches of dough, using cookie cutters to cut out fun shapes. I did an assortment of holiday shapes, then a bunch of dog bones for my friend who is a pet sitter. Using a drinking straw, punch holes for hanging. (The dough goes up into the straw and you end up with a perfect hole. Place your shapes onto parchment lined cookie sheets. I was able to stuff my oven with two large cookie sheets and two mini ones (meant for our toaster oven). If you have more than two racks in your oven, you could do more than that at once.

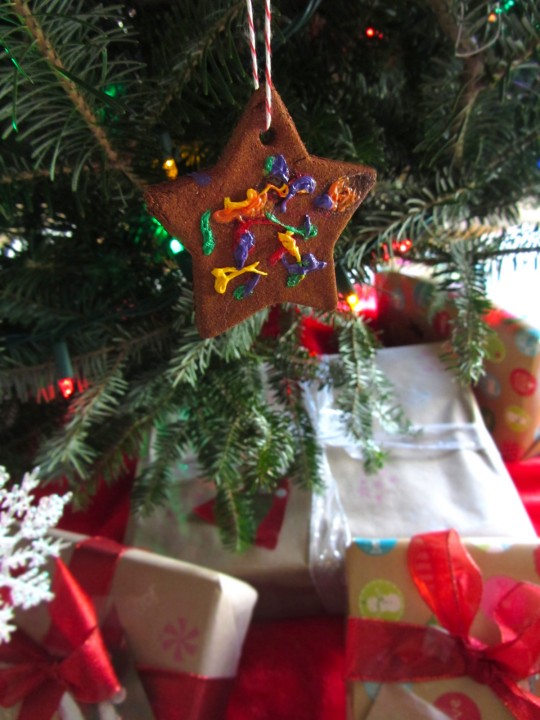
Jax’s Star

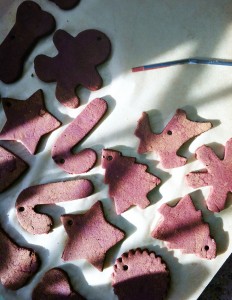
Place the ornaments in the oven and enjoy the smell over the next 3 hours. Flip the ornaments after 1.5 hours so they dry out on both sides. Pull them out and allow them to cool before decorating. I decorated mine with a glittery puffy paint (meant for fabric). We also tested a white puffy paint, but felt it looked too harsh. A mixture of the two was nice, but two much work going over things twice. You could also use actual royal icing, but the ornaments may end up more delicate. Jax enjoyed squeezing out multicolored paints onto his ornaments. When I was decorating, I ended up liking best the ornaments I painted simplistically with delicate lines.

We let our paint dry for a couple hours while we ate dinner, then tied loops of bakers twine for hanging. If you use ribbon, you might need larger holes. The holes shrink a bit as the ornaments bake.

Have you made any of the ornaments featured on Imagine Our Life? Post a photo of your tree to our Facebook page! Jax would love to see it!

Preschool Fun – Letter A for Apple

This post has been updated to feature our whole week of activities.

This week I started homeschooling Jax. He will be 3 in February, so we are starting with very basic preschool lessons. He knows his alphabet, can count to 20 (and sometimes 35) and knows colors and shapes. I want to focus a lot on pre-writing skills, crafts for dexterity, music, science and tasks that increase attention span.

After asking on the Facebook page, I decided I’d share what we do here. I only expect to post once a week about his lessons. I have to work in the afternoons, and some mornings are taken up running errands (that pesky grocery shopping!) But I’ll try to stay on top of it and share where I get my resources.

This week we are focusing on the letter A is for apples.

We started our school week with A-shaped apple pancakes. To make them, I used a pancake mix that only needs water. I replaced half the water with unsweetened applesauce and added cinnamon, ginger and all spice. I used a spoon to drip the batter into the shapes. Then I peeled and chopped an apple and put it in a bowl with a tablespoon of brown sugar and some cinnamon. I stirred it up and microwaved it 2 minutes for yummy cinnamon apple topping.

Monday

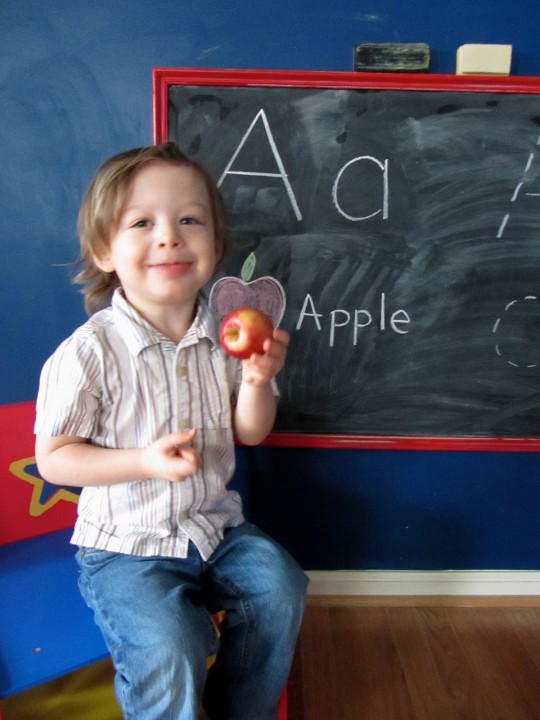
We started at the chalkboard to take a weekly photo for our alphabet book. Jax held up a mini apple (and couldn’t resist sneaking a bite.) After the photo, I helped him trace a large uppercase and lowercase A on the chalkboard in pink, then had him do it himself in blue. He did great!

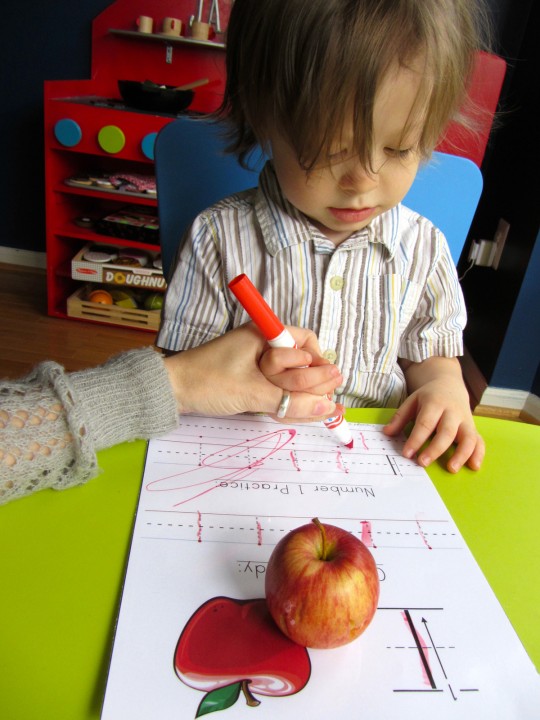
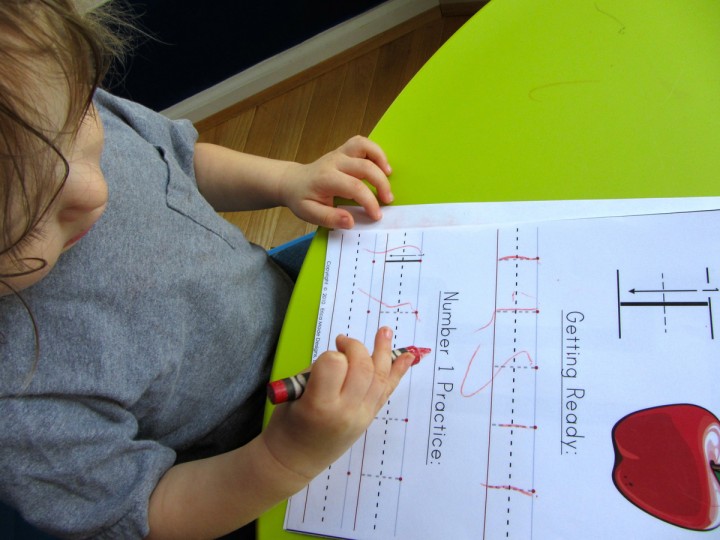
We moved to the table and worked on tracing the number 1 with dry erase markers. (I got our number tracing sheets here and laminated them.) Jax has been excited about his new dry erase markers since we got them Sunday night. I had to guide him in tracing all the 1s. He just wanted to scribble.

We moved on to craft time.

Color Sorting Apple Trees
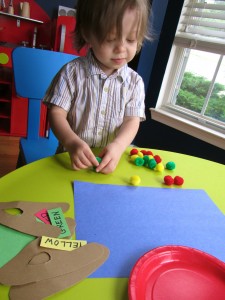
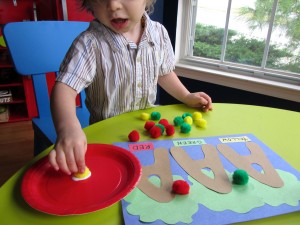
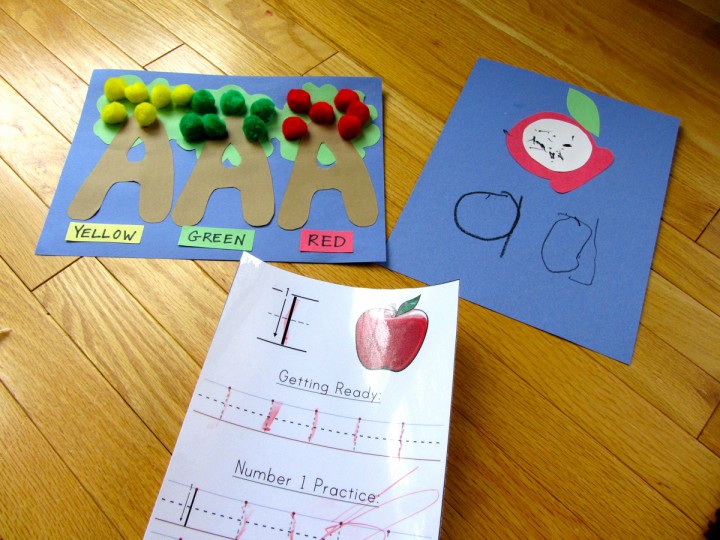
The first craft is a color sorting with an A is for Apples theme. Start with a blue background paper. Cut out 3 brown As to use as tree trunks. Cut out three green treetops. Make the labels, one for each color: red, yellow and green. You’ll need about 6 pom poms of each color, a glue stick and a plate with some glue to dip in. I glued down the treetops and A trunks with Jax’s guidance, then added a color label to each tree. I had Jax pick a pom pom, dunk it in the glue and stick it on the right tree. He really loved it!


a is for apple
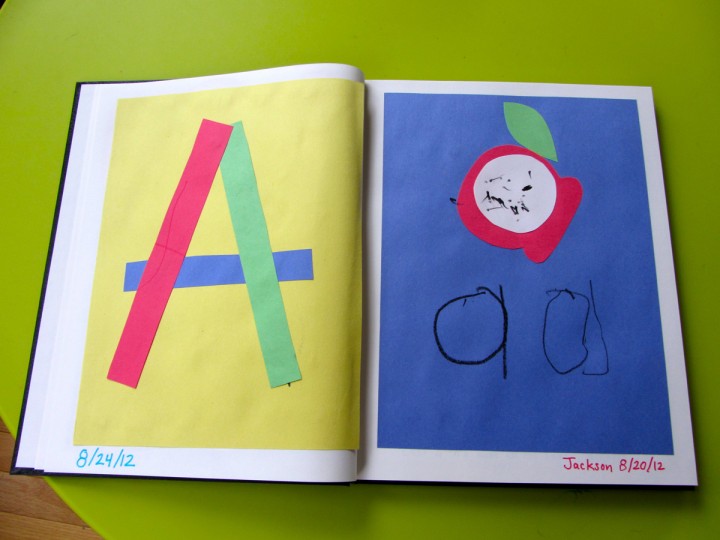
I wanted to do a lowercase A as well, so I pre-cut a red lowercase A, a white circle for the apple flesh and a green leaf. I guided Jax in putting glue on the backs of the shapes, then he put them on the paper (following my instructions.) I showed him how to make an apple seed, then he made the rest. (You could glue real seeds down with an older child.) We drew one lowercase A together, then I had him do one. (I told him to make a circle, then add a line. He did better than I thought he would!)

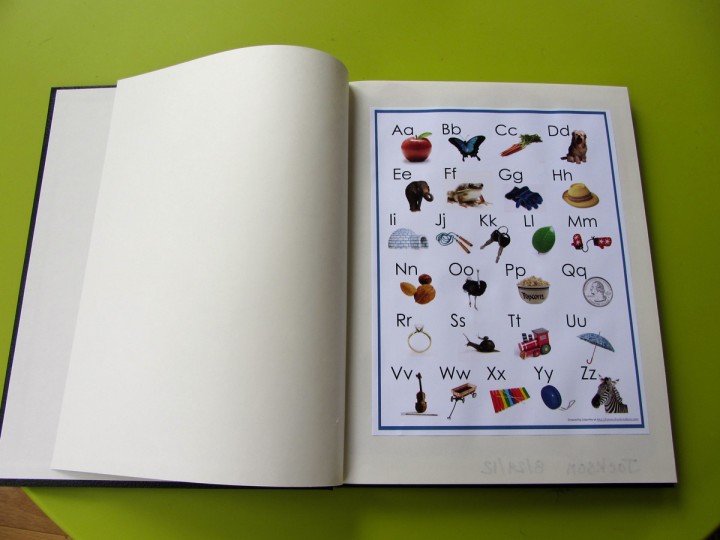
I will be putting all of his creations (except for lumpy things like the pom poms) into a hard bound sketch book (14″ x 11″) with an alphabet theme. I’ll show what we have at the end of the week.

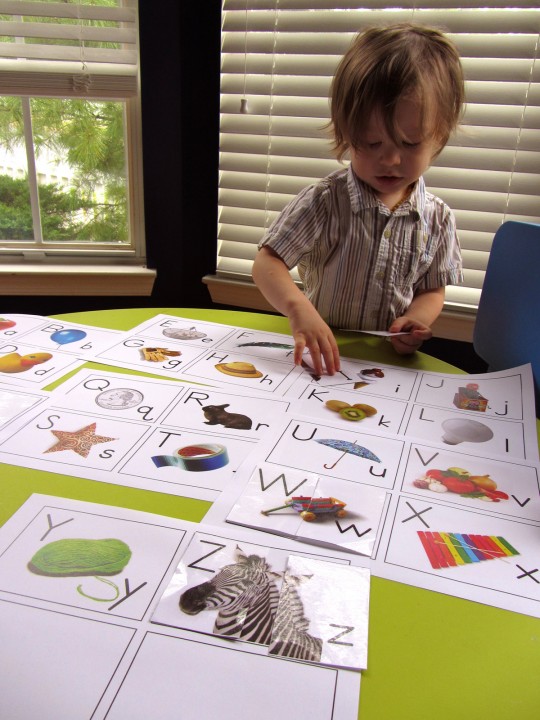
We moved on to an alphabet matching game I printed out. I had a set one upper and lowercase letter cards that were cut in half, plus a set I didn’t cut out at all. I had him take each half card and put it where it belonged on the uncut sheets. He was very proud when he finished, but I had to work to keep him focused. I got the printables here.

We did story time next. I choose Pepo and Lolo and the Red Apple (Jax loves it because we act it out), How Do Dinosaurs Go to School? and Planes. Jax chose a couple other books as well.

I offered Jax the chose of music time or math, and he chose math. We used our abacus to do some simple addition. He doesn’t get it yet, but we are getting closer.

Resources:
Number Tracing Pack – Confessions of a Homeschooler
Alphabet Flash Cards – Homeschool Creations

Tuesday

Tuesday Jax woke up with a cold, so it was tough having him stay focused. We kept our activities short and I followed his lead as to what he was interested in doing that day.

He requested the “ABC cards” game (Alphabet Flash Cards) we did Monday, so we played that again. When he had them all matched up, I added a twist for cleaning them up. I asked him to find different groups of items, such as “things you can eat”, “toys”, “animals” or “things that are blue”. I’m really happy we had these printed these out. I think we’ll get a lot of use out of them.

We did the same number tracing page that we did on Monday. I stuck a laminating sheet to the front of it so we could reuse it. Jax has trouble making the 1’s because I think he finds them boring. It is much more fun to scribble wildly and make big swooshes.

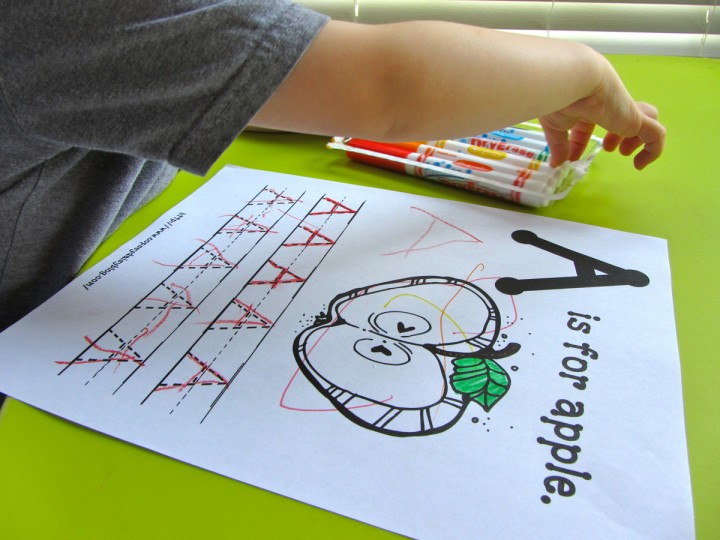
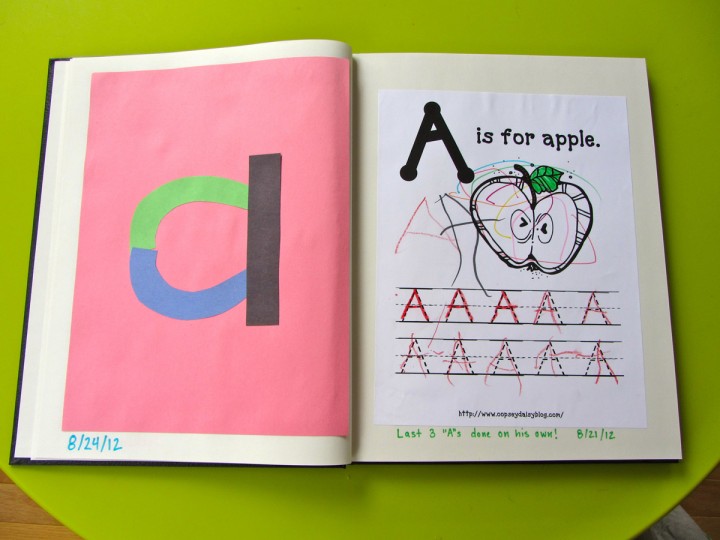
We did a worksheet for tracing uppercase As to put in Jax’s alphabet book. We counted the steps to remember how to write it: one, two, three! The worksheet was from Oopsey Daisy. Jax did really well and did the last three As on his own, with me just setting his hand at the starting point for each A.

We did some dancing to music after that, with me having him follow my movements the best he could. I’m going to try to do music and movement once a week at least. Since we wasn’t feeling well, we ended on storytime. We read Dr. Seuss’s ABC and My Nursery Rhymes Collection.

<

Resources:
Number Tracing Pack – Confessions of a Homeschooler
Alphabet Flash Cards – Homeschool Creations
A is for Apple – Oopsey Daisy

Wednesday

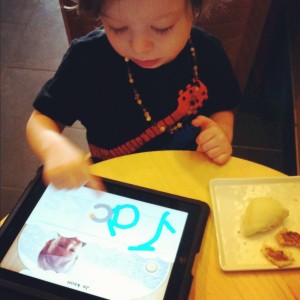
We had errands to run, so we did school in Starbucks on the iPad. We made a picture book with sounds with My Story – Book Maker for Kids. We practiced writing with Write My Name. I really love that app. We stopped by the playground to play with other kids, but Jax managed to hit his head hard, cutting our playtime short.


Thursday

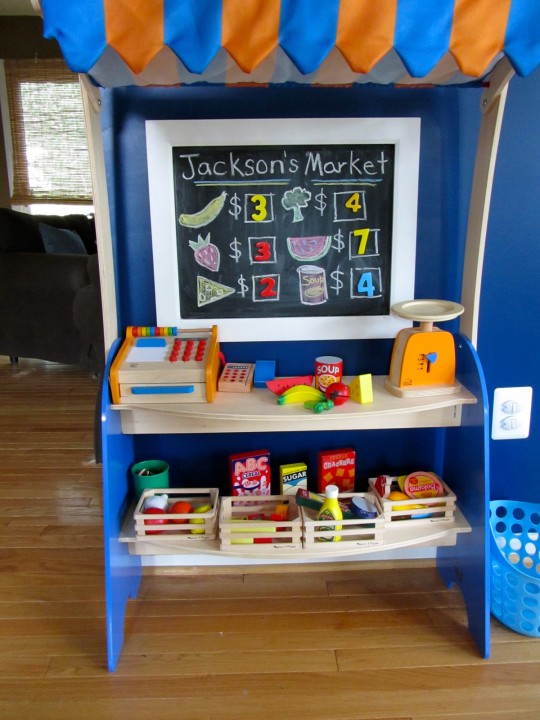
Jax was interested in playing with his new supermarket set. I recently bought this for him from MYHABIT, and I love it! (You have to sign up to see the sales they have there, but it is free.) It is a great toy! It doesn’t come with food, but you get a cash register with money, a scanner and a card swiper, plus a produce scale. Mine arrived with a crack in the card swiper, but they sent me a whole new cash register set to replace it. The set isn’t on MYHABIT any longer, but Amazon has a decent price. Zulily has a different one that I like a lot, too.

I already had a magnetic chalkboard up on the wall and wooden number magnets, so I drew some of the food items we had and Jax and I did number recognition games for each one.


I wasn’t feeling well Thursday, so we repeated a lot of the activities we had done that week, including rereading the same books. He enjoys the repetition so he can start saying the words along with me.

Friday

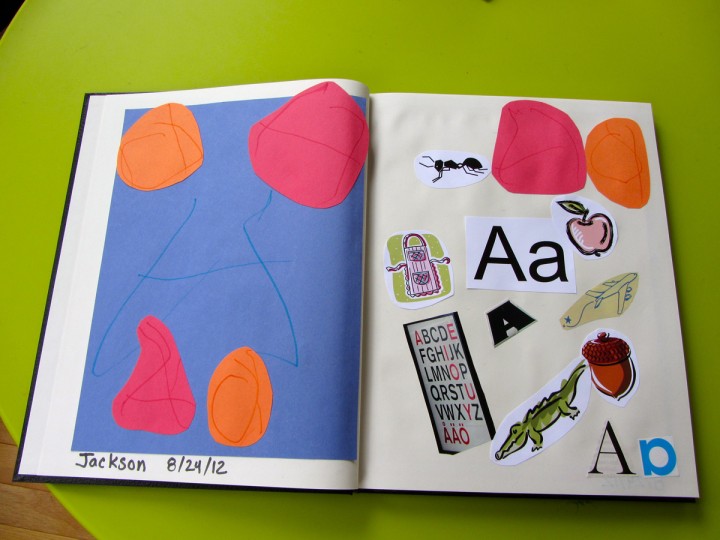
First page in Jax’s alphabet book.

We focused on alphabet crafts for Jax’s alphabet book on Friday. I have been cutting out letters and pictures from old magazines and ads, so we glued them down to a page with the letter A on it.

We did a lot of practice writing upper and lowercase As, first on the chalkboard, then on colored paper. We said “one, two, three” to make the big As, and “circle and a line!” for the lowercase As. He did very well and was excited by my cheering him on and high-fives. I cut some out to glue down around a large A he wrote.

We did some quick letter puzzle crafts with construction paper. I drew the letters with dotted lines and cut out paper strips to match. Jax put the puzzles together, then we glued them down.

Resources:
Alphabet Cut & Paste Sheets – Homeschool Creations
Alphabet Beginning Sounds Poster – Homeschool Creations

Marshmallow Bird Nests

When I saw these bird nests on one of my favorite blogs, Enjoying the Small Things, I knew they’d be a perfect activity for Jax and I. She didn’t go into details, but they are very simple to make. I highly recommend reading her blog. Her photos and words are both so beautiful and I’ve been enjoying watching her little girls grow up for some time.

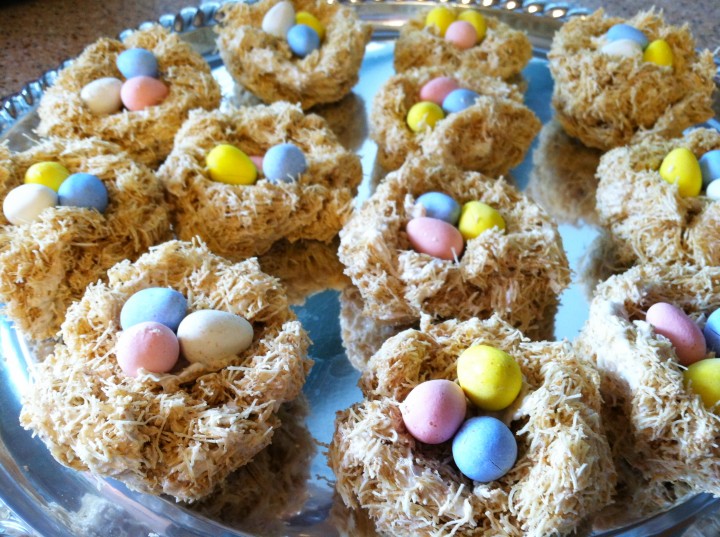
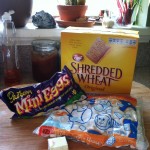
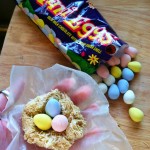
To make the marshmallow treat bird nests you need: a bag of marshmallows, a box of shredded wheat, candy covered chocolate eggs and 2 tbsp of butter. Think rice crispy treats, but with shredded wheat.

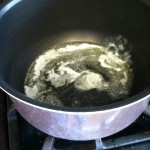
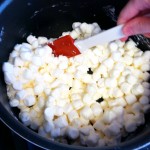
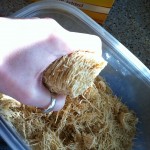
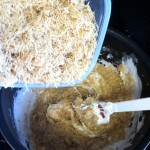
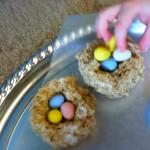
Start by melting the butter on low heat. I used a stock pot so I’d have room to mix in the cereal later. When the butter is melted, add the marshmallows and stir until they are melted and smooth. While stirring, I used my other hand to crumble the shredded wheat biscuits. You could do this beforehand. Remove it from the heat when your marshmallows are melted. I set aside about 2 tbsp of melted marshmallow to act as glue for my candy eggs. Stir the crumbled cereal into the melted marshmallows bit by bit.

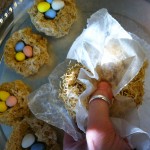
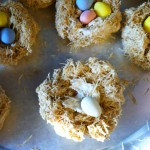
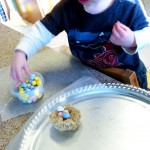
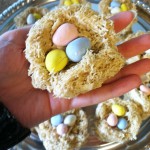
At this point, I called my little helper in from outside. (He had been helping his daddy lay down mulch.) after a hand washing, I put him on egg duty. Jax is very enamoured with baby birds, eggs and nests at the moment. He was thrilled to see a bowl of tiny eggs and watch as I formed a nest. Using a square of waxed paper, I formed a small ball of the marshmallow treat. I then placed another square on top and pushed down to make the hollow of the nest. I added a dollop of the marshmallow I had set aside and Jax placed eggs on top. My little nests held 3 eggs and I made 12 nests.

Jax didn’t realize the eggs were edible until the last nest. He held one up to his mouth and licked it. His eyes got wide and he said, “Oh, delicious!” I gave him permission to eat it and he said “Delicous, chocolate…” while he crunched away.

The nests came out so cute and were very easy!

Jackson’s 2nd Birthday – Sushi Party

Ask my son what he wants for dinner and his answer will most likely be “sushi!” Of course, he doesn’t really eat actual sushi, but we go to our favorite sushi spot and sit at the bar. They bring him bowls of miso soup with rice and heaps of tofu and little plates of crab sticks. He adores it! So when I was brainstorming his birthday party theme, sushi crossed my mind and I knew it would be perfect.
Decorations
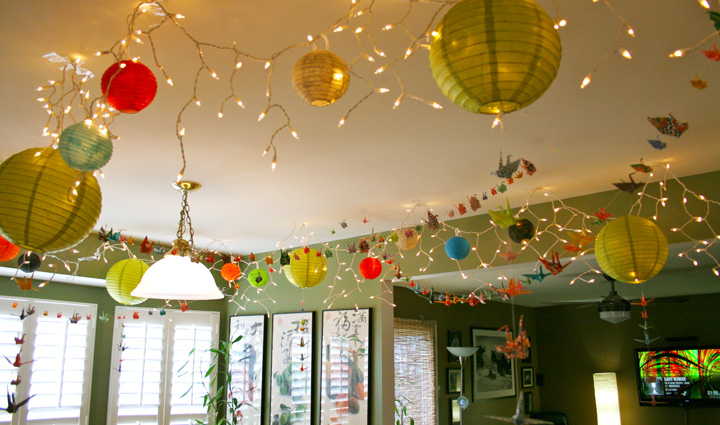
My decorations were a combination of items I owned, items from the thrift and dollar stores and items I purchased from a party supply. I decided to focus on only one room – the kitchen.

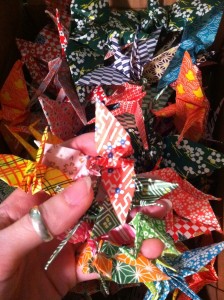
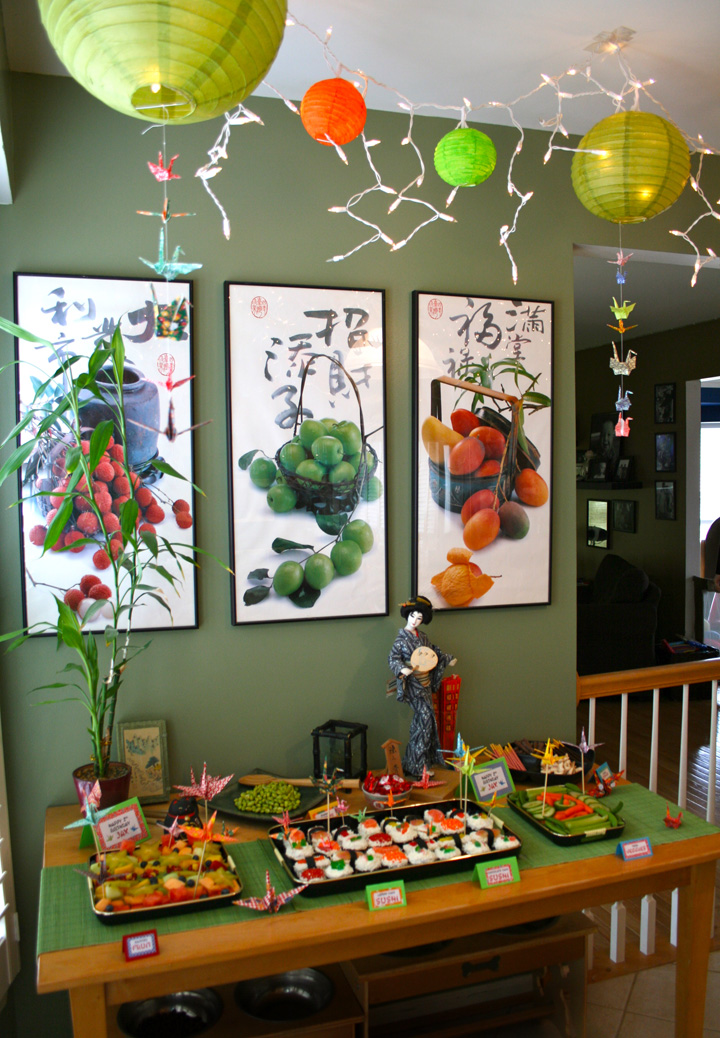
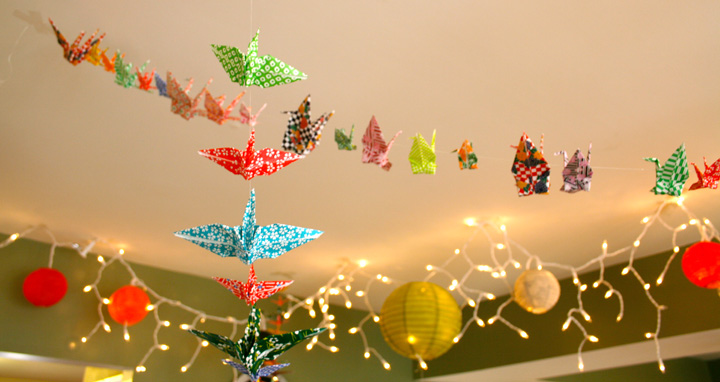
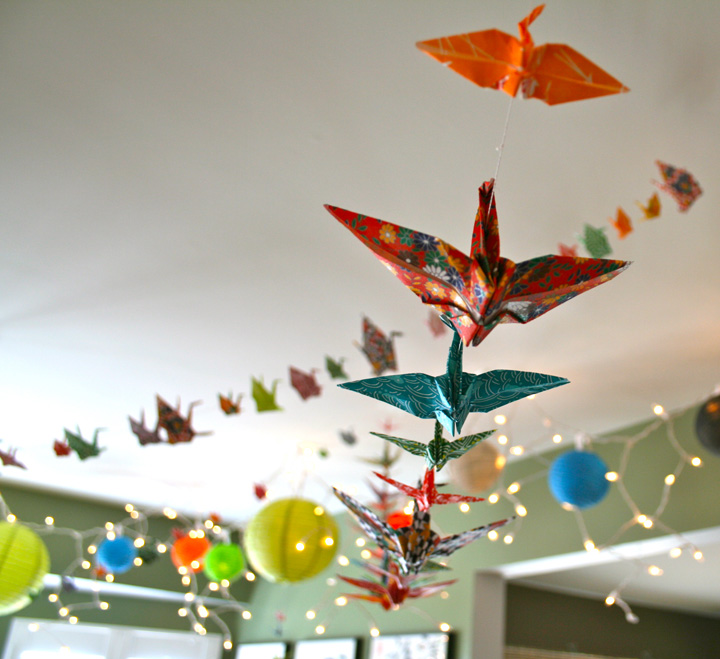
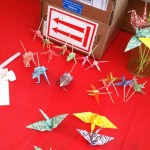
For the ceiling, I purchased a set of green paper lanterns and 2 sets of small, white paintable lanterns. I painted them a variety of colors using craft paints I already owned. I hung our old icicle lights on the kitchen ceiling and then added the lanterns. I had envisioned the lanterns as well as lots of paper cranes. Using three sizes of origami paper in beautiful traditional patterns, I folded about 250 – 300 cranes over the month of January.

Crane Mini Tutorial: Fold your cranes. I can do this in my sleep, as I used to make hundreds of teeny tiny cranes when I was little. Using strong thread (I used this) cut to your desired length and a needle, poke your need through the tail and neck of the first bird (for a horizontal garland) or up through the body (for a vertical garland). Tie a knot after each bird and repeat until your garland is the desired length. To make my knots, I made a slip knot, then ran my needle through the loop and pulled it tight.

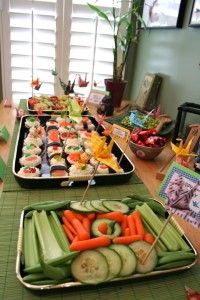
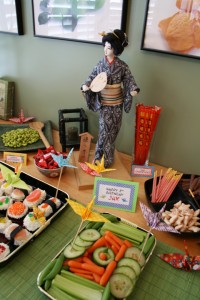
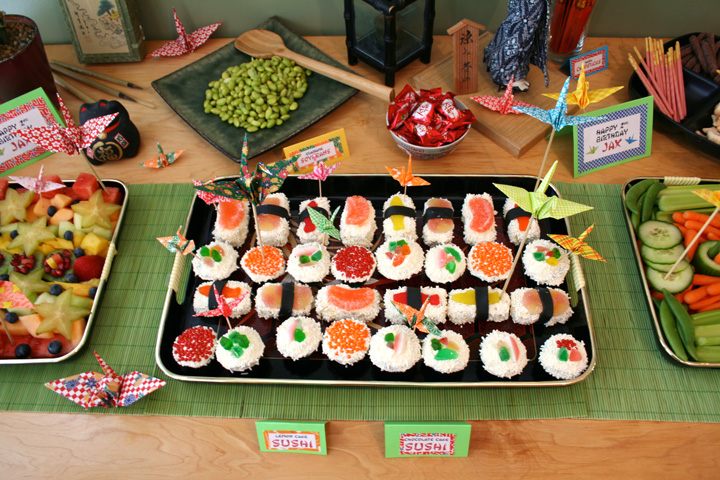
The food table is our kitchen table push up against a wall. The Asian prints were already there. They are from a calendar a Chinese restaurant gave us years ago. From around the house I added: one of my many bamboo plants, my beloved Geisha doll that my grandpa gave me when I was little, a maneki neko and a black bamboo candle holder. I also used our new bamboo placemats as a table runner. From the thrift store, I was able to add a set of Japanese food trays that held cupcakes, fruit and veggies. I also found a pretty sumi-e ink set that I displayed with some brushes and a green square platter for serving edamame. I added handmade labels to all the dishes with both the English and Japanese names (or at least what the internet told me the Japanese names were!) I glued some toothpicks and skewers onto some cranes to embellish the food.


Food
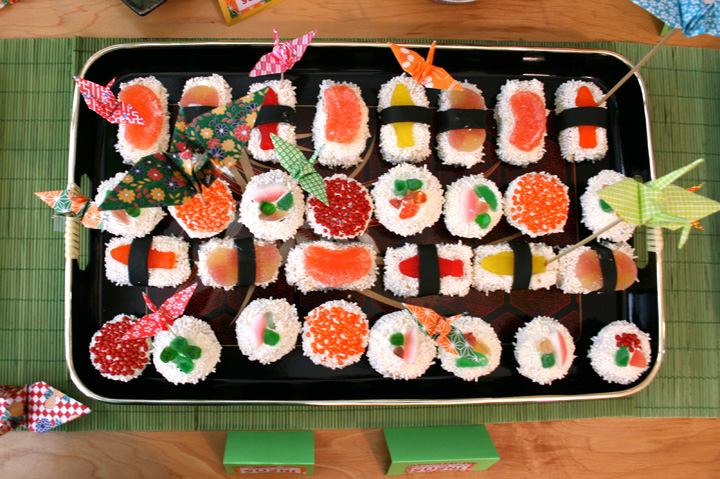
The main attraction was the sushi cupcakes. I am so happy at how they came out! And they were so simple. I made a ton of them – two full cakes worth – and provided cupcake boxes so guests could bring home 3 or 4 mini cupcakes.

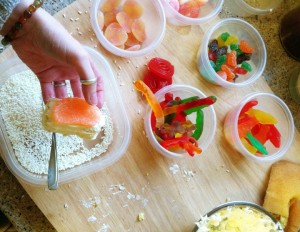
Sushi Cupcake Mini Tutorial: You’ll need cake, white frosting, lots of white jimmies/sprinkles, red and orange pearl sprinkles (I purchased all my sprinkles from the Etsy shop Sweet Estelle’s Baking Supply), assorted gummy candies (I used large Swedish fish, candy orange slices, gumdrop peaches, strawberries and cream gumdrops, gummy worms and gumdrops), green or black mini cupcake papers, black fondant (I dyed some green I already had black), and one of these great cutters. For my round maki sushi, I made dark chocolate cake in green mini cupcake papers. This made the papers look really dark green. I frosted them with cream cheese frosting, stuck on some sliced candies or pearl sprinkles, then covered the rest of the frosting with white jimmies.

For my nigiri style cupcakes, I baked lemon cake in two 1/4 sheet pans and chilled them for a few hours. I used the cutter to make perfectly even rectangles. I rolled out the black fondant and cut it into strips. I frosted everything but the bottom of the cake (I used more cream cheese frosting but with lemon extract added), laid candies on top (for the orange slices, I rolled them flat with a rolling pin), then wrapped a strip of fondant seaweed around some of them. I covered the exposed frosting with lots of sprinkles. I chilled all the cupcakes overnight to help the frosting firm up a bit. They were great, and I had none left after the party.

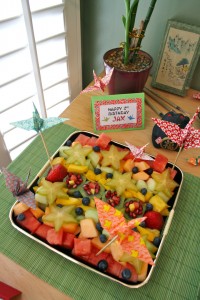
Jax loves fruit, so despite him being a winter baby, I treated him to all his favorite off-season fruits. The party had been underway 30 seconds when he was already stealing watermelon off the fruit tray! For the tray, I laid out rows of watermelon, honeydew, cantaloupe and mango, with star fruit and blueberries on top. The center was a row of kiwi “sushi”. I hollowed out some thick kiwi slices and stuck some sticks of watermelon and cantaloupe in the hole. A sprinkle of pomegranate seeds on top finished them. With my extra fruit, I mixed a big bowl of salad for the counter with: watermelon, kiwi, honeydew, strawberries, blueberries, grapes and pomegranate seeds. Just about all of the fruit was eaten. I also had a veggie tray with carrots, celery, sugar snap peas and a cucumber “sushi” made like the kiwi ones but with veggies.

Other food: I had a tray of Asian cookies from our local international market that were a big hit. On the origami table, there was a tray of savory snacks including rice crackers, siracha and wasabi peas and a Japanese snack mix. The wasabi peas were the only thing at the party not really eaten. I served shelled edamame that was a big hit with all the toddlers at the party.

Drinks: On the counter I had a tea station with green, black and oolong teas. There was also lemonade, a pitcher of ice water and cold juice boxes.

Treat Bags:
The treat bags went along with the theme. At Target’s Dollar Spot, I bought stuffed toy sushi and sushi erasers. I also added a set of pretty painted chopsticks, origami paper & instructions, a party horn with tinsel and an assortment of Asian cookies such as Pocky. I packed them in inexpensive clear bags and tied them with colored string. The tags were paper circles I wrote Thank You in Japanese on one side and English on the other. I added a mini paper crane to each bag.

Activities:
Jax is too young to really do any formal games and crafts at his parties just yet, so I set up an origami table with lots of paper, books and instructions. Both the older kids and the adults enjoyed the challenge of figuring out the origami designs.

We had the Washington Capitals game on, as we are big fans (they lost, boo…) but the playroom was the other big attraction. Jax adored playing both with the kids his age and the older ones. He also spent some quality time playing with his relatives. Some big hits in the playroom were: Jax’s barn, his little kitchen and the tool bench he got for Christmas always had a crowd.

Candles… Take 1!

Highlights:
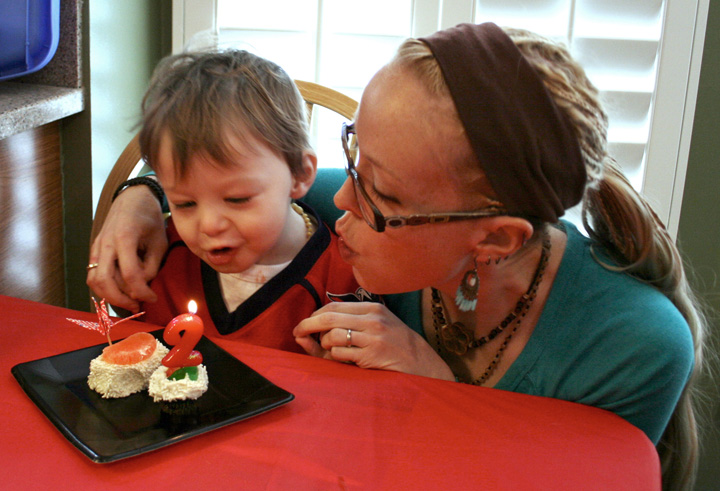
My favorite moments? Jax’s face when we started singing him “Happy Birthday”. The fact that he loved blowing out the candles so much he asked to do it again later on. And I obliged! Seeing him leaning sweetly on an older boy, hanging on his every word. Spending time with friends I see too little of.

Candles… Take 2!

It was a great party! I can’t believe my sweet little baby is 2!

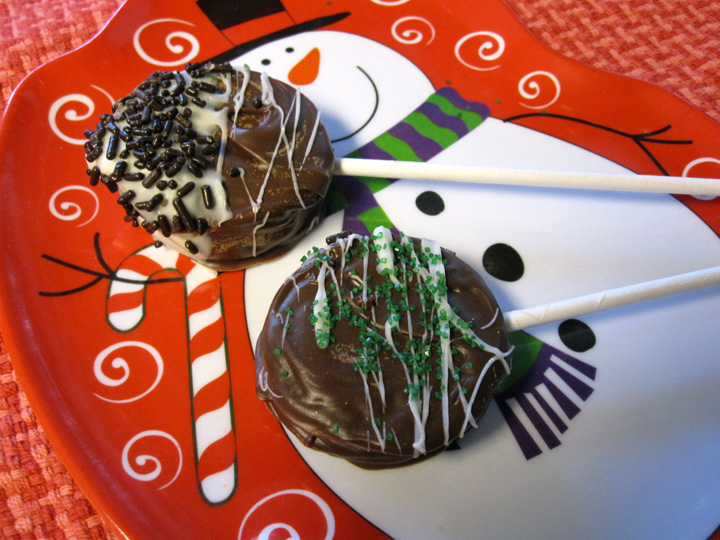
Easy Oreo Pops

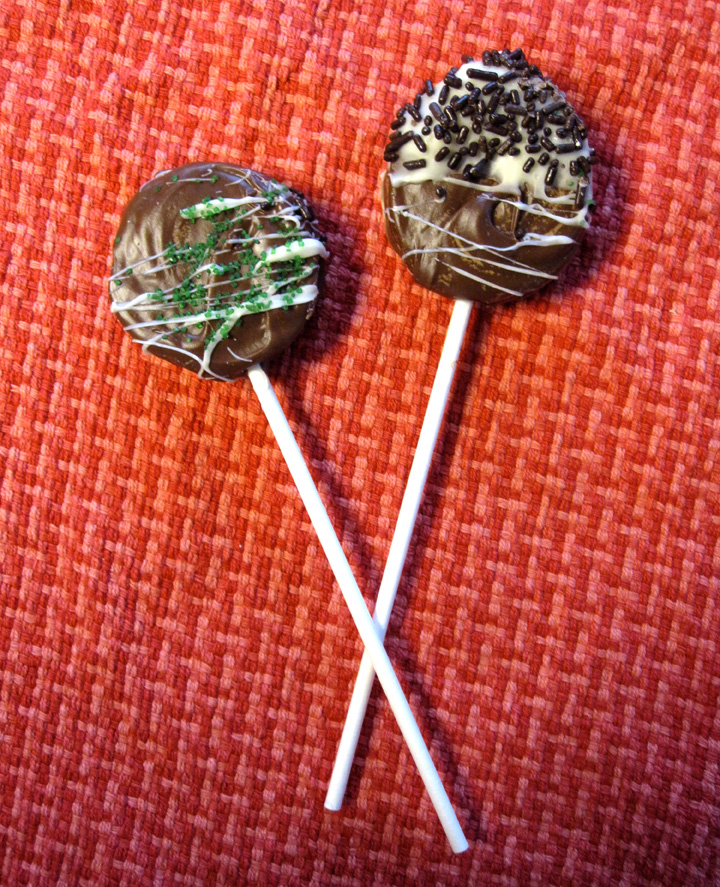
These are so good and so easy! I wanted something fun to round out this year’s cookie tins that would use up some extra candy-making supplies I had laying around. I still had candy sticks and bags from making chocolates for my baby shower two years ago!

Oreos are already delicious, but put them on a stick and cover them in chocolate? Yes, please! You could make so many varieties of Oreo pops using different cookie flavors and different coatings. Dark chocolate mint! Peanut butter chocolate! White chocolate peppermint!

Here’s what you need:

  • Double Stuf Oreos (you can’t fit the sticks into plain Oreos!)
  • Candy/cookie sticks
  • Candy Melts (I used milk & white chocolate I had leftover)
  • Sprinkles (I just used some leftovers again)
  • Wax Paper
  • Candy bags and ties

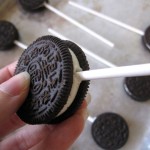
Line a couple cookie trays with wax paper. I used old ones that had a lip to catch the extra sprinkles. Hold the two sides of the Oreo together firmly but gently, and push a candy stick into the filling. Lay them out on your trays so they are ready for chocolate.


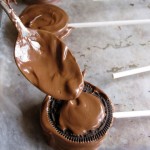
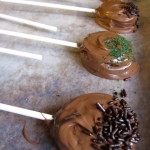
Melt your chocolate according to directions. I usually put some in a mug and microwave it on 50% power in 20 second intervals until it is fully melted. I didn’t have success dipping the Oreos in the hot, melted chocolate – they fell apart! So I spread chocolate onto one side of the cookie, spread it all around the sides, then set it on the wax paper chocolate-down to coat the final side. While they are still wet you can add sprinkles or crushed candy. I melted some white chocolate and flung it over half of them for a fun look. I had extra white chocolate so some even got dipped.

Stick the cookie sheets in the refrigerator for 15 minutes or until fully hardened. Then place them in candy bags and tie them off below the pop. Store them in the fridge until you are ready to put them in your cookie tins (or eat them all yourself – I won’t tell!)

Enjoy!

Delicious Vegetarian Recipes

Say hello to my friend Katherine, aka OpalCat! While I am off in California visiting family, I asked her if she’d be willing to share some of her favorite kid-approved vegetarian recipes on Imagine Our Life. I’ve been vegetarian for almost 20 years! My husband was as well, but has since hopped on the meat-wagon, heh. So far, Jax does not like any of the meat we’ve offered him. We are letting him decide for himself if he wants to eats it. Luckily, he loves tofu and eggs!
 
I’m really excited to try out her delicious-looking chimichanga recipe! I love those but restaurants never have vegetarian ones on the menu.
 
Do you have any favorite vegetarian recipes?


Hello everyone, my name is Katherine but everyone on the internet calls me OpalCat. I run a website at www.opalcat.com that has a little bit of everything. I’ve been friends with Stephanie for about 10 years, though I no longer live in the same state so I don’t get to see the family much these days.

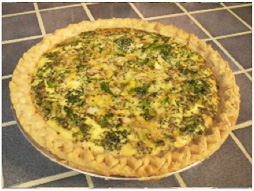
I’m an artist and a mother just like Stephanie, and I also like to cook. When Stephanie asked if I’d write a guest post on her blog about food I happily said yes. I’m going to share two recipes with you in this post, both of them vegetarian. The first is a recipe for a broccoli quiche.

This quiche has a lot of flavor. If you prefer a more subtle flavor, just cut back on the seasonings a bit. This recipe makes  two quiches. I use frozen pie crusts because I don’t have time to make pie crusts, but if you want to make your own my favorite recipe is here.

The ingredients you will need are:

6 eggs
1 ½ cups milk
1 package frozen broccoli, steamed and cut into small pieces
½ cup diced onion
1 Tbsp minced garlic
about 4-6oz shredded cheddar cheese
1 ½ tsp nutmeg
3 tsp basil
2 tsp savory
2 tsp sage
½ tsp pepper
½ tsp salt
2 pie crusts, prebaked

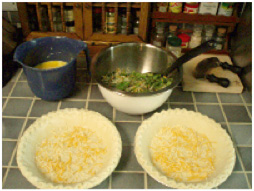
Begin by preheating the oven to 375°. Next, in a medium sized bowl, beat together the eggs, milk, and salt and set aside.

In a large bowl, mix the garlic and onion with all of the spices. At this stage it will look a lot like dirty gravel from your driveway—don’t worry! It’s supposed to! Add the broccoli and mix it in well until the mixture is evenly distributed.

Next take the shredded cheddar cheese and put enough in each pie crust to cover the bottom.  Add the rest of the cheese to the mixture in the large bowl and stir it in well.

Pour the mixture evenly between the two pie crusts. Pour in the egg mixture, half in each pie crust, using the back of a spoon to flatten out any spots where stray broccoli or other bits are sticking up above the surface.

Bake at 375° for 45 minutes, checking in at 30 minutes  by inserting a knife in the middle. The quiches are done when the knife comes out more or less clean and the surfaces don’t jiggle when you gently shake the oven rack.

I actually recommend making these several hours before you want to eat them, then letting them set up in the refrigerator for a few hours (or better, overnight) because they’ll cut into individual pie slices much easier when they’re cold, and you can reheat them individually in the microwave. Cutting them hot right out of the oven tends to make for messier pieces.

Next I want to share with you a Mexican dish that was invented in my hometown of Tucson, Arizona: the Chimichanga. Our chimichangas will be filled with beans but you can add other things to the filling as you like. I sometimes put in textured vegetable protein to simulate ground beef, or I add some brown rice or grilled vegetables. The filling is entirely up to you.

The ingredients listed are enough for three chimichangas; you can adjust upward or downward depending on how many you want to make. I should note that you can freeze them before frying them and fry them up later, if you want to make a bunch at once and then eat them over time.

Ingredients:

You need the largest flour tortillas your store has. This may be 10” or 12” or if you’re lucky, something even bigger.
1 can of refried beans (or you can make your own quite easily—I recommend making them from canned pinto beans rather than dry because it takes so much less time.)
1/3 cup diced onion
2 cups shredded cheese of any type (I like the Mexican blend cheese in the bags at the grocery store)
1 diced tomato
2 cups shredded lettuce, cabbage, or spinach (this goes on top at the end)
1 can enchilada sauce
sour cream if you like it
1” deep vegetable oil in a sauté pan that is at least 10” across, but preferably bigger
3 feet of paper kitchen twine cut into 1 foot lengths

To begin, pour an inch (or more) of vegetable oil into the sauté pan and set it on medium to medium high heat. You will know it’s hot enough when a single drop of water dripped into the pan sputters and pops.

While the oil is heating, take your tortillas and put them on a paper towel and microwave them for about 10-15 seconds, to warm them up. They are much more flexible and less likely to crack when they’re warm.

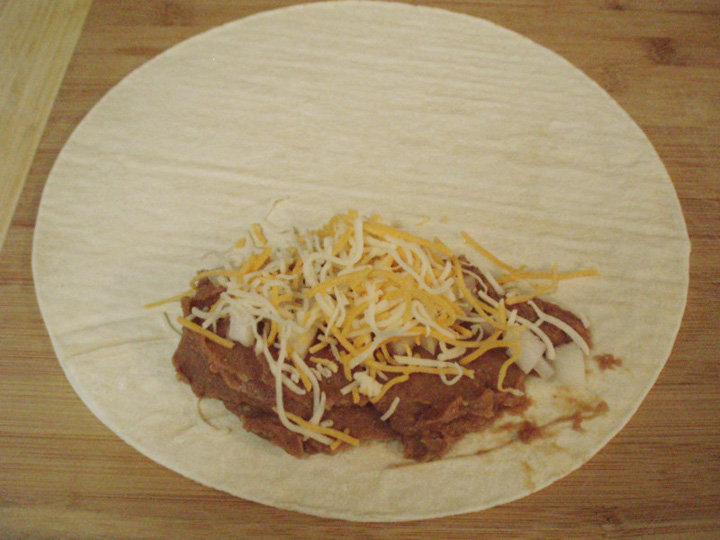
Spoon 1/3 of the beans onto one side of one of the tortillas, and add 1/3 of the onions and 1/3 cup of the shredded cheese. Next you want to roll your chimichanga. You’re basically making a burrito. It goes like this: Fold up the bottom half where the filling is until it’s covering the filling. Next fold in both sides as far as you can. Finish by rolling the rest toward the remaining “flap” of tortilla. You should get about two turns.

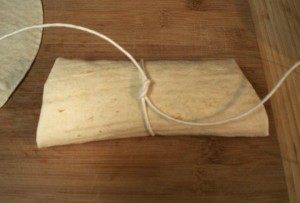
Now it is time to tie the chimichanga so that it doesn’t unroll in the oil. Tie one length of twine around the middle of the chimichanga with a square knot, and set it aside.

Repeat the procedure for the next two chimis. When you have all three rolled up and tied, transfer them to the hot oil in the pan.

Open the can of enchilada sauce and begin heating it in a small saucepan. It should be hot by the time the chimichangas are finished cooking.  Now is also the time to chop the tomato and shred the lettuce, cabbage, or spinach (whichever you chose) if you haven’t already.

Keep an eye on the chimichangas in the oil. You are waiting for them to turn golden brown on the bottoms and sides where they’re under the oil. Once they are golden brown, use a pair of tongs to turn them over and cook the other side.

When your chimichangas are golden brown on both sides, lift them out with tongs and place them on several pieces of paper towel to soak up the excess oil. After a few minutes you can cut off the string and transfer them to serving plates.

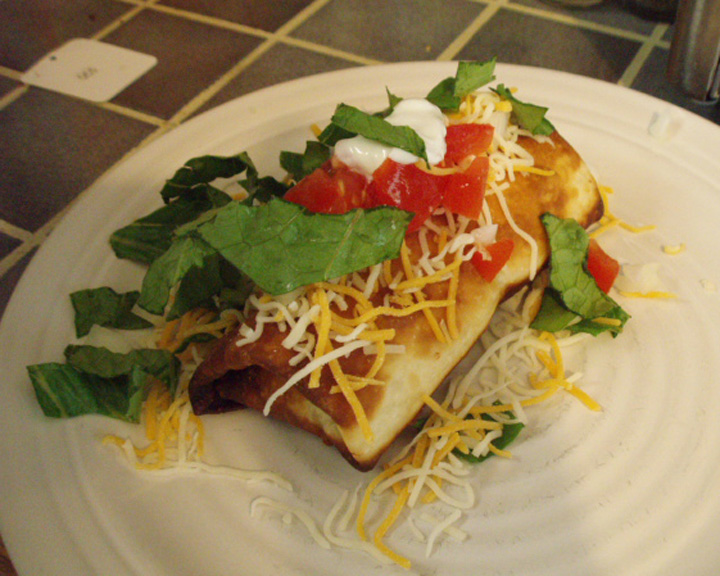
Pour some enchilada sauce over each one, then divide up the remaining cheese over the top of the sauce. Finish with shredded lettuce, cabbage, or spinach and a dollop of sour cream and you’re ready to eat!

I hope you enjoy this southwestern favorite. It’s easy to make and tastes incredible. You can change up the filling ingredients for a different taste. (Sorry, in the final picture there is no enchilada sauce—sometimes I make it without.)

These are both recipes that my son liked from an early age, so they are good for children. The quiche is a lot of stirring, which children are good at helping with, too, so it could be a good family activity. You can find more recipes in the Food section of my website. I hope you’ve enjoyed these two recipes.

Thank you, Katherine! Be sure to pay her a visit at OpalCat’s World Domination Headquarters!

Link-o-rama

Happy Tuesday! Last night was rough (toddler teething), so it feels like the week is lasting forever. But, the baby is napping, chick pea & veggie curry is in the slow-cooker and I’m settled in working.

Here are some links I’ve collected lately:

  • I don’t take sugar in my tea/coffee, but I adore these DIY sugar cubes!
  • I’ll be posting another quiet book page today. I posted a sneak peek on Facebook.
  • Aw! My boys are in a photo contest! (And so am I!)
  • Treehouses! Go, look!
  • A glitter play dough tutorial.
  • Here’s a video of Jax saying a few words. He doesn’t always like to parrot words back for me, but I am going to try to record him regularly.

Apple Butter

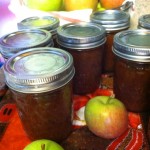
I made my first batch of apple butter this weekend. I also canned for the very first time!

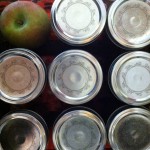
I was sure when I headed to be that I had messed something up somehow. I’d followed all the directions, but the buttons on the lids weren’t sucked in. I didn’t realize the jars had to cool overnight before they depressed. I headed upstairs with an angry, tired toddler (he’d had to wait while I timed the canning process) feeling defeated and swearing not to try canning again.


I woke this morning to all 8 jars of apple butter sealed (Dan thought he just heard one pop, but they look fine!) A nice surprise before starting my Monday work day.

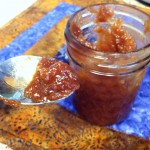
I put 20 cups of apples, 2 cups of sugar, 2ish tablespoons of cinnamon and a ½ teaspoon of ground cloves in the crock pot all day to make this. So, so tasty! I ended up with 9 8oz jars for apple butter.

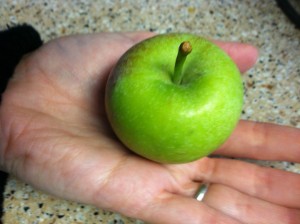
And, how cute is this wee, tiny apple Jax picked?

Autumn Pumpkin Bread

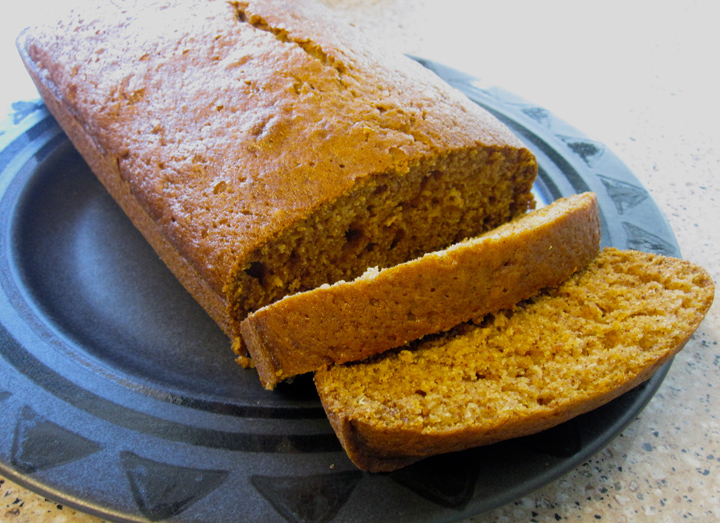
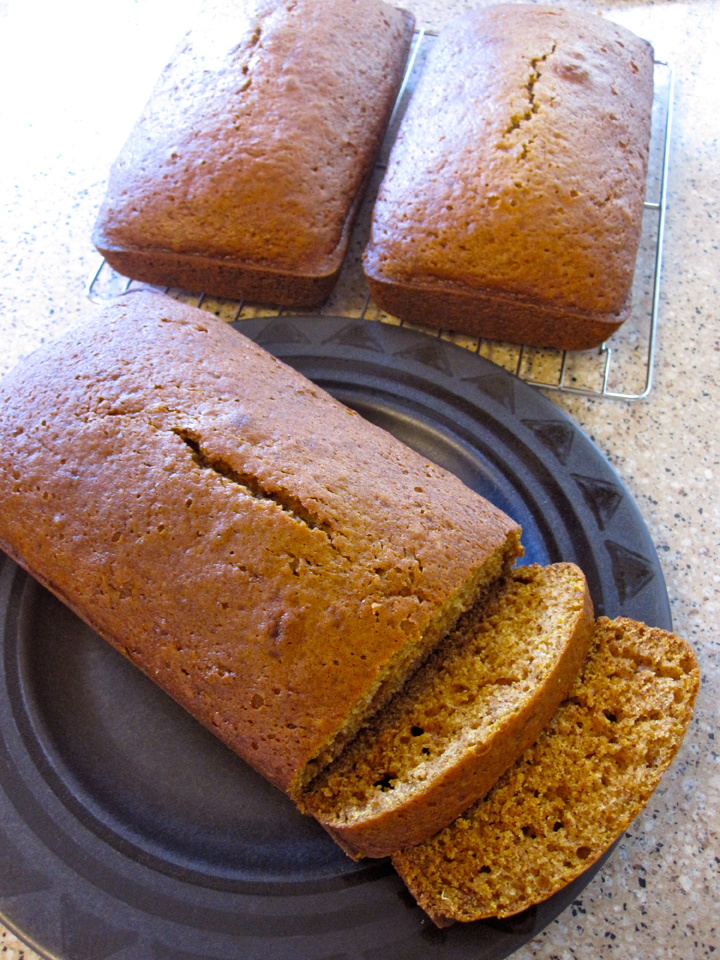
Mmm! I love pumpkin bread in the fall (and all year round!) I’ve already baked 2 batches!

The recipe I’ve used for years makes either 3 short loaves or 2 full size loaves. I like to split the batter into 3 pans so I can give extra loaves away. If you just make 2, you’d probably need to bake them longer.

I’m not sure where the original recipe was from, but I’ve changed it a bit over time to make it spicier. Here’s what you do:

Ingredients

  • 1 15oz can of pumpkin puree
  • 1 cup of vegetable oil
  • ⅔ cup of water
  • 4 large eggs
  • 3 cups of white sugar
  • 3½ cups all-purpose flour
  • 2 teaspoons baking soda
  • 1 teaspoon salt
  • 1½ teaspoon ground cinnamon
  • 1 teaspoon ground nutmeg
  • ½ teaspoon ground cloves
  • ½ teaspoon ground ginger

Preheat the oven at 350° F and grease 3 loaf pans. I think ours are 9″x 5″. In a large bowl, mix the wet ingredients (pumpkin, oil, water and eggs) then add the sugar. In another bowl, mix the dry ingredients (flour, baking soda, salt and spices). I like to sift mine together, but I’m a bit addicted to my sifter! Add the dry to the wet and stir until it’s all mixed. Pour the batter into three pans and bake for 50 minutes. (My batter fills the pans ⅓ of the way and the loaves bake up to ½. So you could definitely just use two pans and bake a little longer for larger slices.

Yum! Pumpkin bread is so good with some hot chai tea!

Baking bread is on my Autumn Fun List, but I still plan to bake some yeast bread this weekend.

Cupcakes For Two

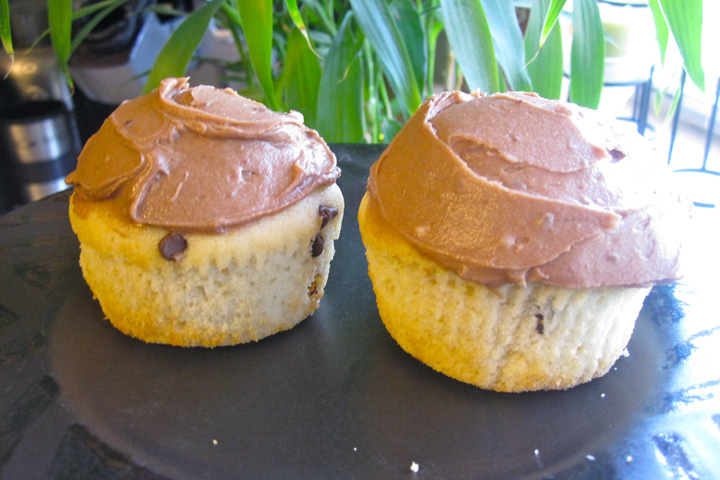
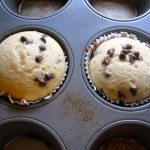
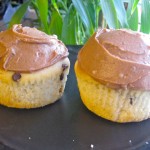
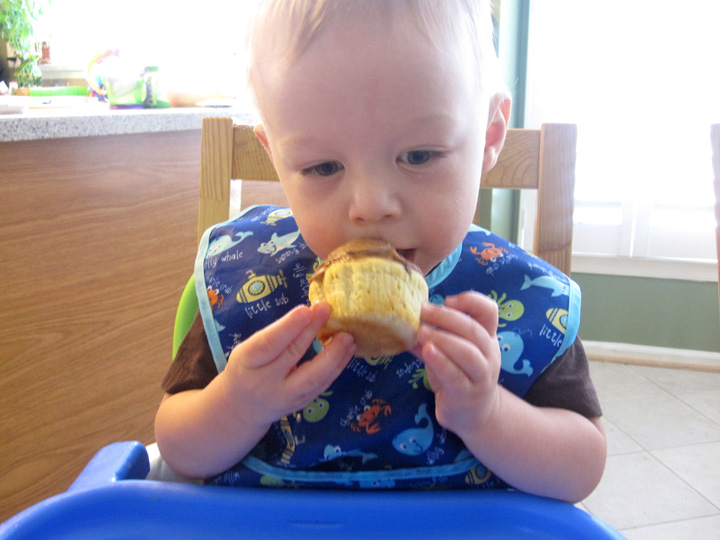
When I saw this post on How Sweet It Is, I knew I had to try it! So today before making lunch, Jax and I whipped up some. I also made a mini batch of chocolate frosting. The cupcakes were tasty, though I agree with the comments that they were heavy – more like muffins or bread. Mine also took 20 minutes to bake. Our oven always takes forever. Jax provided moral support throughout the whole process. I gave him a small bowl and spatula to “help” with.
To make your own, follow the cupcake recipe here (I added some mini chocolate chips to mine.) While they are baking, grab the ingredients for your frosting:

  • 2 oz melted semisweet chocolate*
  • 1.5 c powdered sugar
  • 1/2 stick butter, chopped up
  • 1.5 tbsp milk
  • .5 tsp vanilla
  • pinch of salt

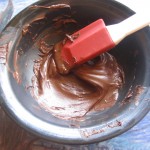
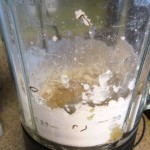
Throw everything in the blender! Yeah, I’m lazy. Mix, stopping to stir regularly until you have delicious, chocolatey frosting. I added some unmelted chips because I wanted to match them chocolate chip cupcakes. I had more than enough, but I don’t like to pile on frosting. *I melt my chocolate in the microwave on 50% power, stirring every 20 seconds.

We cooled the cupcakes in the fridge while we ate lunch, the frosted them and enjoyed!

Yummy!

Homemade Baby Ice Cream

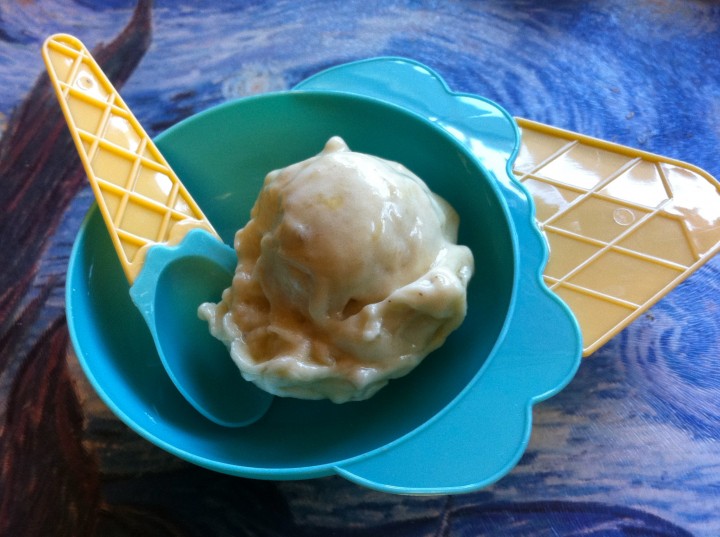
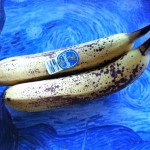
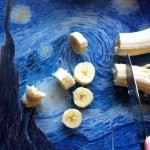
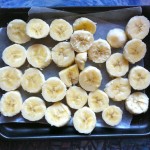
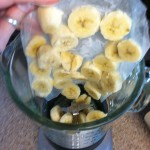
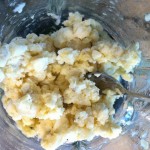
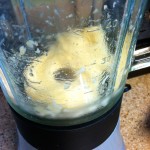
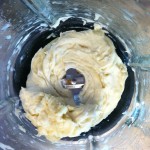
You may have seen “1 ingredient ice cream” recipes before. But, I call it baby ice cream! I recently had an ice cream party for my birthday, and since all the guests were bringing babies, I whipped up a batch of this frozen banana puree for them. Two out of three babies loved it!
Here’s what we did:

This is really tasty – and not just for babies! You can add a dash of vanilla for an adult palate if you’d like. It’s really good with chocolate syrup!