Tag Archives: Sewing Projects

Felt Peacock Baby Rattle

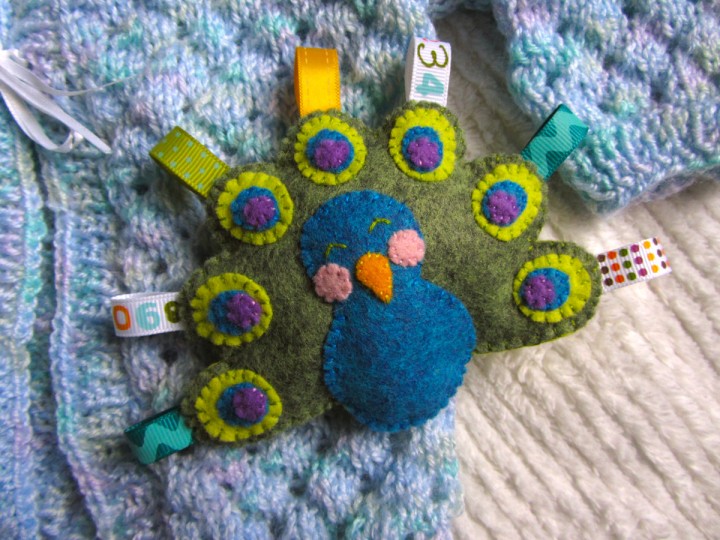
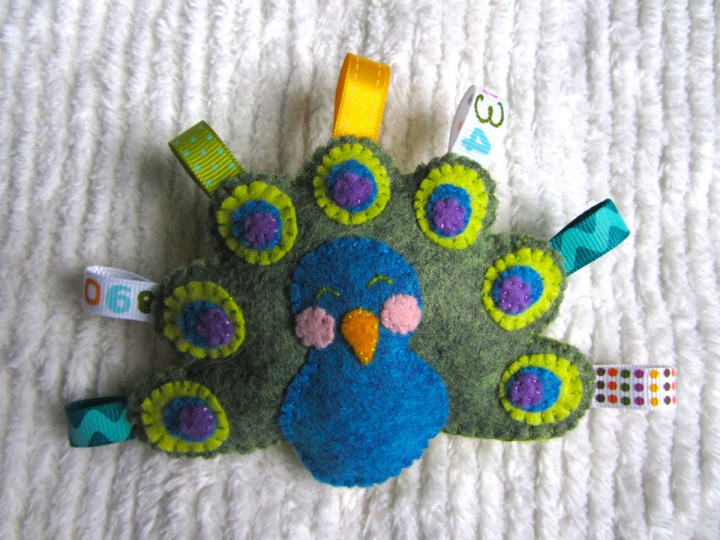
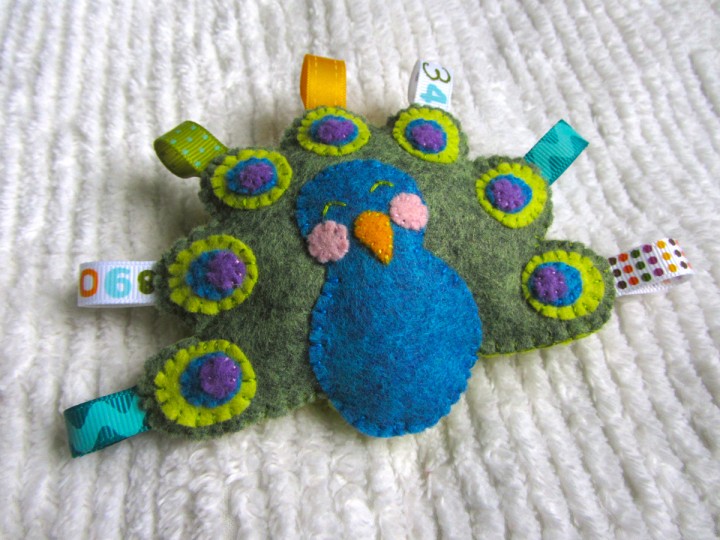
This sweet little guy came about because I needed a gender-neutral baby gift and I wanted to try out some of the new colors of felt available from American Felt & Craft. Plus, it was a great excuse to use some of the cute ribbon scraps I’ve been collecting. I wanted to choose something that isn’t typically made into toys. Owls are SO trendy right now, but it’s time to give some other birds a little love! So, allow me to introduce you to Mr Peacock!

What I Used:

I started this little guy by decorating his body. I sewed his cheeks and beak on and made little eyes by sewing a long stitch then pulling it up into an arch with a tiny little stitch in the middle. I sewed his body to the feather piece with a little bit of batting to make him pop out.

I sewed each of the chartreuse ovals on, catching a loop of ribbon in the stitches of each one. Then I stitched on the aqua ovals and the purple circles.

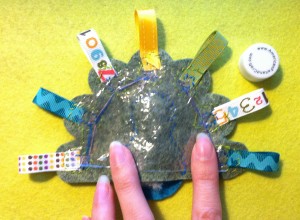
I flipped him over and cut out 2 layers of crinkle material to fit inside him. I traced him, adding about a mm or 2 all around to get my backing piece. The extra space gives more room for stuffing and the rattle. I drew my backing piece up in the pattern, so you could use that if you prefer. I sewed the front and back together with the crinkle material inside, pausing 2/3 of the way around to insert stuffing and the mini rattle (wrapped in some batting.)

All done, and super sweet!

I still have three more Christmas ornaments to share with you this week! Which one should be next? Let me know on our Facebook page.

{ This pattern is free for personal use only. If you would like to purchase a $15 license to sell the finished project in your shop, go here. }

Felt Ballet Slippers Ornament

Would you like to make and sell items from this pattern? Commercial licenses are available!

photo courtesy Tikkido/Tikkido.com

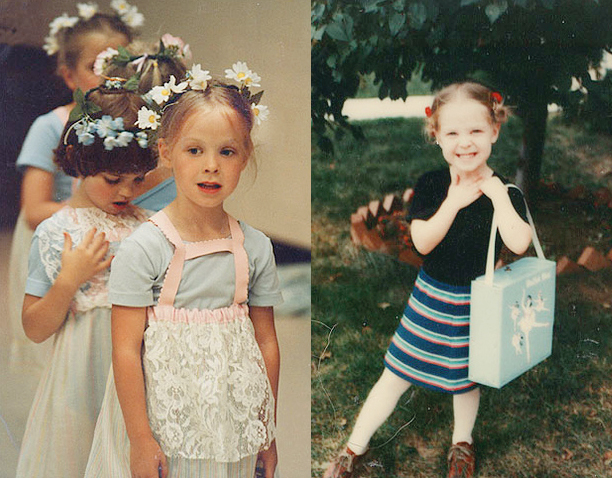
I grew up taking weekly ballet classes form a dear family friend. They were more for fun, and she often let me be the free spirit I tend to be when it comes to creative things. As I got older, my classmates outgrew ballet. The classes shrunk until I only had one or two other girls with me. I adored my classes – they were the highlight of my week! I still have my pointe shoes, and I’m planning on hanging them up in my new craft room.

Little Me

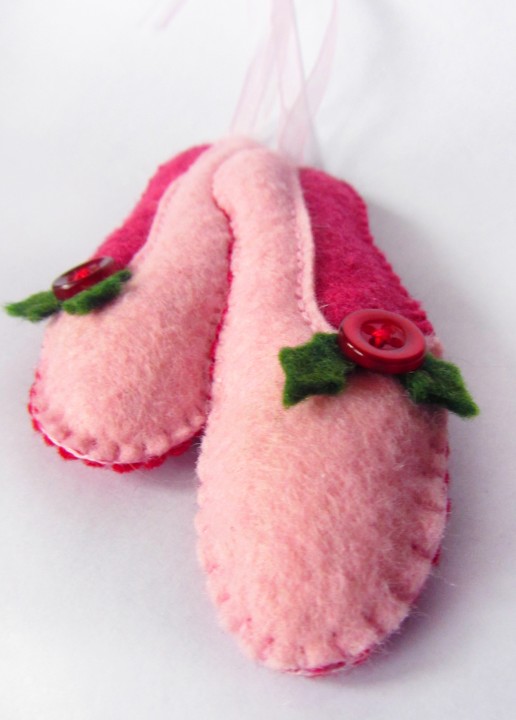
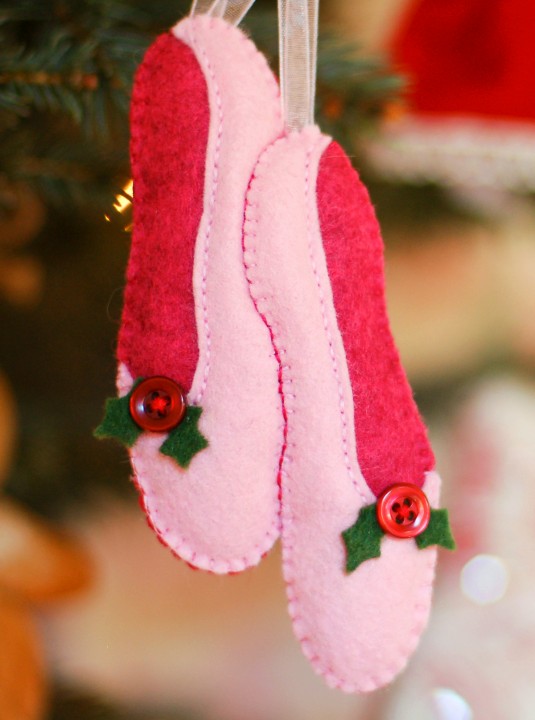
These pink ballet slippers are the second felt holiday ornament pattern in the series of five I designed this year. (You can grab the free pattern for my first, a gingerbread house, here.) This is a project that works up very quickly, but turns out so sweet!

What I used:

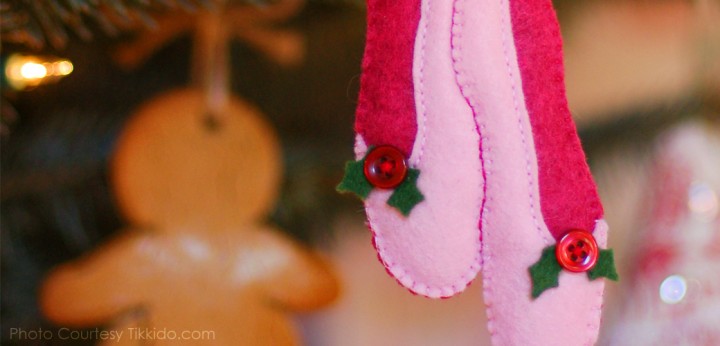
I started by sewing the two pink slippers down to the pomegranate pink inner shoe piece using a back stitch along the foot opening (see photo). I also did an applique stitch along the two shoe soles. I didn’t worry about sewing down the outer edges yet, as they would be sewn down as I sewed the ornament back on. Once I sewed down the two slippers, I used hot pink thread and did a back stitch to show where the two slippers overlapped.

I cut out the two sets of holly leaves and sewed each one down with a red vintage button from my late mother’s sewing stash.

I cut two pink ribbons for each slipper, to look like the double ribbons used to tie on point shoes. When I sewed the red backing on, I added some batting for dimension and I made sure the ribbons were caught in the top of each slipper. I fanned them out a bit so you can easily see both ribbons for each shoe. When the ornament was all sewn together, I tied the ribbons into a bow and placed a few stitches in the knot to hold it together.

Photo courtesy Tikkido/tikkido.com

This is another ornament that could easily be customized by using different colors of felt and new embellishments. If you make this or any of the other ornaments, I’d love to see yours! Post them on our Facebook page or email me a photo.

Stop by tomorrow for the next ornament. Which should I post?

{ This pattern is free for personal use only. If you would like to purchase a $25 license to sell the finished project in your shop, please email me. }

Felt Gingerbread House Ornament

Would you like to make and sell items from this pattern? Commercial licenses are available!

Photo courtesy Tikkido/tikkido.com

Do you have the holiday season on your mind already like I do? You almost have to when you are a crafter, as projects take time to complete.

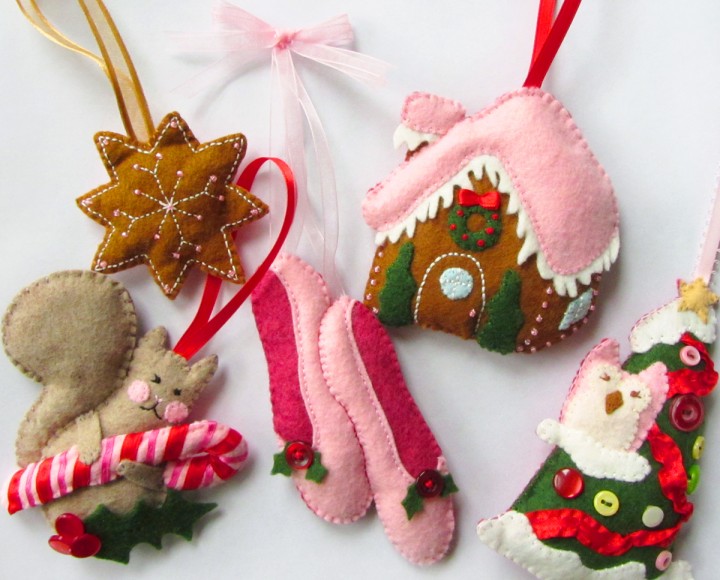
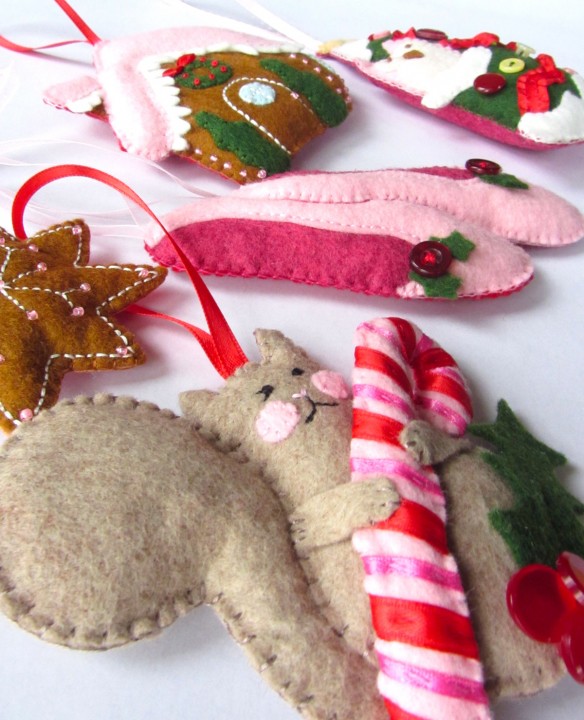
A while back, I was asked by Nikki of Tikkido to contribute some felt ornaments to an upcoming Christmas e-zine feature. Her theme was very sweet and girly, so I jumped at the chance! Too many of my projects are for boys or gender-neutral. It’s nice to use pink every now and then! I’ve designed 5 hand-sewn felt ornament patterns and I’ll be sharing them with you over the next few days.

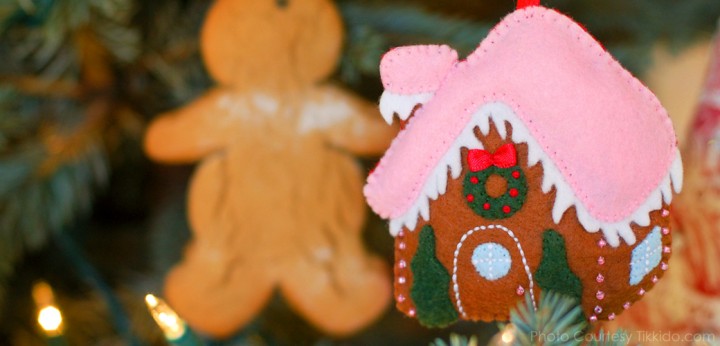
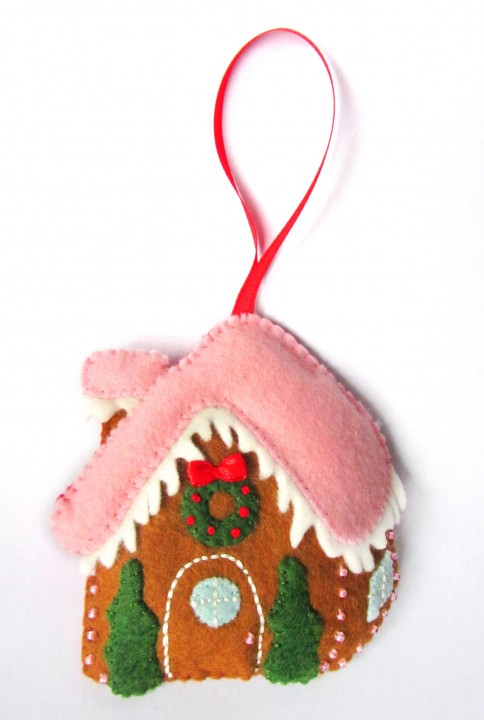
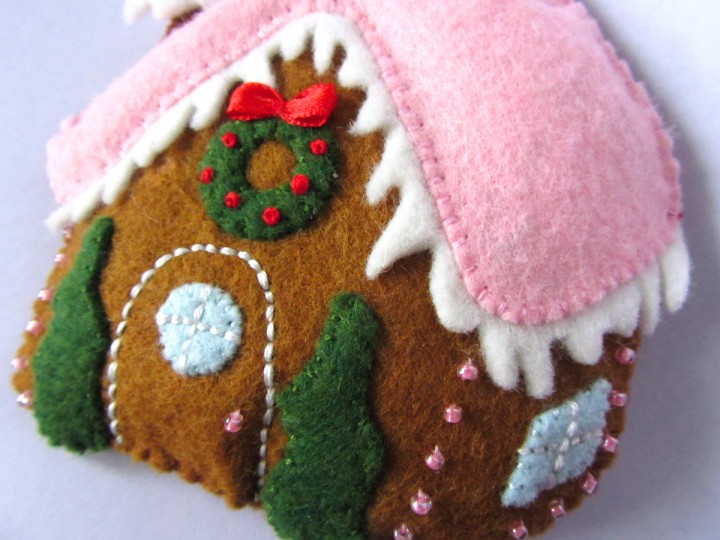
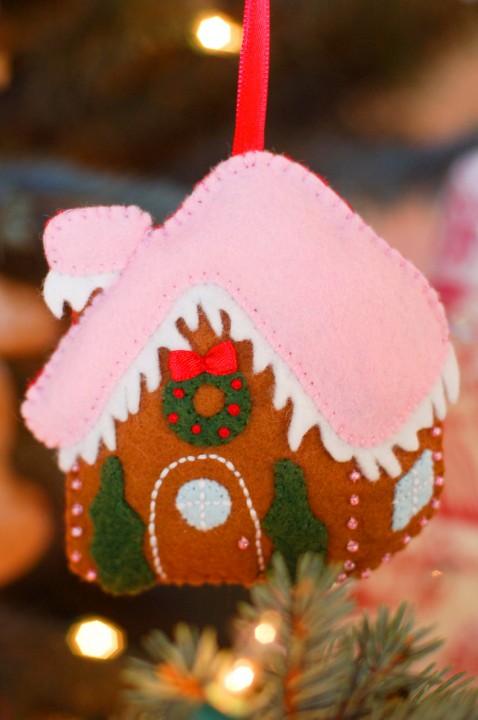
Today’s pattern is a sweet pink gingerbread house. I adore how it turn out! You could very easily change the colors and embellishments to customize this pattern for your tree.

What I used:

I started by laying the icicles in place on the house front under the roof and chimney top pieces. Then I sewed the roof and chimney top down, leaving the icicles hanging loose.

I normally use two strands of embroidery floss while sewing with felt, but I used four strands of white to make a back-stitched arch to form the door. I sewed down the two windows and again used 4 strands of white to back stitch the window panes.

I sewed down the two trees and the wreath next. I used four strands of red floss to make French knot berries on the wreath. You could also use seed beads. I took a little scrap of red ribbon and folded both ends in to the center to make a bow shape. I made a stitch to hold it together then flipped it over and placed it on the wreath. I sewed it down at the center while cinching the middle of the bow.

Using a beading needle and one strand of thread, I sewed on lines of seed beads (going twice through each bead for strength.)

Photo courtesy Tikkido/tikkido.com

Once the front of the ornament was decorated, I cut out a matching back in red felt and started sewing the sides together. I added a loop of ribbon as I sewed across the top. When I was halfway around, I added some batting to the ornament to give it dimension. Once I sewed it closed, it was ready to hang! (For tips on sewing around felt edges, see my blanket stitch tutoral.)

Visit often this week to collect all five of my holiday felt ornament patterns! Which is your favorite?

{ This pattern is free for personal use only. If you would like to purchase a $25 license to sell the finished project in your shop, please email me. }

Mermaid Felt Embroidery Art Piece

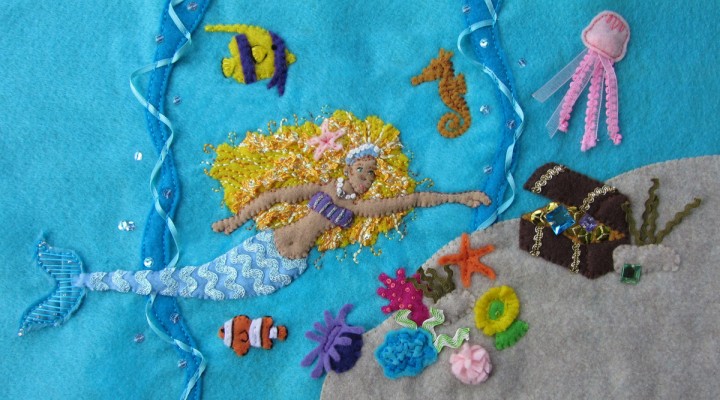
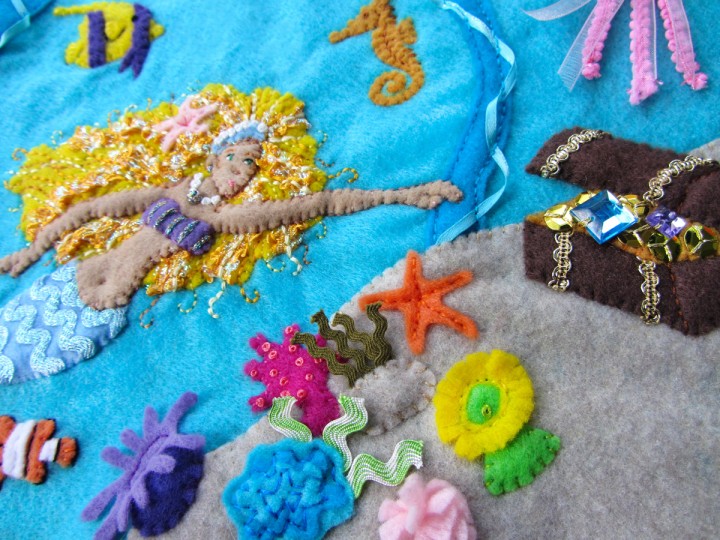
I took a little break from making quiet book pages and patterns to do some sewing purely as a creative outlet. I wanted something that could be used as the newest masthead at the top of the blog (Not reading this on the site? Come see!) and also be framed and hung up on the wall of my craft room that doesn’t exist yet. I am placing this in with the quiet book pages as I am including the pattern and suggestions for a page.

I’ve always loved mermaids. My major in college was studio art, with a focus on graphic design and printmaking. I especially loved doing lithography. Most of my printmaking work features fairies, angels and mermaids. Here are a few photos of my college mermaid art. The colored pencil drawing is probably from my senior year in high school. My dad shocked me the summer before that school year by buying me a $70 color pencil set. I found these photos on my computer last night. They were taken in 1998!! Thus the tiny file sizes. One day I’ll need to get the portfolio out and take better ones.


I also always wanted to be a mermaid for Halloween, and I didn’t want to do it halfway. Without a pattern, I sewed together my vision of a mermaid costume. I used a stretchy sparkle fabric so the skirt could be long and narrow, but I could still walk. There was some interfacing built into the fin to give it shape. I hand sewed a zillion and a half scale-shaped sequins all over it. I bought cheap party favor shell necklaces and cut them apart to hand sew to a nude bra. I added a lot of accessories made from shells and fake pearls. I loved it and ended up winning a Halloween costume contest!


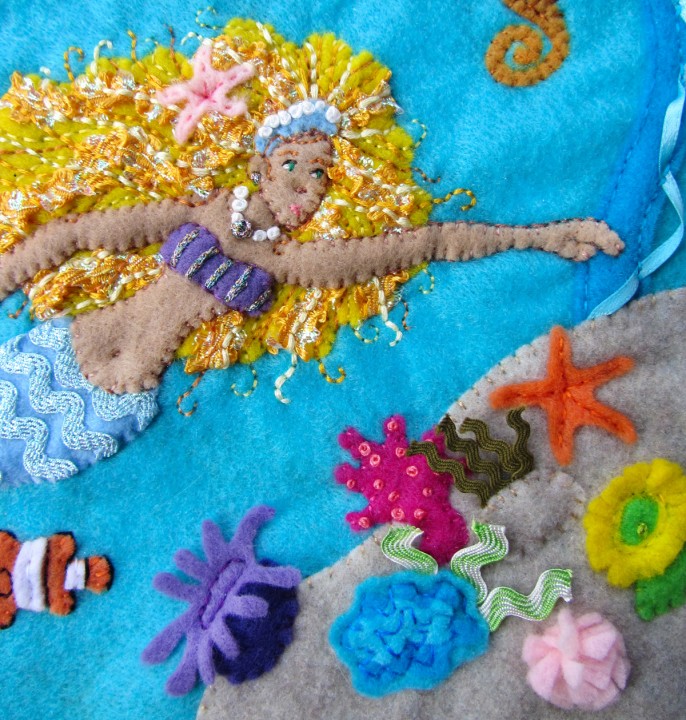
Back to the felt! I’ve been working on this for the past 2 weeks while waited for supplies for the camping page to arrive. Because I had sewing time to fill, I kept adding and adding to it!

I drew out a quick pattern for the mermaid and treasure chest, but cut the rest by hand. The two fish and the yellow and green anemone were based on this pattern, but cut by hand. I spent a lot of time on the hair, using 4 colors of thread and a ruffly trim for texture. I kept sticking more and more color into the coral reef. I really could have gone on forever, hehe. I love how it came out!

I am including my mermaid pattern by request. Click here to download it. You could easily make her into a little doll to go on a quiet book page. Just cut two of everything except her face and top so she has a front and back. You could make both her and the chest snap off the page, and perhaps those free fish as well!


If you use the mermaid pattern, I’d love to see what you make with it! Email me or stop by the Facebook page.

Very Hungry Caterpillar Felt Board

I’ve been quiet here on the blog while working on a large sewing project, though I’ve been posting regular updates on the Facebook page. I took a break from quiet book sewing to make a birthday present for one of Jax’s friends who was turning 2 years old. His friend adores all of Eric Carle’s books and was planning a Very Hungry Caterpillar themed party.

I’ve been itching to try my hand at making a felt version of all the pretty food featured in that book, and I was excited to finally have the perfect reason to! I knew they would appreciate a handmade gift, so two weeks before the party, I started tackling the project.
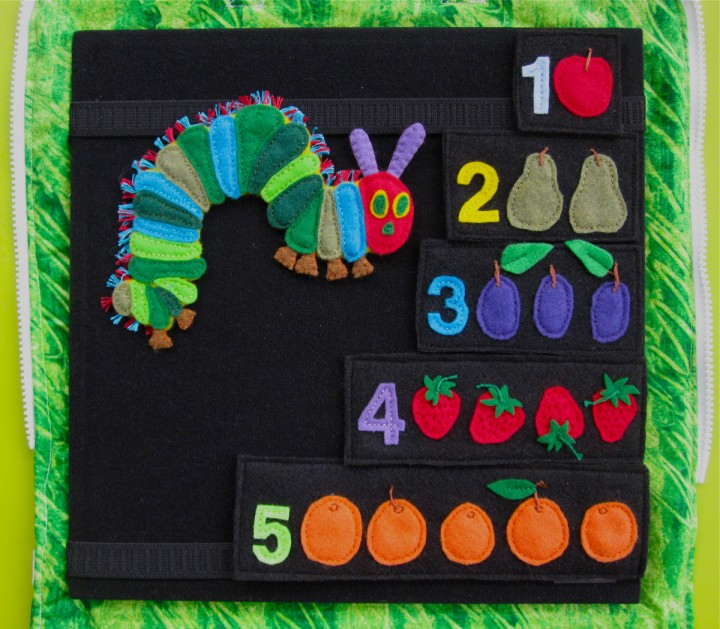
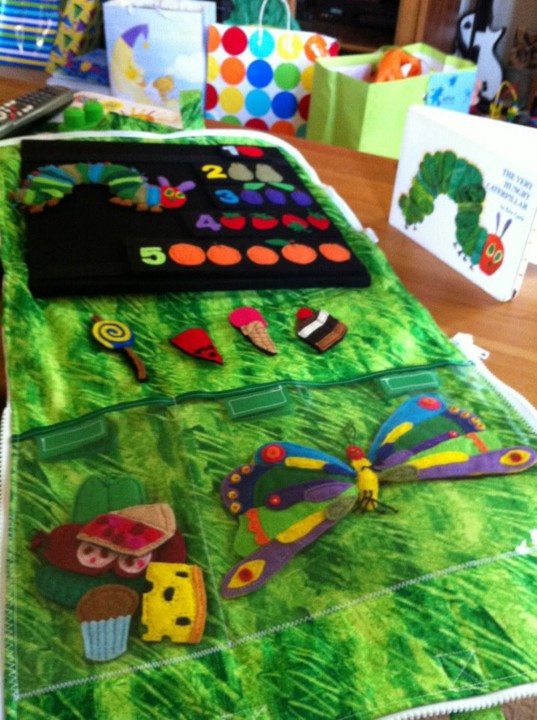
The felt items were made using only s felt from my scrap bags (I sort all my felt scraps by color and store them in freezer bags) with the exception of the black background felt. I would have preferred to have a white background like the book, but I was purchasing  felt board to save time and money, and white wasn’t an option. (You could make your own felt board by covering a blank art canvas with flannel fabric.) I purchased this black felt board. It comes in green and purple, but I wanted to easily match the background to a felt color, so I chose black. The colors really pop on it!

Because so much detail went into each piece, they were all heavy and wouldn’t stick to the board without the help of Velcro. I used Snag-Free Velcro so they wouldn’t snag each other when tucked away together in their pocket. Each item was sew to a base piece of black felt, trimmed to size, then backed with another piece of black felt with some Velcro sewn to it. I sewed to backings on by hand with a back stitch, only going through the two black layers of felt so the stitches wouldn’t show on the front.
The Pattern
I’m afraid that I can’t post a pattern for this project here on my blog because I want to respect Eric Carle’s copyright. He does have a coloring sheet you could enlarge and use to make your own set. However, I have a PDF of all the sketches I did for my set, and I’d be happy to send it on to any of you lovely friends who would like to have it for your personal use. Please leave a comment below using the blog’s comment form (not the Facebook comment form – I don’t get notified of those!) In the email field, include the address you’d like me to send the PDF link to. I’ll do my best to send you an email within a day or two with the link.

Here is a quick run-down of how I made each item:

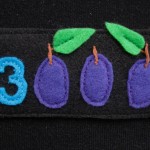
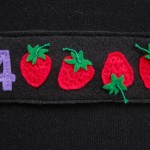
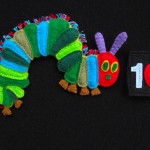
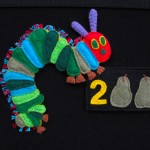
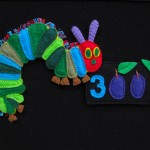
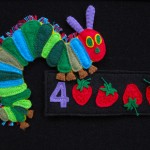
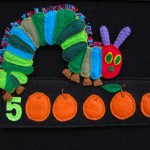
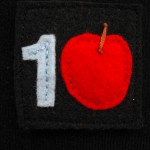
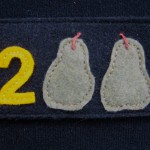
Fruits 1 – 5: For the sets of fruits the caterpillar starts out eating, I used rectangles of black felt as the background of each group instead of having tiny, separate fruits and numbers that would get lost. I sewed the fruits down to the background using back stitch and 2 strands of floss. For the stems, I used all 6 strands of floss: I made a knot in the end of my floss and came up from the back. I tied another knot flush against the felt to hold it in place, then made a knot at the end of the stem and cut of the rest. For some of the stems I went back down into the felt after the top knot to hold them in a certain position. Leaves were sewn down with a line of back stitch along the vein. For the strawberry tops, I made an x-shaped stitch in the center before doing the stem. The numbers are sewn on with back stitch down the center. I stitched little circles and open circles on the oranges to make the navels. I sewed all the rectangles to backing pieces with Velcro using the sewing machine to save time.
     

[img src=”http://www.imagineourlife.com/wp-content/uploads/2012/06/oranges.jpg” w=”600″ h=”200″]

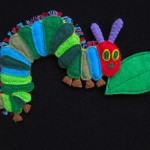
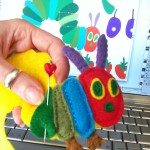
The Very Hungry Caterpillar: I tackled this guy first, as he is the star of the show. The caterpillar and the butterfly were the only ones I used yellow felt as the background for sewing down all the details (I still used black for the back side with the Velcro.) I cut his segments out of various colors of green and blue. The color variations are more subtle in the book, but I was working with what I had. Each segment is back stitched down. You may need to trim them up to get them just right – different felt stretches different amounts – especially with little, tiny pieces. for the feet and antennae, I used 3 layers of felt to make them stiff and blanket stitched round the edges.
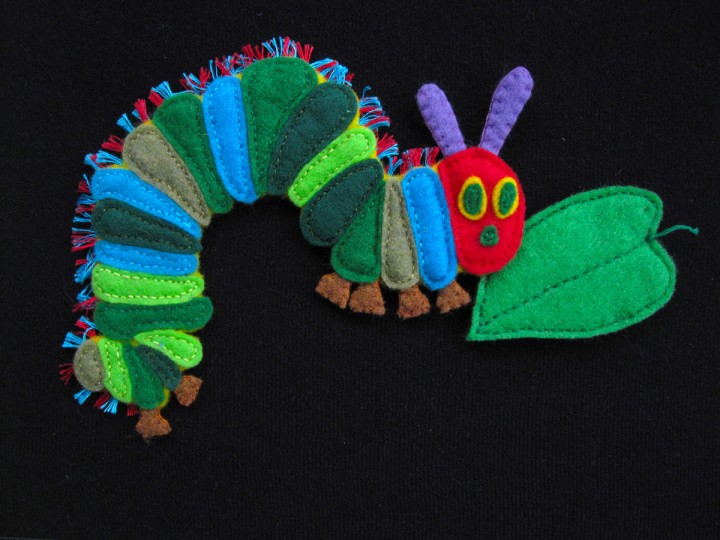
The fuzzy fringe along the caterpillar’s back was the most annoying part of the whole project, but I didn’t want to leave it out! I made each little fringe the same way I did the fruit stems, but without the knot at the end: knot the floss, go through the back of the caterpillar (the yellow piece only), make another knot, then cut off and repeat. I alternated red and aqua blue, then went back and spread out the strands and gave him a “hair cut” so they were all even. To finish him off, I sandwiched the feet and antennae between the front piece and the black back piece with Velcro and sewed them together.

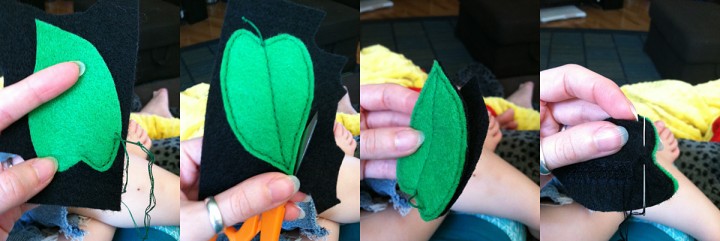
Leaf: I back stitched around the outside and down the center vein, then made a stem and sewed on the backing.
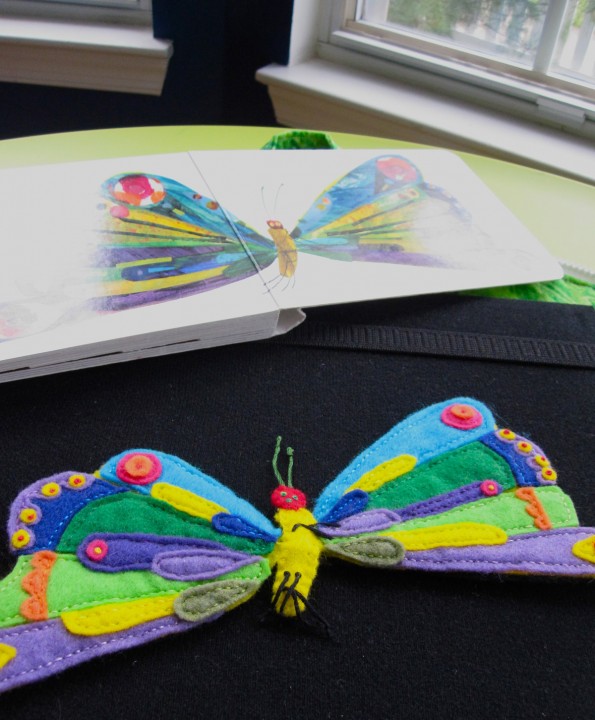
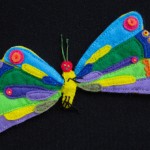
The Beautiful Butterfly: I took liberties when translating the butterfly from the book to a felt design, so you could certainly “wing it”! In fact, I only used my computer sketch for the basic shape, and ended up cutting out most of the pieces by hand. (I later drew them on the computer, so they are included in my PDF sketches.) Everything is back stitched down except the tiny felt circles – I have French knots in the center of those.  I added two layers of yellow to his skinny body to add strength before sewing on the head. His face is satin stitched on and his legs and antennae are done the way I made the fruit stems. His arms are long stitches I added at the end. When he was all decorated,  I cut out a backing of black felt to match, added Velcro and back stitched it on, only going through the yellow layer.
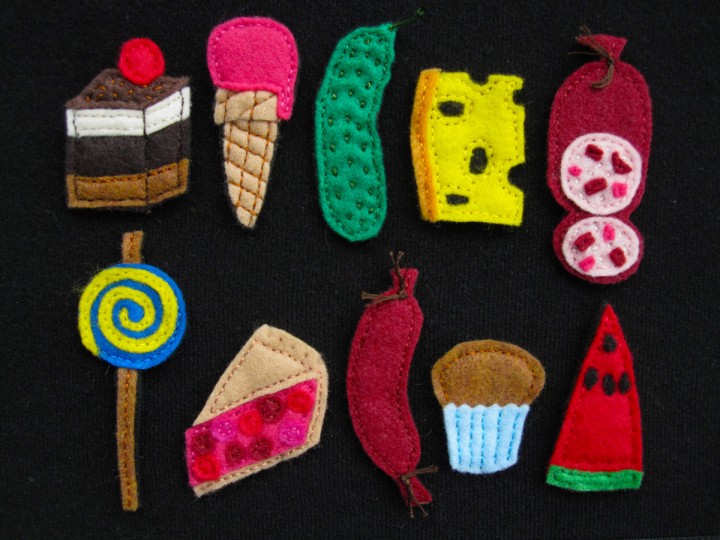
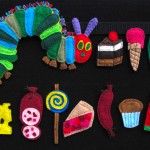
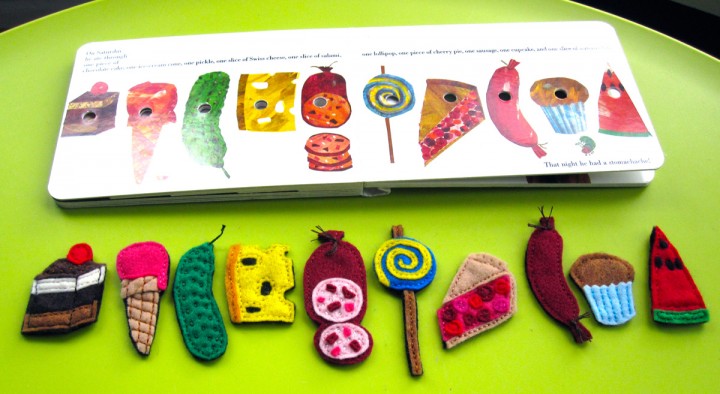
All the junk food items are sewn down to black felt then trimmed to size. The backs are all done the same: I cut out black felt to fit the finished item, sewed on Velcro, then back stitched it to the front, only going through the two black layers.

Chocolate Cake: I sewed the top and layer on, plus some dark brown back stitch to show the corner of the cake. I made light brown stitches to add texture to the top and then sewed the cherry on.

Ice Cream: I back stitched a grid design on the cone, then sewed around the edge of the ice cream scoop.

Pickle: After sewing it down, I made lines of little dashed stitches to add the bumpy texture then added a stem.

Cheese: I sewed a strip of dark yellow down the side to match the book, then sewed around the edges, I didn’t bother to cut out the holes in the cheese in the black felt.

Salami: After sewing down the body of the salami and the pink ends, I sewed down little scraps and made white stitches to match the book. I stitched a bit of brown thread to the “tied” end and tied it in a knot.

Lollipop: I sewed down the middle of a long strip of brown felt to make the stick. I took a long strip of yellow with a point at one end and sewed it down to the blue circle (starting with the tapered end in the center) in a spiral, then sewed down the exposed edges of the blue circle.

Pie Slice: The pie crust is sewn down around the edges, except for the extra crust along the top-back of the slice. I made a basting stitch that I pulled tight to give it a little ruffle. The pie filling is sewn down with scrap circles in pinks and reds to make the cherries.

Sausage: The sausage is simply sewn down around the edges with little brown ties added on to each end like the salami.

Cupcake: I cut out the top of the cupcake liner using pinking shears to give it a zigzag. I sewed down the cupcake, then sewed down the cupcake liner using vertical lines of back stitch.

Watermelon Slice: The watermelon is sewn down around the edges. The seeds I cut by hand (very hard to do because they are so tiny. Use sharp, micro-tip scissors!) the sewn down with a few stitches running vertically down the middle.
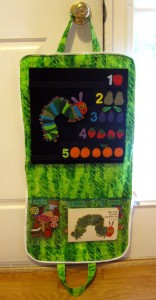
   

Because this felt set is a gift and I went with a 12″ x 12″ travel size felt board, I wanted to sew a quick case for it. I had limited time – just a few hours on on Saturday – so I don’t have many photos to the process, but I’ll do my best to explain it.

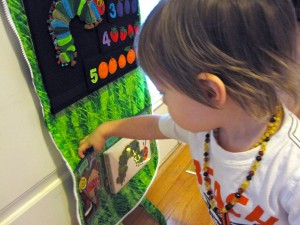
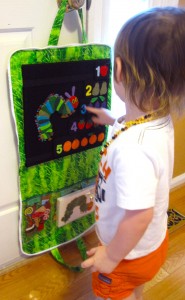
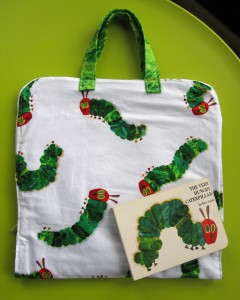
I made the case so it could be zipped shut for travel or storage, opened flat or hung from a door knob at toddler height for play time. I used Eric Carle fabric in Very Hungry Caterpillar white/green and Grouchy Ladybug Grass green/lime. I already had a 36″ white separating zipper and clear vinyl. I purchased a pack of fusible fleece.

The finished size of the case when unfolded is 14″ wide by 28″ high (with the 12″ square felt board.) I cut rectangles out of both fabrics and the fusible fleece that were 15″ x 29″. I ironed the fusible fleece to the back of the green liner fabric according to the instructions. I cut a 14″ x 7″ rectangle of vinyl for the pocket. I sewed ribbon over the sharp upper edge of the vinyl, but it would be easiest to just use some bias tape. (I didn’t have any on hand.) I sewed the pocket down to the liner/fleece piece with a regular stitch followed by a zigzag to cover the sharp edges. I also divided it into a 4.5″ pocket and left the rest a large pocket for the book and bigger pieces.
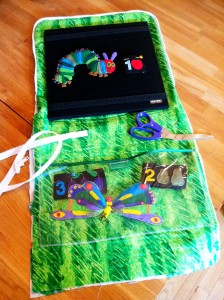
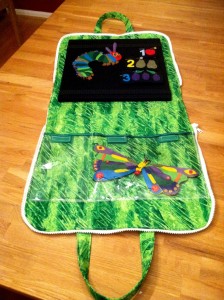
 

I cut strips of the green fabric and lined them with the fusible fleece before making them into 1″ wide straps. There are a zillion ways to make straps. I started with a 2″ width, ironed .5″ edges in on each side, folded it in half and pressed, then sewed down each side and the ends.

For the felt board, I sewed down two 11″ strips of black elastic. (See the photo at the top for an example.) I folded the ends of mine under (towards the center of the case) and sewed them with a zigzag on the machine. It is probably easiest if you sew the elastic on by hand after finishing the zipper so you don’t have to deal with the elastic folding your fabric in.

The zipper is the hardest part to explain – especially without photos. You may need to search around for zipper tutorials before tackling it. I drew some sketches of the steps I took. I used a zipper foot when sewing the zipper on.

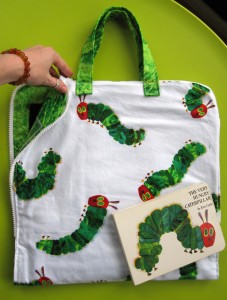
Here is the finished case when closed!
 

I hope you enjoyed reading about this project! I had so much fun doing it, and I was very proud to hand it off to its new owner. If you create a felt board case or Very Hungry Caterpillar felt set of your own, let me know! I’d love to see it…
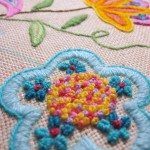
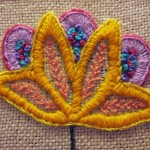
Crewel Embroidery

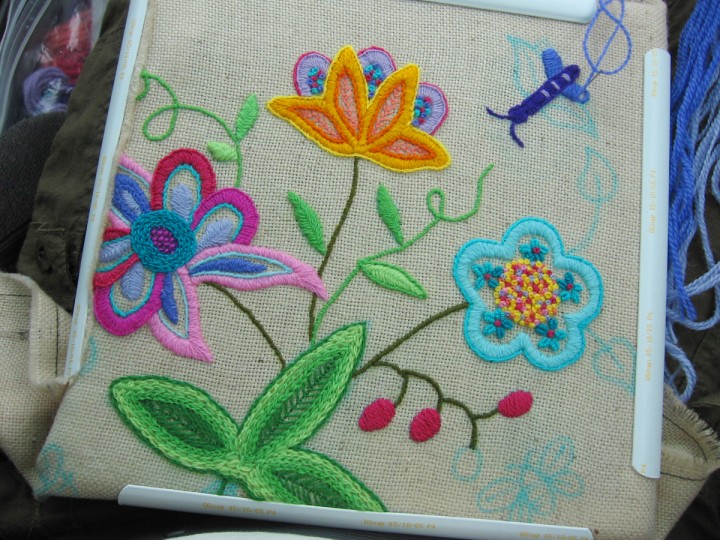
My next quiet book page is currently being sewn (sneak peeks here), but I wanted to share some photos of another crafty love of mine: crewel embroidery!

I grew up in a family where the majority of the females did needle arts – some cross stitch, some all forms of needlework. My mom, who I lost just before I turned 5, embroidered as well. There are pieces around my dad’s house I hope to save. Mostly needlepoint and crewel. Crewel was popular in the 70’s and fit well with the styles of the times.

the original

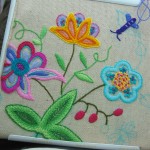
I’m especially fond of Jacobean crewel. So pretty! I have a tote bag sewn by my mom (most likely from a kit) that I just adore! A few years ago I started recreating the design in updated colors. I started by free-hand drawing the design on the fabric with a water-soluble fabric pen. (The frame I am using here is a Q-snap. Love it!) One day I’ll finish it and turn it into a wall piece or pillow.

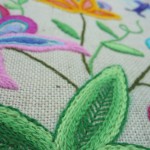
I’ve learned a lot along the way – teaching myself the stitches from an old crewel embroidery book of my mom’s. Some of my beginning stitches were pretty bad – I’m definitely going to take out a lot of the stem stitch because it came out like a satin stitch. But, I think it is coming along pretty great!

Crewel certainly takes a lot of patience, but the effect is worth it, in my opinion!

Peace & Love Felt Ornament Patterns

I plan to design and sew a couple felt ornaments every week until Christmas. I’ll be sharing the patterns here for anyone who is interested!

Peace & Love

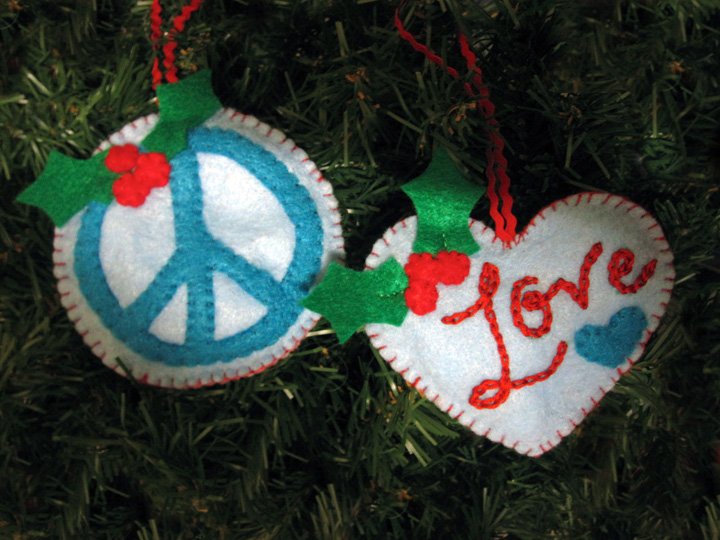
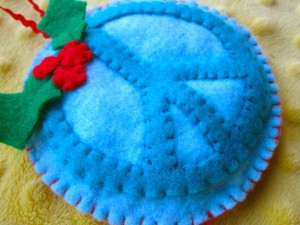
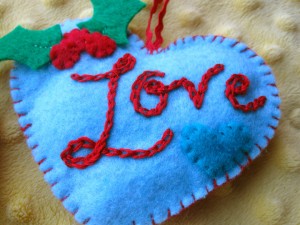
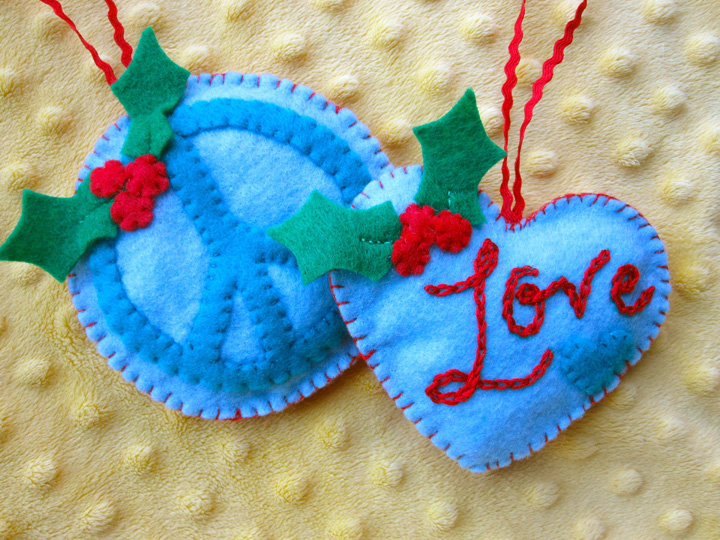
Here are my first two ornaments: Peace and Love. Some of the photos came out with the colors off, but the photo at the top is accurate.

The supplies you’ll need are:
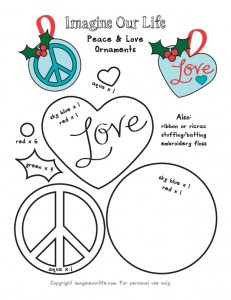
Felt (in red, sky blue, aqua blue and green), embroidery floss (in red, aqua blue and green), red ribbon or ric-rac, batting/stuffing, needle, scissors, pins, water-soluble marker or thin Sharpie and the pattern print out.

  • Start by cutting out your pattern pieces, pinning them to the felt and cutting all the elements out.
  • Decorate the fronts of each ornament. For the Peace sign, I did the stitch I usually use when sewing a felt applique: short, perpendicular stitches across the edge of the applique all the way around. I did the same for the berries, but sewed the leaves down first. For the leaves, I did a simple back stitch ⅓ of the way up the centers and left the rest loose. On the Love ornament I did the little heart and the holly with the same techniques. To transfer the text, I pinned the pattern behind the felt and held it up to a light. I was then able to trace over the word with a marker. I sewed the word using a chain stitch with 4 strands of floss (I normally use 2 strands for everything else.)
  • Cut two 6″ length of ribbon or ric-rac. Fold them into loops and pin them in place between the two sides of each ornament. Sew halfway around each ornament with a blanket stitch (I used red floss as an accent.) Add batting or stuffing (I used batting and cut them ¼” smaller than the main shape) then continue all the way around to finish them.

Peace & Love Felt Ornaments

Simple and sweet!

If you make your own, I’d love to see them! Send me a photo or link and I can add yours to this post.

Sewn Paper Mobile Tutorial

This post is dedicated with love to baby S. If you find this post helpful, please consider making a donation to help the March of Dimes fund the research that will get us closer to stronger, healthier babies.
 

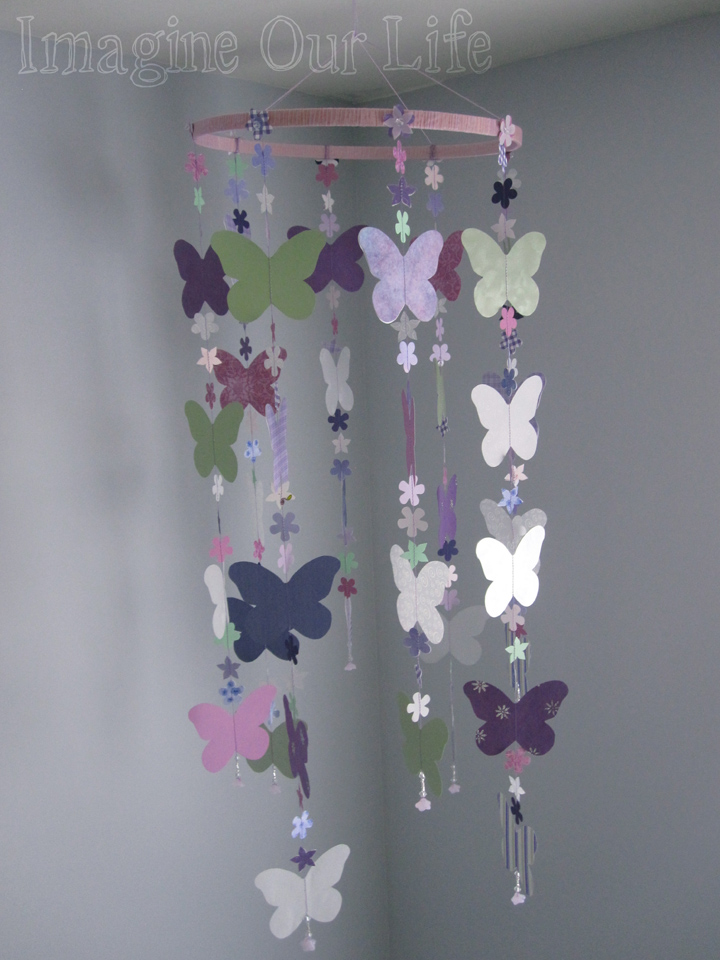
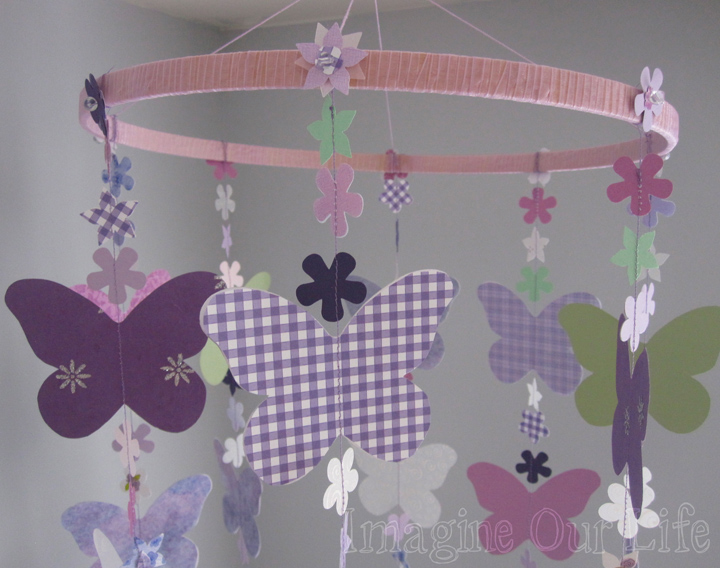
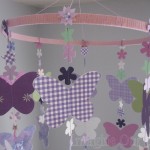
At first I thought I was completely insane and over-ambitious to decide to make a huge paper butterfly mobile. Turns out, it wasn’t bad at all! After late night inspiration struck, I was able to whip this up in no time (*not* counting the time to cut out the butterflies!)

This technique is great for paper garlands as well. I’ll be doing a tutorial for one soon.

You’ll need:

  • Card stock and/or vellum. I used both.
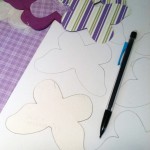
  • Butterfly template. I printed mine on card stock so it was easy to trace.
  • Paper punch(es) for little flowers. I used the McGills Petite Petals Punch
  • Sewing machine, thread and beading needle.
  • Assorted beads, including some drop beads. I used pink flowers.
  • The inner ring of a sewing hoop.
  • Ribbon and glue to cover the hoop.
  • String or ribbon to make the hanger. I used crochet cotton.

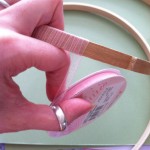
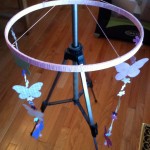
I started by wrapping the inner ring of a wooden embroidery hoop with ribbon and gluing down the end (I “clamped” it with tape overnight while it dried.) I cut two lengths of crochet cotton that were longer than the diameter of my hoop. I tied one so it split the hoop in half, then tied the other perpendicular to that so it split the hoop in quarters. I then grabbed the centers of both strings and tied a ribbon to the center so the mobile could hang from the slack in the strings.

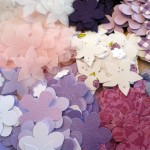
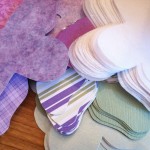
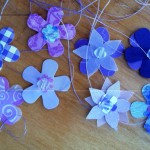
The time consuming part was cutting and punching the paper. You need to cut out at least 36 butterflies for the layout I used, more if you used single-sided paper and use two pieces back-to-back. I did some of both. I punched a zillion flowers since I wasn’t sure how I was going to use them. Luckily, my punch cut out 3 at a time! I used some solid paper, some vellum (solid and patterned) and some patterned paper. They were all from the scrapbooking aisle of the craft store.

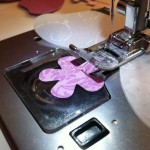
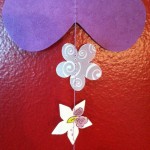
Sewing the strands of the mobile is so easy! I sewed mine from the bottom up. Leave about 10″ of spare thread before starting (you’ll need that for adding beads later) then start sewing as you feed the bottom of a butterfly into the machine. When you get to the top of the butterfly, position a flower the distance you want it from the butterfly and push it under the foot as you continue sewing. My patter was 3 flowers between each butterfly and I ended with 3 flowers on top. I did four strands with 4 butterflies and 4 strands with 5. When you end your strand, back stitch a bit, then leave another 10″ tail so you can tie the strand to the hoop.

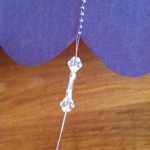
Once you’ve sewn your strand, you need to weigh it down with beads. I made a little pattern I liked and ended with a drop bead. To put the drop bead on, I threaded one strand of my thread through the hole one way and the other strand the other way. then I made a knot above the bead and clipped the tails. You could add some Fray Check to the knots for security. (I used Fray Check on the strings that tie the braids in my hair closed!)

Tie your strands of butterflies and flowers to the hoop. I tied 4 of them right to where my hanger threads were attached, then the other 4 in between. To make it easy, I hung mine from the adjustment arm of a camera tripod.

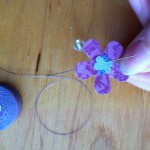
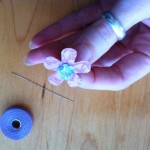
To pretty-up where the strands are tied on, I made some little flower embellishments. You could easily hot glue some purchased silk flowers or butterflies too. I took a length of thread and a beading needle and ran the thread halfway through the center of some flowers. I added a bead then went back down through the center of the flowers with the other half of the thread. I used the two tails to tie each beaded flower over the knots of the butterfly strands.

Then you are done! Hang it by it’s ribbon and enjoy! (Mine is just taped up for a photo. You’ll want a nice hook.)

Jax’s Homemade Brobee (Little Green Monster) Costume

Happy Halloween!

I’m so glad I was able to finish sewing Jax’s Halloween costume in time for trick-or-treating! This will be his first year for it, but I don’t think we’ll go to too many houses. I think he’ll enjoy handing out candy.

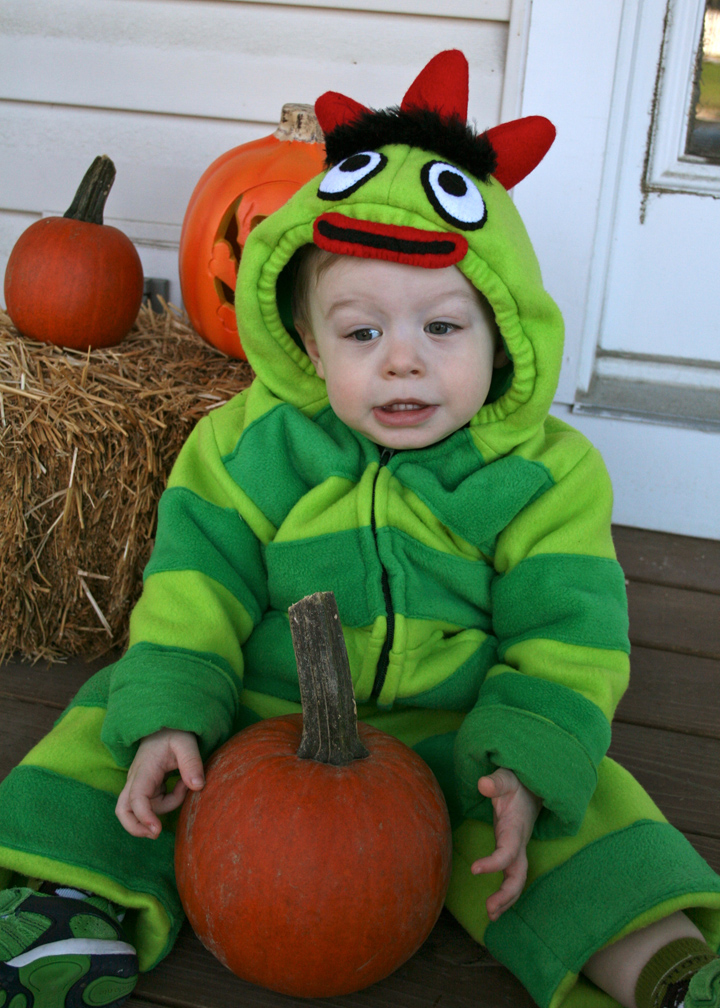
This is probably the last year I get to choose his costume. I’ve wanted to sew him a Brobee costume since last year, but it was just too much effort for a baby that wasn’t going trick-or-treating. I know Yo Gabba Gabba is a little obscure, but everyone recognizes that he is dressed as a “little green monster” just fine!

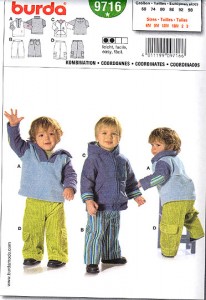
When I started planning the costume, I knew I needed to have a base pattern to work with. I originally was looking at long pajama patterns, but when I figured out how much work the costume would be, I wanted to make something he could wear beyond Halloween. So I ended up going with a coat and pants. I went to Joann’s at naptime with Jax in the Gemini and found this great Burda pattern. I made the center look, in size 2T, but left off the embelishments.

The outside is made with fleece that I sewed darker green stripes on before sewing it together. I lined the coat in green flannel. I added the horns in red fleece and sewed the eyes and mouth out of felt. The unibrow is marabou sewn to a strip of hook & loop tape so I can remove it to put the coat in the washer. I modified the hood by adding a casing with elastic around Jax’s face to keep it up. The sleeves have to be cuffed, pants are hemmed up 3″ and I cinched in the elastic waist for now as he is not a 2T yet, but he has room to grow into it!

Yesterday we joined the neighborhood costume contest and parade in the local park. Jax won 3rd prize and was thrilled that his prize involved a new pack of crayons!

My Handmade Weekender Tote

We have a cross-country trip coming up in less than a month, so I’ve had packing on the brain. I have to carry my laptop on the plane so I will be able to work nights during the trip (freelancers get no vacation pay!), and I’ll have stuff for baby and I as well. But what bag to use?

The Inspiration

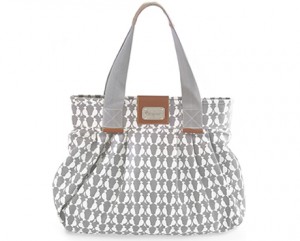
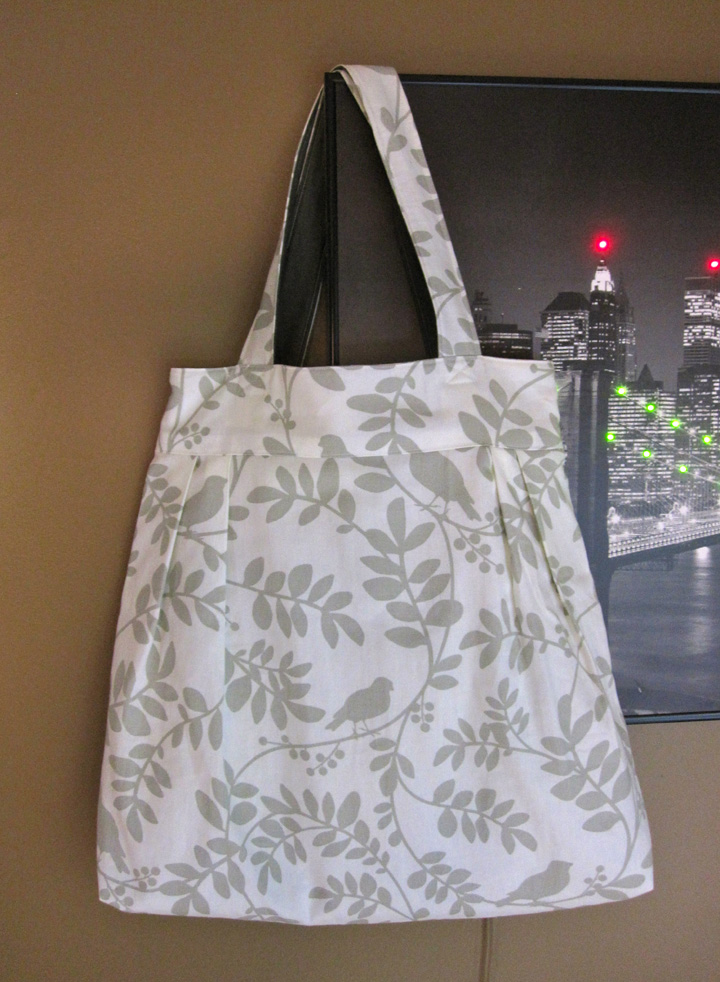
I fell in love with Kokopax’s Samantha Tote diaper bag in their gray and white “flutter” print. So pretty! I love gray and white together. When I first found it, it was on sale for $62 but I didn’t have the money. My heart sank when it went up to $98. All hope was lost when it went up to $158 (!!) What’s a crafty girl to do? Make her own!

Since I wanted something big enough to put my laptop in, hold baby items and be a purse, I decided on a weekender-sized tote. I want a separate, matching laptop sleeve and a zippered pouch that can come out. I’d had troubles sewing my own bags in the past, so I was leaning towards a pattern. When nothing fit the bill, I read 1,004,572 tutorials and decided to just design my own.

The tote is done! I was only able to sew 15 minutes at a time here and there over a week, but it didn’t take long at all. I still need to do the padded laptop sleeve and zippered pouch out of my leftover fabric.


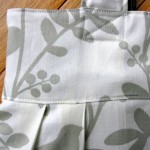
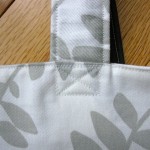
The tote is fully lined with fusable fleece. The outside is home decor weight fabric by Dwell Studio. I splurged on 1 yard when it was on sale for 50% off. It was the only fabric I liked and is much stronger than quilter’s cotton. The straps have fusable fleece in them as well, and they are reinforced for strength where they are attached.


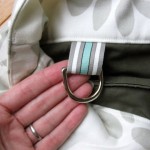
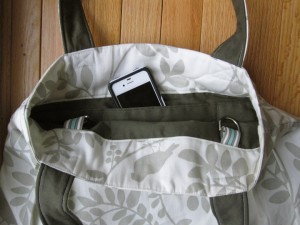
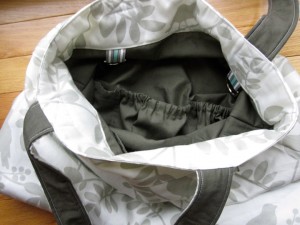
Inside, one side has a row of open pockets up high for my cell phone, pocket camera, etc.. The other side has diaper bag style elastic pockets down low to hold diapers/wipes, sunglasses case and more. I added two D rings on ribbons because I like to clip my keys and some anti-bac to the top of my bag.

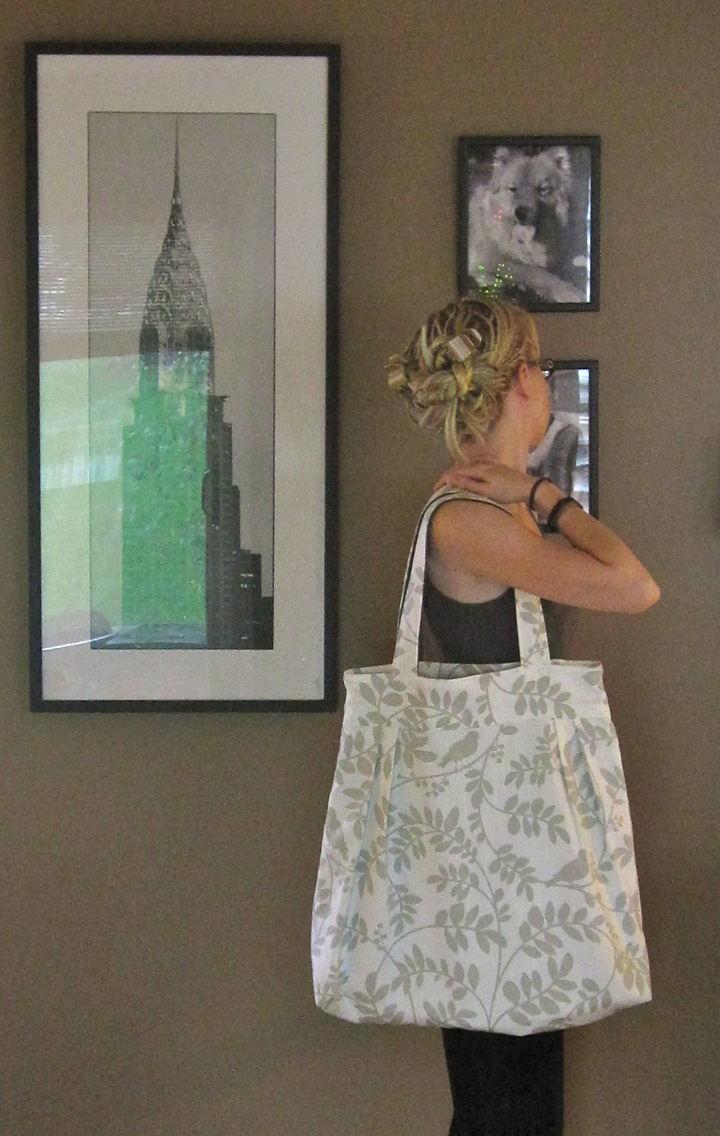
I love it! I made the tote long enough that my laptop will be a few inches below the top of the bag when on its end. There is plenty of room for sweaters (we are flying from VA to CA in November – big climate difference!) or a blanket, but its soft structure will fold up under an airplane seat. I don’t know if I will carry it as a daily bag, yet. It may be too big for that when loaded. I can certainly make a second bag this winter that is shorter for daily use.

I’ve been on the fence about putting a magnetic snap on the bag since a computer will be in there. What do you think? (Please excuse the pj’s and messy hair! It was one of those days…)

iSpy Bag Tutorial

Update:The iSpy bag came out so freaking cute, but I ultimately decided it was too thick for the quiet book. I’ll be posting my redo of it tomorrow or Monday. But, I still plan to use the method blow to make iSpy games as fun, easy gifts!

I love iSpy games! They have all kinds of fun trinkets buried in beads/pellets/rice and you have to squish them around to find everything. It’s a little beyond Jax right now, but I wanted to make one and have it be able to attach to a page in his quiet book.

On the quiet book page

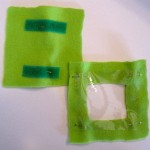
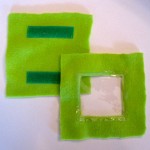
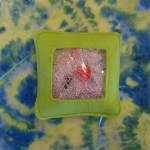
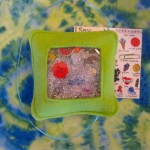
The page itself is simple. I took a piece of fancy felt (tie dye) and sewed down two strips of Velcro so the game would have a place to live when it wasn’t in use. This page will be thick, but most of mine are.

Here’s how you make an iSpy bag. They are fun to make even if you aren’t making a quiet book!

You’ll need:

  • fleece scraps (mine were two 6″ squares)
  • a scrap of clear vinyl (mine was about 5″)
  • poly pellets, beads or rice
  • ribbon (to attach your key card)
  • fun objects (buttons, trinkets, paperclips…)
  • print out of your objects (laminated or covered in clear packing tape)
  • sewing machine/thread/scissors
  • Velcro (if you are attaching it to a Quiet Book page

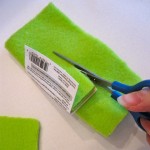
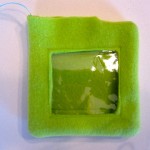
I started with two pieces of fleece that were about 6″ square. I sewed the other half of the Velcro strips to the back piece. I took the front piece and folded it in half. I took a square of scrap cardboard and folded that in half as well. I centered it over the fold of the fleece and cut it out to make the window hole.

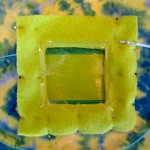
I took a square of clear vinyl that was larger than my window and sewed it to the wrong side of the fleece, then trimmed it down to about 1/4″. I pinned the front and back pieces together, right sides facing, and added one end of a ribbon. (I sewed the ribbon into a side seam then pulled it up through the side I left open. I wanted it to be anchored into two seams.) I sewed around 3 sides then turned it right side out. I was going for rounded corners, so I didn’t clip mine before turning.

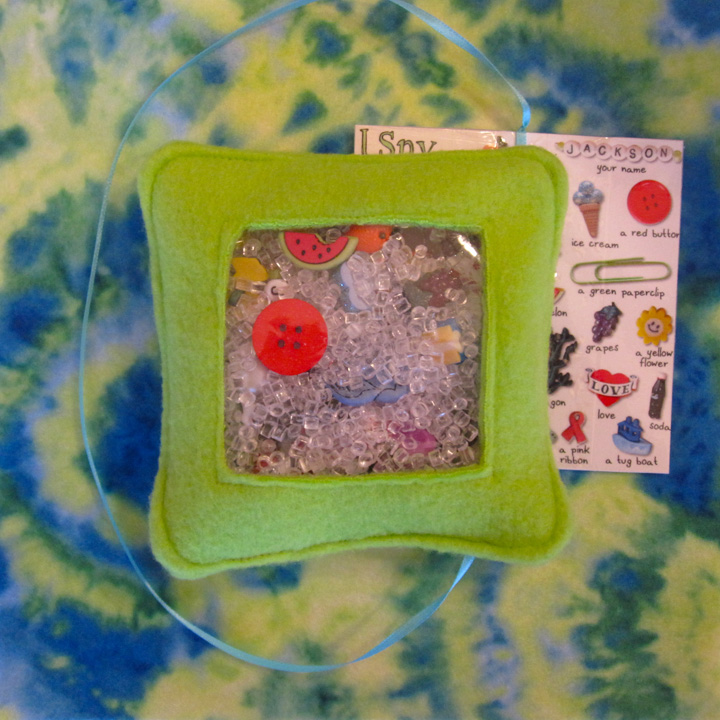
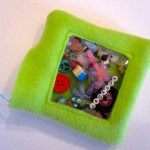
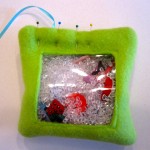
I took all my fun objects I’d collected and placed them in the bag. I mostly had decorative buttons I’d found for a great price at the craft store. They gave me a really good assortment of objects to search for. Then I filled the bag about 2/3 full of poly pellets. I folded in the open side and pinned it shut. I top stitched around the whole bag, going 2 times over the open side (and testing the seam by trying to pull it open afterwards. You don’t want pellets going everywhere!)

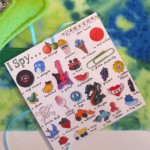
For my key card, I laid out my objects beforehand and took a photo of them on a white background. In Photoshop, I rearranged them a bit and added text. (You can download the font I used for free here. It is made from my handwriting.) I printed the 4″ square on 4″ x 6″ photo paper and trimmed it down. I don’t have and laminating pouches, so I took clear packing tape and covered both sides to make it waterproof and more stable. I expect I’ll need to replace it eventually if it gets too folded. I punched a hole in the top and tied it to the other end of the ribbon.

So fun! I’ve played with it a bit with Jax and he was excited when we found the “choo choo”! I think adults can have just as much fun as kids. I may do something with iSpy bags as gifts or party favors in the future. They take so little time to make!