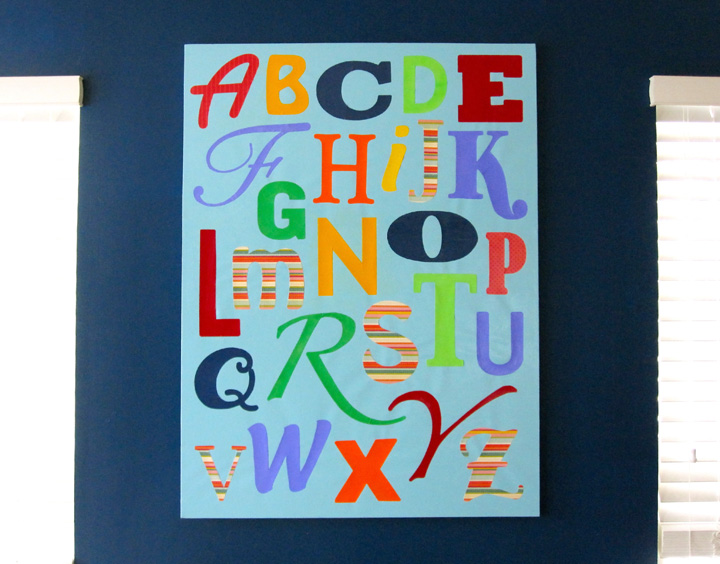
 I’ve been wanting some art for Jax’s playroom for quite a while. Large scale art is quite expensive, so it was time for a little DIY. I knew the first piece I wanted to make would involve the alphabet. Jax can recognize 90% of the alphabet and loves to point out the letters he knows.
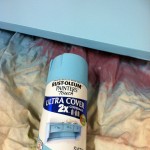
 The only thing I bought for this project is spray paint. I got Rustolium Painter’s Touch in aqua satin finish. I already had the 30″ x 40″ blank canvas
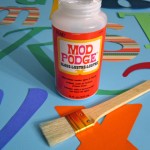
 – a gift from a dear friend before she passed away. The scrapbook paper and Mod Podge
is from my craft stash.
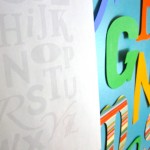
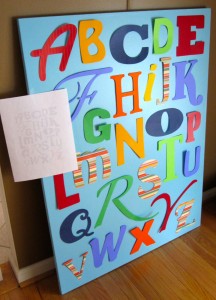 To start, I created a 30″ x 40″ document in Photoshop and started laying out the alphabet in different fonts until I was happy with how it looked. I then cut everything up into templates and printed them out (in light gray to save ink.) If you’d like my pattern, download a zip file here. If you have a different size canvas, you’ll have to scale the templates accordingly.
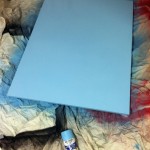
Spray painting the canvas took all of 5 minutes and I only needed one good coat. I’m planning to use the leftover paint on a smaller canvas for the reading nook.
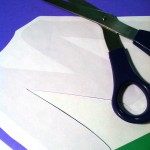
The part that took the longest was cutting out the letters. The templates print out backwards, so I’d lightly tape one to the back of my paper and cut out both the template and paper at the same time. Some letters, like the F and R, were too big to print in one piece. I had to print them in parts and tape it together before cutting the letter out. As I cut each letter, I’d tape it to my canvas using my layout as a guide, choosing colors as I went.
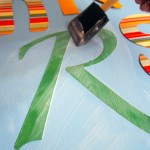
 Once everything was cut, I was ready to glue the letters down. I used the leftover Mod Podge from my barn project. I started with a paint brush but it started shedding so I switched to a foam brush. I simply picked up a letter (throwing out the tape), painted a layer of glue on the canvas, placed the letter back down, smoothed it out and painted glue over top. I found heavier scrapbook paper worked better. My very thin dark blue paper wrinkled up as it was drying. I made sure the glue covered the whole canvas for an even finish.
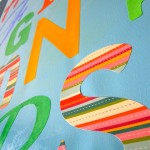
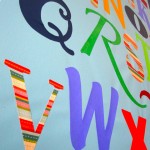
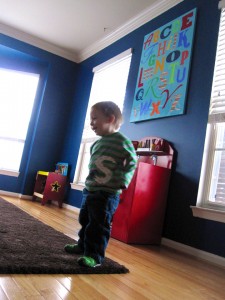
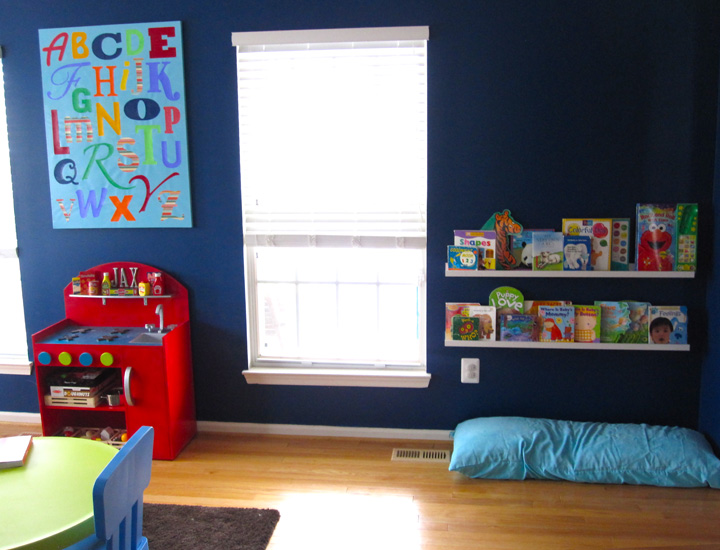
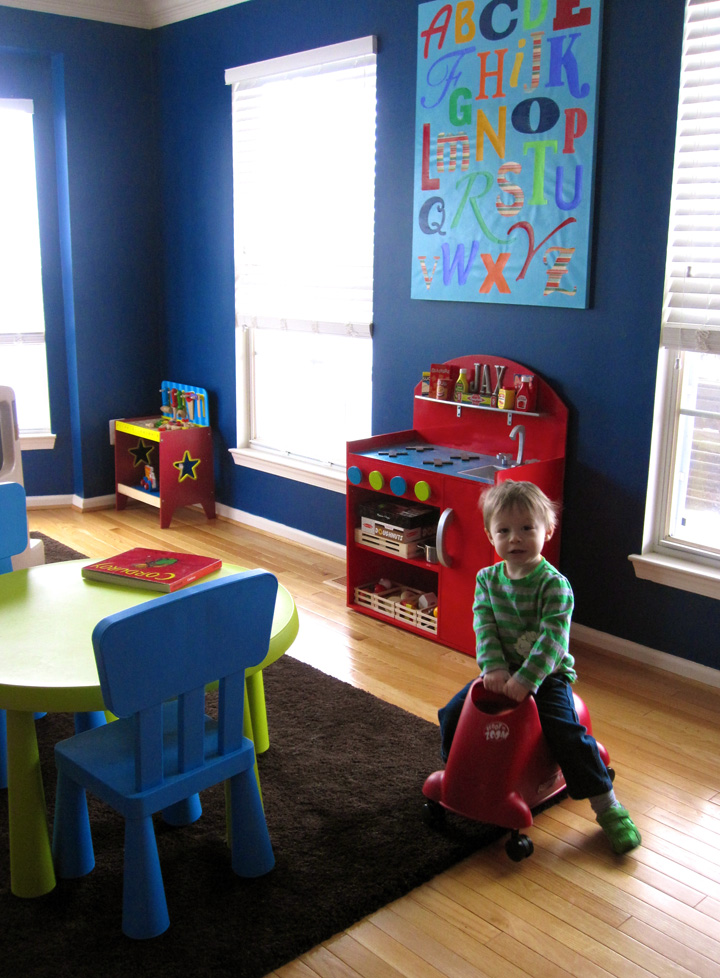
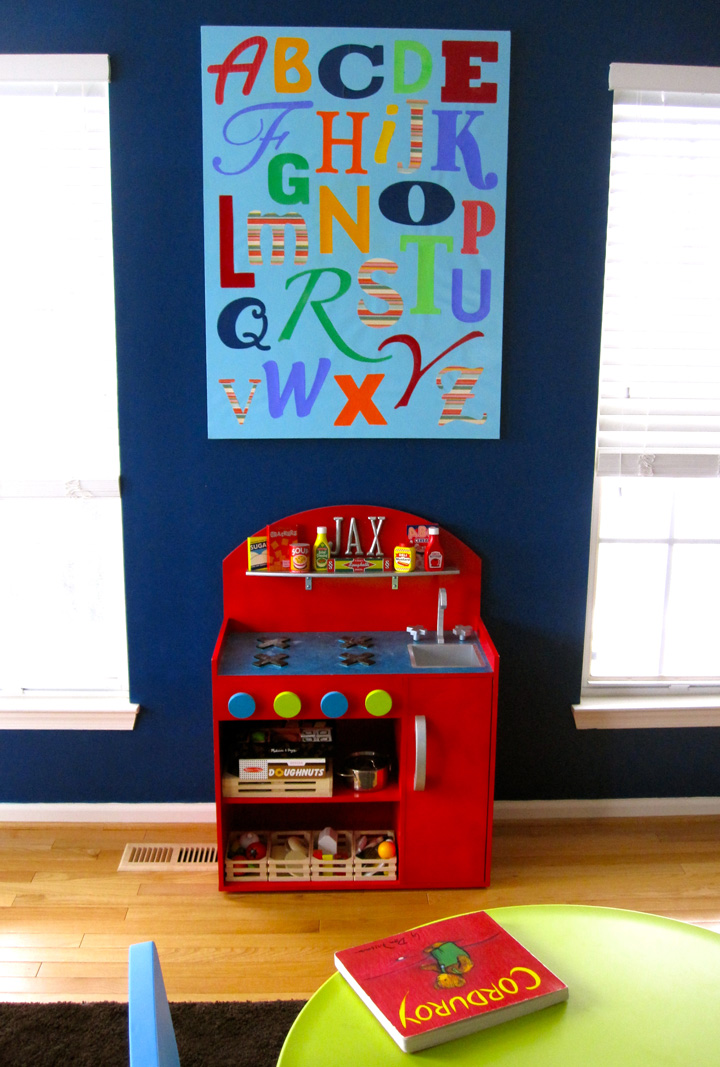
I let the canvas dry overnight and was so happy when I saw the result in the morning light. It looks so colorful and happy in the playroom and fits perfectly between the windows over Jax’s little kitchen. (Side note: I just bought wood to add two more shelves to his kitchen. Those Melissa & Doug food boxes drive me nuts stacked like that!)
What do you think of our ABC art?

