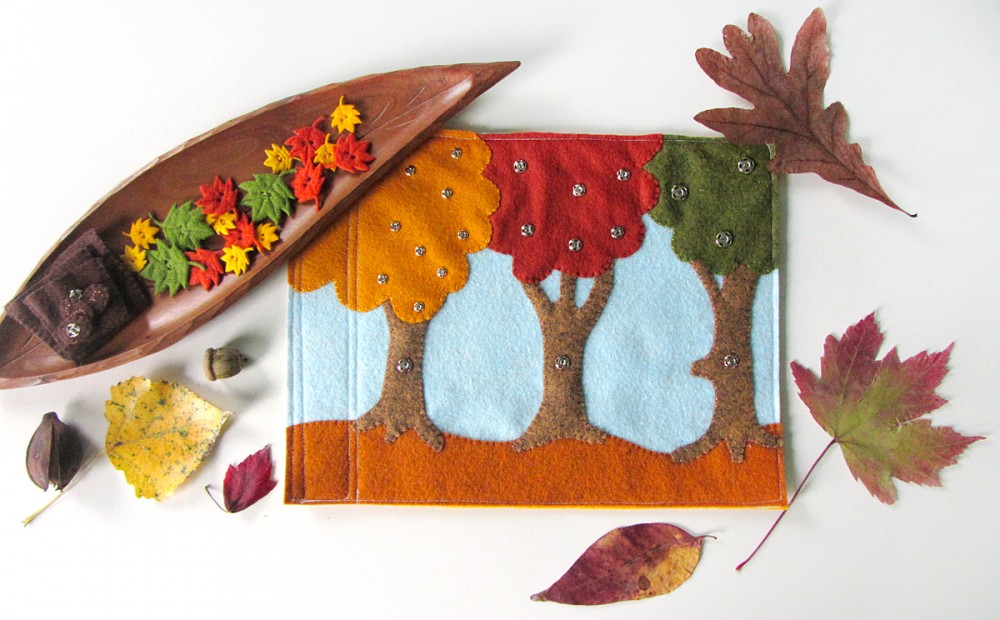
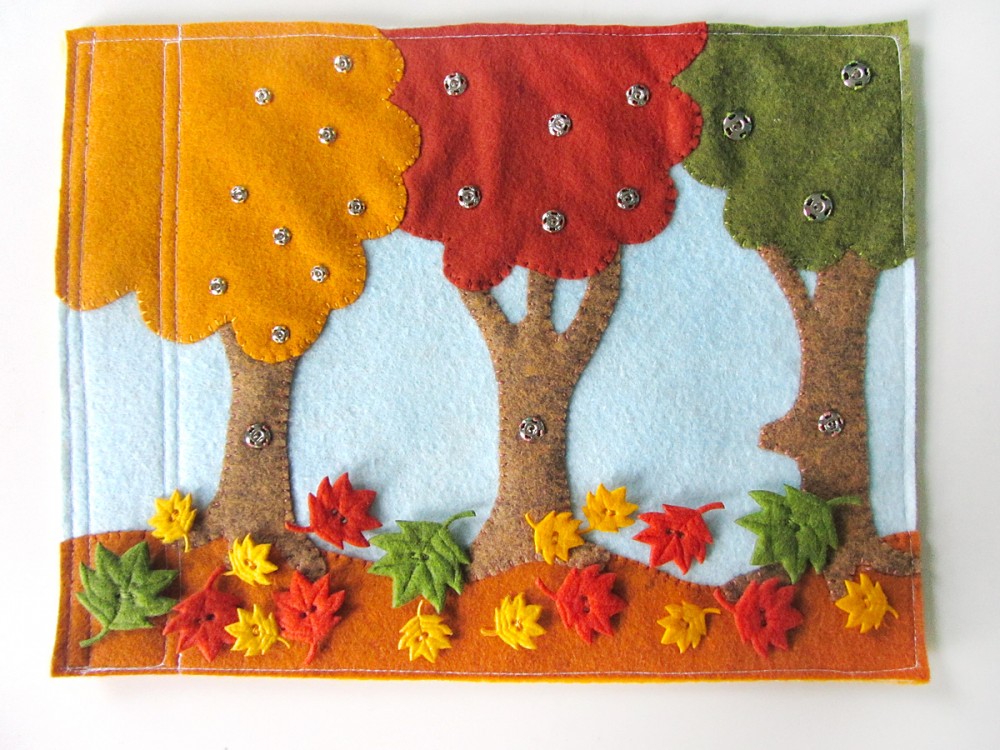
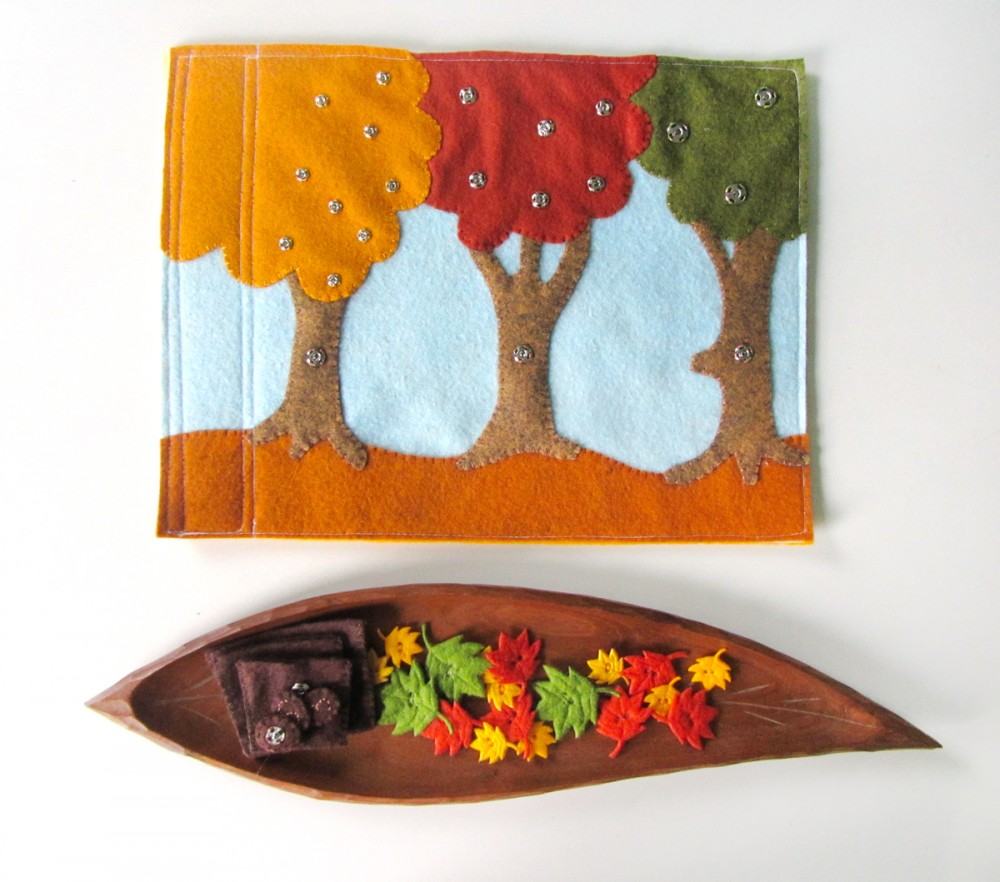
This quiet book page was designed last year, but I ran out of time before autumn ended to actually sew it. This year I made sure to pause my projects and get it finished. We don’t have any trips coming up that require a quiet book, so I especially like making ones that fit in well on our Montessori homeschool shelves. This page certainly does!
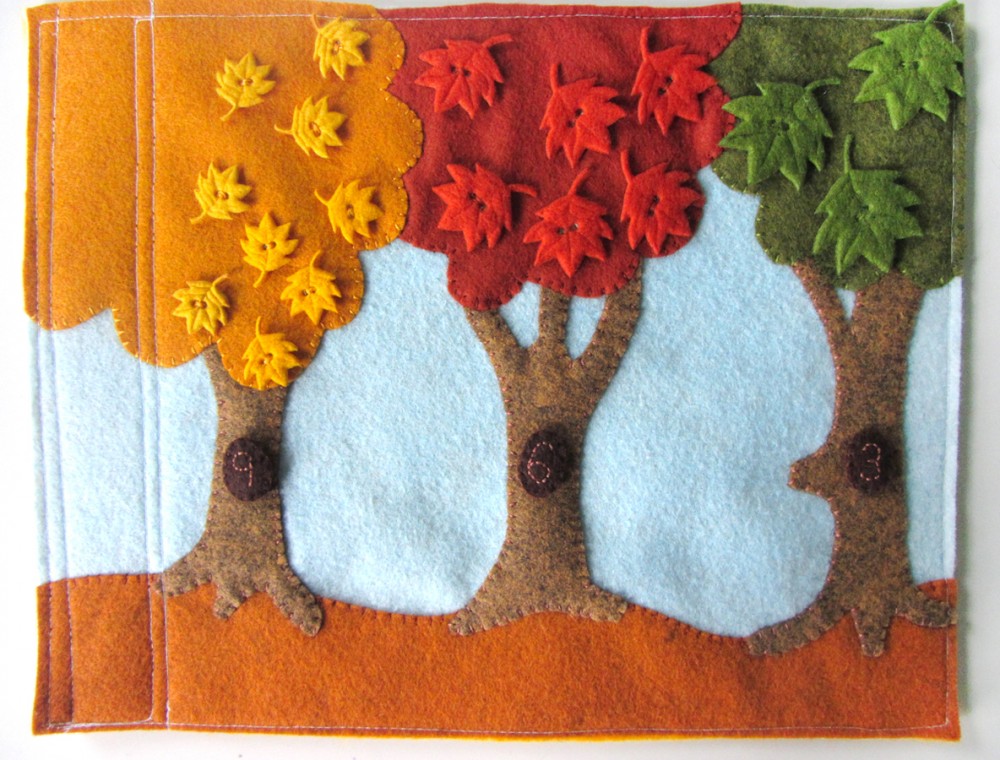
There are a number of features to this page: practice with snaps (which improves motor skills and the ability to dress yourself), sorting colors, sorting sizes, and counting.
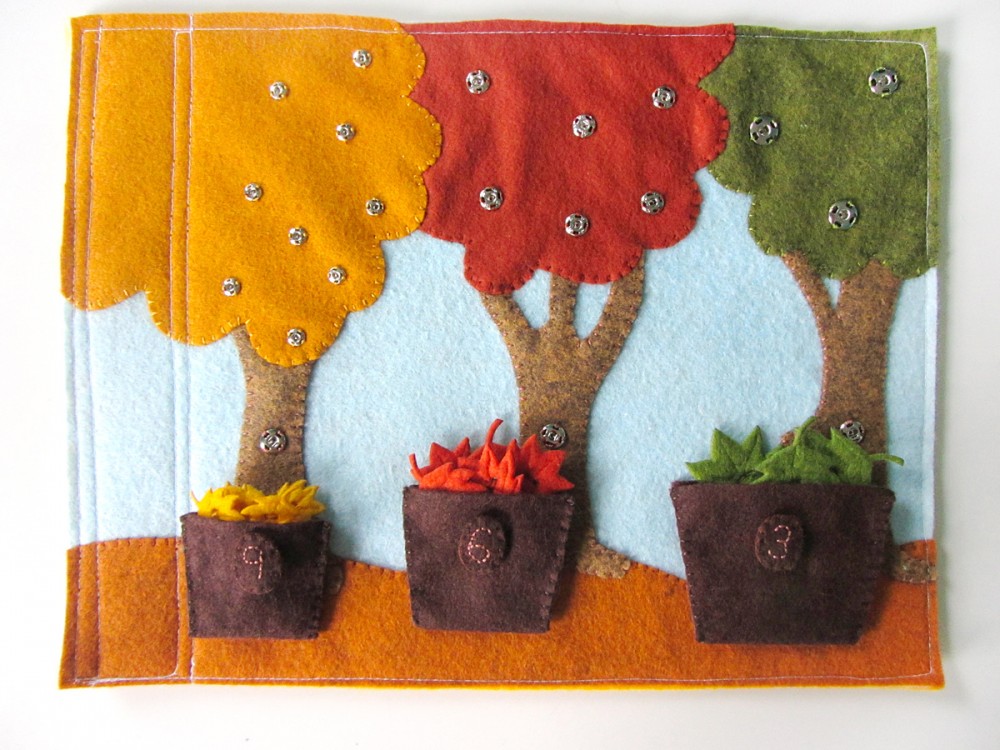
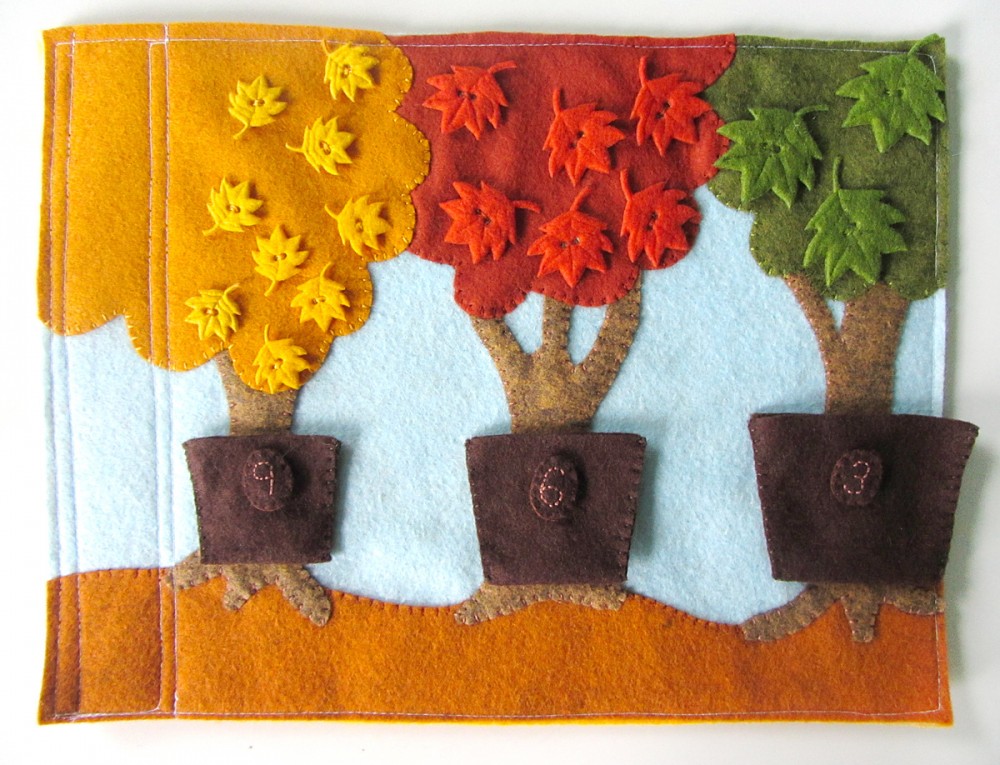
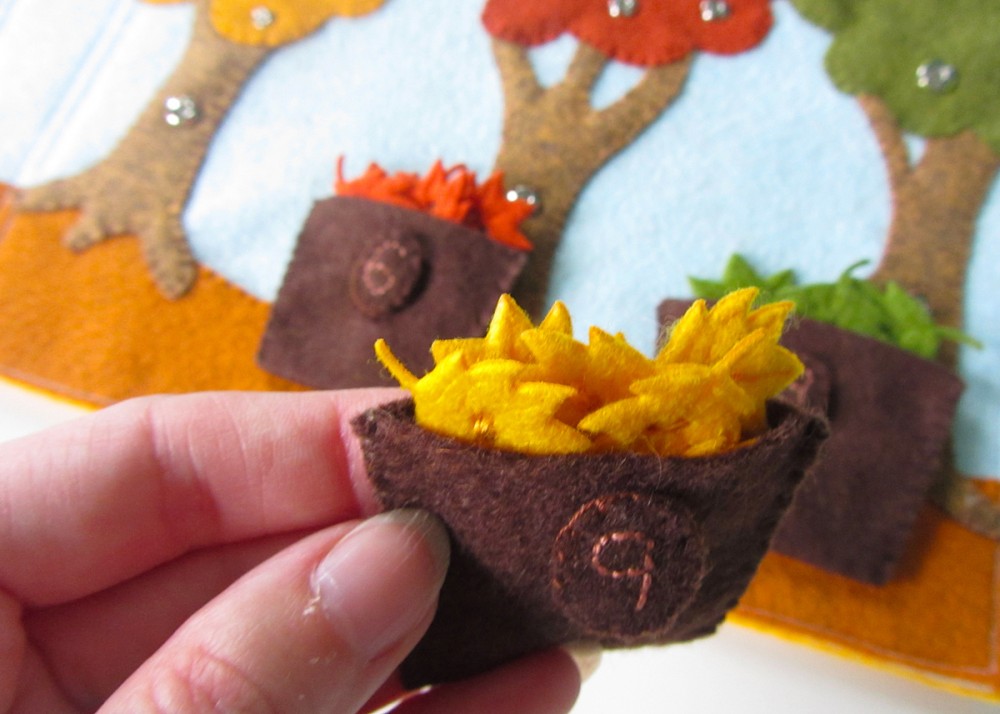
I included three bins with snaps to add number labels. (The labels can also be placed on the trees!) I left it open for Jax to decide how to use the bins. He could potentially put the largest quantity of leaves in the largest bin, or he could put the largest sized leaves in it. This is something you could explore with your child.
When you are finished with the page, you can snap the bins to the trees for storage.
What I Used:
- The Pattern
- Felt from American Felt and Craft (in sparrow, sweet potato, tabacco, autumn leaves, auburn, fresh cut grass and chocolate.)
- Three size 1 snaps
- Six size 1/0 snaps, six size 2/0 snaps and 9 size 4/0 snaps (from the same pack
)
- Fray Check
This biggest bummer about this project is that I bought the leaf buttons last year, and now they are no longer made by the manufacturer! When I posted to our Facebook page about it, I linked to the one source I had seen so far. But now all 10 packs are sold out.
Here are a few non-felt button options you could try. I’m not sure how well sewing a snap to a plastic button would work though. There is a pack of 12 buttons that match the colors and sizes I used, but you’d need multiple packs to have the same number as me. Here is a larger listing of those buttons. This is another brand, but the colors and sizes seem more assorted. There are a number of felt die cut leaves on Etsy, but they all seem to be larger. This seller has some that are 25mm. (Last photo below copyright Planeta Costura.)
You may be better off cutting out your own out of felt. If you want to skip snaps, you could just cut one layer of felt for each leaf (I recommend thicker wool-blend felt), but be aware they are more likely to get damaged or lost. You could take the time to cut 2 layers per leaf and sew them together. It’s so frustrating that they aren’t sold anymore!
Sewing the Page
Background: I started by cutting everything out and pinning it down: first the ground, then the trunks, then the tree tops (green, red, then yellow). I sewed down the tree trunks, then sewed down the tree tops. Then I sewed down the top edge of the ground that was showing between the trees.
Note: This is how I sew my quiet book pages together. Because I sew all the way around the edge while sewing on the backing, I don’t usually bother to sew elements along the edges of the page.
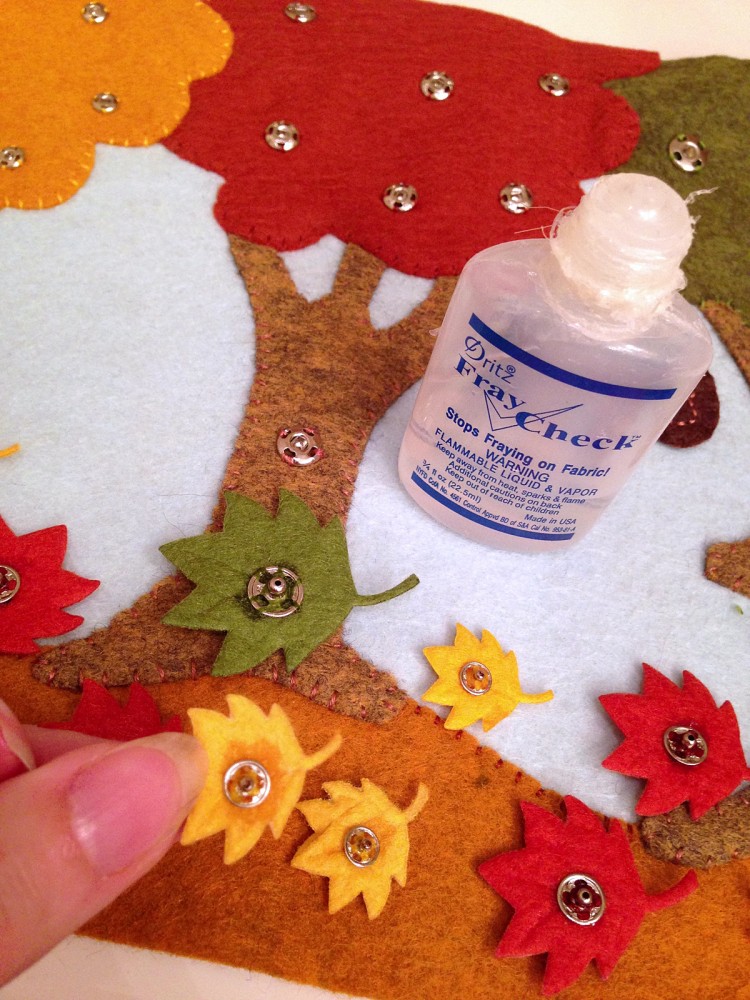
Leaves: For all of the leaf buttons, I used A LOT of stitches to attach snaps to the backs. Then I coated the stitches with Fray Check and let them dry overnight.
Tree Snaps: On the green tree, I sewed down 3 size 1 snaps. I sewed the matching halves to the backs of the green leaf buttons. On the red tree, I sewed 6 size 2/0 snaps on to the tree top and the red leaves. On the yellow tree, I sewed down 9 size 4/0 snaps to the tree top and leaves. Not that I left a 2″ area on the left without snaps to allow for where I sew my binding and add grommets. I have not added grommets yet. I usually do that right before a trip when I need to link pages together.
I added a size 1/0 snap to each tree trunk to hold either the numbers or the bins.
Numbers: I back stitched numbers on the fronts of each number pieces and the other half of those 3 size 1/0 snaps to the backs. Then I sewed them together.
Bins: The bins were just sewn together with an open top. I cut mine on a fold so I didn’t have to sew the bottom. I added a snap to each one – one half of the snap set on each side of a bin. These snaps let you either attach the number label or attach the bins to the trees.
Montessori Use
This page works well as a Montessori activity for our autumn unit. I adore this wooden leaf tray I found at a thrift store! It is perfect for presenting the leaves or other autumn supplies. I’ve also laid it out in a tray with the leaves spread out on the ground just like Jax finds them outside.
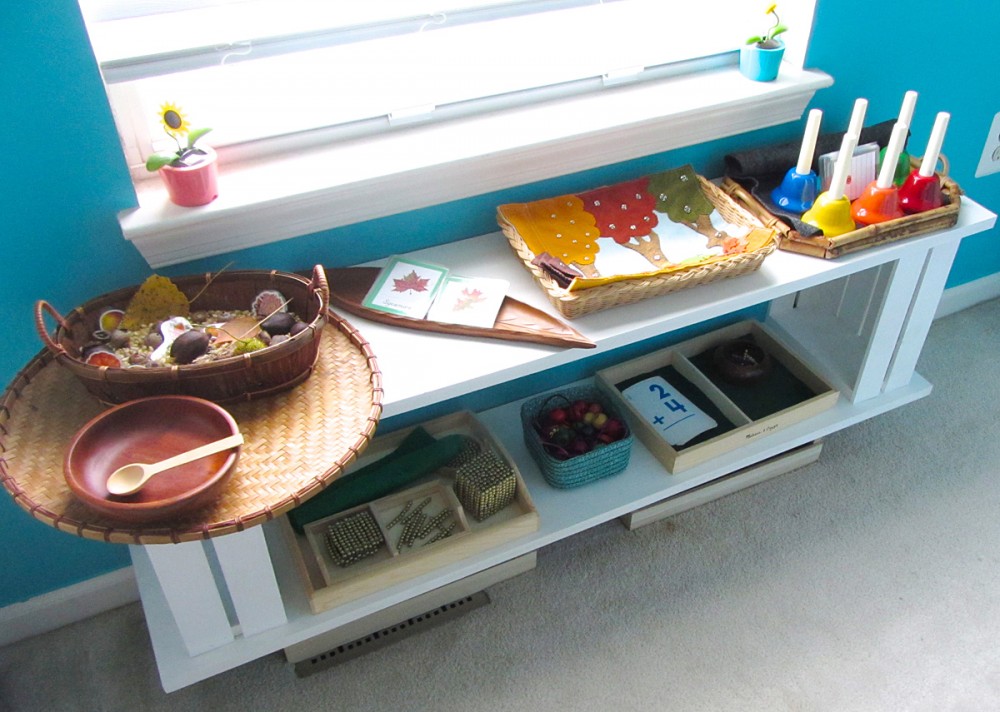
Here is our current main shelf of our homeschool room. The bells will be featured in an upcoming post!
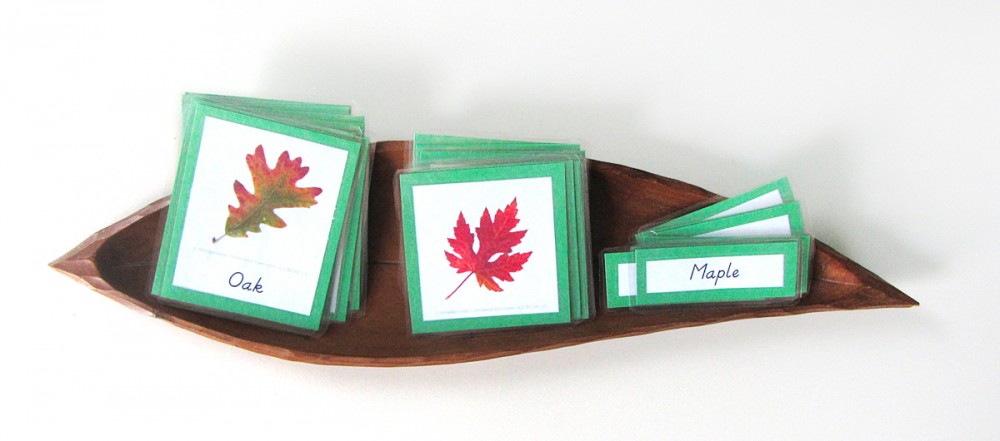
Autumn Leaves 3-Part Cards
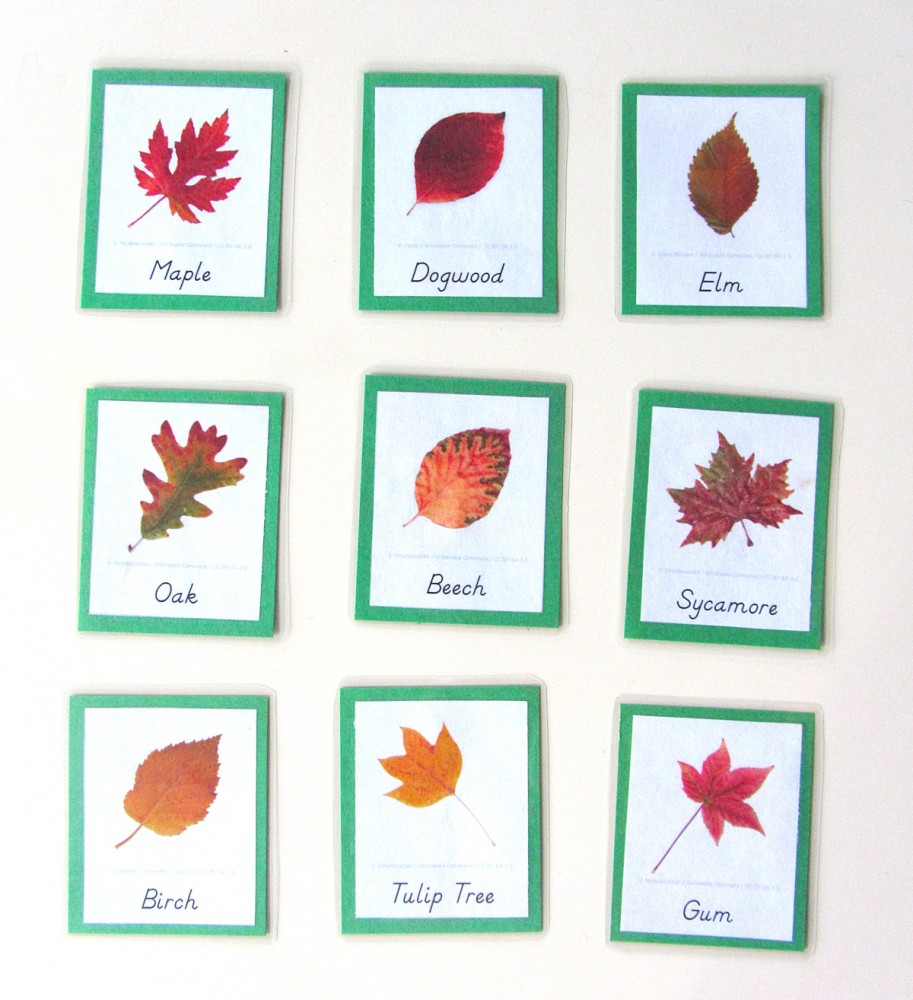
In the Montessori method, 3-part cards are an essential tool that can follow your child through multiple levels of development. They can be used in any subject to aid in adding vocabulary, learning to sort/classify, reading practice and so much more. Three-part cards are made up of two photos – one with a label, one without – as well as a separate label. Younger children start with the labeled card to help them learn the vocabulary. One of the best ways to use them is with small objects that match the photos. Older kids can work with the unlabeled card, matching the correct words or writing their own.
I put together a set of 3-part cards for Jax to learn how to recognize various leaves in our area. I used only trees that can be found in our area, but they are very common ones. You are welcome to use my free pdf to make your own set! I am hoping to take our cards out on a walk once more leaves start changing colors so we can match them up. (Our server caching is causing troubles for some people. Here is an alternate download link!)
To make mine, I cut them out, glued them to green card stock (this is simply a color I chose to assign to all my future botany collateral) then laminated them. It makes them shiny and strong. I really love my laminator – as everyone told me I would!
Autumn Leaf Watercolors
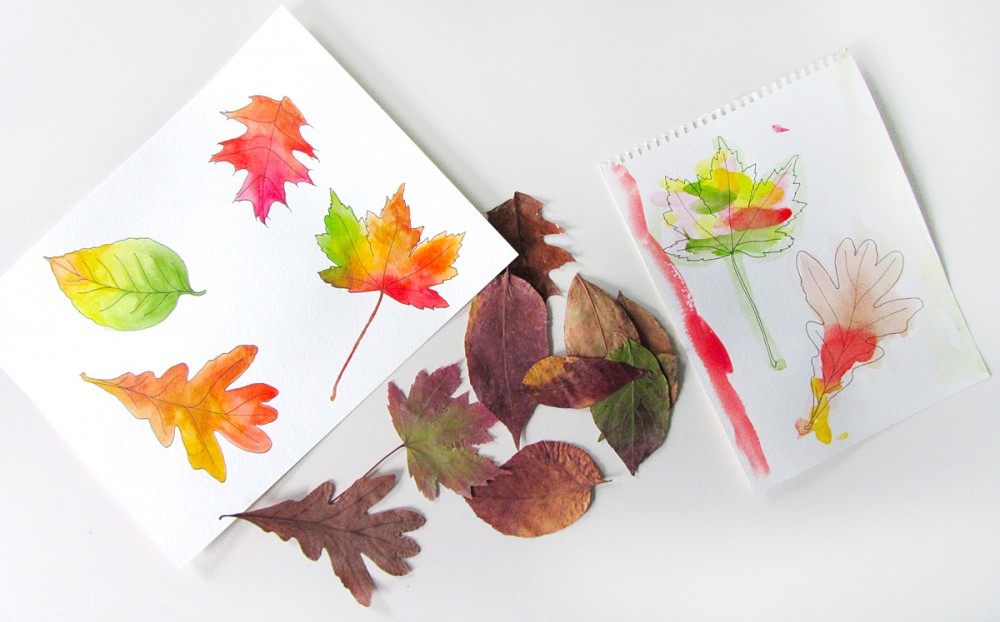
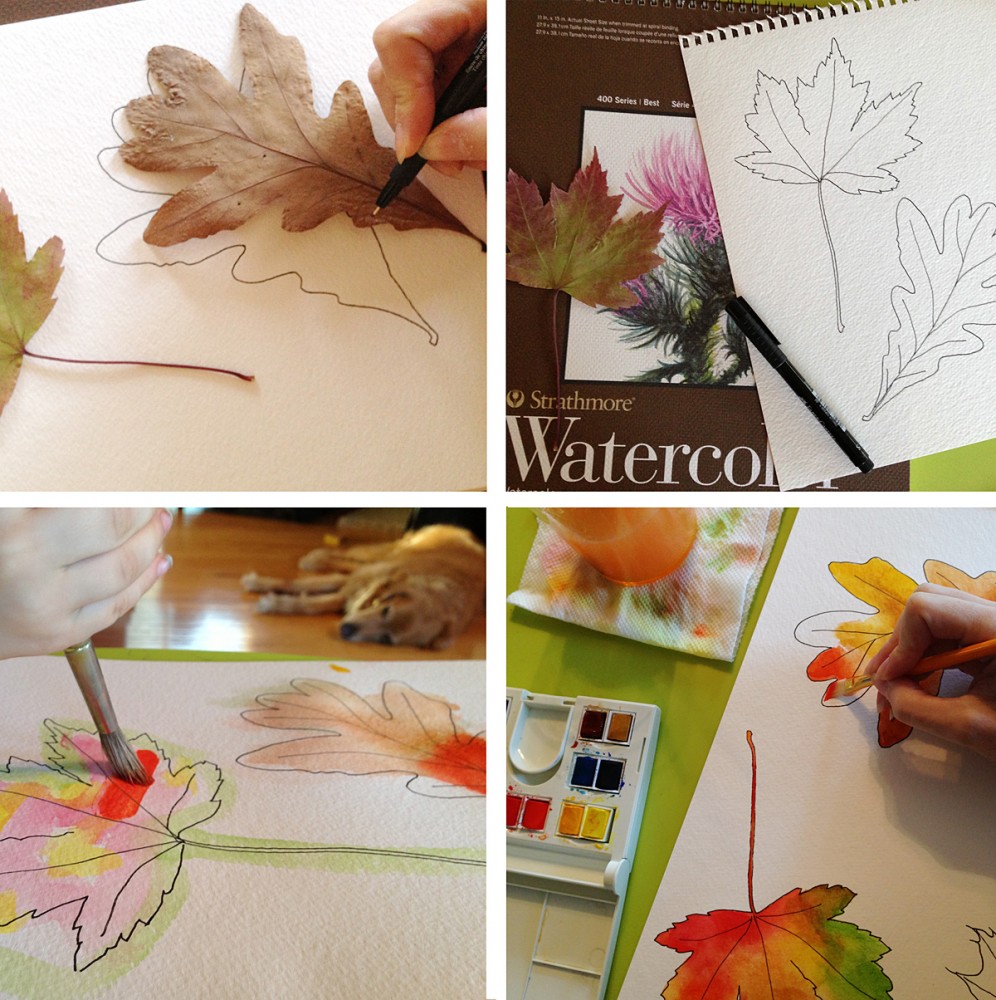
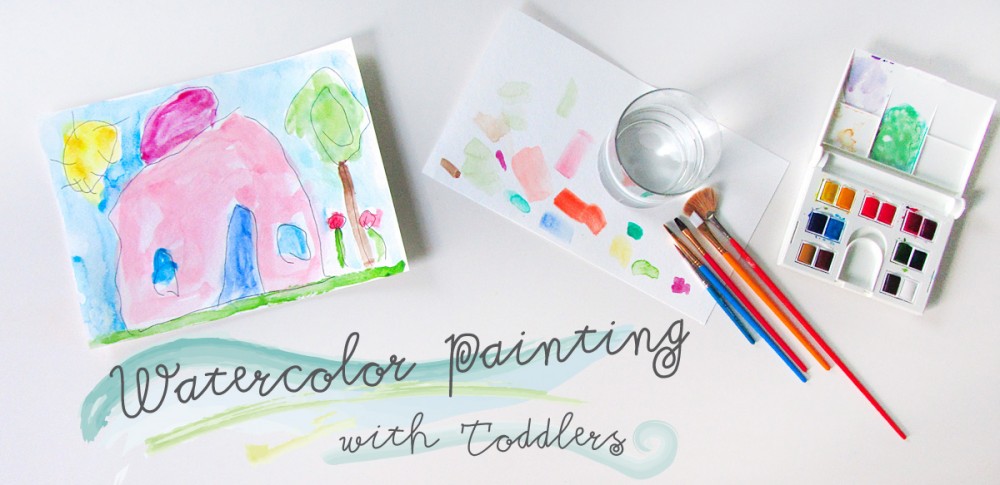
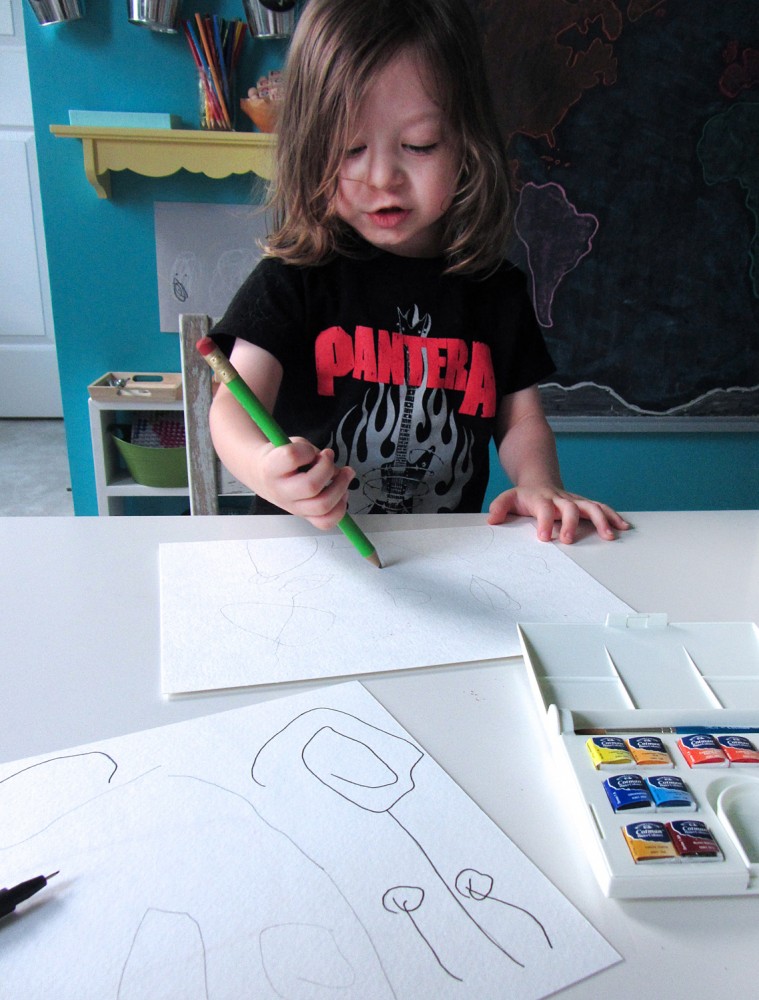
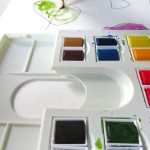
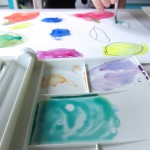
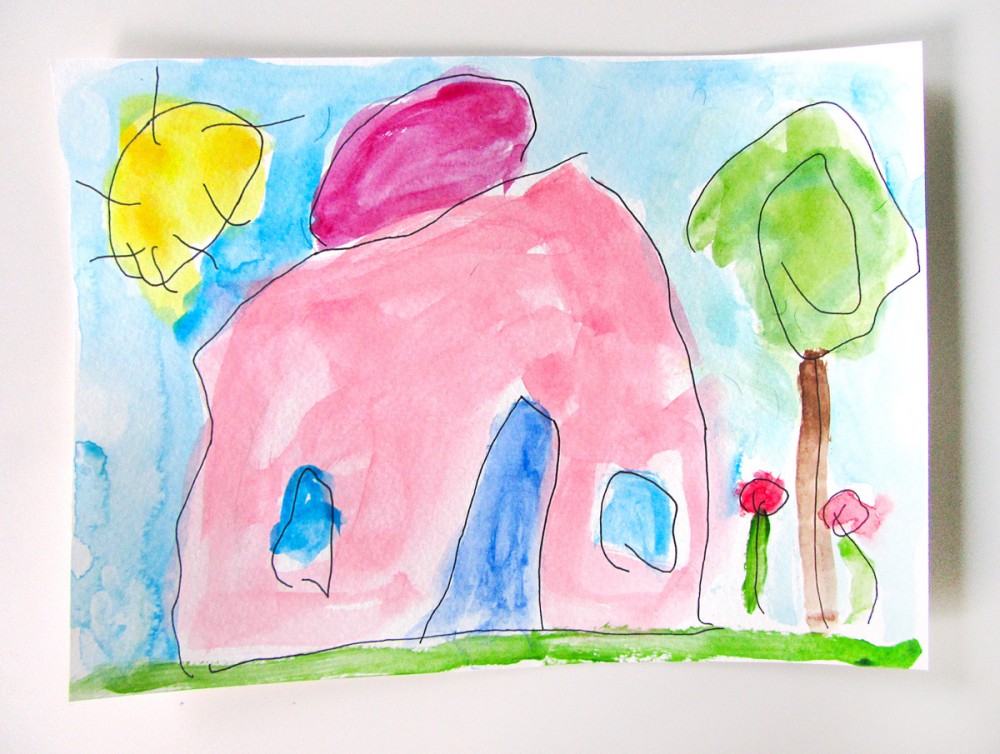
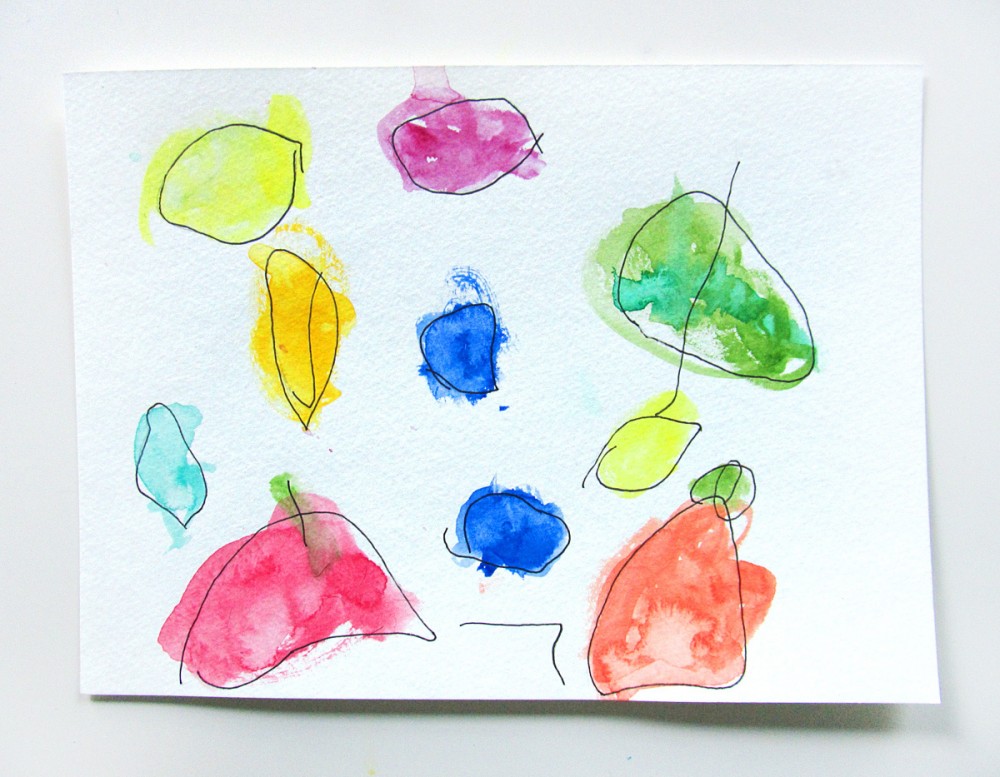
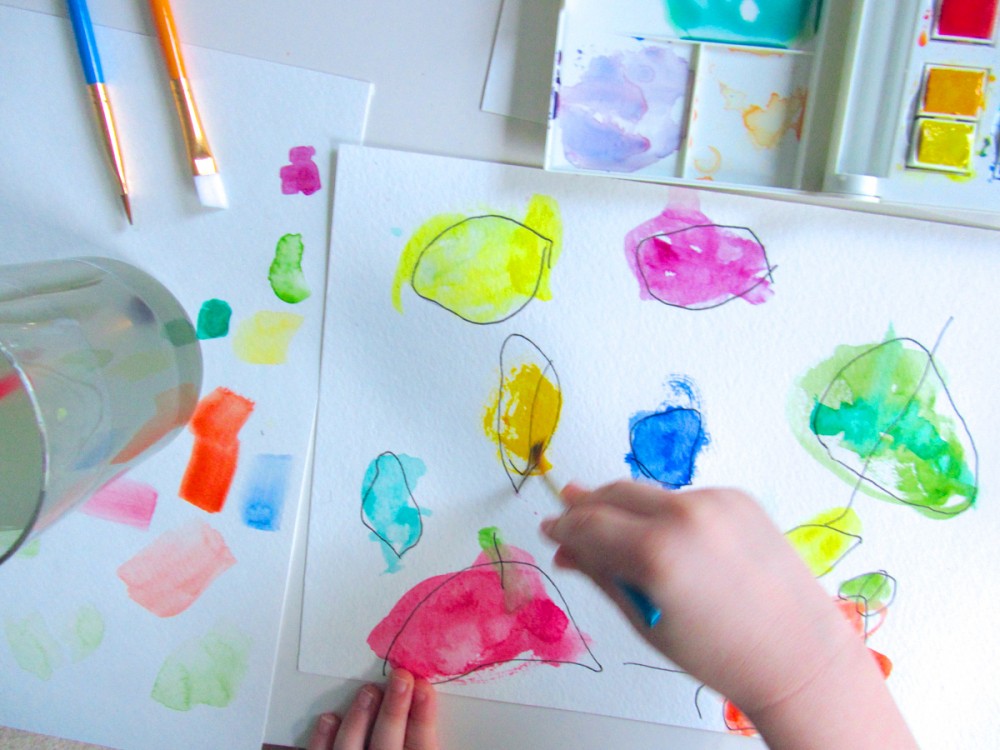
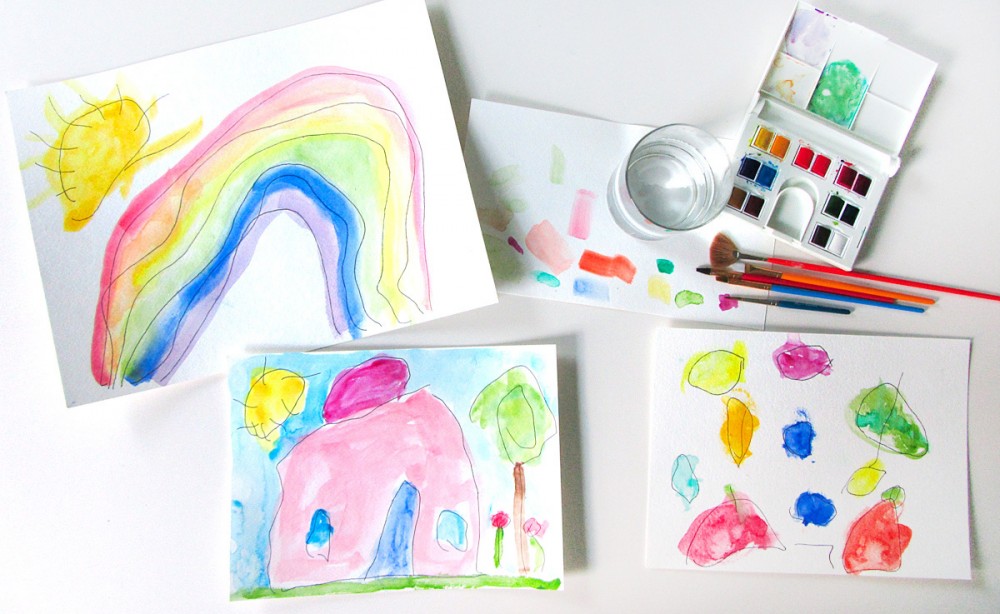
We needed a quick afternoon activity the other day, so I took some watercolor paper and traced some leaves using my artist pen. (For the exact materials and techniques I used, see my recent watercolor post.) Then Jax and I each painted in our leaves with watercolor paints.
Jax was very set on painting his leaves only the proper colors you’d find in nature. He also wanted to add a red sky and green ground (he still does sky and ground as little strips at the edges of the page!)
We both ended up with beautiful artwork, worthy of a frame!
For an even quicker activity, print out my free leaf coloring sheet!
Autumn Nature Walk
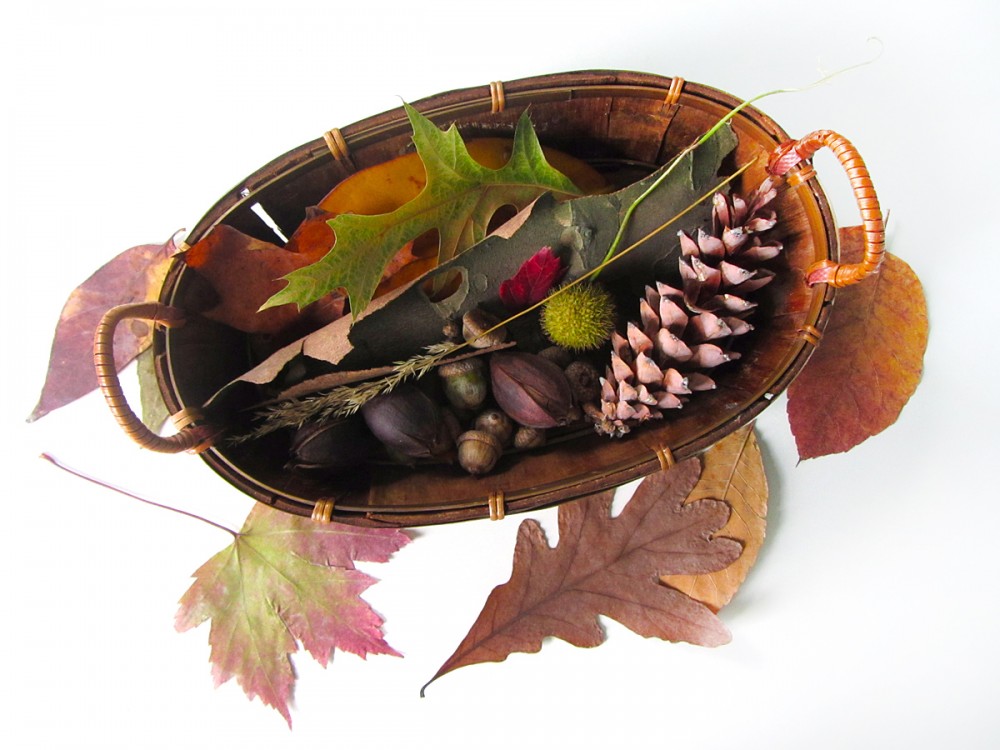
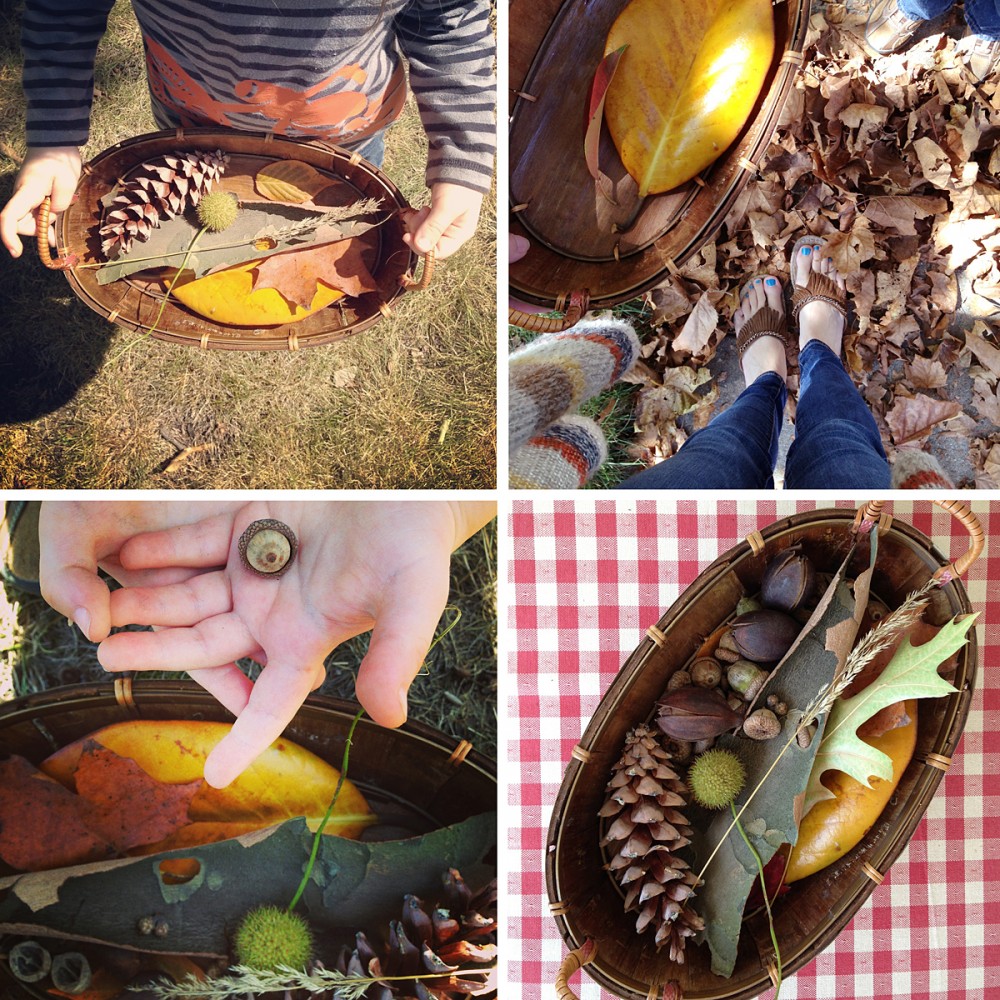
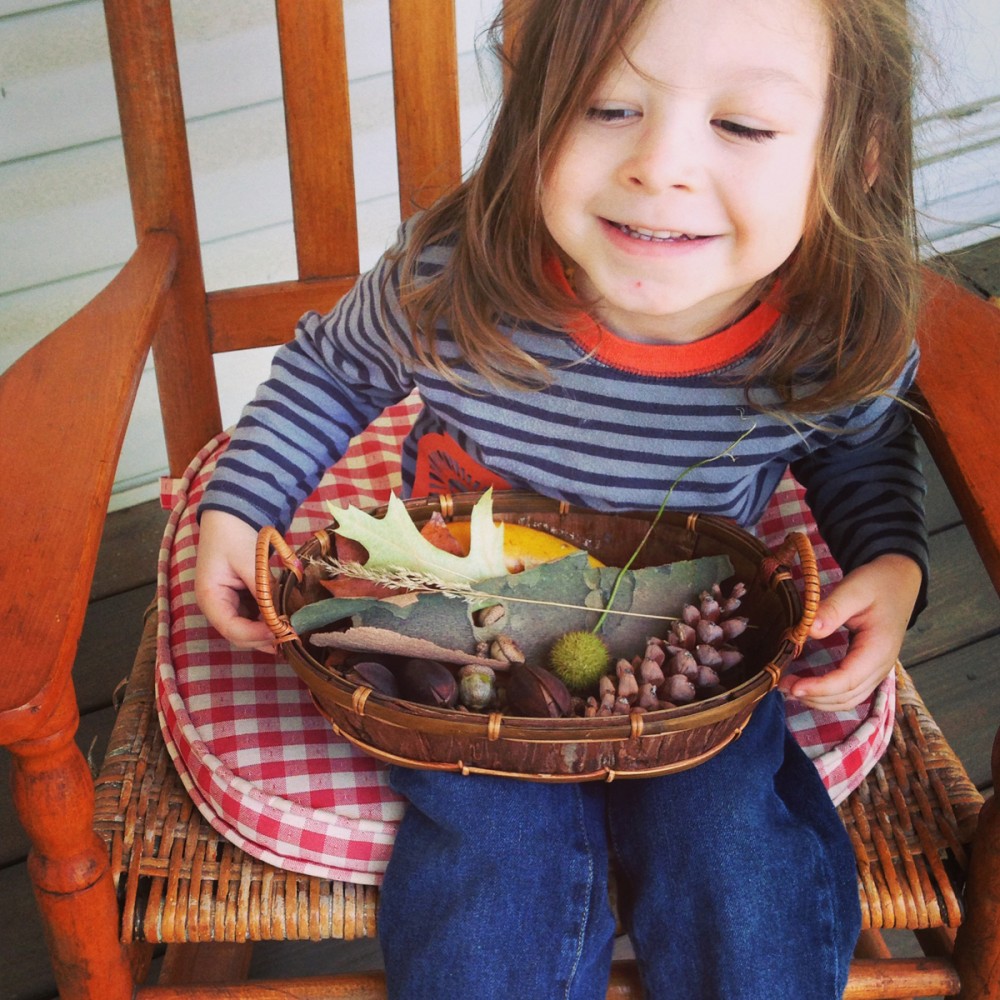
This past weekend was beautiful here in northern Virginia! Jax and I grabbed a basket and set out looking for early autumn treasures. The leaves are just now starting to turn, so we focused mainly on other items.
We found all sorts of seeds and acorns, bits of birch bark, leaves and acorns. Jax quickly got into our “treasure hunt” and was very excited to show me each new find!
We brought our bounty home to look through and enjoy.
 Autumn Sensory Bin
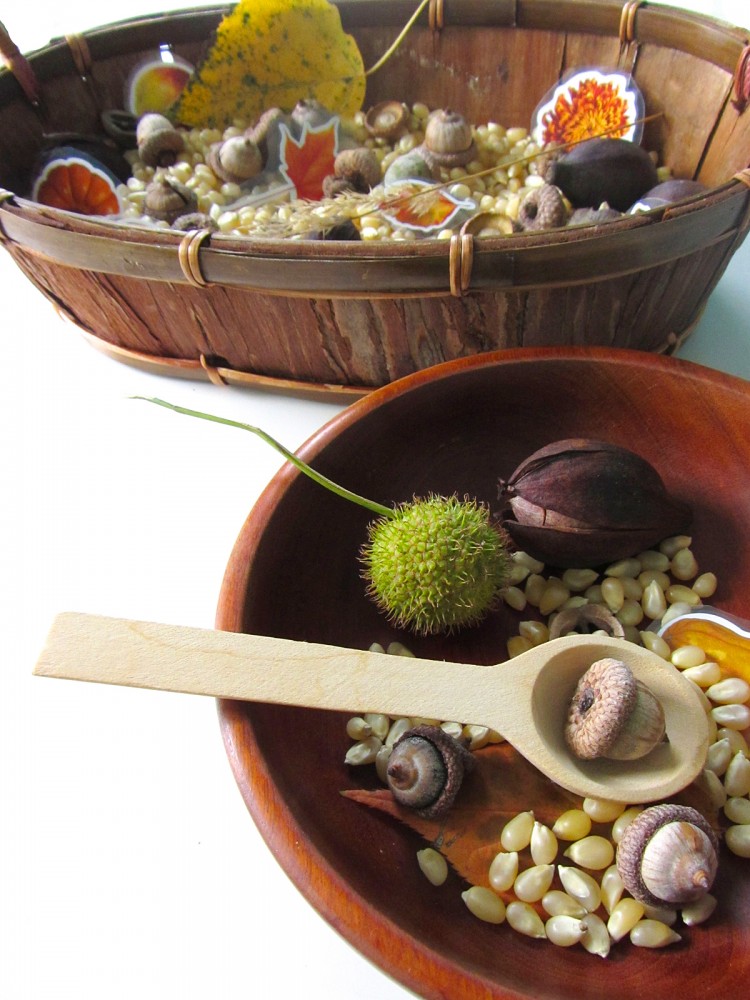
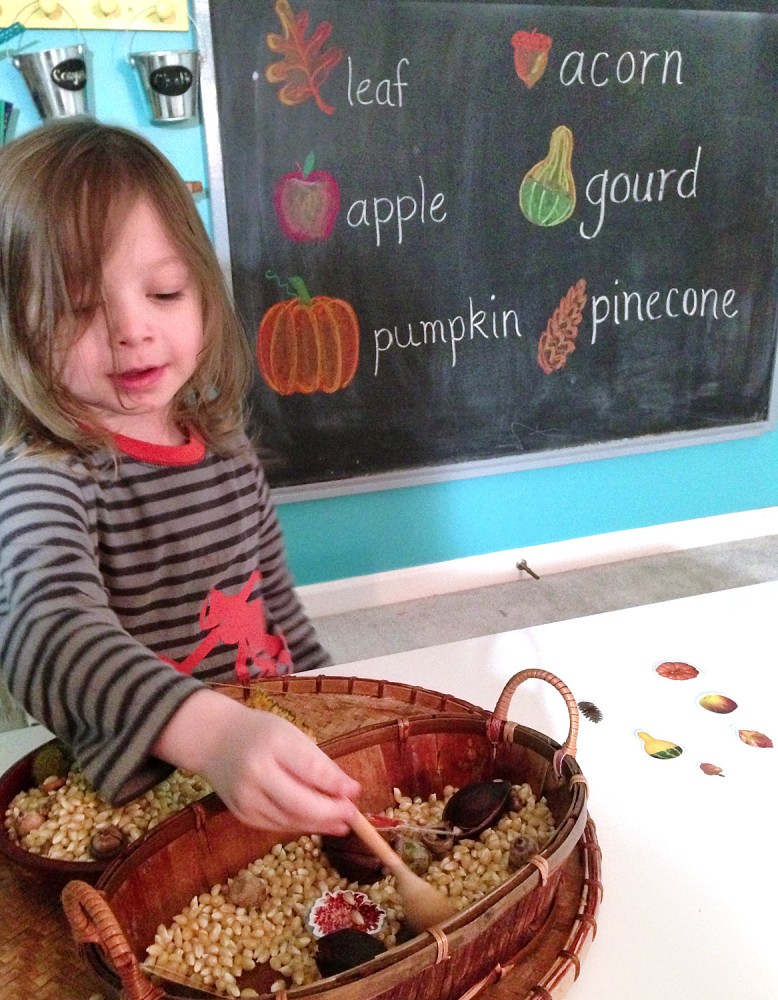
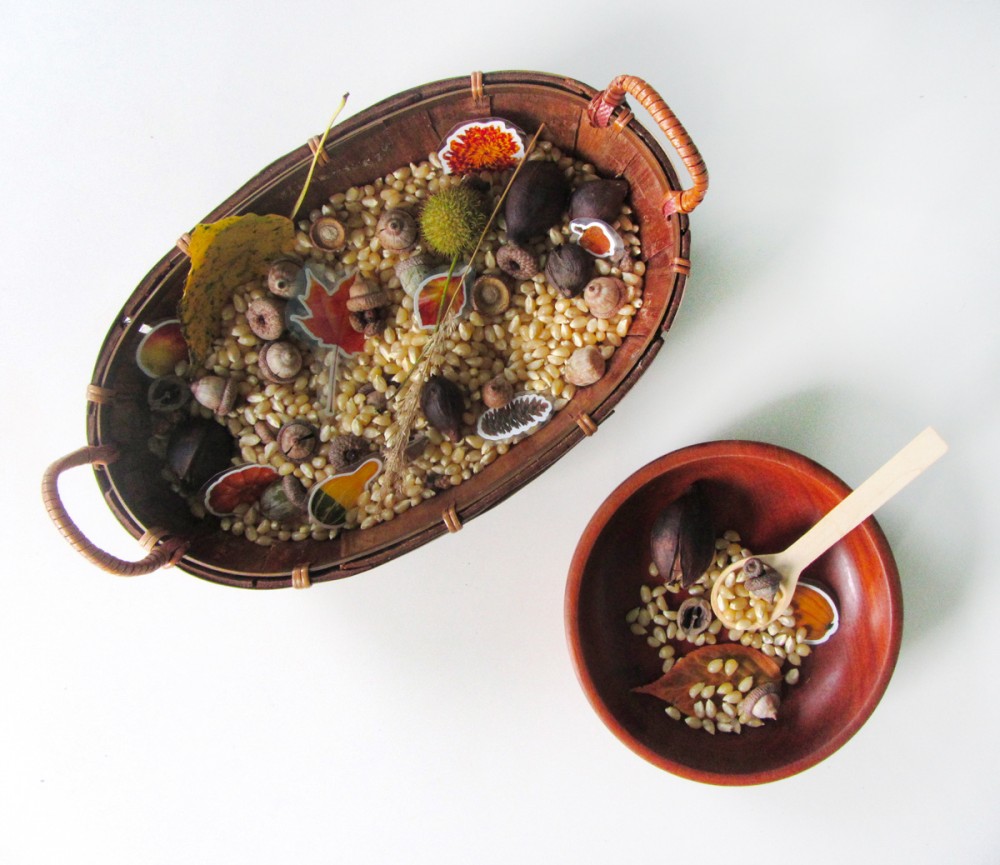
I don’t do many sensory bins, but I should! I pulled together an autumn sensory bin for Jax using our nature walk treasures. I added them to a basket of dried corn, and autumn season stickers I’d laminated and cut out. I provided a wooden bowl from the thrift shop and a little wooden spoon (from an old brown sugar jar.)
Jax jumped right in and started scooping the contents and exploring the textures. I’d drawn a few autumn items on our schoolroom chalkboard along with writing the words. I had Jax hunt for those three stickers in the sensory bin, then let him choose three more for me to draw. Next time he can hunt for all six.
We plan on doing many more autumn-themed activities throughout the season. Do you have any fun ideas for us? Let me know here, or send me ideas via Pinterest, Twitter, Facebook or Instagram.
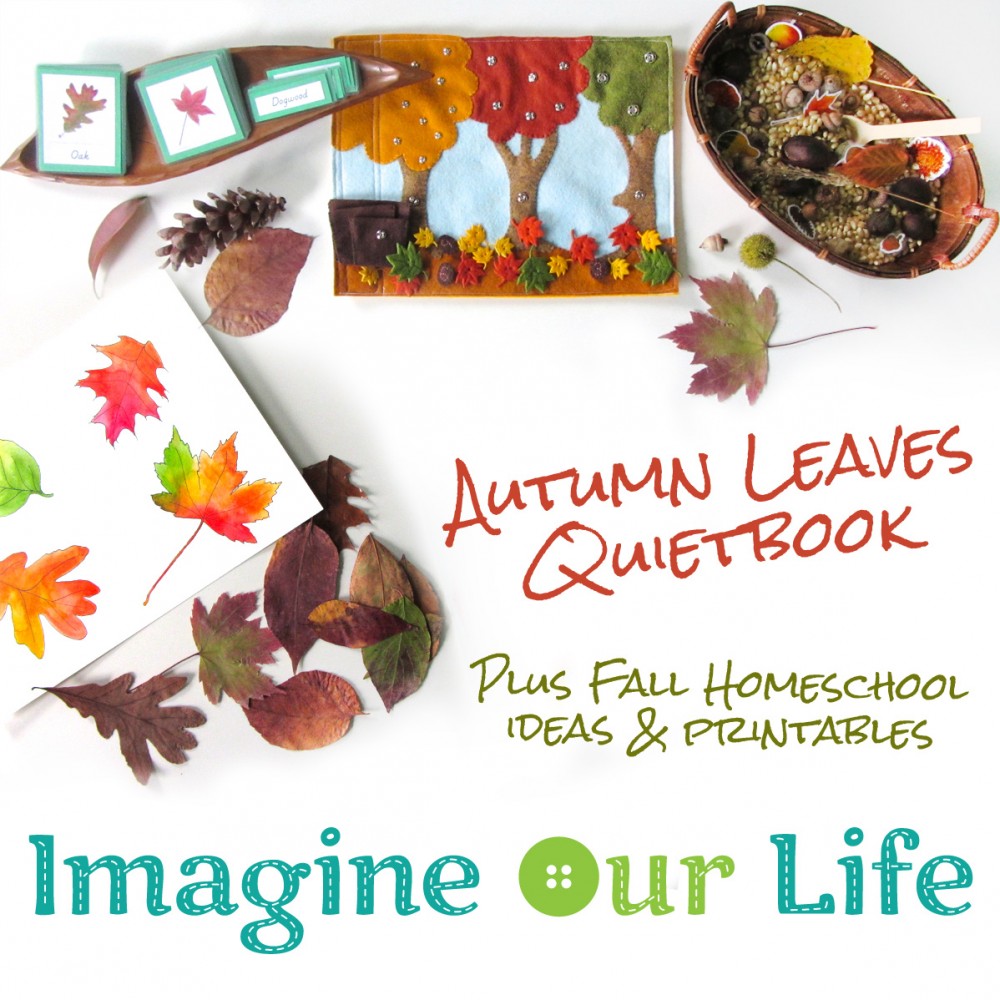
Here is a Pinterest-ready photo for you to pin!
I am linking up to the wonderful Montessori Monday! If you do any homeschooling, I urge you to check out the weekly link up for great ideas!

